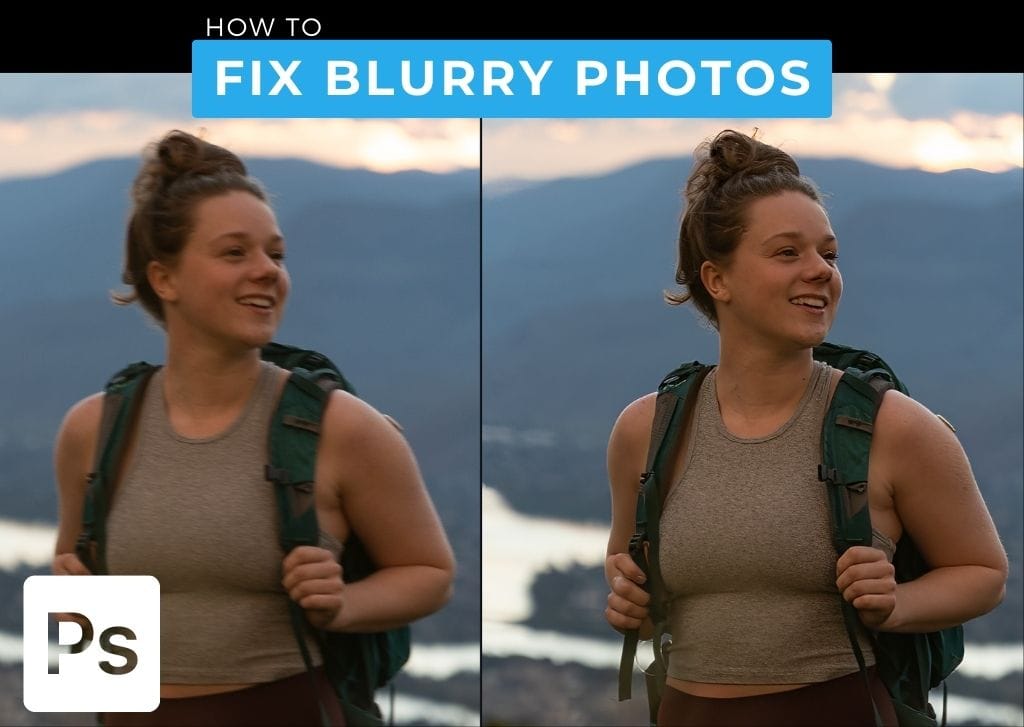

Whether you didn’t get your photo settings right, your subject was moving too fast, or you’re using an image from online and need to sharpen up the details, there are many ways to unblur a photo in Photoshop.
Here are my three favorites methods to get rid of the blur and bring out the important details in images. These techniques are non-destructive and don’t reduce the quality of the pictures.
Note: Unblurring an image is only useful for slightly blurred photos. There is no way for Photoshop to guess what details to put into the picture if there isn’t enough information in the original.
Method 1: Using An Unsharp Mask To Unblur A Photo In Photoshop
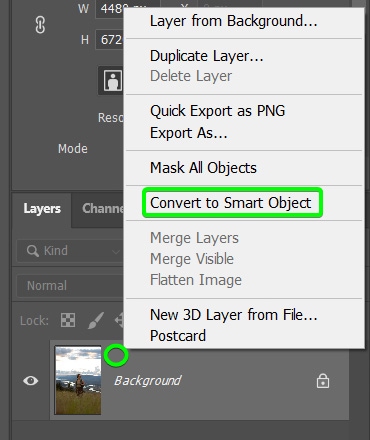
Step 1: Right-Click And Select Convert To Smart Object
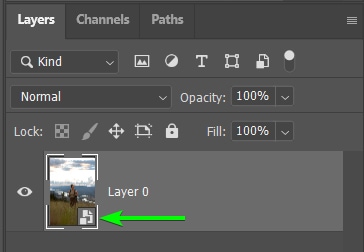
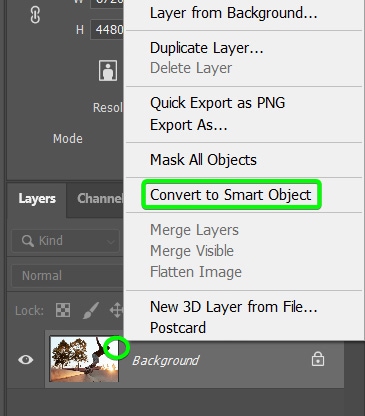
Create the smart object by right-clicking or Control + clicking on the image layer and then selecting Convert to Smart Object. You will know that the layer is a smart object when you see the icon added to the layer’s thumbnail.
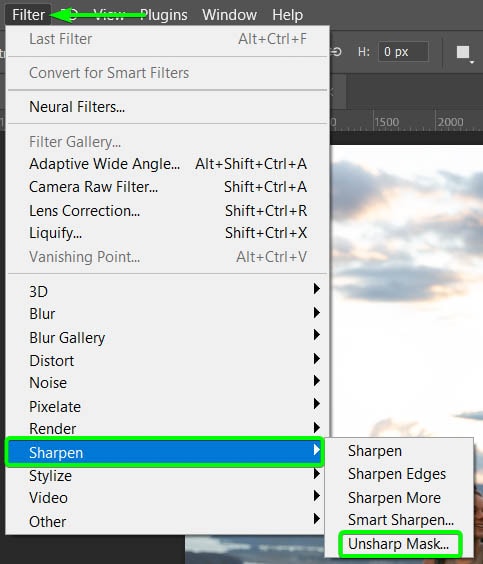
Step 2: Go To Filter > Sharpen > Unsharp Mask
Once the layer is converted to a smart object, you can add the Unsharp Mask filter. To do this, go to Filter > Sharpen > Unsharp Mask.
Step 3: Adjust The Amount Slider
The first slider to change is the Amount slider which enhances the contrast in your photo to give the appearance of a sharper image. As with most things in photography and photo editing, more isn’t always better, so carefully adjust the amount without adding too much contrast.

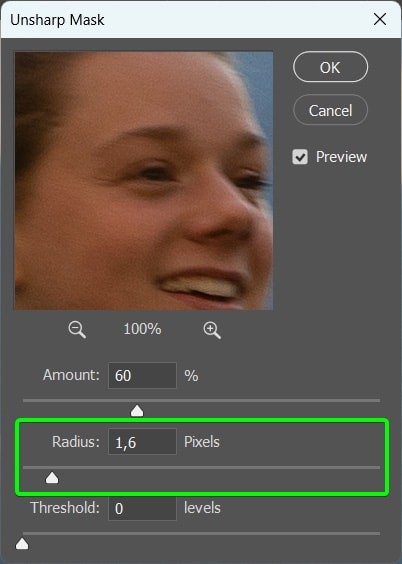
Step 4: Adjust The Radius Slider
Next, you can adjust the Radius slider. This slider lets you set the number of pixels the filter will affect next to the detected edges. The higher the value, the more pixels the filter will affect, which means the sharpening effect will be more apparent.
Be careful with this slider, as adding too many pixels to the effect causes an unpleasant halo effect. Set the Radius to where the halo effect begins, and slowly reduce the value to what works for your image.
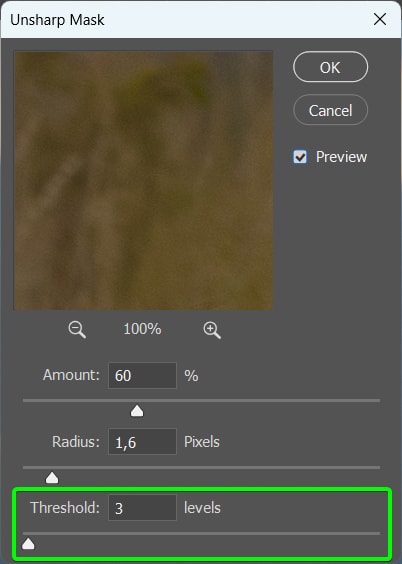
Step 5: Adjust The Threshold Slider
The last setting to adjust is the Threshold slider. This setting controls how different the pixels need to be from one another to be considered an edge. The filter only affects the pixels seen as edges and leaves the non-edge pixels as they are.
Increasing the Threshold value reduces the sharpening effect on the image and helps to balance the other two settings.
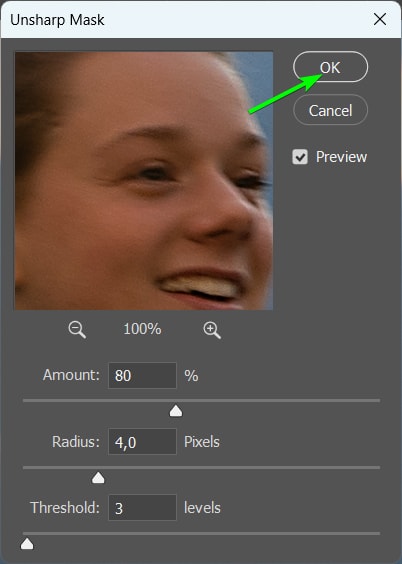
You may need to go back and re-adjust settings as you need to fix up the sharpening effect. Since each setting value affects the rest, play around until you get the right setting.
I recommend you boost the Amount up to 200% and set the Threshold to 0 Levels. Then, slowly increase the Radius amount until there are visible halos in the image. Decrease the Radius until the halos begin disappearing. Then adjust the Threshold and Amount values as needed.
Click OK when you are happy with the settings.
Step 6: Adjust The Filter And Check The Results
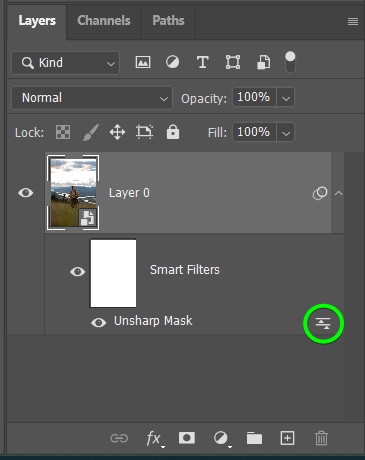
Since you added the filter to a smart object, it is added as a smart filter below your image layer. You can double-click on the filter to re-open the Unsharp Mask Filter window and change the settings.
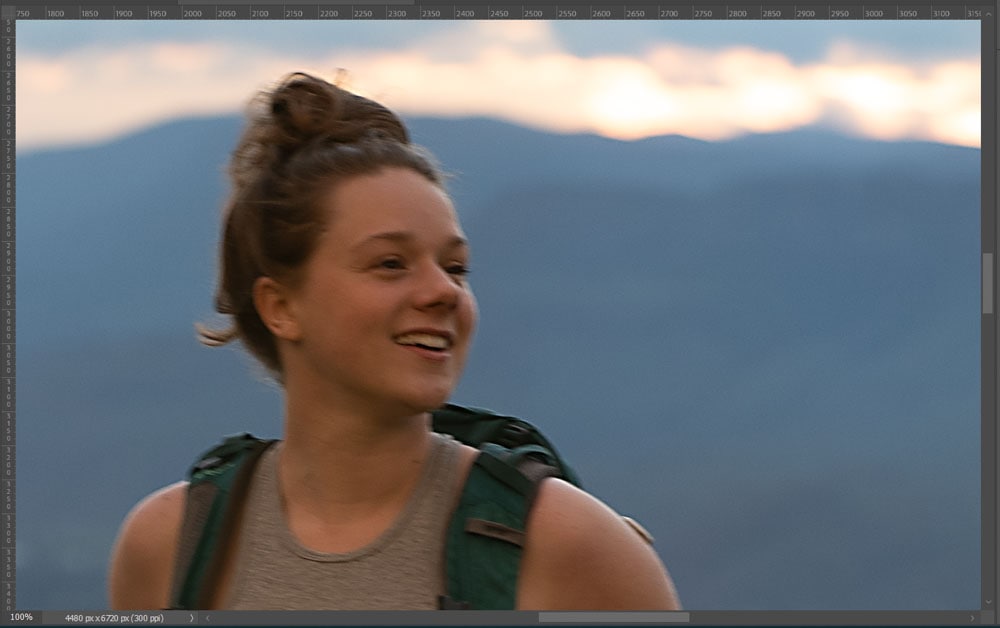
You will now see the results from sharpening your image and compare the zoomed-in versions to see the biggest difference in the effects.

Step 7: Change The Blend Mode To Avoid Color Shifting (Optional)
When applying an Unsharp Mask to an image, it affects the color and brightness of the pixels, which can lead to an increase or decrease in certain color values. If you notice color changes in your image, you can easily correct this.
Double-click on the Blending Options icon to the right of the smart filter to correct the color shifting.
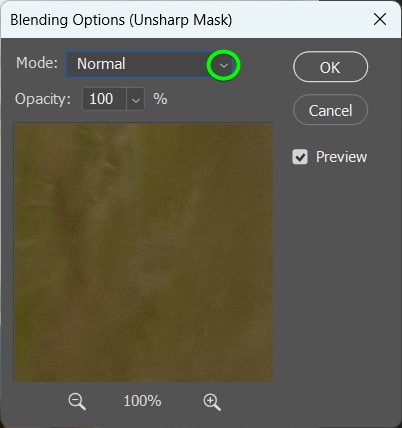
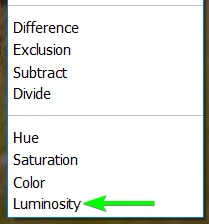
When the Blending Options window opens, open the blend mode drop-down menu and select Luminosity. This will correct any color issues in your image caused by the Unsharp Mask filter.
Method 2: Using Smart Sharpen
Step 1: Convert The Image Layer To A Smart Object
To non-destructively edit the image, open it in Photoshop and then convert the image layer to a smart object. To do this, right-click or Control + click on the image layer and select Convert to Smart Object.
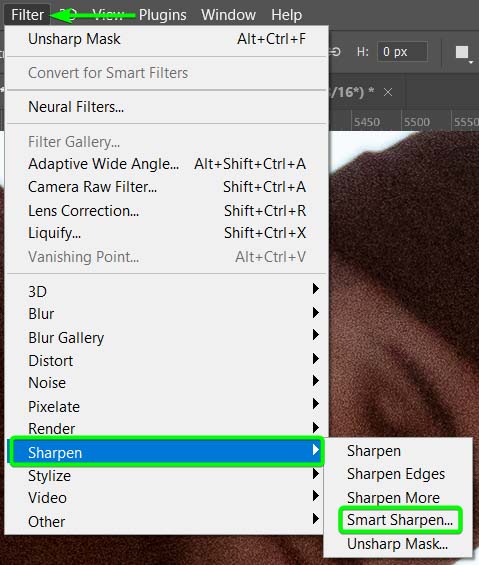
Step 2: Go To Filter > Sharpen > Smart Sharpen
When the image layer is a smart object, you can add the filter by going to Filter > Sharpen > Smart Sharpen.
The Smart Sharpen window will open, where you can move the preview window to show the details you want to focus on. Photoshop will have already sharpened the image, and you can concentrate on adjusting the settings to achieve the results you want.
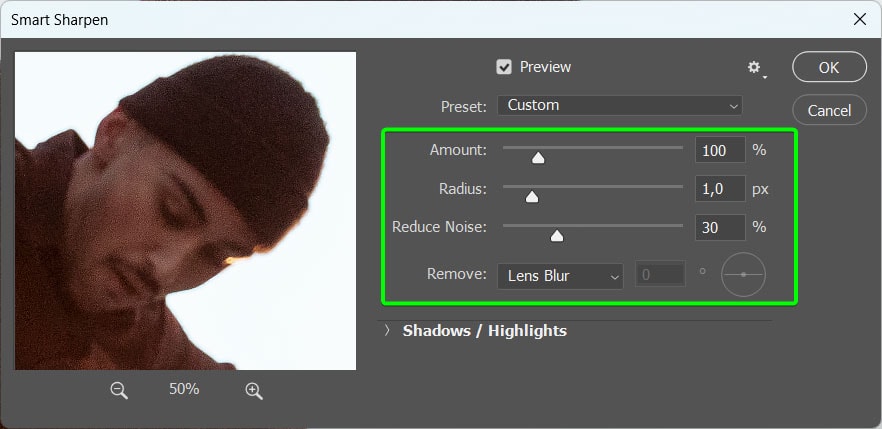
Step 3: Adjust The Smart Sharpen Settings
The Amount and Radius sliders are the same as the Unsharp Mask settings, except the Smart Sharpen filter detects the edges accurately, which means there is no need for a Threshold setting.
The Reduce Noise slider helps reduce the amount of noise in the image. However, take care when using this slider, so you don’t soften the image too much.
The last basic setting is the drop-down menu next to Remove, which lets you decide which areas you want to be sharpened in the image. These options work as follows:
- Lens Blur: is the standard setting to use, and it automatically detects the edges in the image
- Gaussian Blur: affects the image the same as the Unsharp Mask without any edge detection
- Motion Blur: use this setting to focus on correcting blurred areas caused by camera shake
I adjusted the settings as follows for my image.
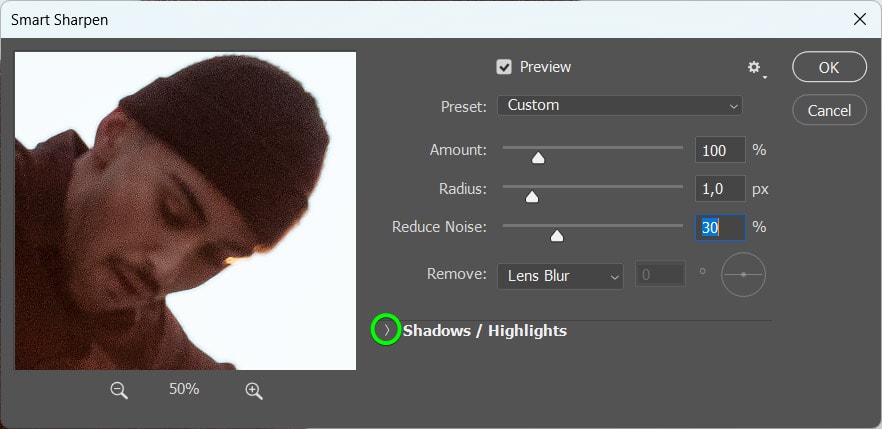
Step 4: Adjust The Shadows And Highlights Settings
Next, there are additional settings that affect the Shadows and Highlights in the image. You can use these settings to further control the sharpening effect by restoring lost details in these areas caused by the sharpening effect. Click on the arrow next to Shadows/Highlights to view the settings.
The shadow and highlight options have the same sliders, which affect the image as follows:
Fade Amount: Use this setting to adjust the intensity that the sharpening fades in the shadow or highlight areas. Increase the value to decrease the sharpening effect in those areas.
Tonal Width: The Tonal Width slider affects the range of brightness levels evident in the fade amount set above. Generally, this should remain close to 50%.
Radius: This setting is the same as the other radius slider in the basic settings but focuses on either the shadows or highlights. Use this to set how many pixels are affected by the sharpening effect. This setting is based on the amount of fade and controls whether pixels fall into the tonal range specified in the previous setting.
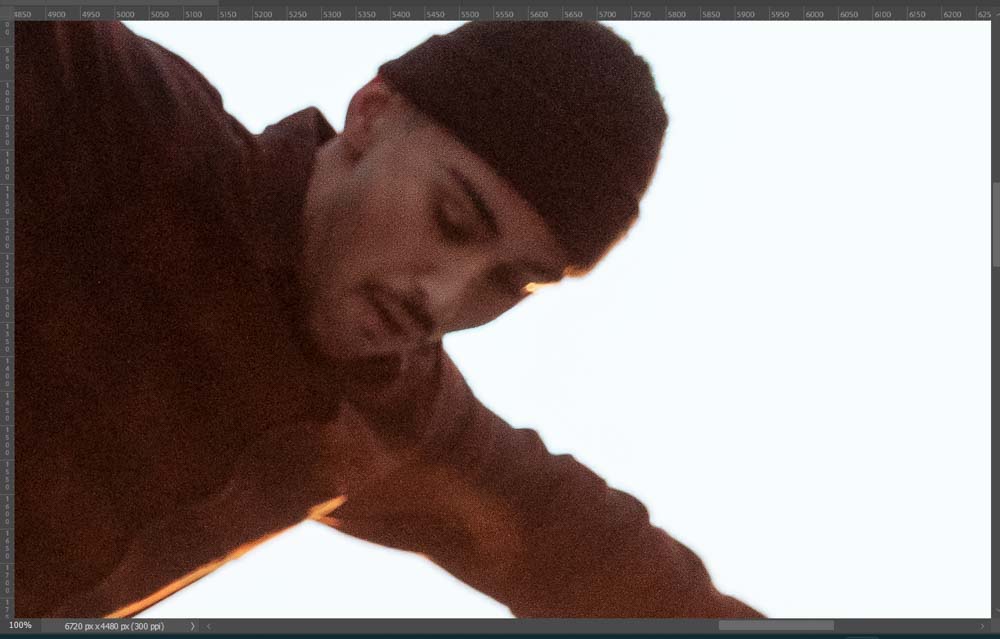
I adjusted the settings as follows for my image. Click OK to confirm the settings.

Since you added the filter to a smart object, you can double-click on the smart filter at any stage to edit the filter. Once you have the settings as you’d like, your image will be sharper than before.
Method 3: Using Topaz Labs Sharpen AI Plugin
Step 1: Open The Image In Topaz Labs Sharpen AI
The Topaz Labs Sharpen AI Plugin is a useful tool to add to your editing process, as it sometimes achieves better results than Photoshop can. You can download a trial version of the plugin to try out or purchase the full version.
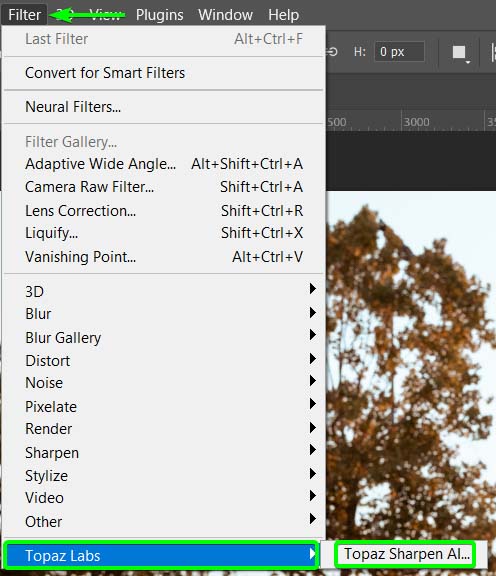
To unblur the image using this method, you need to open your photo in the program. Once you have edited your picture as needed, ensure the image layer is selected and go to Filter > Topaz Labs > Topaz Sharpen AI.
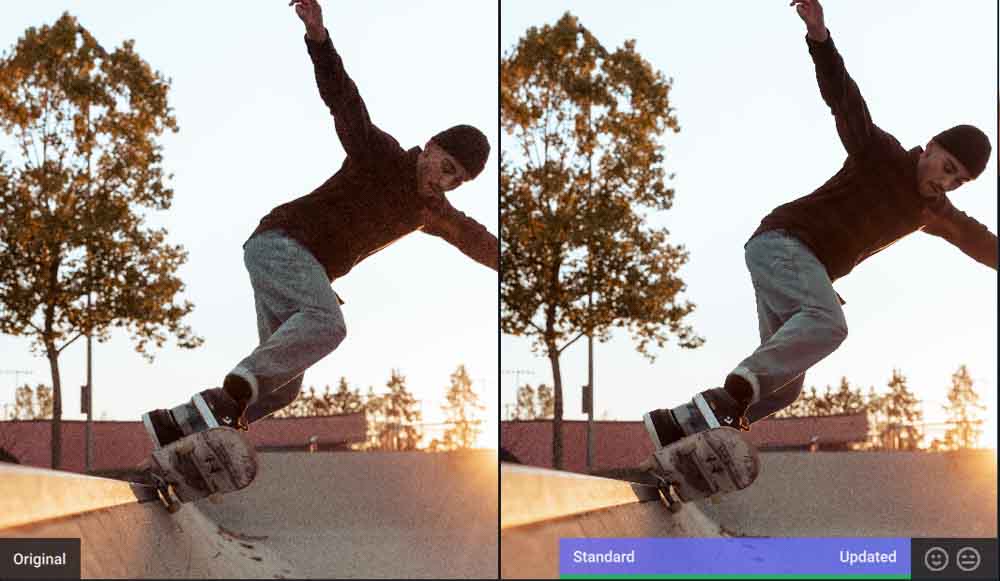
After a moment, the image will open in the Topaz Labs workspace. The program automatically sharpens the image based on what the AI believes is best for your image. You will see a before and after of your photo in the preview window. You can drag the preview around to see different areas of the picture.

Step 2: Adjust The Settings As You’d Like
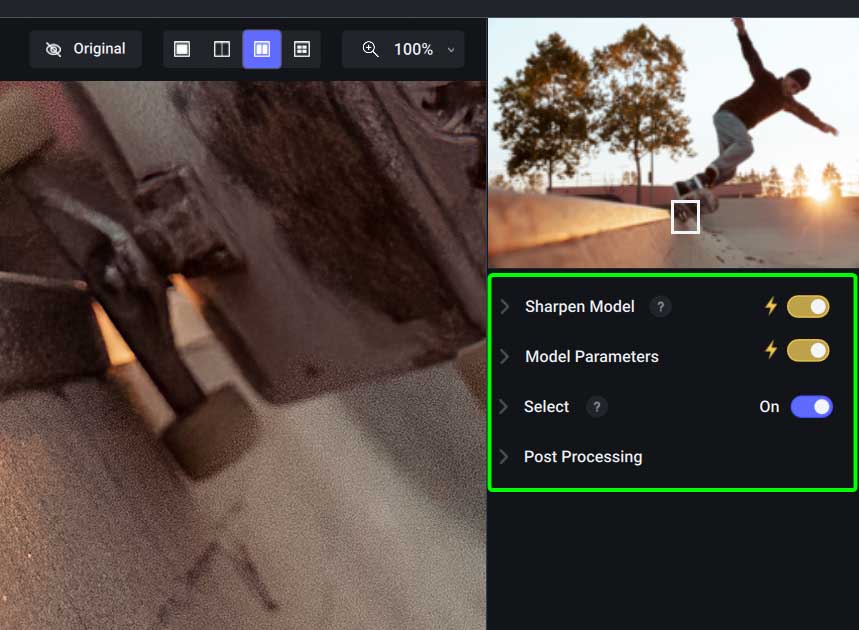
You can now adjust the settings in the panel on the right if you aren’t happy with the automated results.
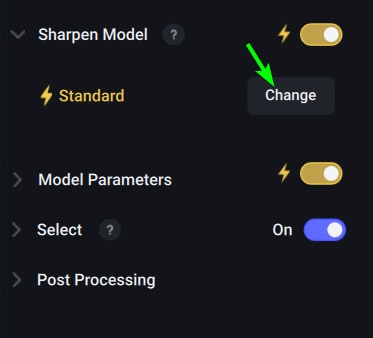
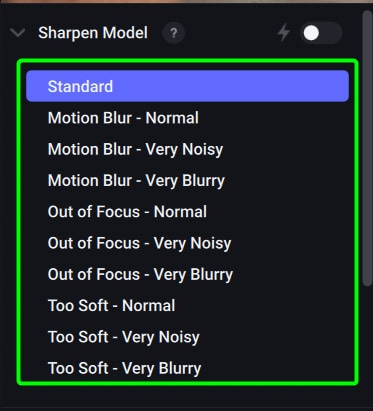
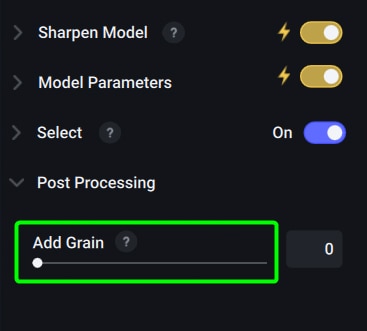
First, you can change the Sharpen Model. Currently, it is set the automatic, but if you aren’t happy with this, you can click on Change and select from the different models for what works best on your photo. Select the model that best describes your image.
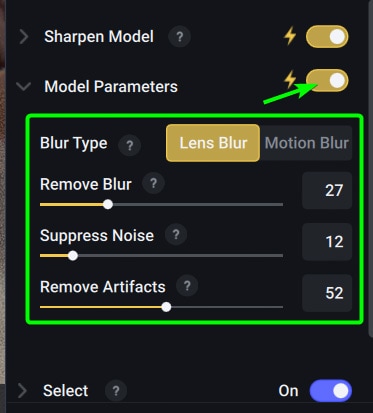
Next, you can adjust the Model Parameters by choosing the Blur Type and adjusting the Remove Blur, Suppress Noise, and Remove Artifacts sliders. You can also keep the automatic button selected if you want to leave it in the chosen settings.
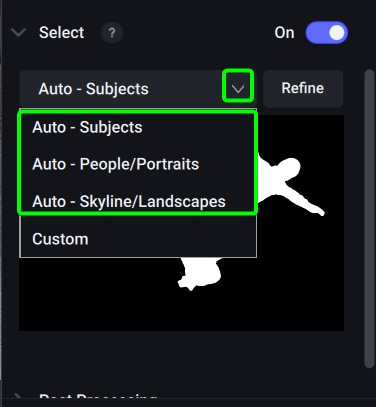
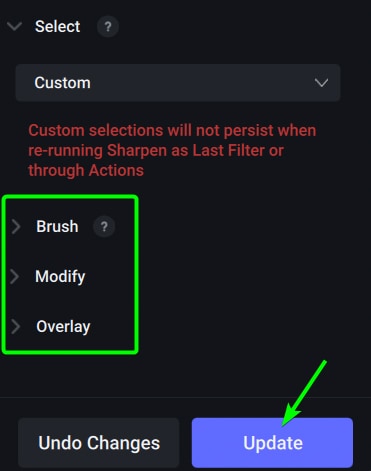
You can also change what the program sharpens by adjusting the Select settings. You can choose from three auto selections, Subjects, People/Portraits, or Skyline/Landscapes. If you want to create a custom area to sharpen, click on Refine.
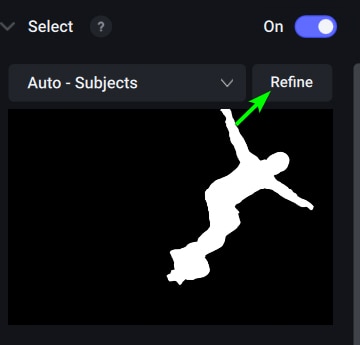
You will then have more settings to help you select the correct areas for sharpening. Click Update when you’re happy with the selection.
Lastly, you can Add Grain under the Post Processing section if your image needs this.
Step 3: Check The Preview And Confirm The Sharpening
Once you have adjusted the settings as needed, check the preview in the program before committing to the changes. Use the zoom amount that lets you see the image the best.
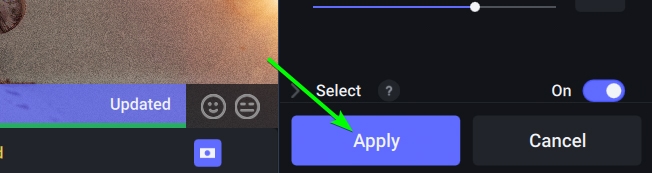
If the sharpening is enough and you have fixed the blurry photo, click on Apply and give the program time to apply the changes.
The new sharpened image will replace your background layer and give you a much clearer picture.
These three methods are my favorite when fixing blurry photos as they each have their strengths. However, I use the Topaz Labs plugin whenever possible since it produces the best results and gives me the most control over the final result. Try these out on your photos to see what works best for your workflow and projects.


