
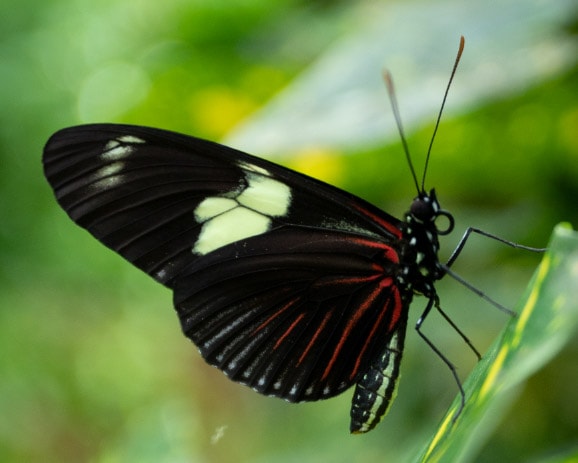
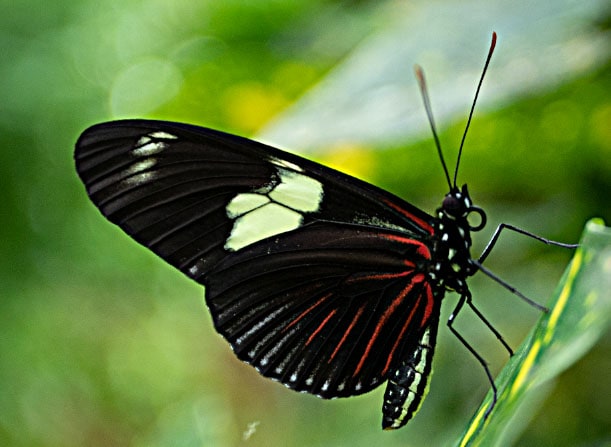
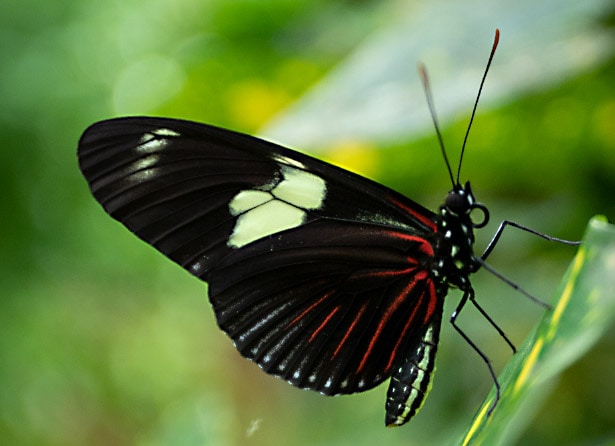
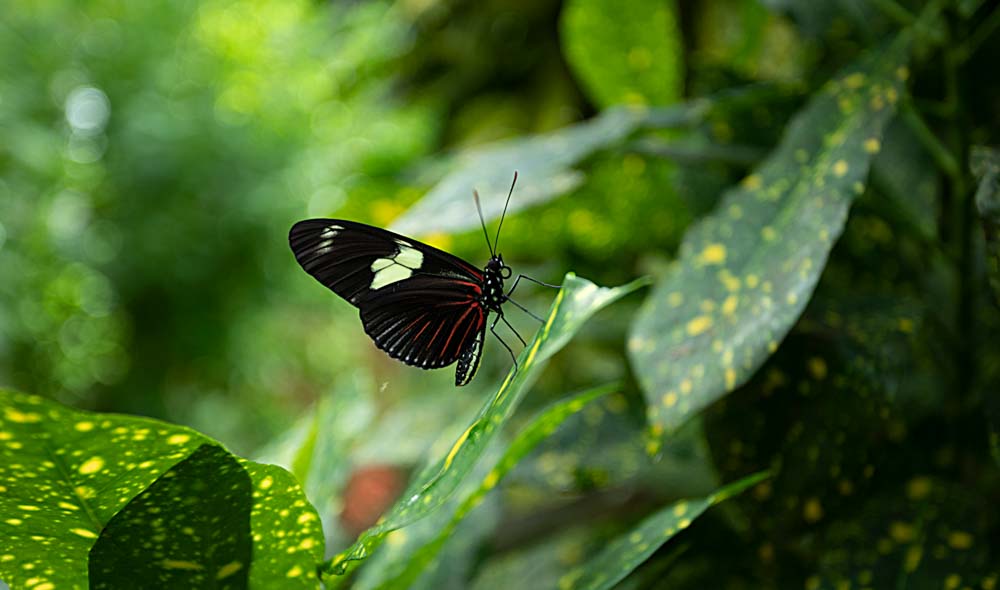
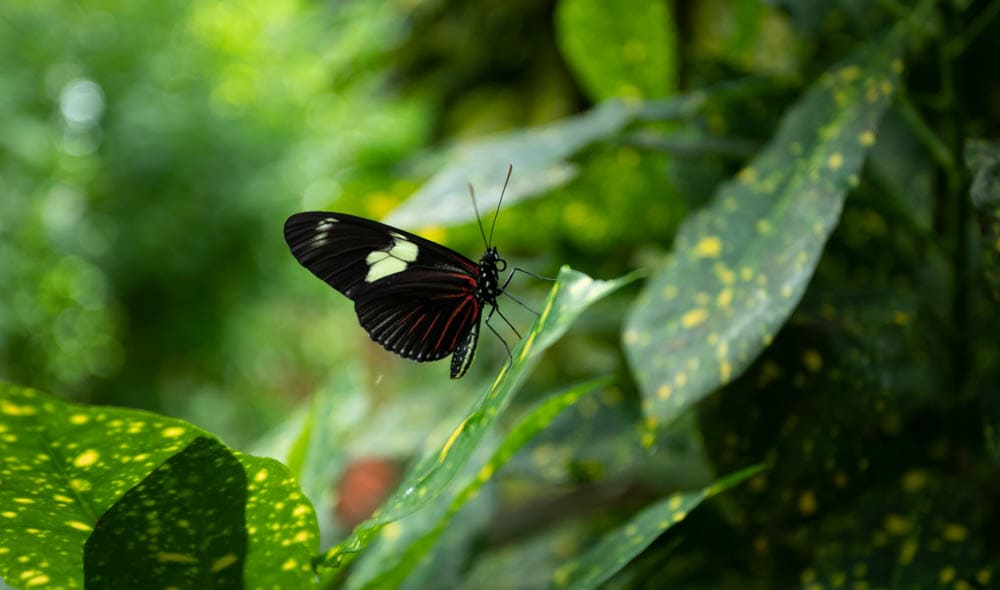
A common issue for photographers is unsharp images, especially when shooting in RAW format. Any unprocessed photos aren’t automatically sharpened like JPEG images. If you regularly shoot in RAW or have a photo that is not quite sharp enough, you need to know how to use the Unsharp Mask to sharpen images in Photoshop.
Unless you edit unprocessed photos, there is no actual method to sharpen blurry images. If your focus was completely wrong during shooting, unfortunately, there is no way to correct this in post-processing.
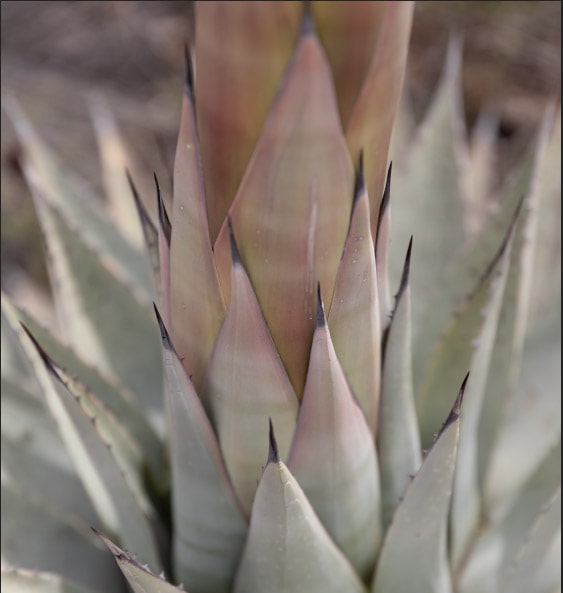
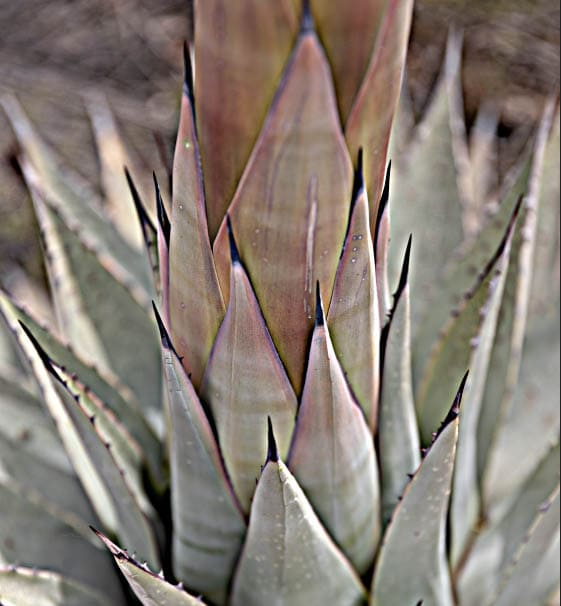
However, if your focus was slightly off or you want to enhance the in-focus details, the unsharp mask in Photoshop helps crisp up the photos to produce a clearer and sharper-looking image.
Video Tutorial
What Is The Unsharp Mask In Photoshop?
The Unsharp Mask is a filter that enhances details within a photo to create sharper images.
The Unsharp Mask is a technique in Photoshop which was digitized from an old-school film process. During the film process, you would take a copy of the original image and intentionally blur it. Then the photographer would layer the blurred copy over the original to cancel out low frequencies during printing. The result was an image appearing much clearer than before.
Photoshop digitized the process to work on digital images that lacked clarity. The Unsharp Mask works by adding clarity and contrast to the original photo. The program automatically detects what it believes are edges within the picture because of vastly different pixel values next to each other. Photoshop then increases the contrast (making the darker pixels darker and the lighter pixels lighter) in these areas.
The increased contrast along the edges produces a sharper-looking image. It’s important to note that the unsharp mask won’t improve a blurry photo. The process doesn’t work on blurry images because Photoshop doesn’t add new details to the picture but creates the illusion of new details from the increased contrast.
Ultimately, the unsharp mask is an extremely effective tool for sharpening details or improving clarity in slightly out-of-focus areas.
How To Create The Unsharp Mask In Photoshop
The Unsharp Mask is relatively easy to use. All you need to do is add the filter and adjust a few sliders to increase the sharpness. However, to produce aesthetically pleasing results using this process takes some practice and understanding.
Precautions Before Using The Unsharp Mask
Many beginner photographers make the mistake of over-sharpening an image, thinking it looks better by being as sharp as possible. However, this is not the case and over-sharpening images often leads to undesirable results.
Over-sharpening pictures often leads to a haloing effect, which some beginners may mistake for clearer images, but are actually unpleasant the more you look at them. I recommend you step away from the image after sharpening it and return later to look at it with fresh eyes before exporting.
You should only sharpen a photo at the end of your editing process once you have added all your edits, resized the image, and set the correct resolution for your output. The sharpening process should be the final touch you add.
If you sharpen an image earlier in the process, the effect distorts based on the edits you make, especially if you resize the image or alter the resolution. The amount of sharpness you need on an image depends on the size, resolution, and output.
Follow these instructions to learn the basics of adding the Unsharp Mask filter to an image, but check out the recommended settings further down for the different photography genres.
Note: Zooming your image to 100% by pressing Control + 1 (Win) or Command + 1 (Mac) allows you to see clearly how the effect is working on your image.
Adding The Unsharp Mask To An Image
To add the Unsharp Mask filter to an image, you should first convert the image layer to a Smart Object. Converting the layer to a Smart Object means you will add the filter as a smart filter, which you can easily re-edit or delete later if needed.
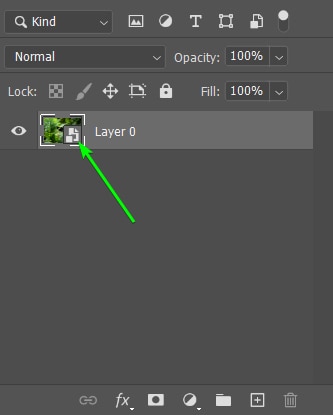
To convert your image to a Smart Object, right-click (Win) or Control + click (Mac) on the layer in the Layers panel and select Convert to Smart Object.
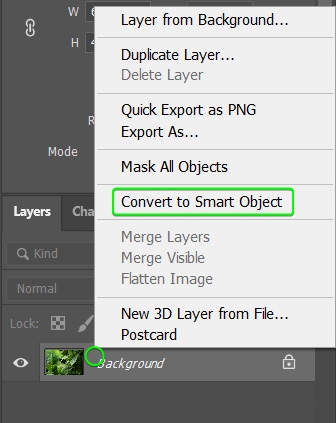
If your image was a locked Background layer, it automatically unlocks and changes to Layer 0. You can confirm the layer is a Smart Object by checking the icon that appears in the layer’s thumbnail.
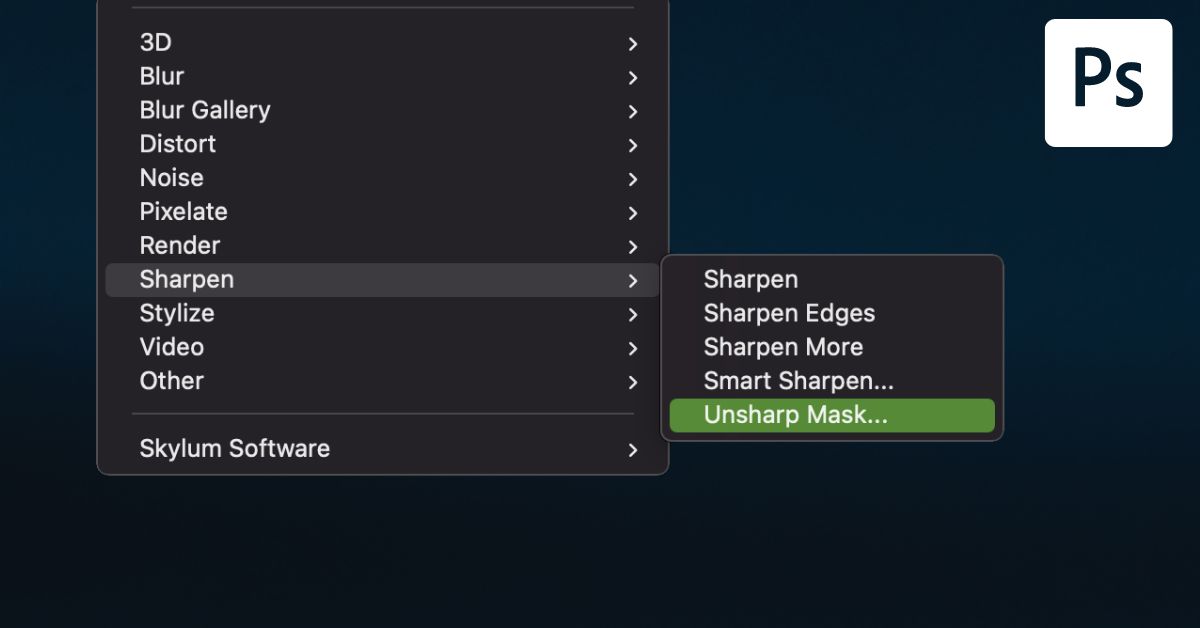
You can now add the Unsharp Mask by navigating to Filter > Sharpen > Unsharp Mask.

Once you follow the menu path, the Unsharp Mask dialogue box opens, showing a preview of the image and sliders to adjust the filter.
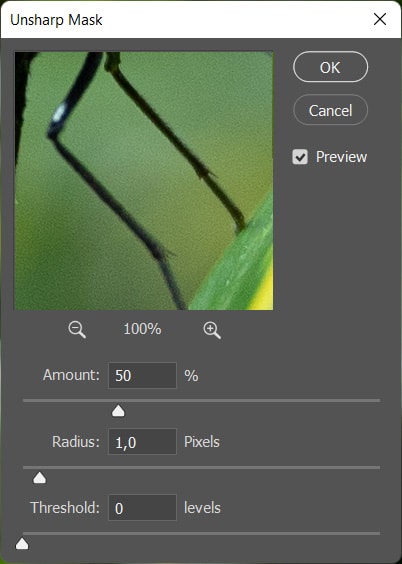
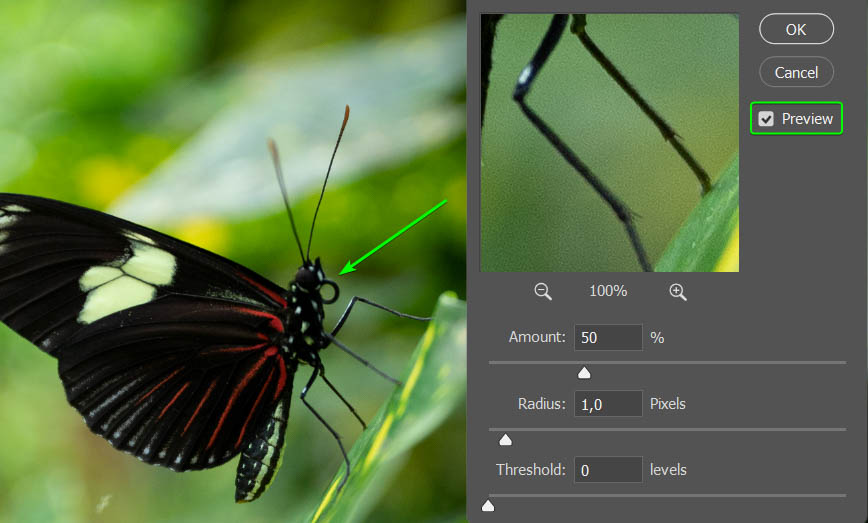
Ensure that you check the box next to Preview to see the effect on the image.
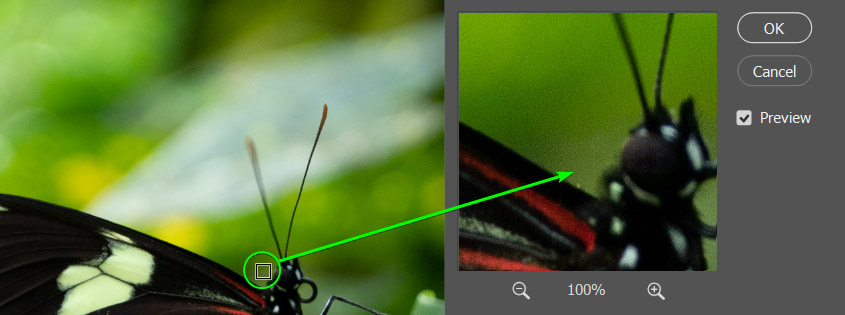
You can click and drag around the preview box to focus on a different area of the image or click on the image itself. A box appears, which tells Photoshop what to show inside the Preview box when you click on the spot on the image.
You can now adjust the sliders to sharpen your image.
The Unsharp Mask Settings
The first slider in the Unsharp Mask dialogue box is the Amount slider. This slider determines how much contrast is added to the image to make the image appear sharper. Photoshop sets the default value of the Amount slider to 50%, which already produces a clearer photo.
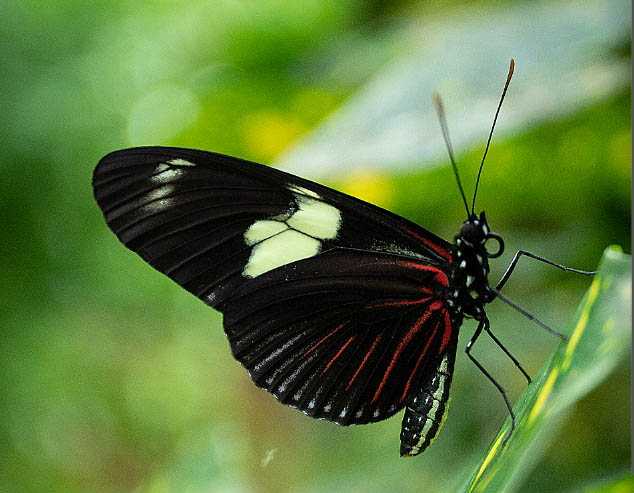
To show how the Amount slider affects the image, I have increased the Amount to 500%. This change adds too much contrast to the picture, so you shouldn’t add so much unless you want a creative effect.
Move the slider to the left to decrease the amount and to the right to increase it.
The next slider is the Radius slider, which determines how many pixels Photoshop affects next to the detected edge pixels. The higher the Radius value, the more pixels are affected, resulting in a more apparent sharpening effect.
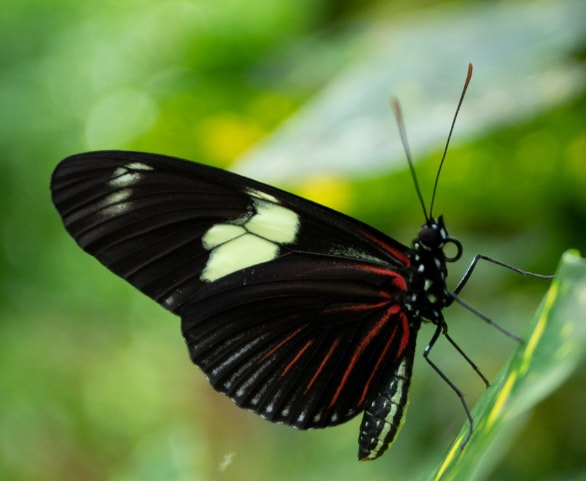
Be careful with the Radius slider, as it produces the haloing effect when you set the radius too high. Increase the pixel value to increase the sharpening effect. I have increased the Radius to 10 pixels to show the effect. However, you can see the haloing starting to affect the image negatively.
The last slider to adjust is the Threshold slider, which determines how different pixels should be from surrounding pixels to be considered an edge. The Unsharp Mask affects the pixels considered edge pixels, whereas the pixels not seen as edges are left unaffected.
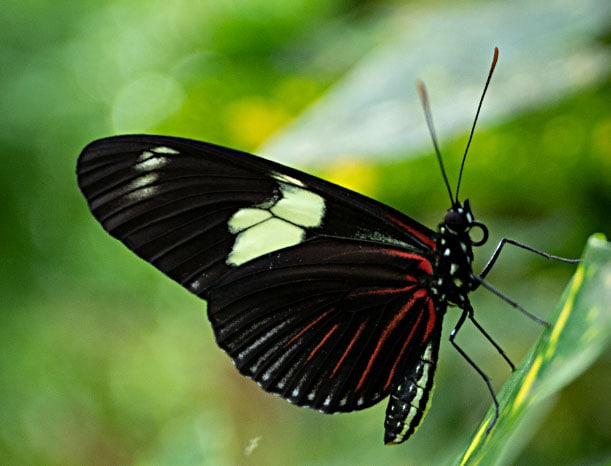
Increasing the Threshold reduces the sharpening effect on the image and confines the effect to change the apparent edges only. I have increased the Amount slider to 100% and the Radius to 10 pixels. You can now see the difference when I set the Threshold to 0 levels and 20 levels. The higher the Threshold amount, the more focused the effect is on contrasting areas.
You can now adjust the three sliders to sharpen your image without creating a halo effect or over-sharpening the image.
For my image, I have set the Amount to 80%, the Radius to 10 pixels, and the Threshold to 0 levels.
Changing The Blend Mode To Prevent Color Shifting
An unintentional effect of the Unsharp Mask is color shifting, which affects complex color textures and finer details in the image. Color shifting is when the mask affects colors along with the image’s brightness, causing certain colors to become brighter and other colors to darken.
There’s a simple fix to take away the color shifting, which is to add a blend mode to the smart filter. To add the blend mode, double-click on the smart filter’s Blending Options icon, which is to the right of the filter in the Layers panel.
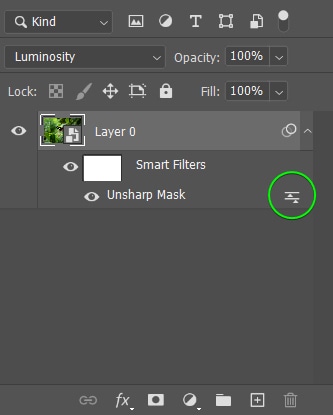
When the Blending Options window appears, change the Mode to Luminosity.
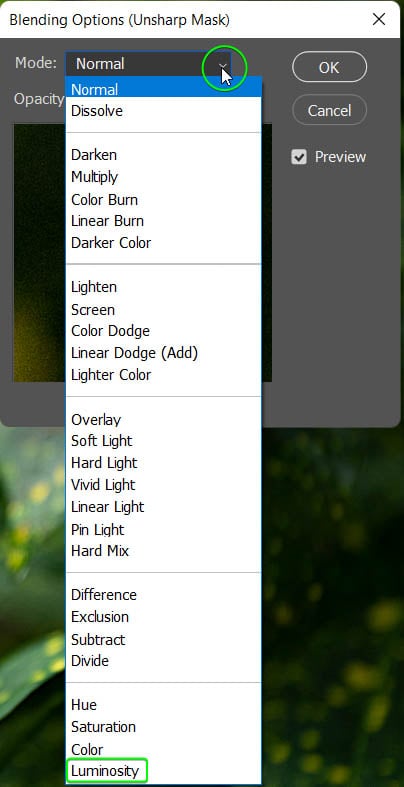
This blend mode preserves the original color values of your image. You now have an image that is clearer without the colors being affected.
The Difference Between Sharpening And The Unsharp Mask
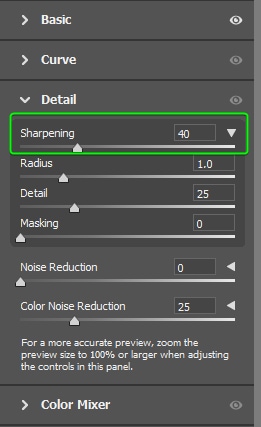
There are many ways to sharpen an image in Photoshop, including using the sharpening adjustment slider under the Detail tab in Camera RAW. You can also use the sharpening slider in Lightroom to improve the clarity of your photos. However, the sharpening sliders produce a different result from the Unsharp Mask filter.
These methods differ due to how the techniques affect the images. First, as explained above, the Unsharp Mask detects what Photoshop believes are the edges within the picture by considering the different pixels next to each other. This method selectively sharpens the edges, giving you more control over how the sharpening effect applies to the image.
The sharpening sliders work by adjusting the tonal relationship between pixels to produce a perceived clarity in the image. The sharpening sliders also give you a lot less control over how the photo is sharpened.
You won’t be able to adjust the threshold value when using the sharpening slider, as Photoshop automatically does this for you.
Sharpening is a quick and easy way to improve the clarity of an image, especially for beginners. In contrast, it’s better to use the Unsharp Mask when you need greater control over the sharpening of the image and when you understand what happens when you sharpen an image.
Using sharpening tools, such as the sharpening slider in Camera RAW, is a subtle approach that creates a more realistic sharpening effect on a photo. This method also makes it harder to over-sharpen the image, especially for beginners.
Recommended Settings To Use With The Unsharp Mask In Photoshop
| General | Landscapes | Portraits | Web | ||
|---|---|---|---|---|---|
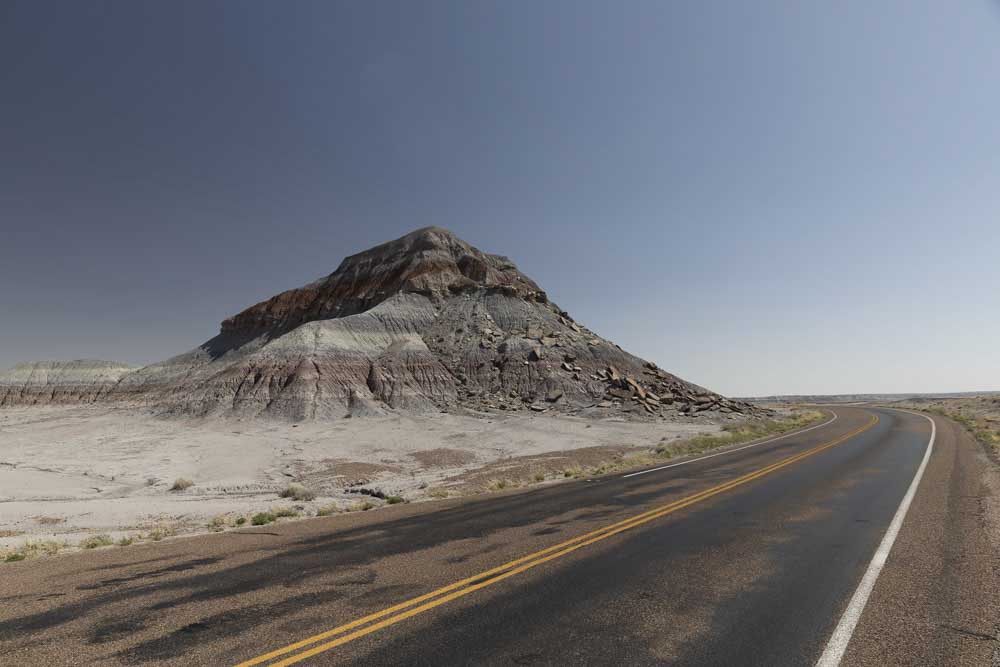
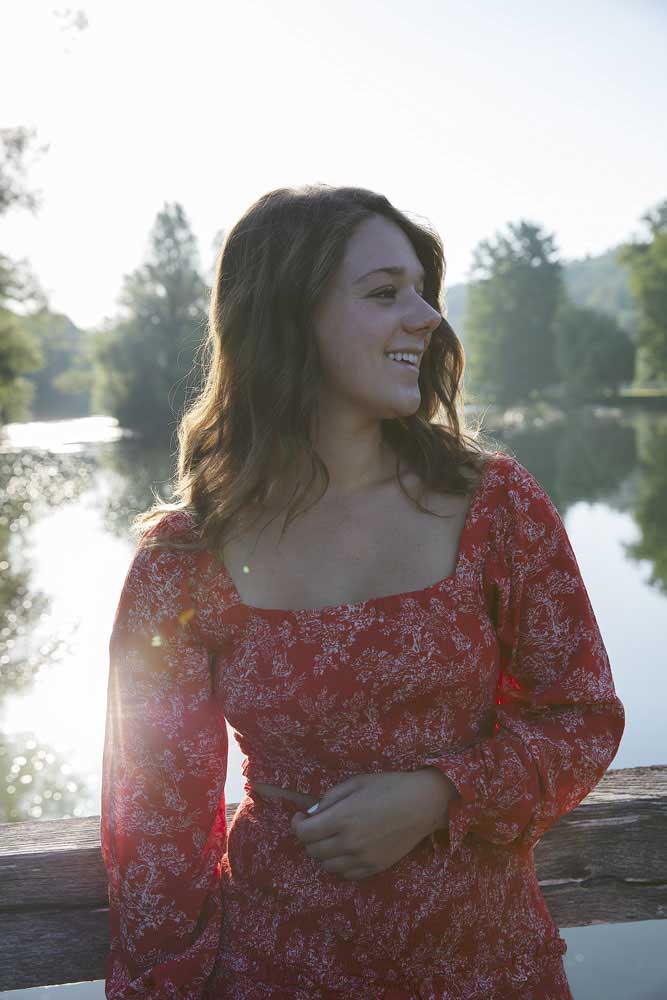
| Amount | 50%–200% | 100%–150% | 100%–120% | 150%–200% | 50%–120% |
| Radius | 1–5 pixels | 1–1.5 pixels | 1–3 pixels | 1–5 pixels | 0.5–2 pixels |
| Threshold | 2–20 levels | 6–10 levels | 4–6 levels | 2–20 levels | 2–20 levels |
There is no one-size-fits-all when it comes to sharpening an image, and the settings you apply depend on your photo. The Unsharp Mask affects pictures differently based on the details in the image. While you can follow the above table as a guide for sharpening your image, I recommend you experiment with the Unsharp Mask settings to find the best ones for your photo.
The Unsharp Mask filter effect is much more obvious on digital screens than on high-resolution printed images. You should increase the sharpness slightly over what looks right on the screen when you are preparing the photo for print.
To experiment, I recommend following these steps:
- Set the Threshold to 0 levels.
- Set the Amount to 200%
- Slowly increase the Radius slider until there are visible halos in the photo.
- Then, decrease the Amount slider until you reduce the halos and they are no longer visible.
- Slowly increase the Threshold to keep the smooth areas unaffected while the important details are sharp and enhanced.
Now to learn more about other methods to sharpen your images in Photoshop, be sure to check out my guide to sharpening in Photoshop.
Happy Editing!


