

It’s common for any photographer, beginner or expert, to make mistakes when editing their images. Maybe you tried a specific style that didn’t end up working for the photo, and you’d like to undo a few steps, or perhaps you’d just like to undo the last change you made to your image. There are several different methods to quickly undo your previous actions and revert your image to an earlier state.
Depending on how many steps you’d like to undo, one of the following methods will work best for you.
4 Ways To Undo In Lightroom Classic
Option 1: The Undo Shortcut
There is a quick way to undo actions while working using your keyboard. To undo the last step, press Control + Z (Win) or Command + Z (Mac). This is useful if you only want to undo the previous few actions, as you can repeatedly use it to undo the last action each time.
In the below example, while trying out different presets, I decided I liked a black and white preset I’d tried earlier better than the most recent preset I applied. What I can do, then, is use the undo shortcut until I arrive back at the black and white preset I liked.


The great thing about this shortcut is that it doesn’t just undo actions in Lightroom. Once you get used to the shortcut, you’ll be able to quickly undo any actions while working online or while using most desktop applications and programs with only a tap of your keyboard.
Option 2: Go To Edit > Undo
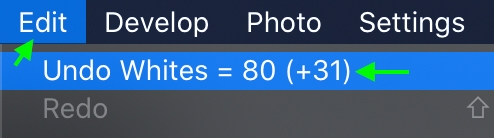
Another way to undo the most recent action is to go to Edit > Undo. The task after the word Undo will change depending on your last adjustment. For instance, in the below example, my previous action was increasing the Whites. So, the option reads Undo Whites with the amount increased.
This will undo the increased level of Whites in the image. In the below example, the image on the left is before undoing, and the image on the right is after. Note the change in the brightness of the mountains.


You can use this as many times as you need to, undoing the previous action each time.
Option 3: The History Panel
Another helpful way to undo actions is to use the History Panel. The History Panel shows each action you’ve taken in an image: adjustments, cropping, adding, and changing presets are all shown in their own line.
If you want to return your image to a particular state, but perhaps the other methods would take too long, using the History Panel is your best option, as you can select the exact state to which you’d like to return the image.
You can find this panel by heading to the Develop module.

Scroll through the panels on the left until you see the History panel. Click the drop-down arrow to open the panel, and you’ll see your history.
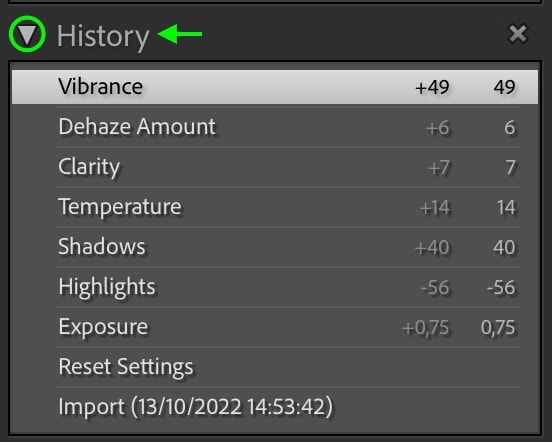
Here, you can see all the different adjustments you’ve made in the order you’ve made them. Click any adjustments in the History Panel, and your image will be reset to how it was when you made that adjustment. This is useful as you can go back to a specific state with just a click rather than click “undo” to undo one adjustment at a time.
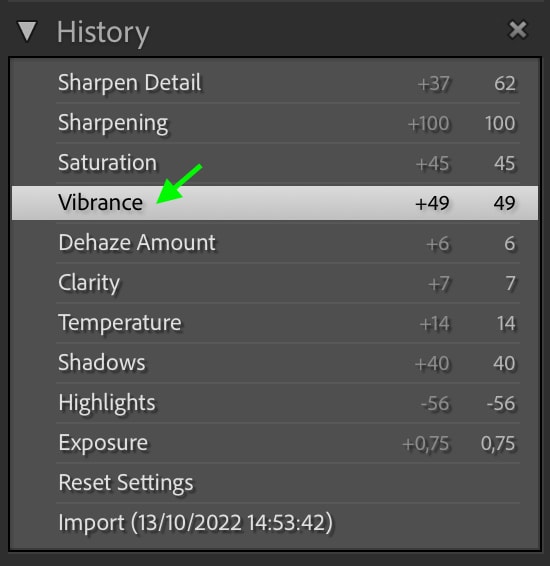
For instance, if I’ve decided I don’t like how saturated and sharp I’ve made the image, I can simply click the adjustment I made before I increased the saturation to return to the image as it was in that state.


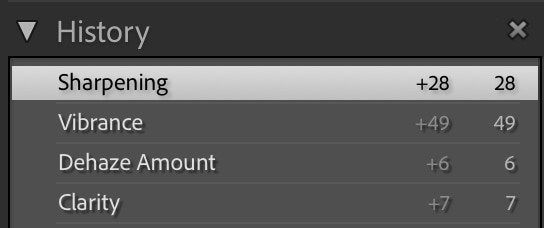
From there, you can continue to edit your image as usual, and the edit will continue from the adjustment you selected in the History Panel. Remember that any edits you’ve made since the adjustment you selected will be lost.
I suggest keeping the history panel open while you work so you can revert to any image state whenever you’d like.
Option 4: Reset All Adjustments
The final way to undo adjustments in Lightroom is simply to reset all the adjustments you’ve made thus far. This last resort option is meant to be used if you’d like to reset your image to how it initially looked.
To reset all the adjustments you’ve made so far, head to Settings > Reset All Settings.

The image will revert from its edited form (below, left) to its original state (below, right).


How To Undo In Lightroom Mobile
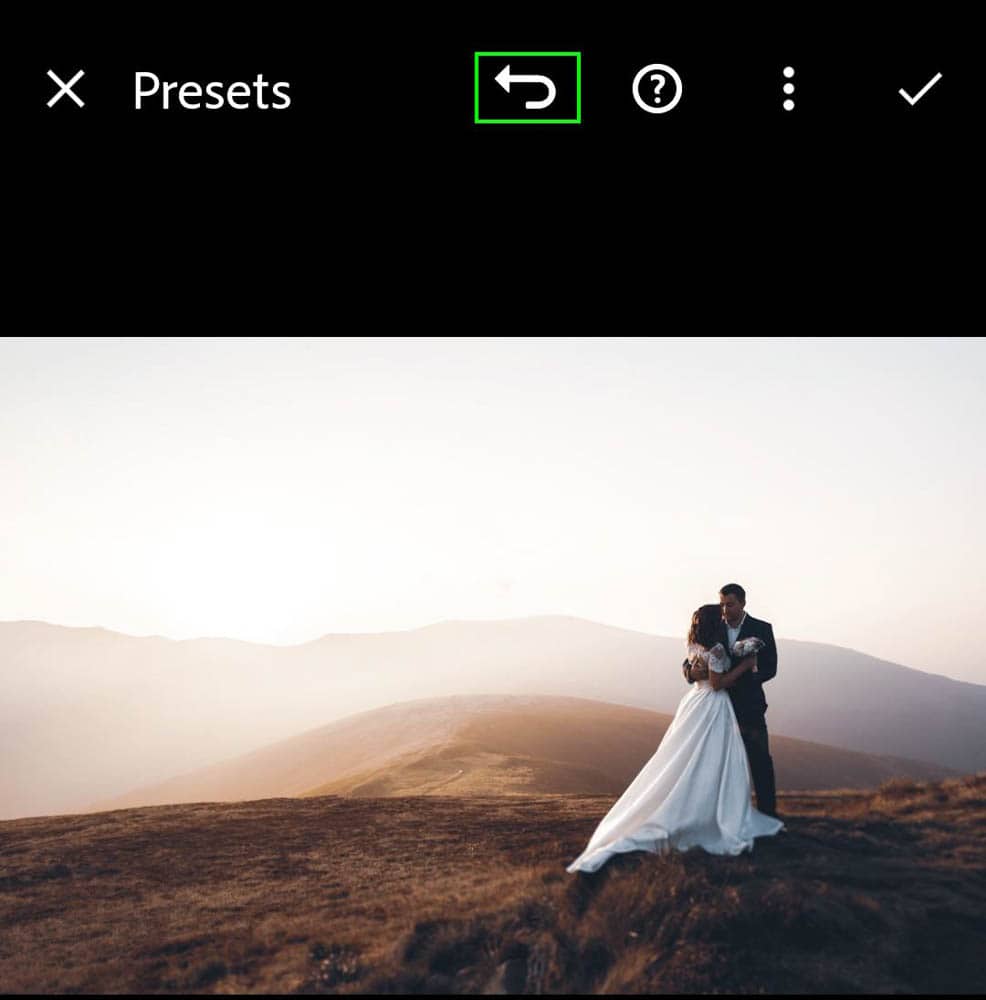
You can undo easily while using Lightroom on a mobile device. To undo at any point in Lightroom, once an edit is made, you can click on the Undo icon at the top of the screen.
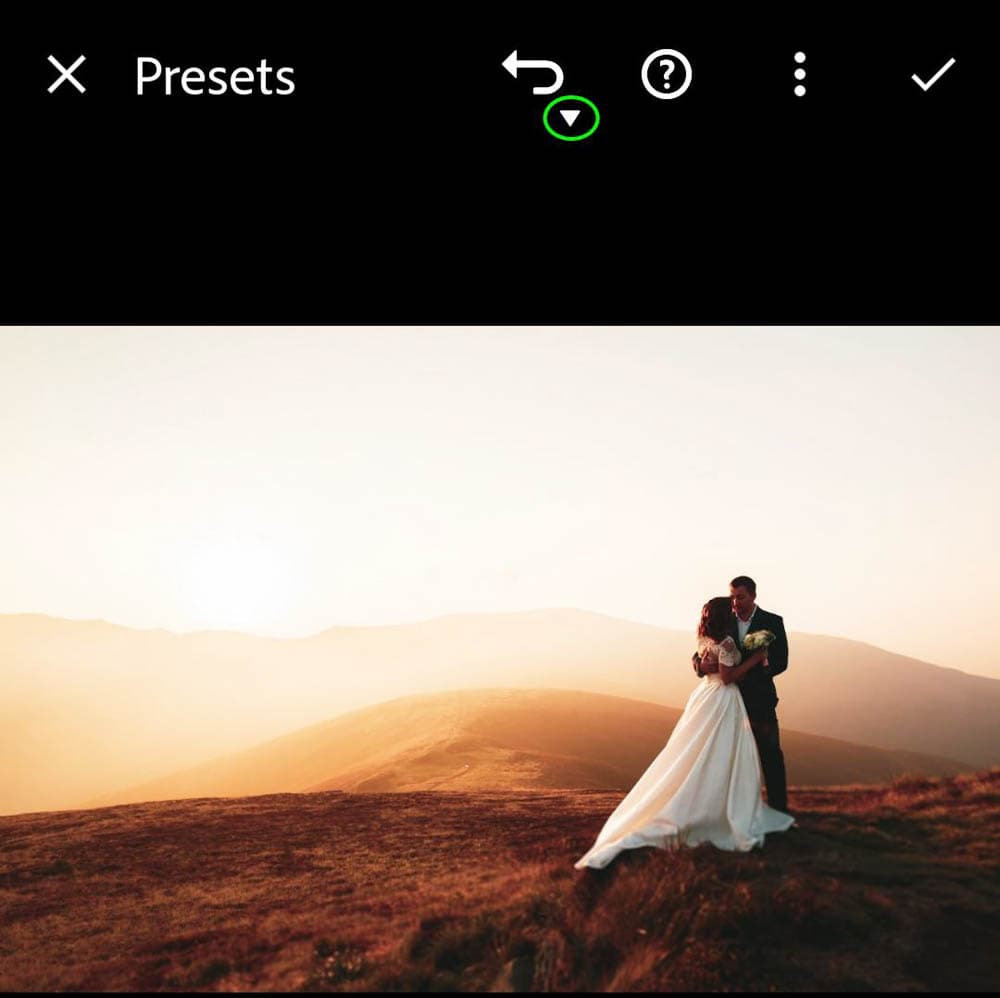
This will undo one adjustment at a time, and you can tap the button as many times as you need to undo repeatedly. The small arrow below the undo icon shows there are a few history states on the image.
If you want to revert the image to the original or a previous history state, scroll along the adjustments at the bottom until you reach the Reset button at the end.

When you click the Reset button, you can choose the history state you want to move back to.
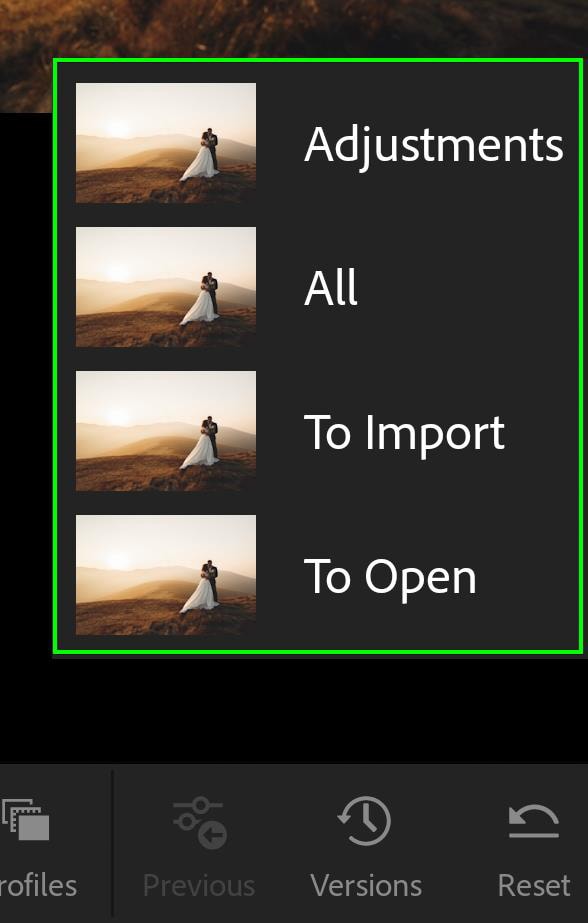
Clicking To Import takes the image back to the original before I made any edits.


The undo option is something you’ll find yourself constantly using in Lightroom and lets you feel confident to experiment with new effects. Trust me when I say this will be your new most-used shortcut!


