

When editing images in Lightroom, there are times you may want to revert an image to its original, unedited state. Maybe you’ve applied a preset you’re not happy with, or you’re experimenting with editing styles and want to try a different look.
If you’ve already done a lot of work on the image, the thought of clicking the back button a million times seems exhausting and unnecessary. Luckily, there are several ways to revert photos to their originals with only a few clicks.
3 Ways To Revert Images Back To Original In Lightroom
Each method to revert an image back to its original is quite simple. Read on to discover how to quickly reset a photo so you can find the best way for you.
Option 1: The Reset Button
Did you know Lightroom features a reset button for this exact purpose? To locate the reset button, head to the Develop module and ensure the image you’d like to reset is selected if you haven’t already. Selected images are highlighted in a lighter gray than the rest.

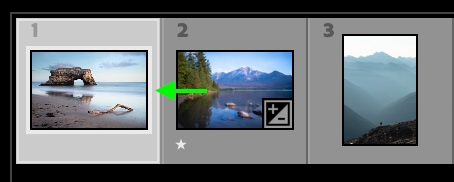
In the lower right corner of the Develop module, right below the adjustment tabs, you’ll see the Reset button.
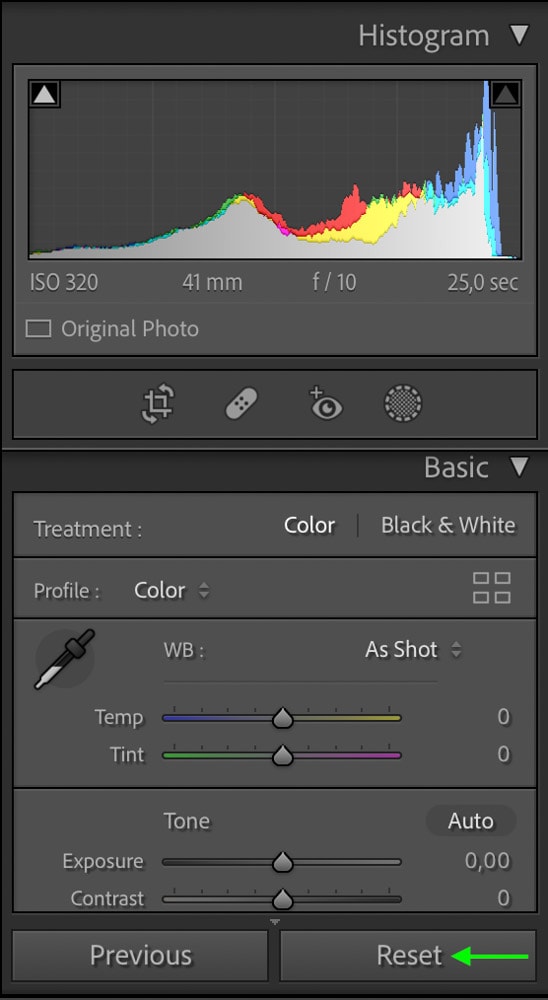
Click Reset, and your image will revert to its original state. A super quick way to instantly revert to an original image, the reset button is always there for you when you need it.
Option 2: Right-Click To Reset
There is another reset button in Lightroom hidden right before your eyes. With the image open in the Develop Module, you can right-click or Control + click the image and select Settings > Reset from the menu that appears.

The image will revert to its original state.
Option 3: Settings > Reset All Settings
The final method of reverting an image back to its original state is to ensure you’ve selected the photo you’d like to reset. Then, head to the menu bar at the top of the page and go to Settings > Reset All Settings.

You can also do the same process using the reset shortcut: Shift + Control + R (Win) or Shift + Command + R (Mac).
Resetting all settings will take all the adjustments you’ve made to your image so far and reset them to where they were when you first uploaded the photo. This effectively reverts your photo to the original version.
How To Reset Multiple Photos At Once In Lightroom
If you’ve added presets or adjustments to multiple images and have decided to revert them all back to their original state, you can easily do so from the Develop Module.
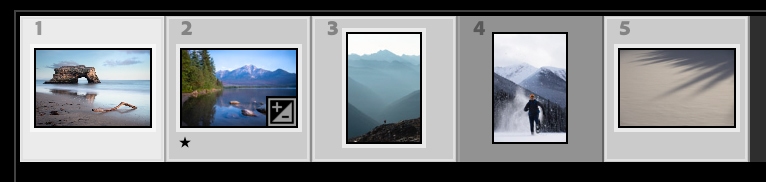
Below the active picture in the filmstrip, you can select multiple photos at once. You can select multiple images in a sequence by holding the Shift key and clicking the first and last image in the sequence.
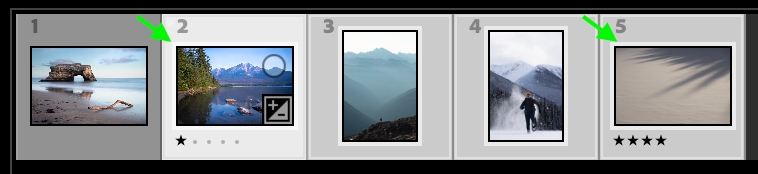
Or, you can select non-sequential photos by holding Control (Win) or Command (Mac) while clicking the different pictures. Selected images appear a lighter gray.
With all the photos you’d like to revert selected, hold Control (Win) or Command (Mac), and the Sync button to the left of the Reset button will turn into an Auto Sync button.


Click Auto Sync and the current image will sync with the other photos you selected in the film strip. You’ll know Auto Sync is on for the pictures when the button turns a lighter gray and the switch to the left flips.

Now, you can click the Reset button, and all the selected images will revert back to their original state.

While Auto Sync is set, you can also use the other two methods, the right-click and the Settings > Reset All Settings, to revert all the images back to their original state.
