
You may have noticed when exporting images in Lightroom that the image resolution plays a big role in the appearance and quality of the final exported image. The resolution is sometimes measured in DPI or Dots Per Inch (for print), though Lightroom only shows PPI or Pixels Per Inch (for digital). Regardless of the name, the resolution represents the amount of dots or pixels per inch of space.
A specific amount of DPI is required for the best viewing experience, but the exact amount of pixels needed to get the best image quality differs whether you’re exporting for print or the web. Therefore, knowing how you can check or change the DPI when exporting images in Lightroom is important.
Let’s learn how to do it.
How To Change DPI In Lightroom Classic
There are certain DPIs that are standard both for printed and digitally displayed images. For print, the standard is 300 DPI. For web images, go with 72 PPI.
Again it is vital to remember that Lightroom only shows PPI rather than DPI, but the two measurements are exactly the same. DPI refers to the printed dots per inch once the image is printed, while PPI states the digital image is shown in pixels per inch.
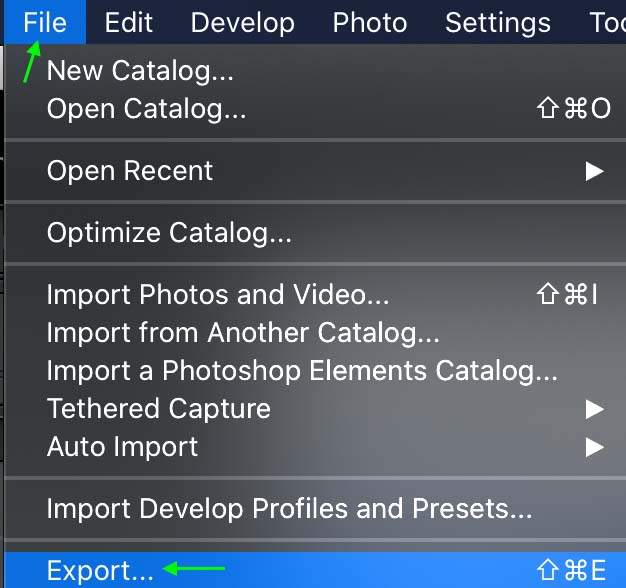
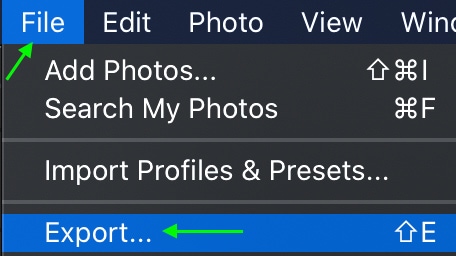
So, to set the DPI in Lightroom Classic, head to File > Export when you’ve finished working on an image.
The Export window will open. If you’d like, you can set the location where you’d like to export the images by clicking the Export To drop-down menu. You can also select Rename To and choose a new name for the file.

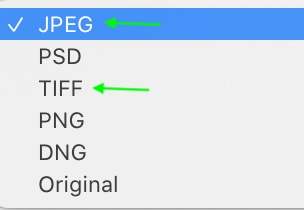
Scroll down to the File Settings tab and click the drop-down next to Image Format to select the file format of the image. TIFF or JPEG is best for printing.

Next, scroll to the Image Sizing tab. Make sure you’ve selected Resize to Fit and then enter the amount of DPI you’d like to change the image to in the Resolution box.
Note: You can only set a resolution that is the same or lower than the photo’s original resolution. Otherwise, you will need to upsample in Photoshop.

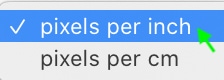
If the resolution is not set to pixels per inch, you can change it by clicking the Resolution drop-down menu and selecting pixels per inch.

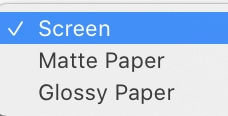
Finally, you can set Output Sharpening if you’d like by selecting the Sharpen For checkbox and then choosing the options from the drop-down menu, depending on what you’re exporting the image for. You can choose between Screen, Matte Paper, and Glossy Paper.

Once you’re finished editing the export settings, you can click Export.

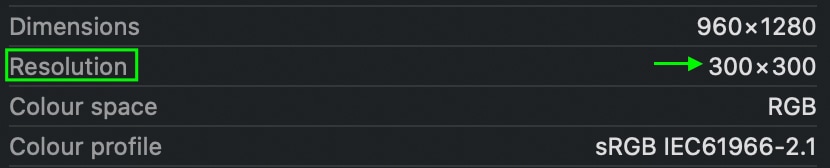
If you’d like to check that your image has the correct DPI, find the image in your files and check the file information. The DPI will be listed either under Resolution or under DPI/PPI.
How To Change DPI In Lightroom CC
Changing the DPI in Lightroom CC, Adobe’s cloud-based version of Lightroom is a similar process as in Classic. Head to File > Export when you’re finished editing a photo.
Here, you can see that the export window looks a bit different from Lightroom Classic, and there aren’t as many export settings to adjust. Still, you can change the resolution by going through and editing each setting.
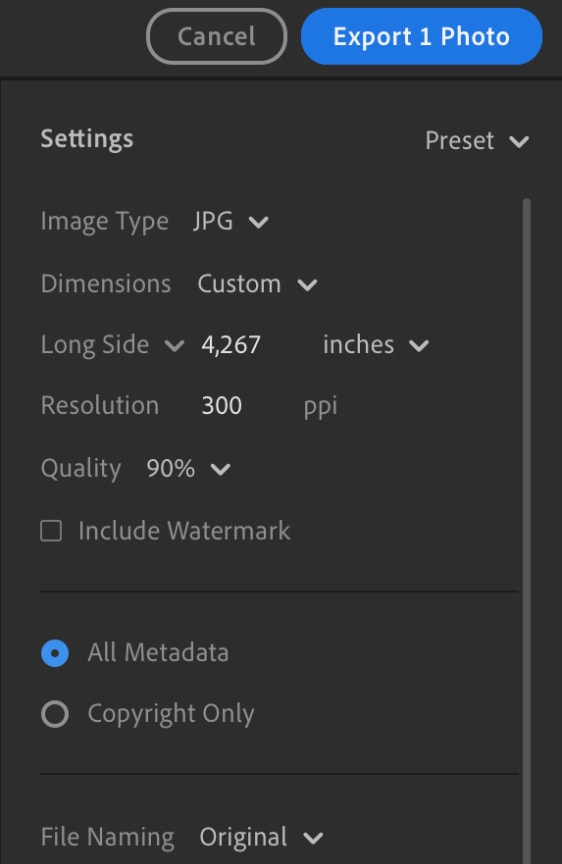
Set the File Type to JPG and Dimensions to Custom.

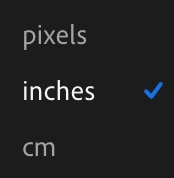
Doing this will reveal a few more settings underneath. Click the drop-down menu for the measurement unit and select inches.

You’ll then see the Resolution appear, and here you can set the PPI by editing the values in the box.

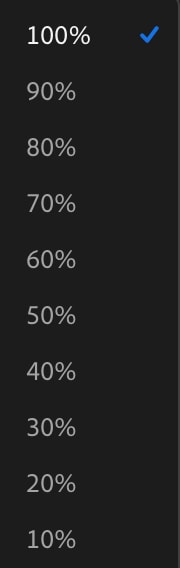
You can also ensure the resolution fits your exporting needs by editing the Quality. Click the drop-down arrow to view the options. If you’re exporting for the web, 80% is enough. For Print, 100% is recommended.

Finally, click Export, and the image will be exported with the new DPI.
Does Resolution Affect Image Size?
Resolution and Image Size have a tricky relationship. While changing the resolution will affect the dimensions of the pixels in an image, it will not affect the picture’s physical size. Similarly, changing the image’s size will not change the image’s resolution.
This means that your DPI will not change the size of an image and vice versa. However, the high DPI needed for Print images can increase the file size, though not too much.
Why You Can’t Upscale Images In Lightroom
It is important to understand that your photo must already have a resolution of 300 DPI or more. You cannot increase the image resolution from Lightroom, and trying to do so will worsen the image quality.
Lightroom doesn’t have the capability to process an image and upscale the resolution in the same way Photoshop does. You will need to use Photoshop if you want to resize images for print without losing quality. I share the step-by-step process on how to convert low-res to high-res in Photoshop here to help with your exporting.
So, for best image quality, ensure your image already has a higher resolution than whatever you’re changing it to. Or edit the image in Photoshop to increase the resolution.
From there, changing the DPI of your photos in Lightroom is super simple with the help of the resolution setting in the export window!


