
There are several ways to speed up your workflow when editing images, and one of them is to batch resize images in Photoshop. This feature allows you to resize photos to a specific size without editing them individually.
The process is streamlined and easy to learn so that you can resize a large volume of pictures in no time. There are two easy ways to complete this task, and both are useful if you want to resize images from a photo shoot to send proofs to a client or if you need all the pictures changed to a specific size to upload to your website.
How To Batch Resize In Photoshop Using The Image Processor
Using the image processor allows you to batch resize pictures without entering the Photoshop workspace. You can also add a preset to all the images, along with resizing.
This method is the fastest and easiest way to batch resize your images. However, it offers less customization and control than the second method, which uses Photoshop actions.
Ensure your photos are in the same orientation, as you can only set one width and height value for each batch. So split the images into portrait and landscape and resize the folders separately if you need.
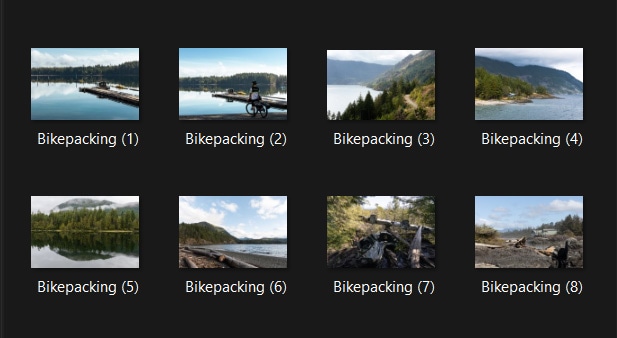
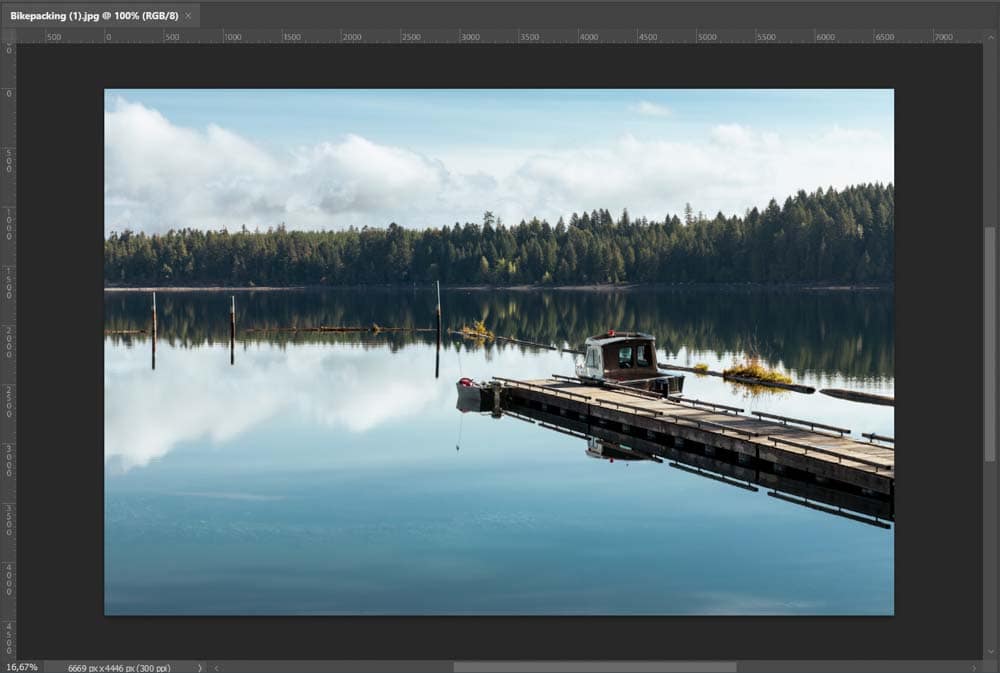
You should have all your photos in one folder before you begin. I will be resizing this folder of Bikepacking images. While I only have eight images, you can have as many photos as you like, but the more pictures you have, the slower the process will be.
Step 1: Open Photoshop And Go To File > Scripts > Image Processor
When using the Image Processor method, you don’t need to open the Photoshop workspace, meaning you don’t need to open an image or a new document. Instead, open Photoshop and stay on the Home Screen.
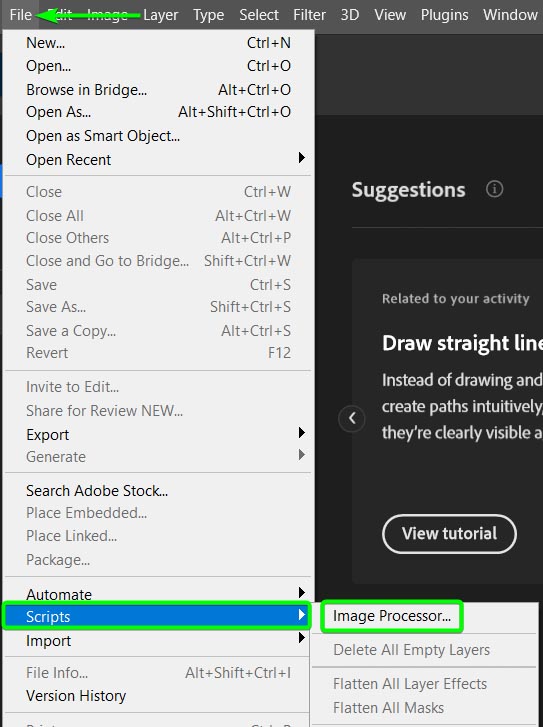
Once on the Home Screen, you can go to File > Scripts > Image Processor.
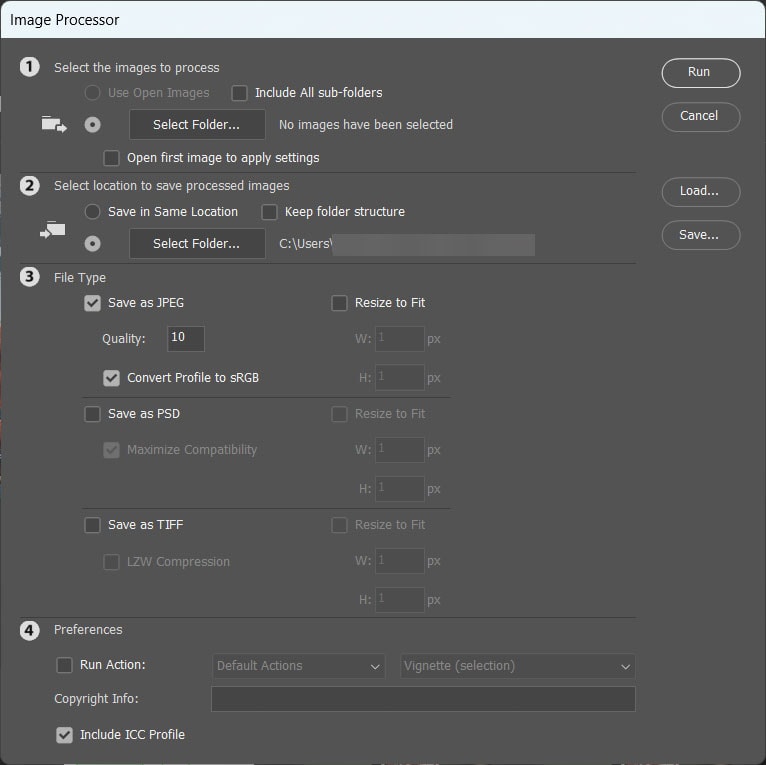
The Image Processor window will open, giving you several options for resizing your images broken up into four sections.
Step 2: Select A Source Folder
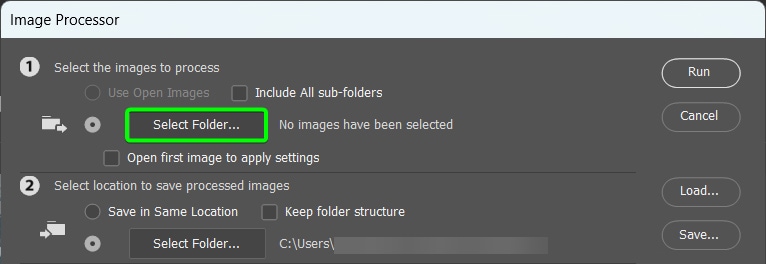
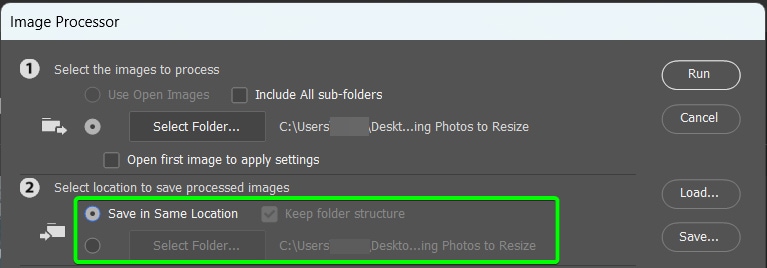
In the Image Processor window, the first section is the settings to select the source folder for the photos you want to resize. First, click Select Folder to open your Windows Explorer or Finder panel.
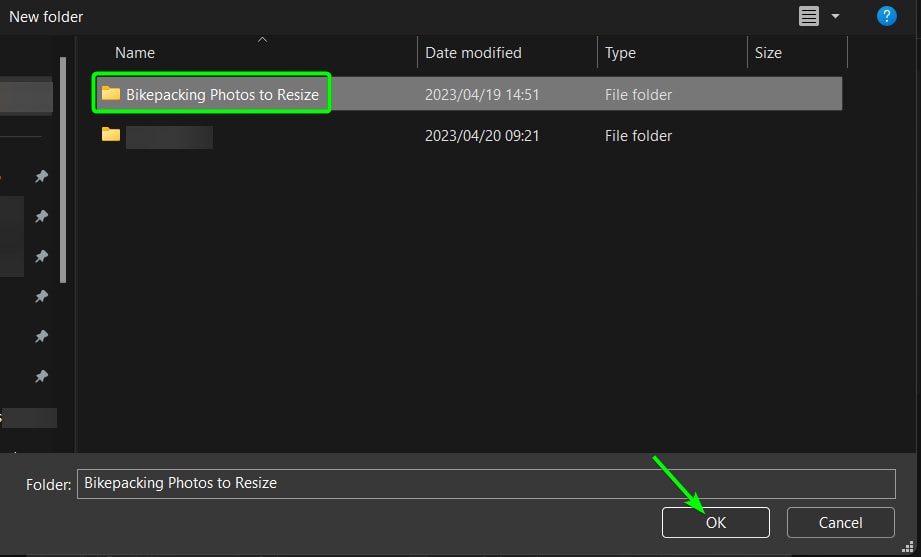
Then, find the folder in your files, select it, and click OK.
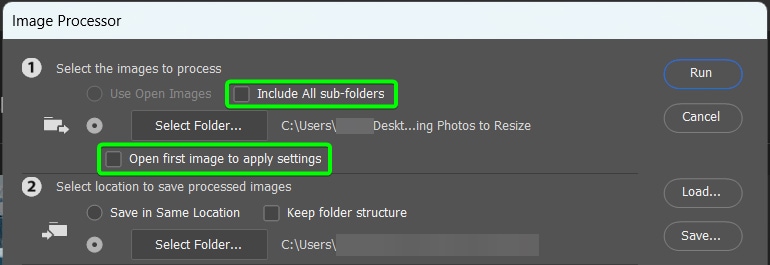
You can then check the box next to include all sub-folders if you have various folders inside the main folder that you want to resize with the same dimensions. Leave Open first image to apply settings unchecked.
Note: If you have multiple images open in Photoshop, you can also select Use Open Images to batch save the open files.
Step 3: Select An Export Folder
The second section allows you to set the export settings for the newly resized images. You can save the files in the same location, which will create a new folder named as the type of file format in which you save the photos. Alternatively, you can select an entirely new folder to save the resized images.
If you select a new folder to save the images in, you can choose to keep the same folder structure, which is helpful if you have multiple sub-folders and want to keep the pictures organized.
Step 4: Select The File Format To Save The Images As
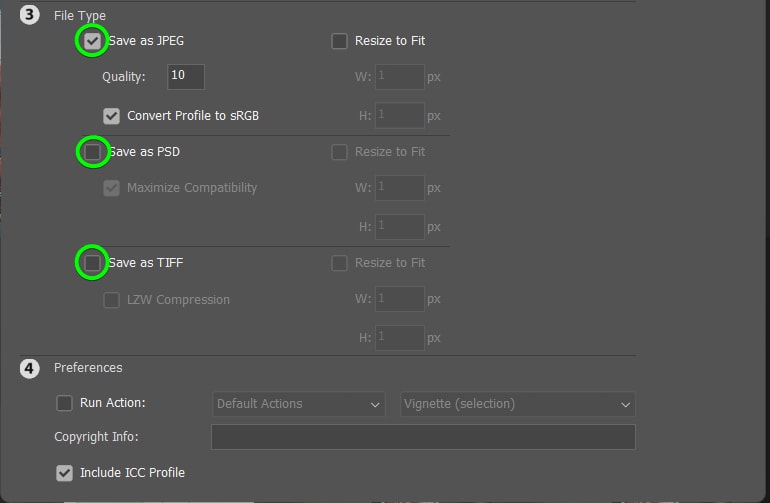
Once you have set the source and export folders, you must choose the file type you want to save the images as. When using the Image Processor method, you have three options. You can save the files as JPEGs, PSDs, or TIFFs. The file type you choose depends on what you are saving the files for.
Select JPEG if you want a compressed version of the files you can upload to a website or use on social media. Choose PSD if you want to edit the photos further individually. Select TIFF if you want a compressed version that still holds a lot of data within the image file.
When resizing the photos to make them smaller for uploading to a website or sharing with a client as proofs, you should choose JPEG. Check the box next to the file type you want to save the images as to access the size options for that file type.
Note: You can select more than one file type, and the images will save as copies in the various file formats.
Step 5: Set The New Width And Height Values
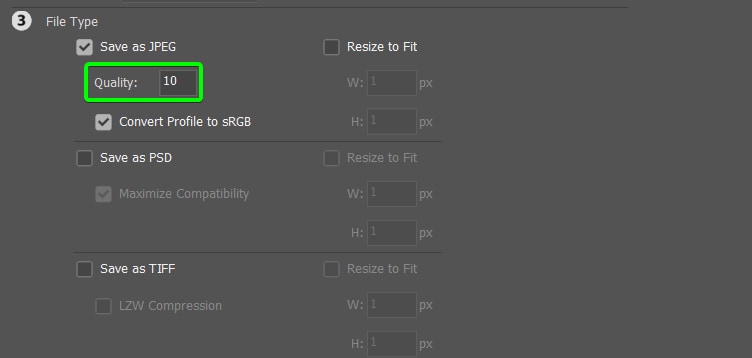
Once you have selected the file format to save the photos in, you can set the resizing parameters. First, set the quality amount for the pictures in the Quality box.
You can type a value between 1 and 12 to set as the quality—a higher number results in better-quality photos, which will also increase the file size. A lower number reduces the image quality and file size.
Choose a number based on whether you need to prioritize a smaller file size or better quality.
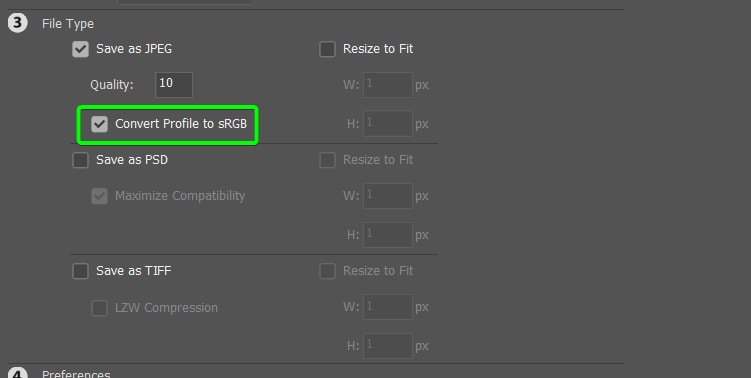
If the photos will be used digitally, check the box next to Convert profile to sRGB.
To resize the photos, check the box next to Resize to Fit. Then, insert the new Width and Height values to which you want the images to be resized. Remember to keep the orientation correct, so since my images are landscape, I need the Width value to be larger than the Height value.
You should also note the original aspect ratio of the photos so that you can keep the new size as close to the aspect ratio as possible. Photoshop will resize the pictures as close to your width and height values as possible while retaining the original aspect ratio.
My images are roughly at a 16:9 aspect ratio, meaning I will set the Width to 1920 pixels and the Height to 1080 pixels.
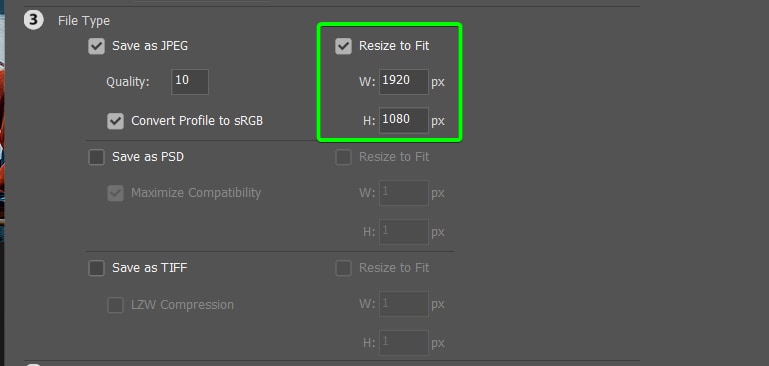
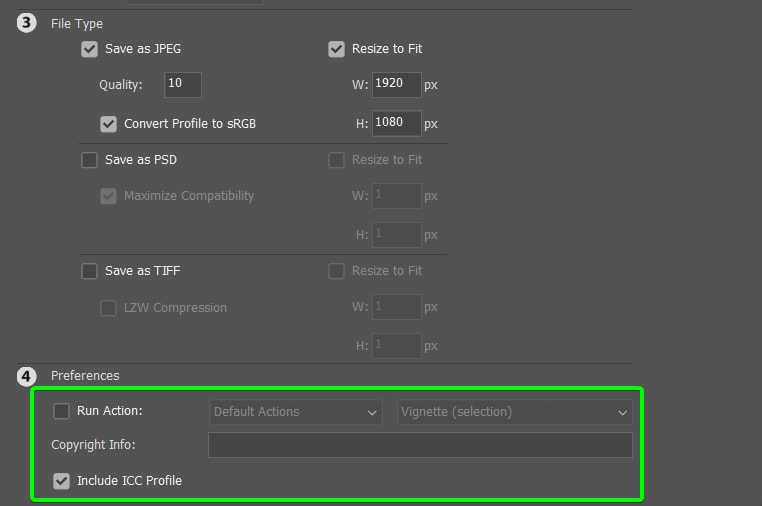
Step 6: Choose A Preset To Add To The Images (Optional)
The Image Processor method gives you the option to add a preset, known as a Photoshop action, to the photos. Actions are processes that carry out specific edits on the image. You can select a default action or make your own, which you will see how to do in the next section.
Check the box next to Run Action and select an action if you want one applied to all the images.
You can also add Copyright information to the next box if you’d like. Leave Include ICC Profile checked.
Step 7: Click Run And Wait For The Images To Be Resized
Once you have adjusted the settings as needed, you can start the resizing process. At the top right of the panel, click Run.
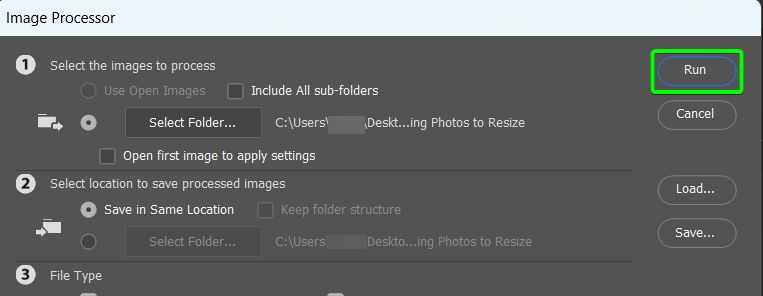
The Image Processor will begin resizing all the images. Each photo pops up in the Photoshop workspace for a few moments and then disappears. Wait until each image has been processed.
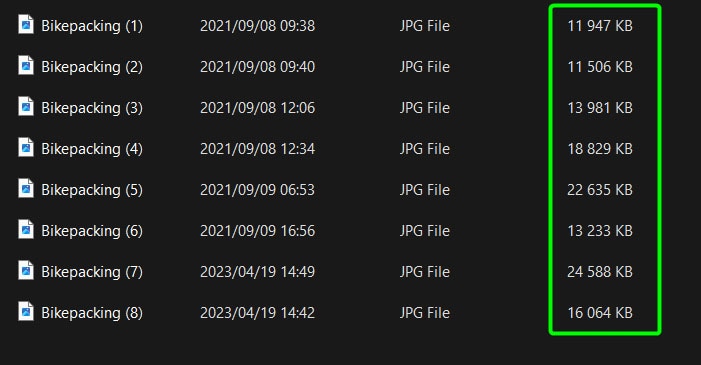
Once the process is complete, open the folder where you set the files to save in. Here you will see the photos have been resized and are smaller than the originals in my case.
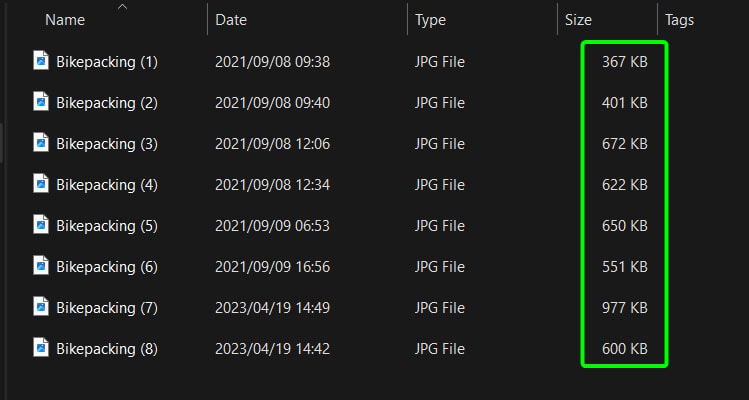
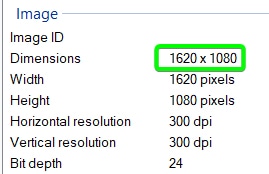
If you look at the image dimensions, you will notice that if the aspect ratio you set was incorrect for some of the files, the file would be resized as close as possible to the values you chose. A few of my images were changed to 1620 x 1080 pixels to prevent the photos from distorting.
How To Batch Resize Using Photoshop Actions & Batch Automations
Photoshop Actions allow you to play a preset series of steps in Photoshop, making tedious tasks faster. You can create and record an action, which will take note of every edit you make to a photo while the recording is on.
Once you stop the recording, you can save the action and then use it on other images, which automatically applies all recorded edits to the new photo. You can also use this function to resize multiple images.
You just need to create the action on one photo. Then you can automatically apply it to multiple images in a folder. I will demonstrate this using the same set of photos I used in the first method.
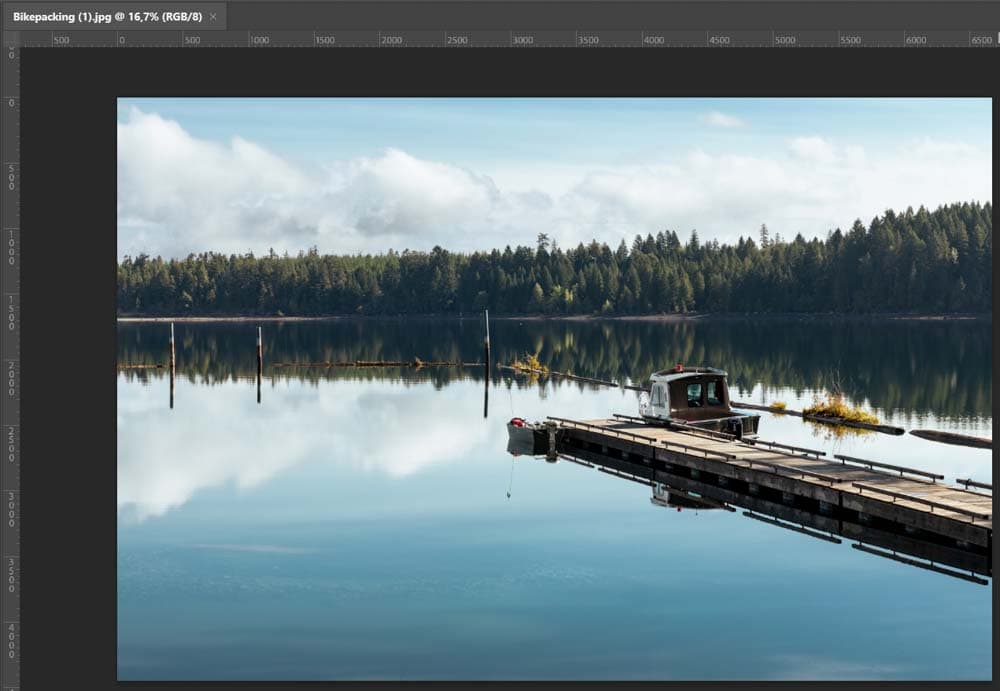
Step 1: Open One Image In Photoshop
To create an action, you must resize one image while recording the steps. Open any image in Photoshop. You can use one of the photos from the folder you want to batch resize or any other photo with the same orientation as the ones you want to resize.
Step 2: Open The Actions Panel
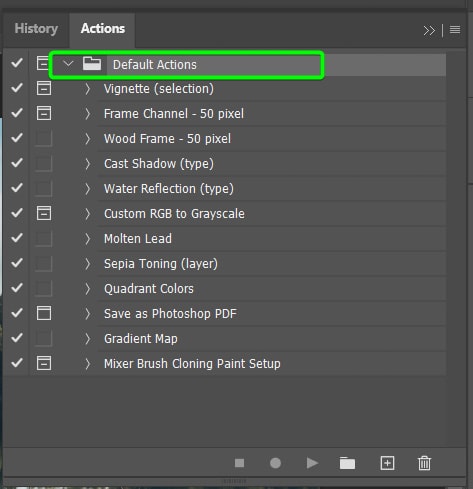
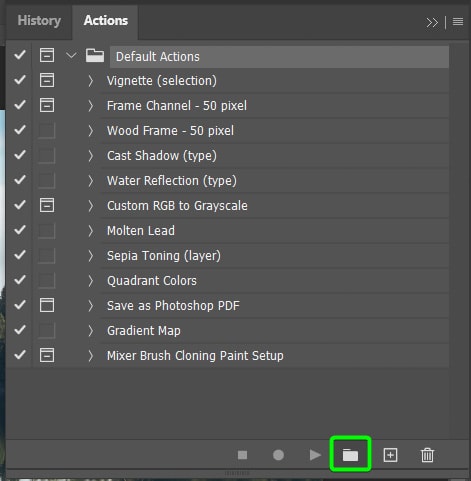
Once your image is open in Photoshop, open the Actions Panel, which may be stacked next to the panels on the right-hand side. If you can’t find it, open the panel by going to Window > Actions. You can also press Alt + F9 (Win) or Option + F9 (Mac).

The panel should contain default Photoshop actions in a set (which is like a folder) named Default Actions.
Step 3: Create A New Folder In The Panel
You can now create a new folder in the panel to ensure you can find the action when batch resizing your images. To create a new folder, click the Create new set (folder) icon at the bottom of the panel.
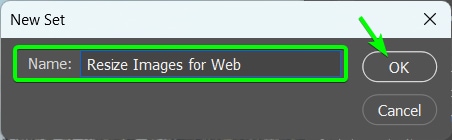
Add a name for the new set and click OK.
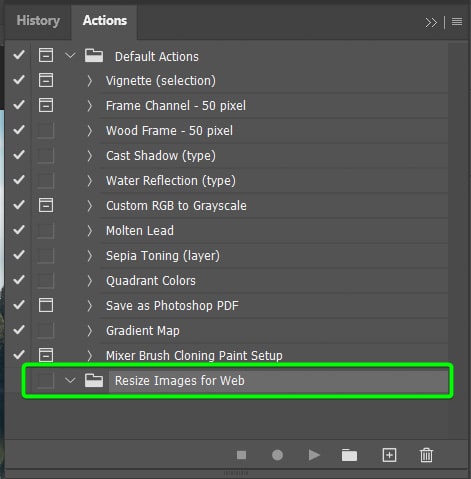
You will see the new set appear at the bottom of the panel.
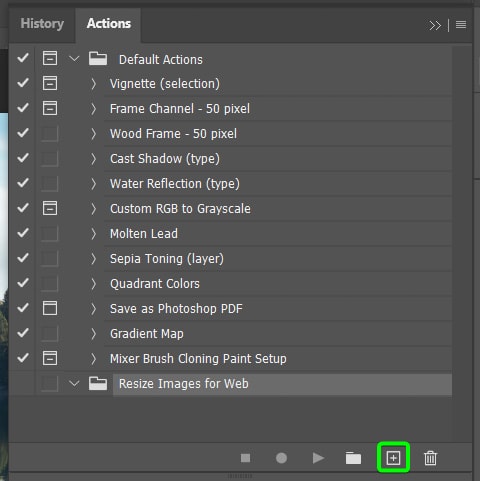
Step 4: Create A New Action And Press Record
Next, you can create a new action inside the set you just created. The set should be selected after you make it, then click on the Create new action (plus sign) icon at the bottom.
Add a name for the action and ensure the action is being added to the correct set. Then, you can start recording by pressing Record.
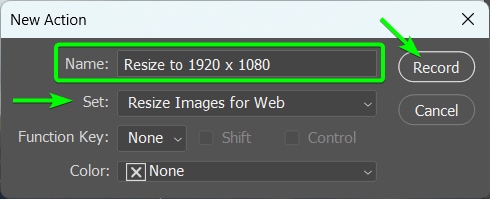
Note: everything you do in Photoshop while the action is recording will be recorded, so only make the edits you want to be applied to all the images, such as the resizing.
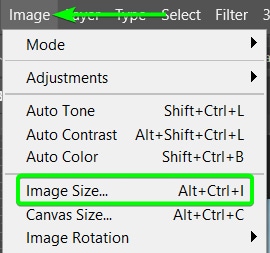
Step 5: Go To Image > Image Size
Once you hit Record, start the resizing process immediately by going to Image > Image Size or opening the panel with the shortcut Alt + Control + I (Win) or Option + Command + I (Mac).
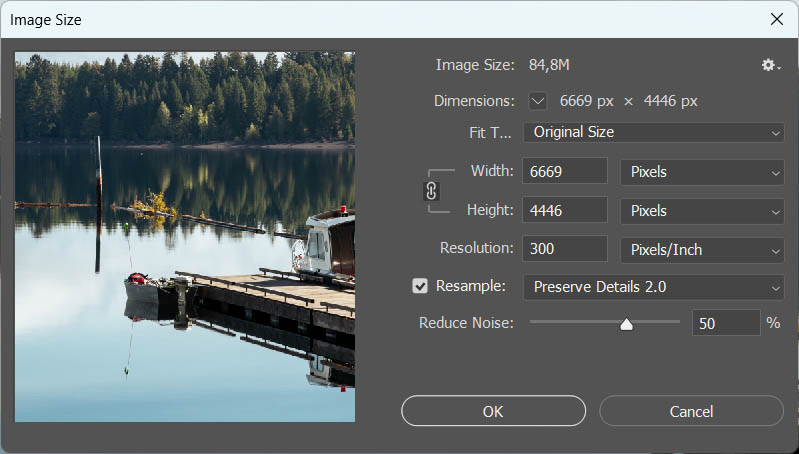
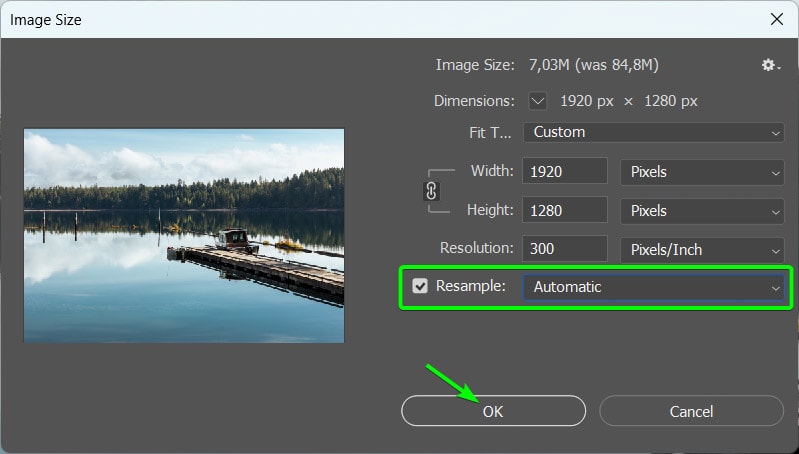
This opens the Image size window, which shows your current image dimensions and resolution.
Step 6: Type In The New Width / Height Values And Click OK
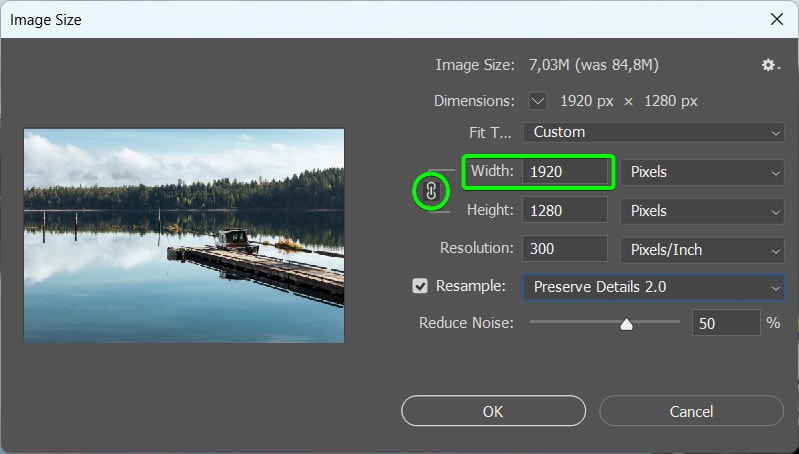
Type in the new Width and Height values to which you want the images resized. If you keep the link icon active, you only need to input one value, and the other will adjust automatically while maintaining the aspect ratio.
Here, I will input 1920 pixels into the Width box and let Photoshop set the Height. Remember to ensure the units are correct. For mine, I want to keep it in Pixels.
You can then set the Resample option to Automatic and click OK to resize the image.
Step 7: Go To File > Save As And Select A Save Location
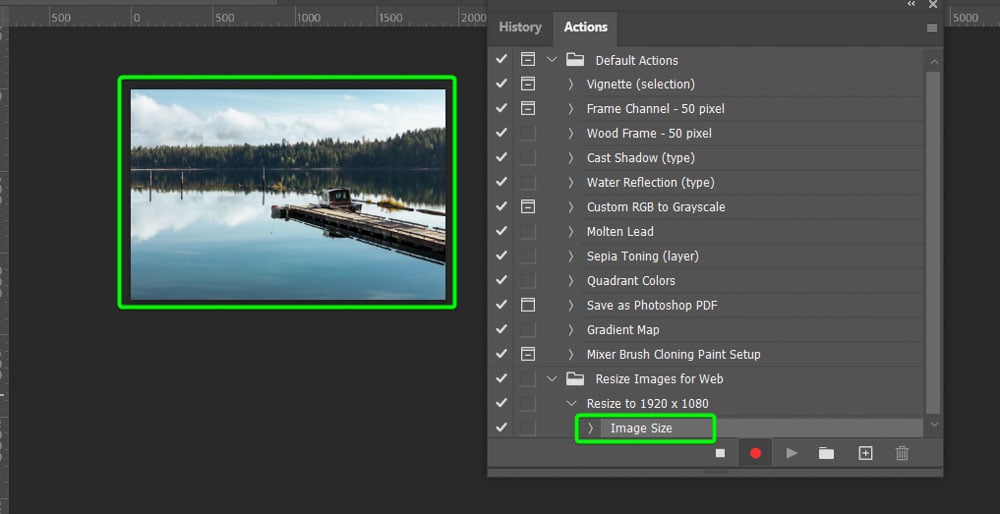
The image will be resized on the canvas, and you will see in the Actions Panel that the change in Image Size has been recorded.
Now, if you want control over how all the photos are saved, go to File > Save As or use the shortcut Shift + Control + S (Win) or Shift + Command + S (Mac).
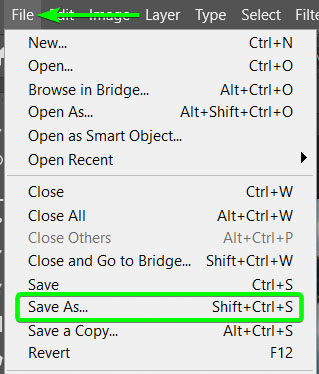
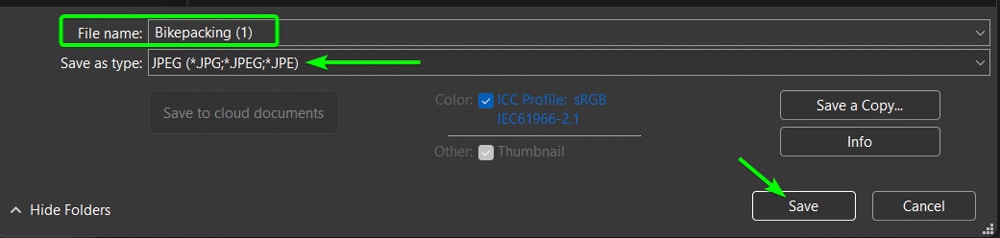
Select a name for the file, choose a save destination, set the Save as Type to JPEG, and click Save.
Note: If you can’t see the JPEG option in the Save As dialog box (in newer versions that don’t have Legacy Save As active), you can use the Save a Copy method to save the images as JPEGs.
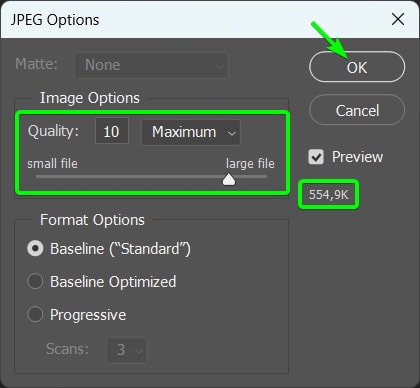
Step 8: Set the JPEG Quality And Click OK
Once you click Save, the JPEG Options panel appears in Photoshop. Here you can set the image quality and Format Options. Set the quality based on whether you want a smaller file or better quality. You can see what the file size will be on the right. Leave the other settings, and click OK to confirm the settings.
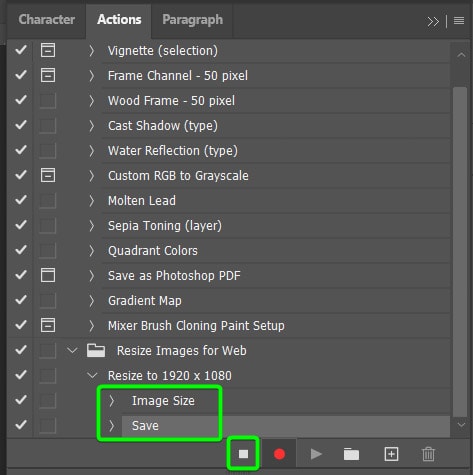
Step 9: Press Stop On The Recording Action
You can now end the recording. To do this, go to the Actions Panel. You will see the action has two recorded steps, the image size change, and the save function. Click on the Stop icon at the bottom.
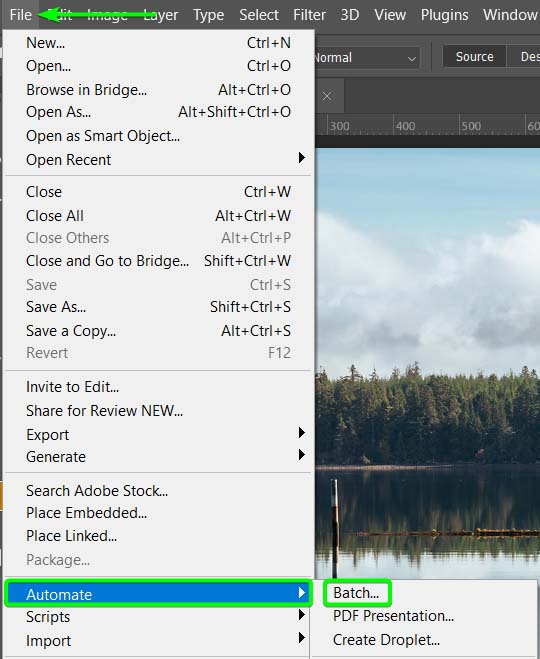
Step 10: Go To File > Automate > Batch And Adjust The Settings
Now that your process is recorded, you can apply this to the rest of the images in the folder. To do this, go to File > Automate > Batch.
In the Play section, choose the Set and Action you created for the image resizing function.
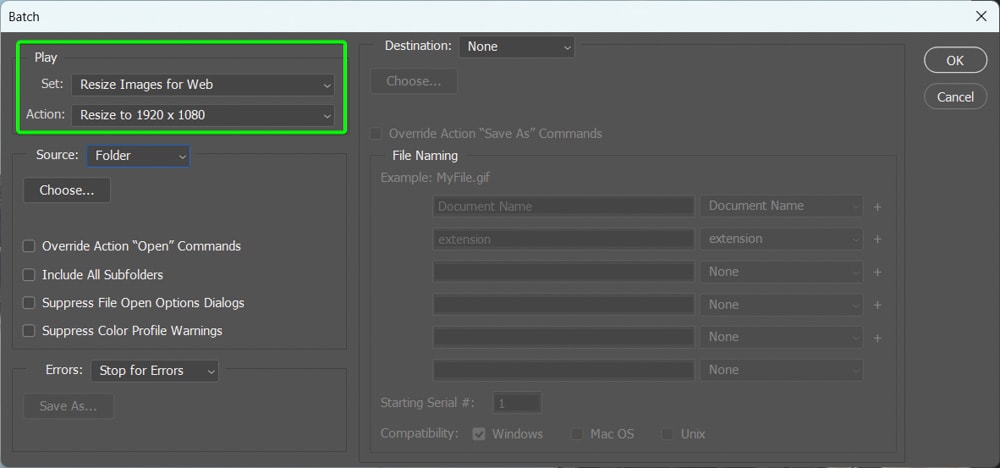
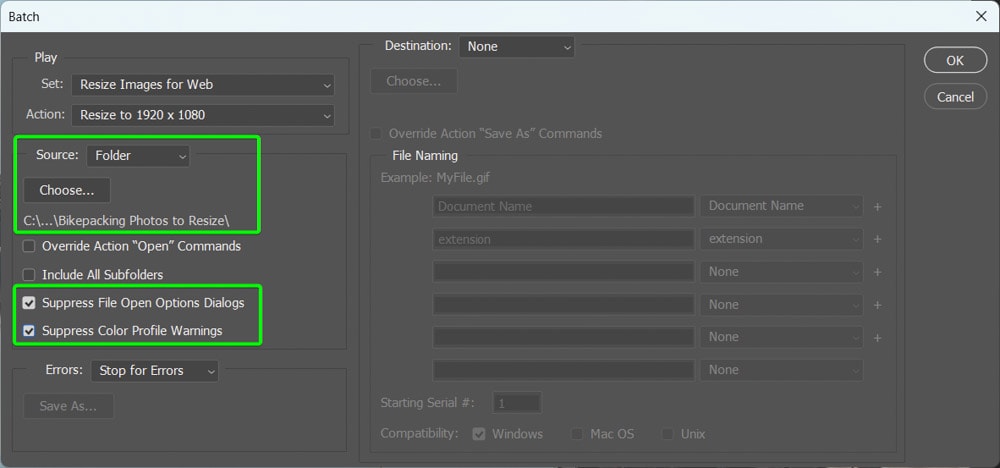
Then, set the Source option to Folder and click Choose to select the folder containing the photos you want to resize. You can also check the last two options under Source to prevent any problems during resizing.
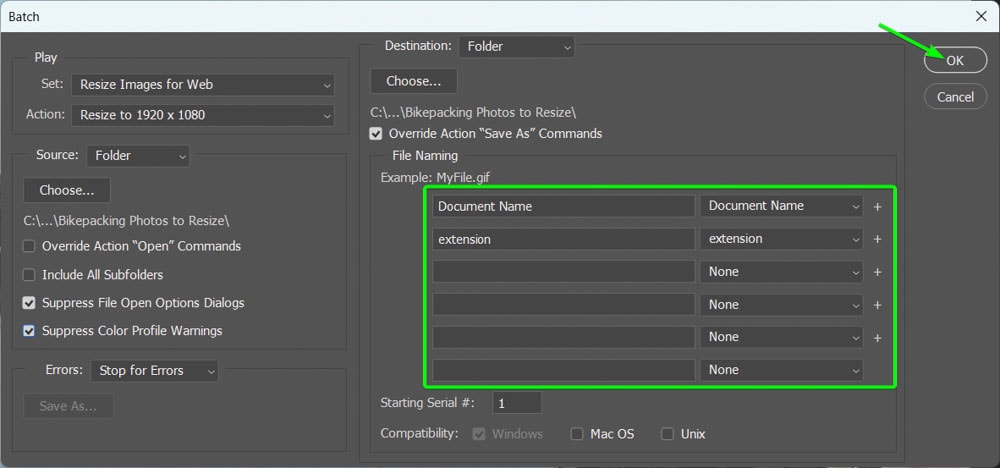
Next, you can use the settings on the right to set the destination folder. First, set Destination to Folder, click Choose, and select a location where you want the photos saved.
Then, ensure you have the Override Action “Save As” Commands checked to save the image using the settings you applied when doing the Save As step.

Next, you can add file names and the extension if you’d like. Click OK to start the process.
The photos will begin appearing in the workspace as the action is applied to each one. Once the process is complete, you can find the resized images in the location you set as the destination folder.

Rather than bringing your photos through one by one in Photoshop, this batch resizing process makes life so much easier. Especially once you create an action to speed up the process!
Happy Editing!


