

Knowing how to create vertical text in Canva is not as straightforward as selecting a vertical text tool or something similar. However, the process is super simple and doesn’t require typing each letter on a new line.
You will learn below how squeezing the bounding box of your text will format it vertically, and I’ll also teach you a shortcut to adding extra vertical text. Finally, I will show you how to adjust the character spacing of your vertical text to make it as pleasant looking as possible.


How To Make Vertical Text In Canva
Step 1: Add Your Text To The Canvas Using The Text Tab
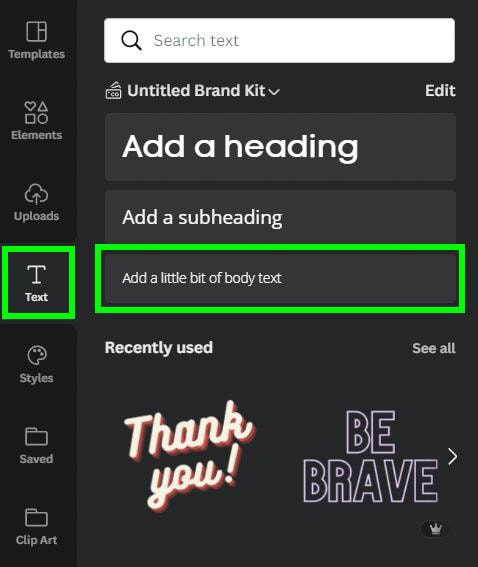
To create vertical text with this method, you first need some text to work with. Click on the Text Tab in the Side Menu and then click on Add A Little Bit Of Body Text. A text box will appear on your canvas. Double-click on it to add your text.
Step 2: Click On The Side Handle And Drag It Inward
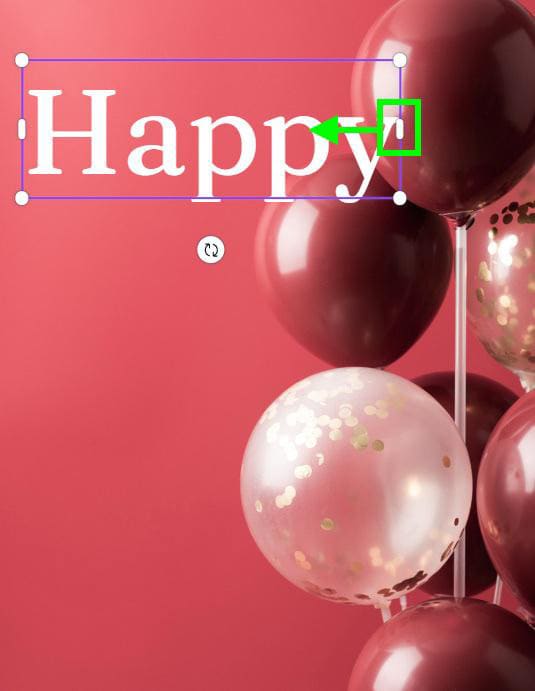
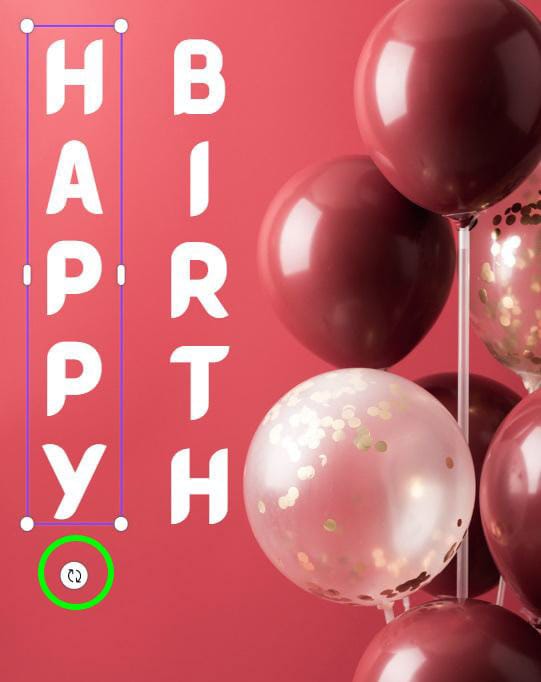
When you click on your text, you will see a purple bounding box surrounding it. On the right and left sides of the bounding box, a side handle is found between each corner handle. Click and hold on either one of the Side Handles and drag toward the other handle.
Now, your text is vertical, and you can edit it by changing your font if needed. You can do this by selecting your text and clicking the Font Style Box in the Top Menu. This will open up a long list of fonts that Canva allows you to choose from.
Step 3: Add Additional Vertical Text And Edit It (Optional)
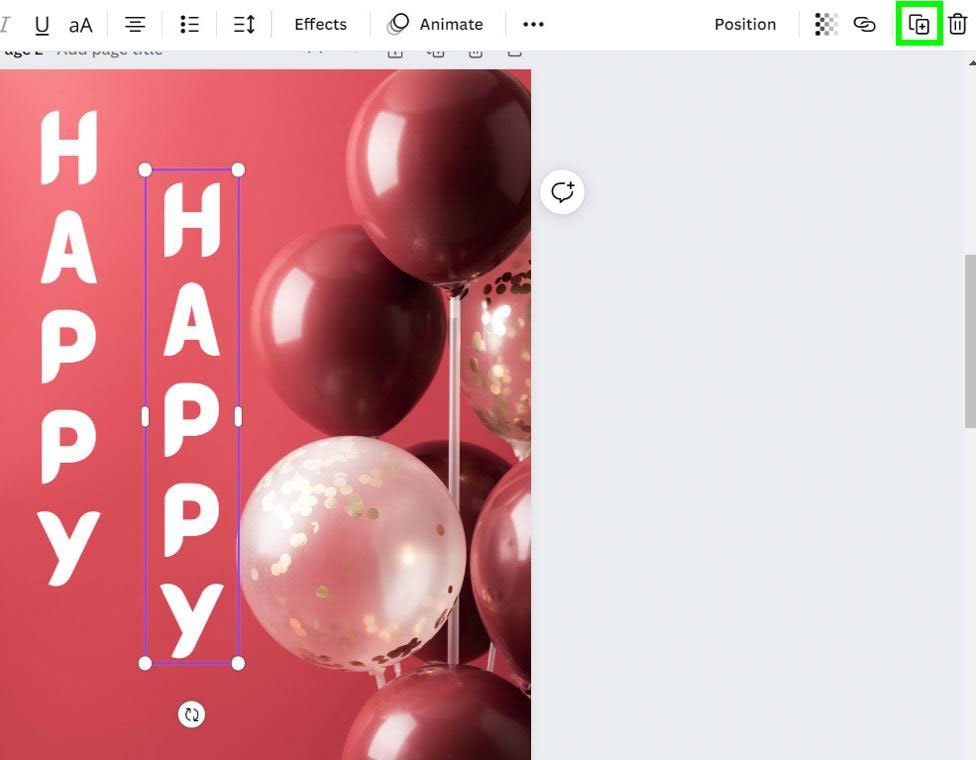
Now that your first piece of text is laid out, it’s time to add any additional text if you have any. To speed things up, select your text and click on the Duplicate button instead of adding a new text box. This will add an exact duplication of the previous text that you made.
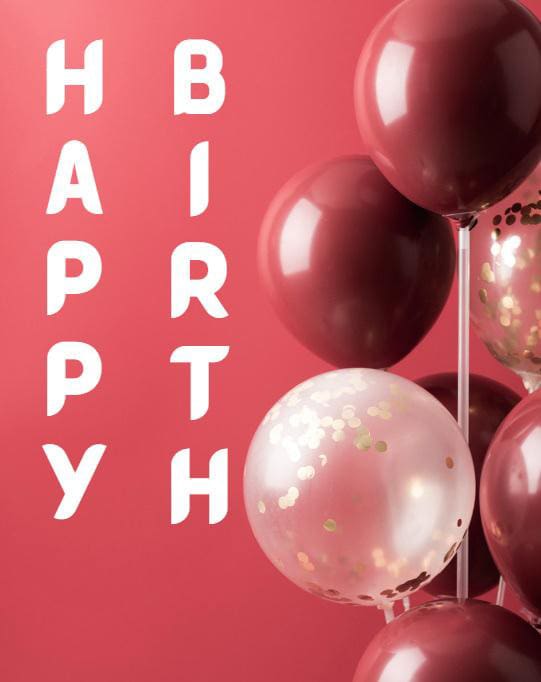
Click inside your new text box and type your second piece of text.
All your vertical text is now in place, and it’s time to polish what you’ve made. These polishes are optional, and at the end of the day, it all depends on your design. The first thing you can do is rotate the text in Canva. Click on your text and use the Rotate button on the bottom to skew your text left or right.
Now that your design is officially in the correct position, you can add an effect to your text to make it shine. Select the text to add an effect to it, then click on the Effects button. Now that your text is polished, add any layers you need to complete the design.

How To Adjust Character Spacing Of Vertical Text In Canva
You can adjust the character spacing of your text by selecting your text and clicking on the Character Spacing Button in the Top Menu.
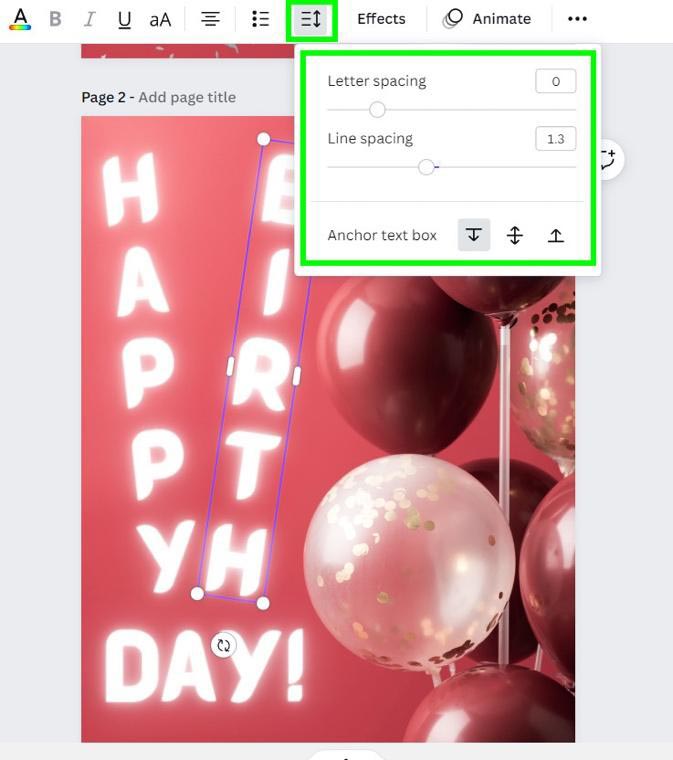
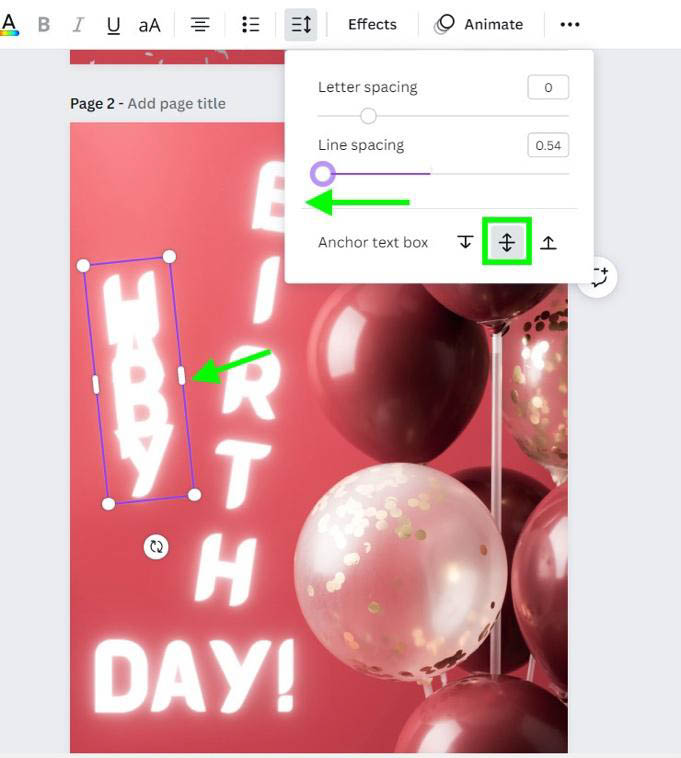
To space vertical text, use the Line Spacing Slider. Before adjusting the line spacing, it’s important to decide where your text will be anchored.
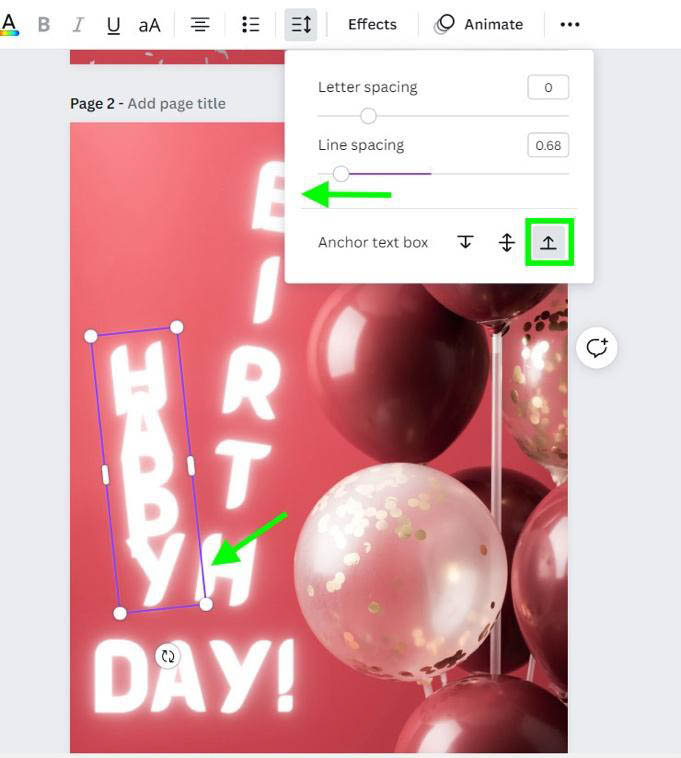
The first anchor option is the top anchor option, which can be selected by clicking the Top Anchor Button. Using this option will bolt the first letter of your text in place while the rest of the text moves up and down with the Line Spacing Slider.
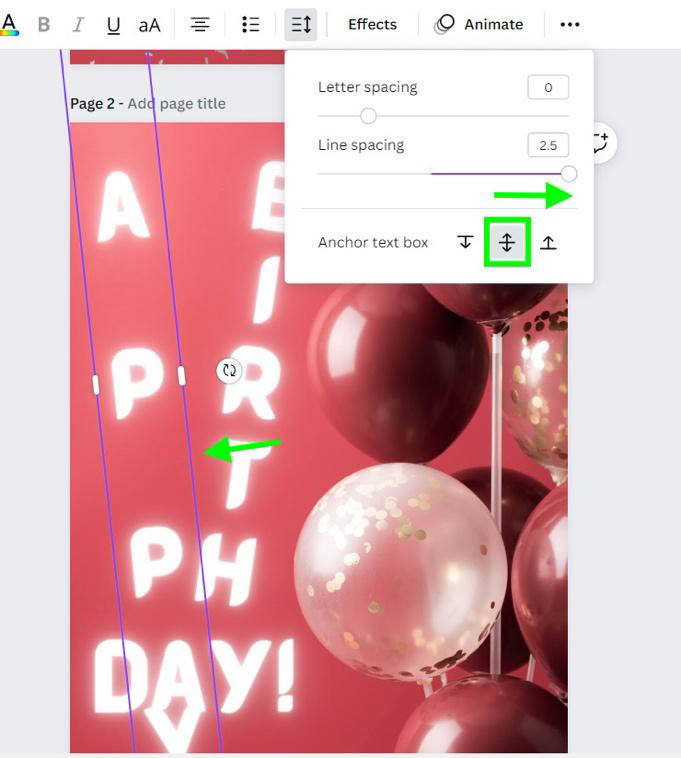
The second anchor option lets you anchor your line spacing to the middle of your text by clicking the Middle Anchor Button. This will bolt the center of your text in place while the top and bottom parts of your text are adjusted with the Line Spacing Slider.
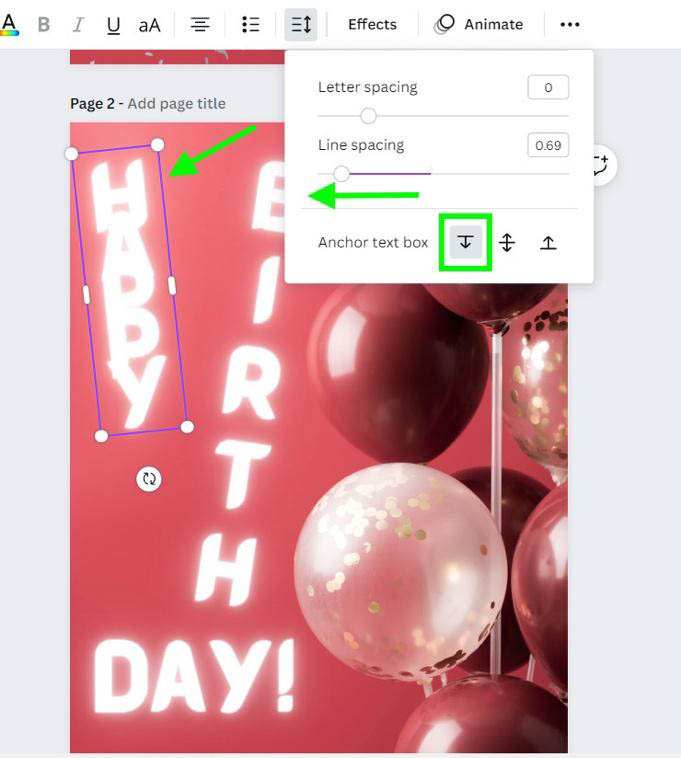
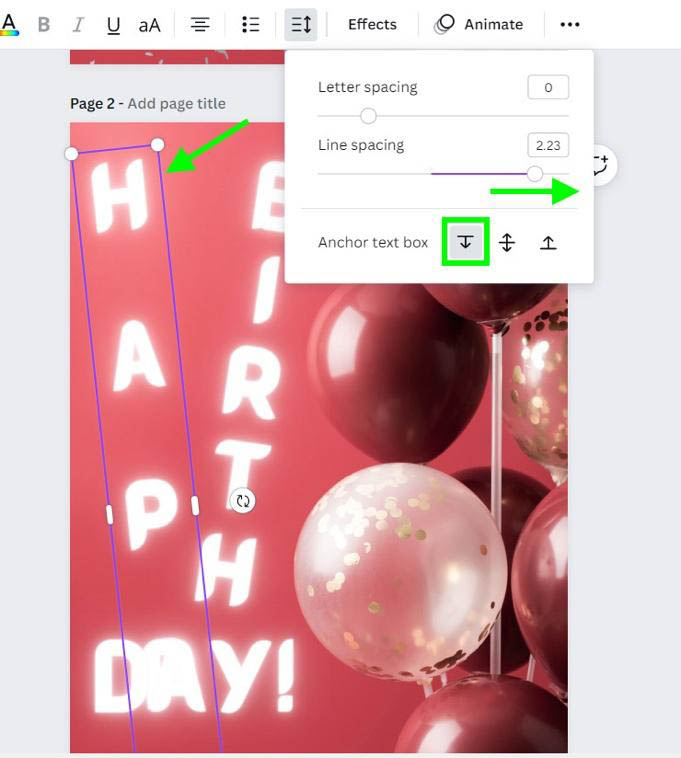
The third anchor option anchors the last letter of your text in place by clicking on the Bottom Anchor Button. The rest of the text will be adjusted as you move the Line Spacing Slider.

Using the Line Spacing Slider can be very beneficial for not just the look of the text itself but also for adding new elements and layering images or graphics to your design.