

Once you’ve completed a presentation, it’s easy to learn how to import Canva to Google Slides. This enables you to showcase your work on a widely used platform.
If you need to complete a presentation for school or work, this guide is here to help. In the first two sections, I’ll explain how you can import your finished presentation to Google Slides by connecting your Canva account to Google Drive or without connecting these two accounts.
How To Import A Canva Presentation To Google Slides
Step 1: Click The “Share” Button, Then Click The “More” Button
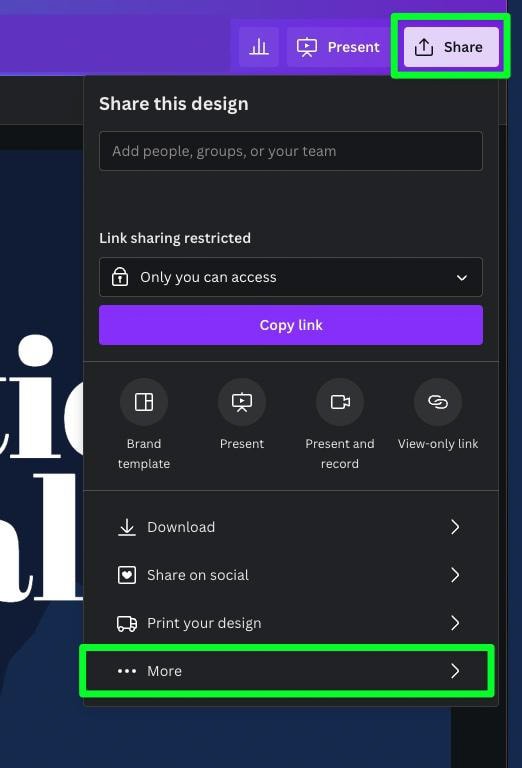
Once you’re ready to import your design to Google Slides, click the Share button at the top right corner. A list of options will appear. Click on the very last option, labeled More.
Note: this part of the guide assumes that your presentation is made and ready to go. If you aren’t sure how to make a presentation, see my guide to creating slideshows in Canva first.
Step 2: Click On Google Drive Under The Save Section
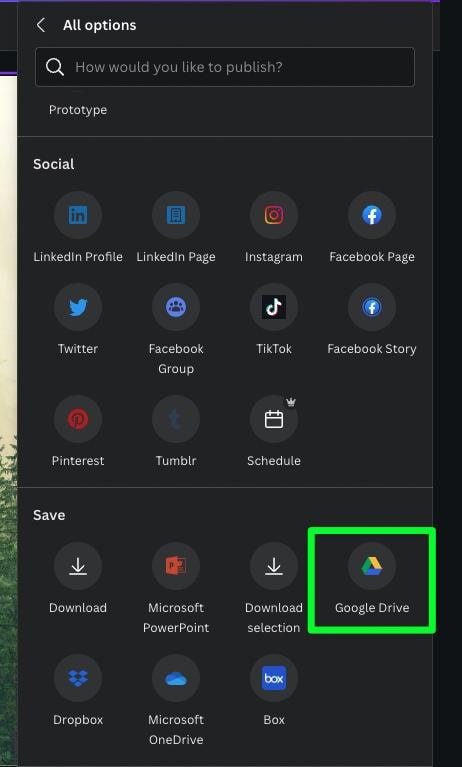
After clicking More, you will be presented with additional options. Scroll down to the Save section, then click the Google Drive button.
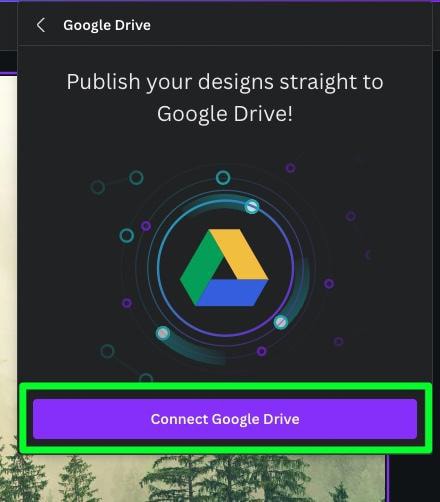
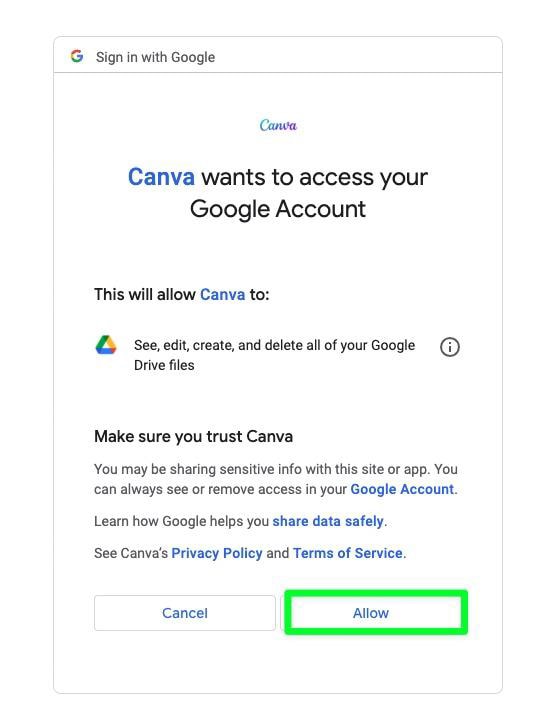
If you haven’t connected your Google Drive account with your Canva Account yet, you’ll be prompted to do so. Click Connect Google Drive, then fill in your email and password. When asked if Canva should access your account, click Allow.
Step 3: Select A Folder On Google Drive To Save The File
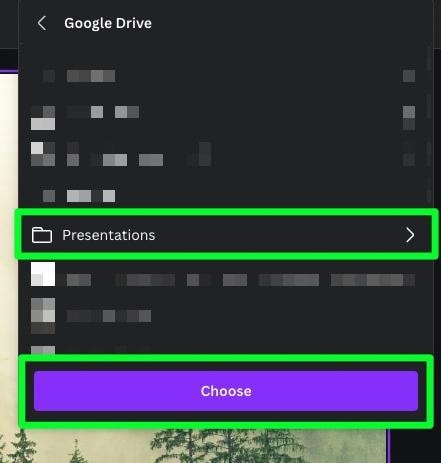
You will now see all the folders in your Google Drive account. Select the folder to which you want to add your design, then click Choose. If you don’t have any folders in your Google Drive account, just click Choose to add the presentation to your Google Drive account.
Step 4: Select PPTX Under File Type And Click Save
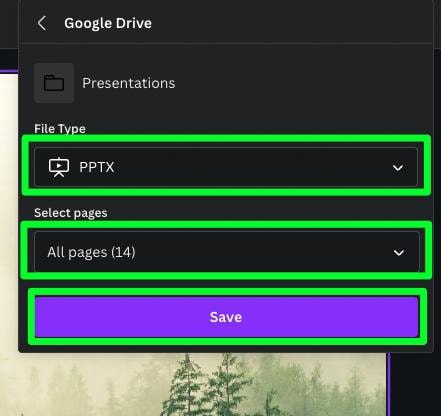
There is one more step before importing your design. In the last options menu that pops up, choose PPTX under File Type. PPTX stands for PowerPoint Presentation. Ensure all your pages are selected (or select the pages you want to export), then click Save.
Step 5: Open Up Your Design In Google Slides
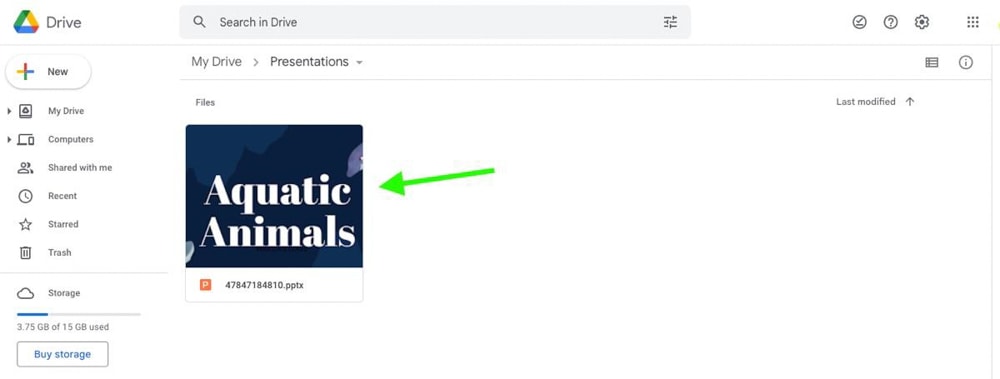
Now that you’ve saved your design to your Google Drive account through Canva, you can find it in Google Slides. Double-click the file inside your Google Drive to open it in Google Slides.
One of the coolest parts about importing your Canva design to Google Slides is that you can move elements around as much as you’d like. You can send this PPTX to someone without Canva and have them edit it however they like.
How To Export A Canva Presentation As A PowerPoint (To Open In Google Slides)
Step 1: Click The “Share” Button, Then Click The “More” Button
To save your file as a PPTX, click the Share button in the top right corner, then click More at the bottom of the list. PPTX is not available under the Download section.
Step 2: Choose The Microsoft PowerPoint Option
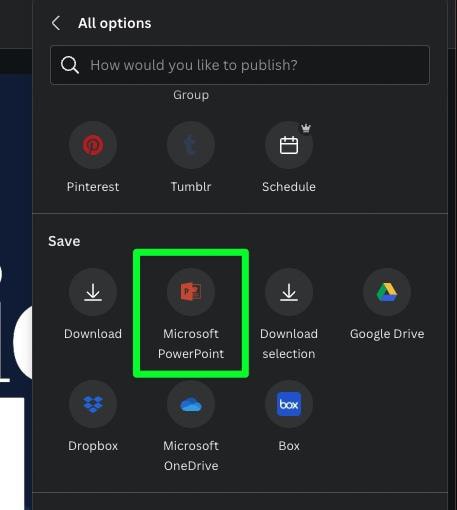
With the More options menu open, scroll down about halfway to find the Save section. Click on the Microsoft PowerPoint button.
Step 3: Choose Your Pages And Click Download
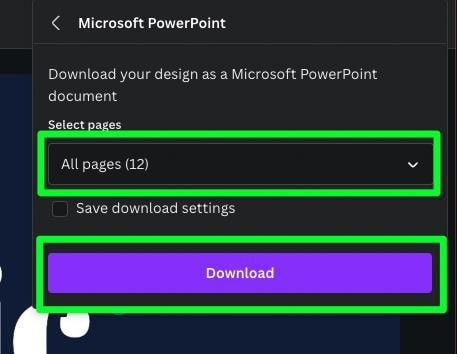
Before you download your PPTX, make sure that All Pages is selected under Select Pages. If you only want to download certain pages, open the drop-down menu and check the pages you want to download. When you’re ready, click the Download button.
Step 4: Open Up The File In Google Drive / Google Slides
Your presentation is now downloaded to your hard drive, and your goal is to upload it to your Google Drive Account.
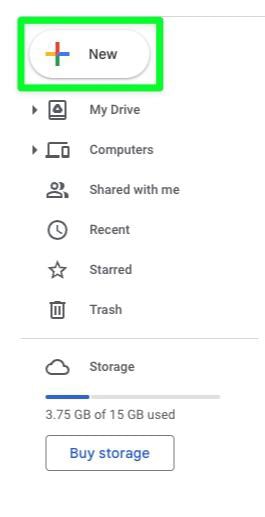
To start, open Google Drive and click the New button in the top left corner. In the list that pops down, choose File Upload. Navigate through your hard drive and double-click on the PPTX file.

The presentation you made in Canva will open up in Google Slides. You can now review your entire presentation and change any element.
How To Save Time & Present Your Slideshow Directly In Canva
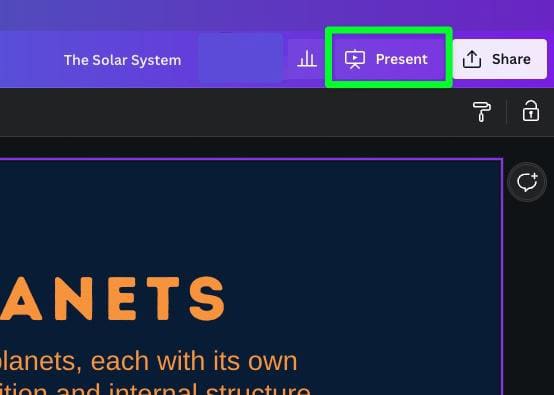
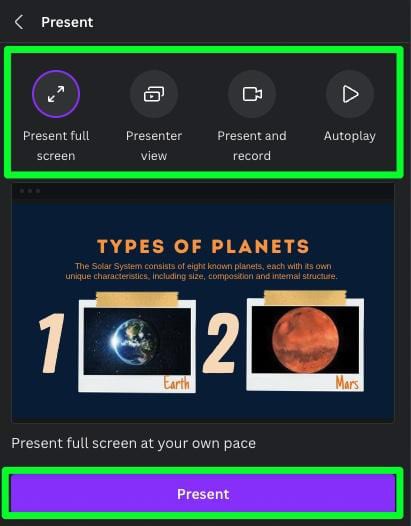
Once your presentation is ready, click the Present button in the top right corner. You will be presented with four options. Choose one of the four options, then click Present to display your presentation on your screen.
- Present Full Screen – Show your presentation in full screen and flip through it at your own pace.
- Presenter View – Show your presentation with notes for each slide.
- Present And Record – Show your presentation while also recording your voice.
- Autoplay – Let the computer show your presentation at a set pace.
So rather than moving your presentation to Google Slides, it might be easier to create and display it in Canva. Either way, you now have all the tools at your disposal to pick the option that best suits your style!
Happy Editing!
