
Photoshop allows you to save elements, layers, or your entire file in SVG format to create scalable and web-friendly files. An SVG is a scalable vector graphic and is usually used for logos and other objects that require flexibility. Here are the steps of how to save SVG files in Photoshop.
To save an SVG File in Photoshop, go to File > Export As. Within the File Settings, set the Format to SVG and click export to save your file. If the SVG option is not available, go to Photoshop > Preferences > Export and check off the “Use Legacy Export As” option to make SVG format available.
SVG files are usually dealt with using Illustrator, although it is useful to convert Photoshop elements to SVG format to use across the programs.
Even though saving an SVG file in Photoshop is pretty easy, you may run into some issues. So later in this post, I’ll share some tips to troubleshoot common issues as well!
For now, let’s get into three quick ways to export SVG’s.
Video Tutorial
How To Export As An SVG In Photoshop
Here are a few ways to export an SVG file from Photoshop.
1. Using The “Export As” Feature
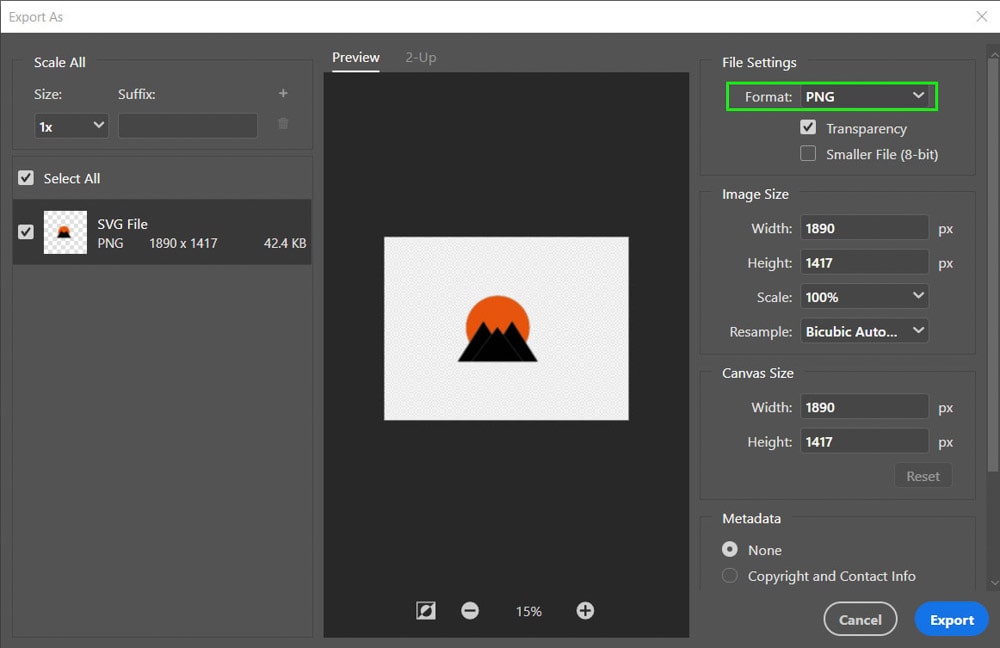
Elements in Photoshop can be exported to SVG format in two ways. To export the entire file as an SVG, navigate to File > Export > Export As. You can also press Alt + Shift + Control + W (Windows) or Option + Shift + Command + W (Mac).

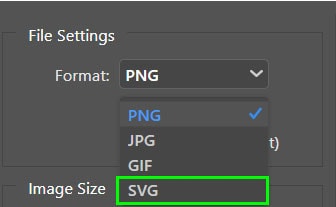
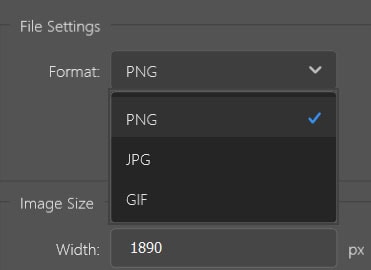
A window will open where you can specify details of your export. In the dropdown menu next to Format, select the SVG option.
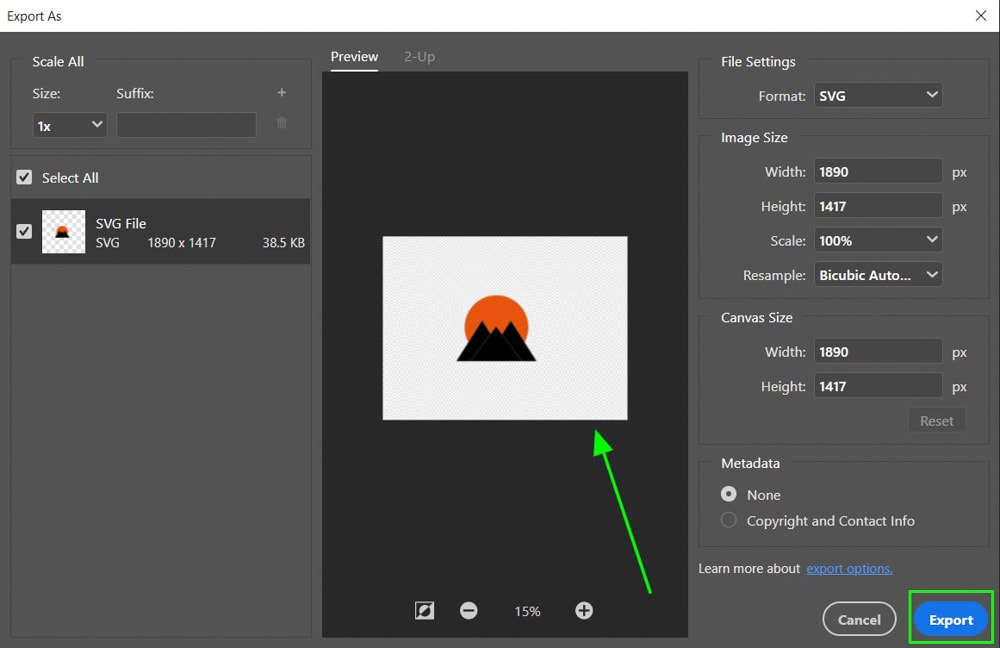
Check the preview in the middle to ensure the image is correct. Then select Export at the bottom of the window.
You can also choose to export one or more layers using this feature. Right-click on the layer you want to export, then select Export As.

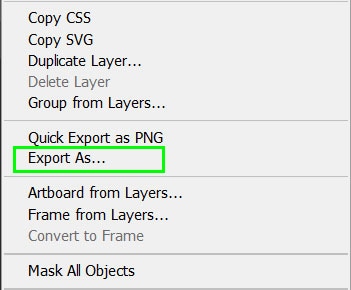
When the Export As window opens, you can see that you are saving a layer rather than the entire file. Make sure the format is SVG before clicking Export.

2. Export An SVG File Using Image Assets
Using image assets allows you to save multiple objects in a file at once and save the file in different formats at the same time.
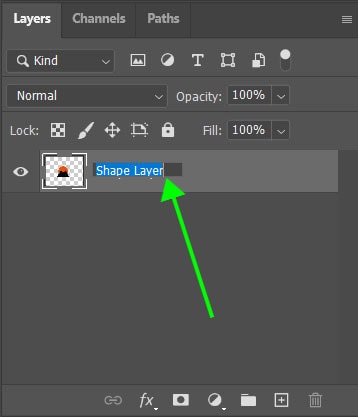
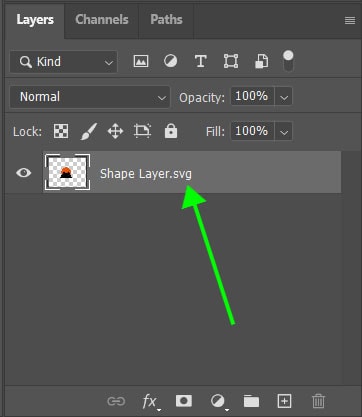
You need to first rename your layer by double-clicking on the name of the object or layer which you want to be saved as an SVG file. Add “.svg” to the end of the layer name and press Enter (Windows) or Return (Mac).
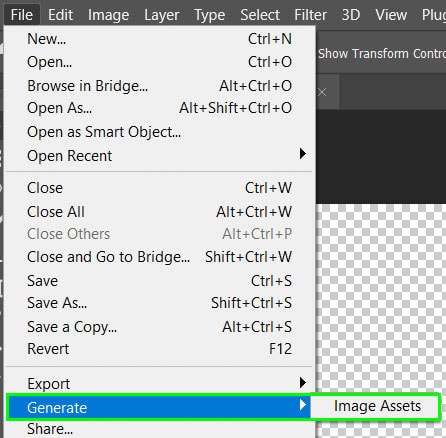
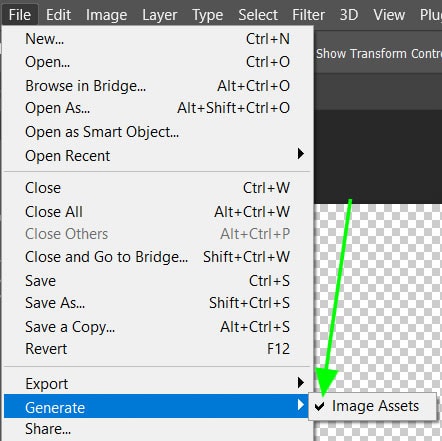
Select image assets by clicking on File > Generate > Image Assets. When you have image assets selected, there will be a tick next to the option.
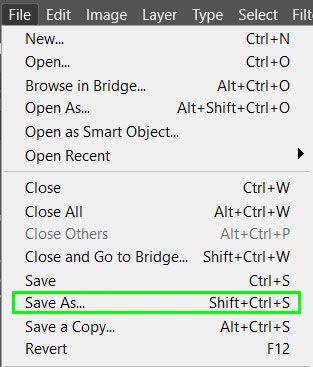
You can now save the document in the format required. Navigate to File > Save As or press Shift + Control + S (Windows) or Shift + Command + S (Mac).
Select the file format you would like your file to be saved in, then click Save.


Once the file has been saved, the destination folder will contain an extra folder that contains the image assets. Since you used the .svg extension it will contain the SVG file in the folder.

3. Copy The SVG Code
If you only need the SVG code to paste into an HTML document, you can copy the code from the object layer. To copy the code right-click on the layer of your SVG object and select Copy SVG.

The code can then be pasted in your chosen destination document.
Saving As An SVG Isn’t Working – How To Fix
When saving SVG files, you may run into a few problems, especially with the latest versions of Photoshop. Here are two common errors and how to fix them.
1. SVG Format Not Showing
Newer versions of Photoshop have removed the default option to export as an SVG. If the SVG format does not appear in the dropdown list, you can add it to the list.
Navigate to Edit > Preferences > Export or press Control + K (Windows) or Command + K (Mac) and select Export from the left-hand side of the window.
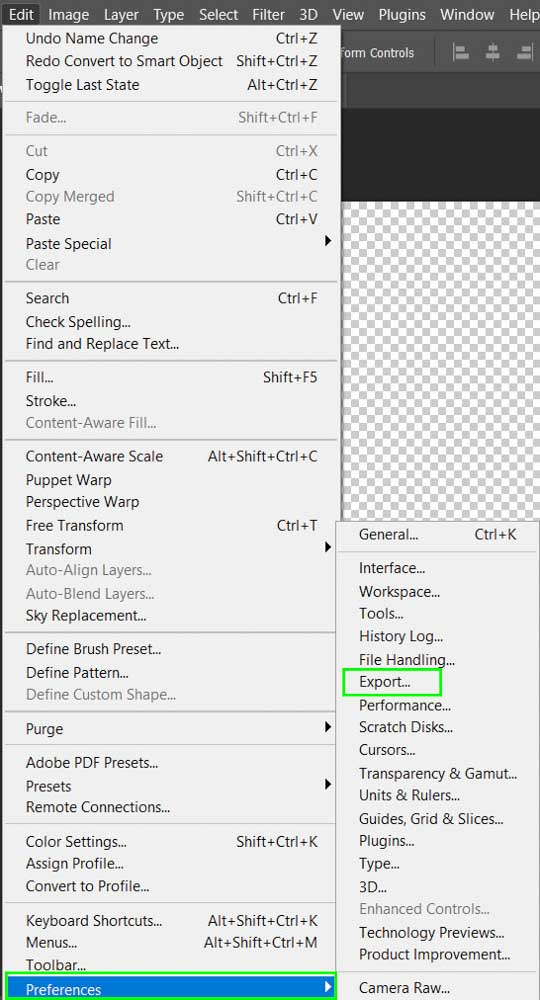
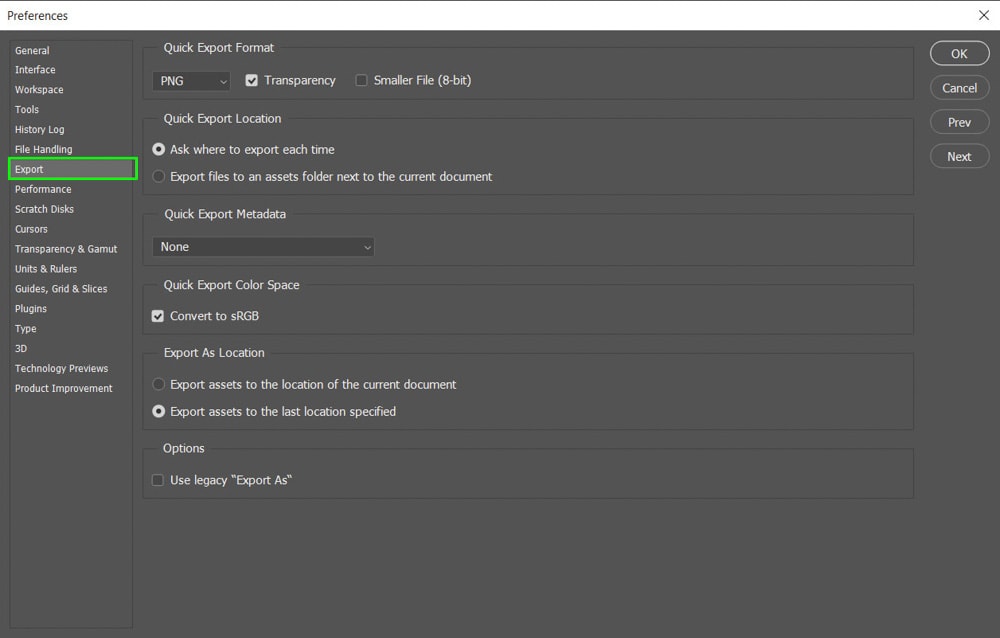
Select the box next to Use legacy “Export As” and next time you export your file, the SVG format will be an option to use.
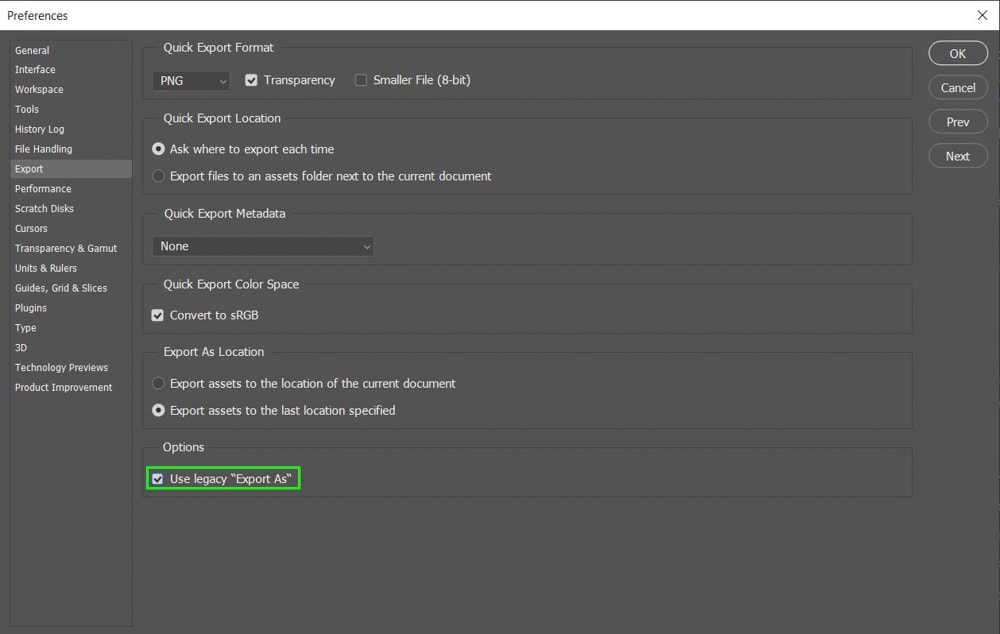
If it does not appear straight away, try restarting Photoshop before trying again.
2. Exporting Text As An SVG File
When exporting text as an SVG file, you need to convert the text to a shape before you export the file. This will allow you to manipulate the elements in other programs such as Adobe Illustrator.
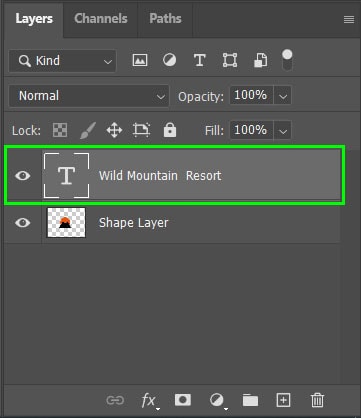
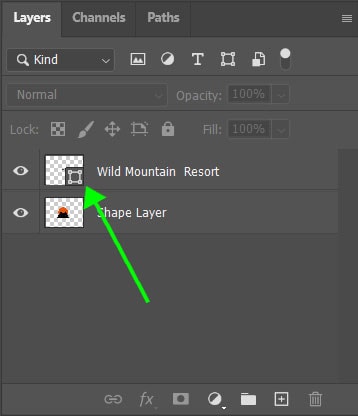
To convert the text layer to a shape select the text layer in the Layers panel.
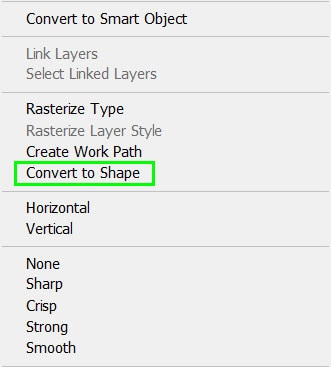
Right-click and select “Convert to Shape”. The layer is now a shape layer as shown by the icon in the bottom right of the thumbnail. You won’t be able to edit the text anymore but you will be able to save the entire file as a usable SVG file.
With these three methods of exporting SVG files in Photoshop, you can choose one that fits your workflow. If you haven’t already done so, making sure the “legacy export as” option is checked off within your preferences will save you a headache in the future when you try to export your SVG’s.
Happy Editing!


