

When working with text in Photoshop, converting it to a shape can be helpful to create more customized characters or colors. Text layers can be converted at any point in your project, but it takes away your ability to edit the content of your text. Perhaps a valid trade-off for added design options if you know you don’t need your text to be changed. If you just want a quick and easy answer, follow these steps.
To convert a text layer into a shape layer in Photoshop, select your text layer in the Layers Panel, then right-click and choose “Convert To Shape”. Now your text layer will become a shape layer allowing you to edit the text as you would a shape.
Although this process is very straightforward, there are some extra things worth knowing to get the most out of your converted text. Things such as editing the path for customized characters, or turning the shape text into a brush for easy image watermarking. Read on to learn how to make the most of text layers converted into shapes!
How To Convert Text Layers Into Shape Layers In Photoshop
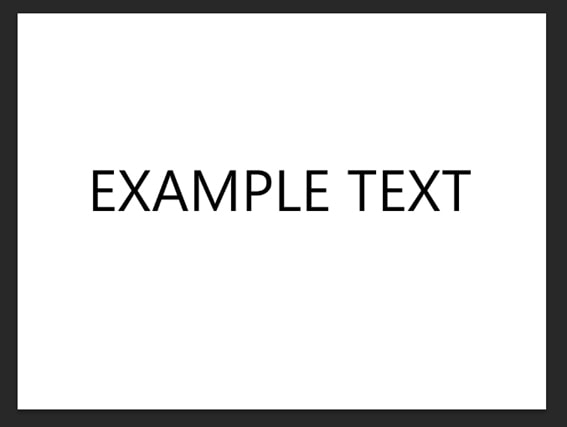
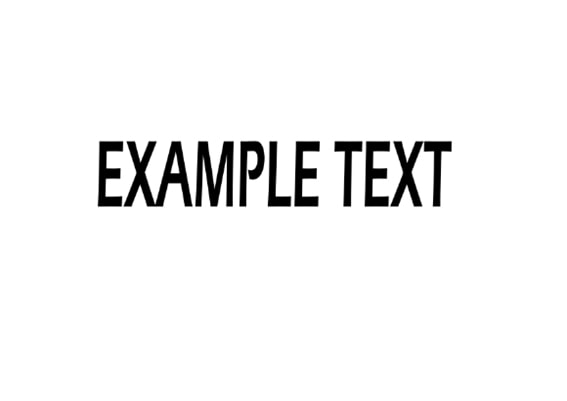
To begin, type anything on your canvas with the Type Tool (T). If you’re new to this tool, be sure to read my complete guide on making text in Photoshop!
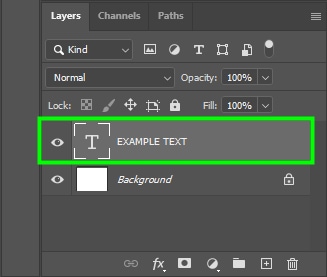
Now as soon as you type your text, Photoshop creates a type layer for it. The layer is given the same name as your text. You can tell it’s a text layer from the T icon.
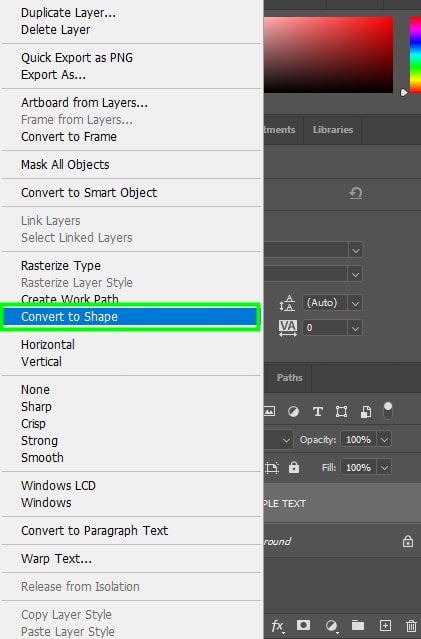
With your text created, click on it to select it, then right-click on it and choose Convert to shape.
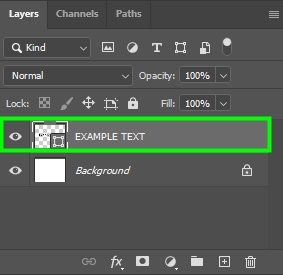
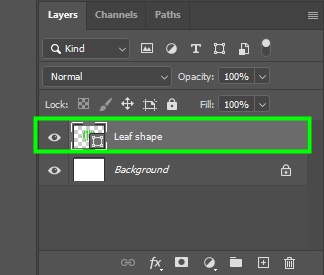
Once converted, an icon will appear beside the text layer thumbnail indicating it as a shape layer. Rather than the T icon, you will have a square at the bottom of the layer thumbnail. This icon indicates a shape layer and means that you can no longer edit this text with the Type Tool since it’s a vector shape.
How To Turn Text Into A Custom Shape Preset
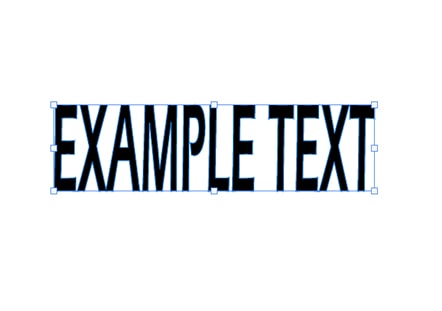
If you have text that you will use frequently, such as a watermark, you can save it as a custom shape preset to add in one click as a shape. Let’s go through an example together, starting with this example text layer.
Once your text is created, turn the text into a shape layer by right-clicking the shape layer and choosing Convert to shape.
With the text converted into a shape, you can now turn it into a custom shape preset.
To do this, first, select the shape layer.
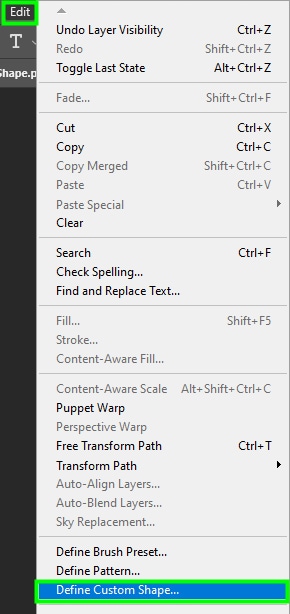
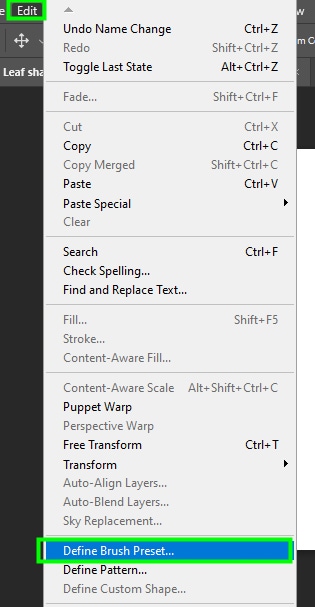
Then, go up to Edit > Define Custom Shape.
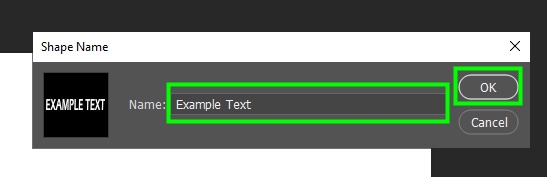
In the window that appears, give your custom shape a name, and click OK.
Now that the text is saved as a custom shape preset, it can be found within the Custom Shape Tool. To access this tool, click and hold on the shape tool icon in the toolbar. From the window that appears, select the Custom Shape Tool from the additional tool options.
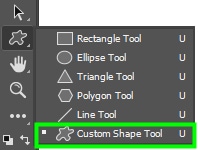
Then, go up to the upper settings bar and scroll through the custom shape menu options until you find your custom shape. Since it was recently created, it will likely be at the bottom of this menu.

After you find the shape, click on it to activate it as your custom shape. Then, click and drag on the canvas to create the text shape, just as you would a regular shape layer.
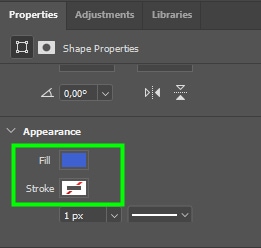
You can also change the custom shapes’ preset color in the properties panel if you like. By adjusting the Fill setting you will change the inner color of your shape, while the stroke will control the outline color.
How To Turn Text Into A Custom Brush Preset
Turning text into a brush preset can come in handy, especially when you need to use the same text over and over again. If you plan to use the text repeatedly as a logotype or a watermark, for example, you will save a lot of time if you turn the text into a brush. This way you can paint your logo or watermark on the canvas with just one click!
So let’s say I want to use the custom shape I created earlier as a brush preset.
To do this, I will select the custom shape layer.
Then, I’ll go up to Edit >Define Brush Preset.
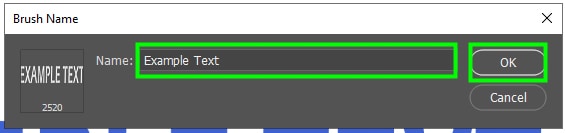
Once the flyout menu pops up, click OK to create the new brush (You can also change its name if you want).
The brush preset will be created and ready to be used. Click anywhere on the canvas to draw it.

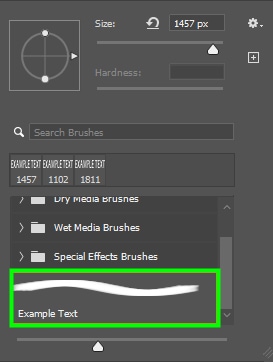
You can find your new text brush preset anytime by going to the toolbar and grabbing the brush tool (B).

Then, you can go to the brush preset panel and scroll through the brush menu until you find your custom brush. It will usually be at the bottom of the menu when you create a new brush.
Just like with any other brush, you can change its color, size, flow, opacity, and smoothing. The only difference is that you will want to click once on your project to add the text, otherwise, it will streak into a brush stroke. Think of this as more of a stamp than a brush!
How To Edit Your Text Shapes Path
Once your text is converted to a shape using the steps above, you can edit the look of it by directly editing its path. This is useful for extending parts of a character for a more unique look than the original font.
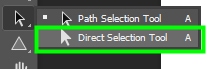
To do this, first, grab the direct selection tool in the toolbar.
Then, with your text shape layer selected, click on the edge of the character you want to edit. This will reveal its path, as you can see around the H.

The path is represented by anchor points, which can be moved around to manipulate the look of your characters.
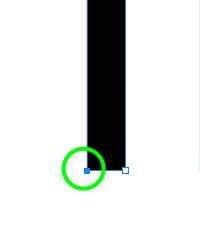
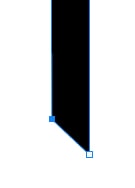
For example, if I drag this anchor point up, it will look like I cut a piece of the character.
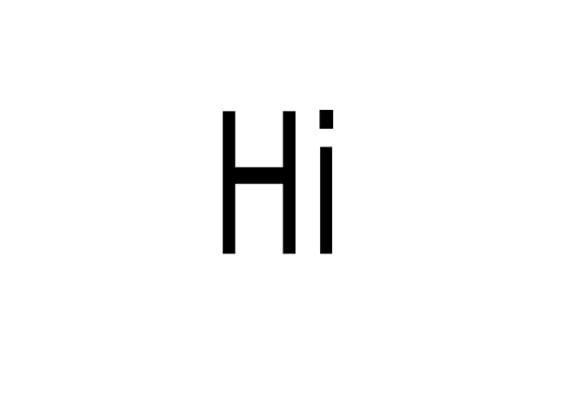

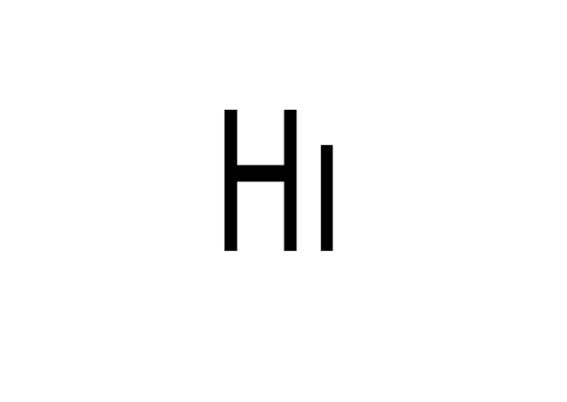
Another thing you can do to your text once is converted into a shape is eliminate portions of it you don’t like. So let’s say you don’t like the dot over the character ‘I’.
To remove it, I’ll select the target character with the direct selection tool (A).

Notice that the direct selection tool selects the whole character. So if you want to remove a specific portion of it (in this case, the dot), you will need to make a more specific selection.
To do this, zoom in on the target area by pressing Command or Control +. Then, click one anchor point after another while holding Shift until you select all points that compose the portion of the character you want to remove.
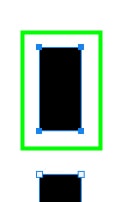
Once the anchor points are selected, press ‘delete’ on your keyboard to remove all the anchor points along with that section of the character.
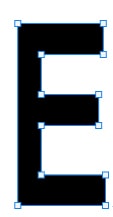
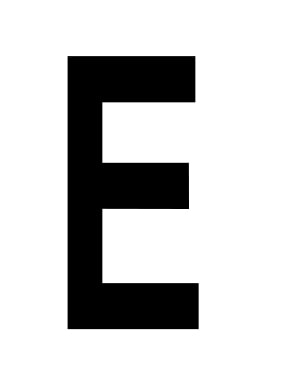
One final thing you can do with your shape’s path is to expand or reduce portions of a character. For example, let’s say you don’t like the arm size of the letter ‘E’ in the text below and want to make it smaller.
To do this, click on the target character with the direct selection tool (A).
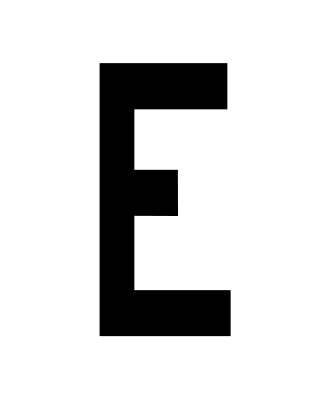
Then, click the anchor points for the portion of the character you want to adjust (in this case, the arm of the ‘E’). Click one point after another while holding Shift to select them. When they become solid colors, you know they are selected.
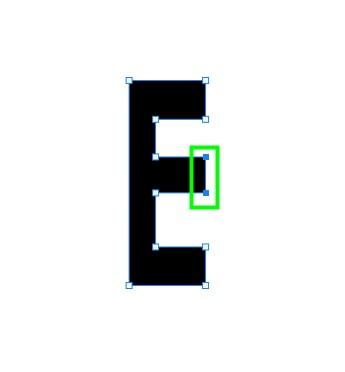
Now you can drag the selected points to the left while holding shift to adjust the target area.
Now, let’s say you want the stem of the character ‘P’ to look bigger. Just like before, grab the direct selection tool (A) again and select the target character.
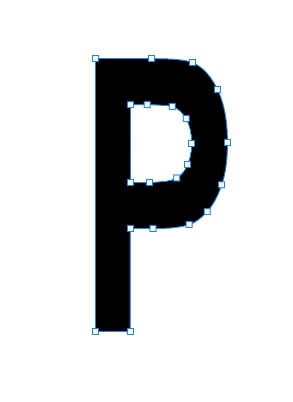
Then, select the target anchor points (the two points at the bottom of the ‘P’).
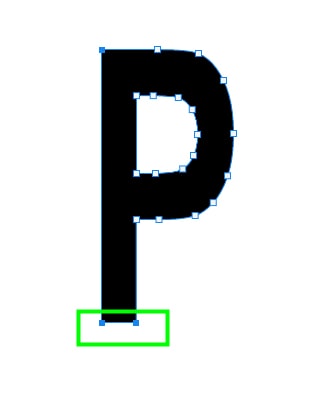
Next, drag your selected points down while holding ‘shift’ to expand the shape.

Once a text layer in converted into a shape in Photoshop, it’s easily to edit the path, change the fill color, or even adjust the outline. Now that you know how to convert your text, this next tutorial will share how to change the colors of shape layers with ease (including adding gradients!).
Happy Editing!
