
There’s nothing more embarrassing than spending hours designing something in Canva, then realizing a typo right after printing or posting it. Thankfully, Google Chrome has a built-in spell checker that you can activate while you use Canva. Or, an even better option, you can install the Grammarly App.
The last thing you want to do is leave a bad first impression. Even the smallest typo might turn off a potential fan or customer. Today, you’ll learn three ways to eradicate all typos from your projects in Canva.
Does Canva Have Spell Check?
Canva currently does not have a built-in spell checker. The workaround that most Canva users use is downloading an automated spell checker like Grammarly App.
This requires using Google Chrome as your web browser while using Canva.
Workarounds To Check Spelling In Canva
There are quite a few spell checkers you can download to Google Chrome, but most of them are not worth your time. Below, I’ll show you the two best spell checkers you can download and how to use the built-in spell check for Google Chrome. Once you have added your horizontal or vertical text to Canva, you can now quickly check the spelling.
1. Grammarly
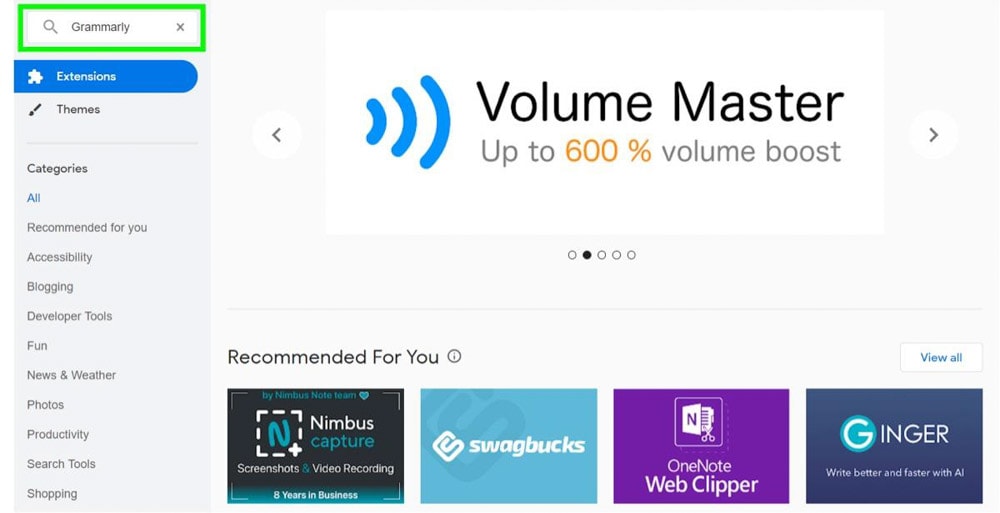
To use Grammarly with Canva, first, you need to download the free Grammarly App. You can do this by going to the Chrome Web Store and searching for Grammarly.
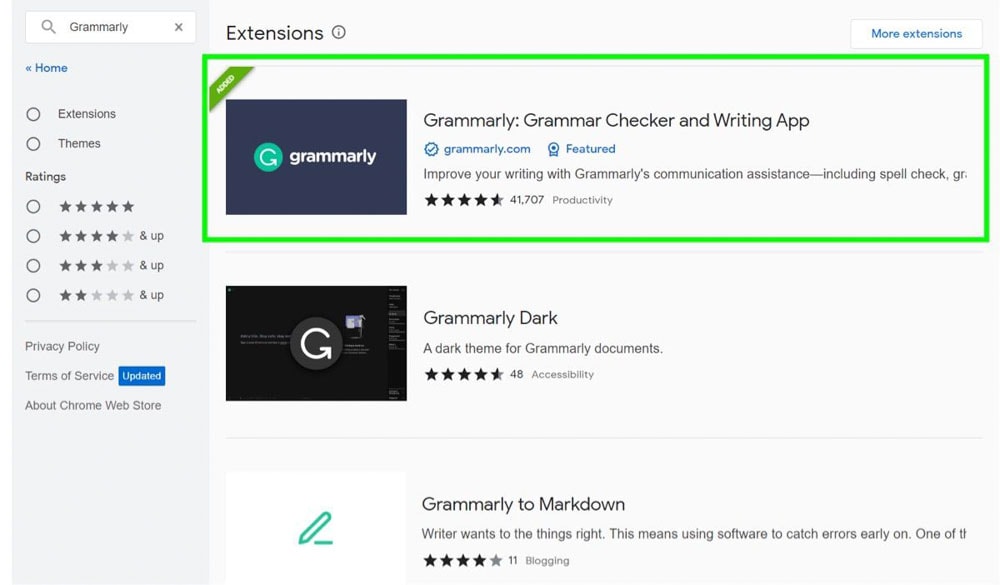
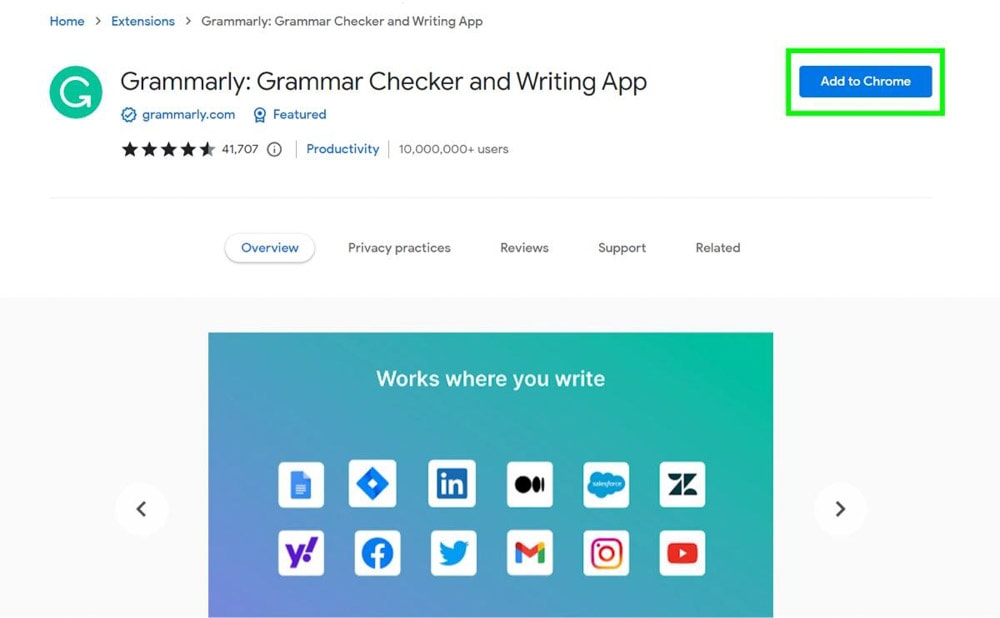
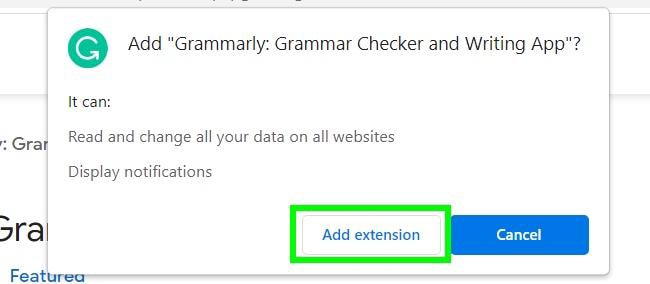
The extension you’re looking for is Grammarly: Grammar Checker and Writing App. Click it, then click on Add To Chrome. Then click on Add Extension.
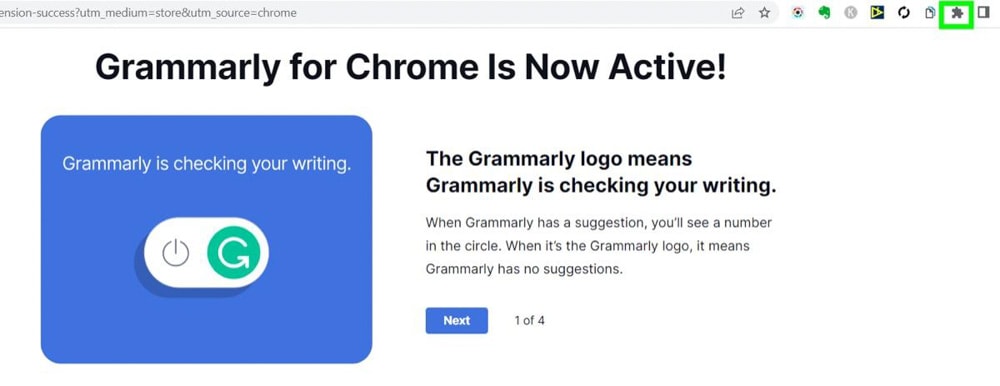
After a few minutes, the extension will be downloaded to Chrome.
Before using the Grammarly Chrome Extension, you should look over the settings.
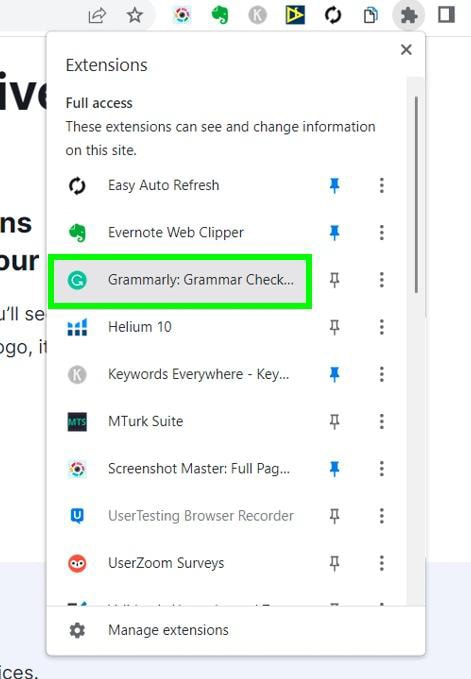
Click on the Extensions button in your browser (the one that looks like a puzzle piece). Find the Grammarly extension and click on it.
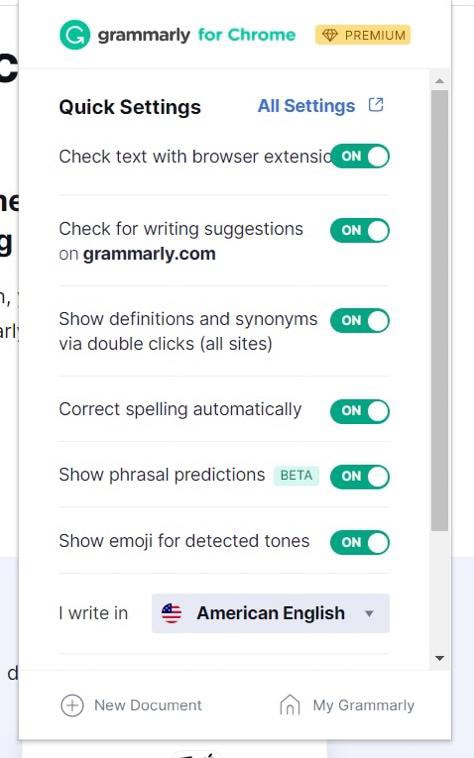
When you first open the Settings Panel, some options will be turned off. My recommendation is to turn them all on. Most of these options are very useful.
The one option that you may want to turn off is Correct Spelling Automatically. There may be situations where you have a word that’s spelled several ways, and you don’t want Grammarly to choose for you. For the most part, it’s beneficial to turn them all on.
Now that Grammarly Chrome Extension is downloaded, it’s time to check your spelling and grammar in Canva.
Open up the project you’re working on, and then click on the text. In the corner of the bounding box, you will find the number of typos that Grammarly has found.
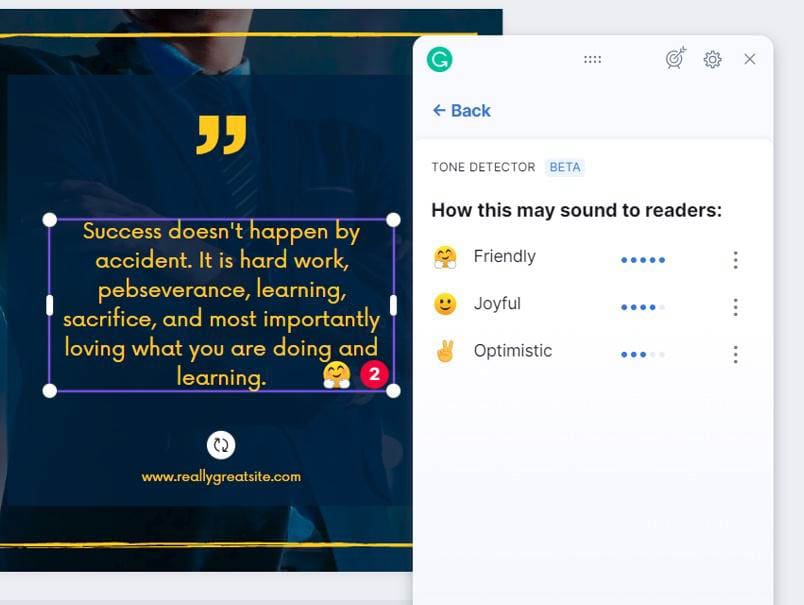
If you’re a premium Grammarly member, you will also find an emoji that tells you what the tone of your text is. If you click on the emoji itself, you will see additional tones that your text may present.


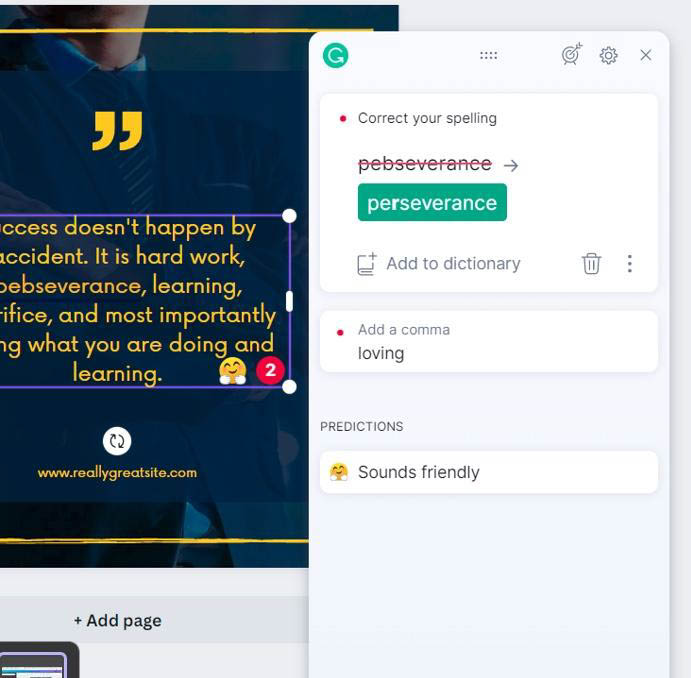
To correct any misspelled words, click on the number in the corner, and you will see a list of your typos and grammar mistakes.
To fix these typos and mistakes, click on the corrected version in the list. Your typo or mistake will be replaced with the correct version in your actual text.
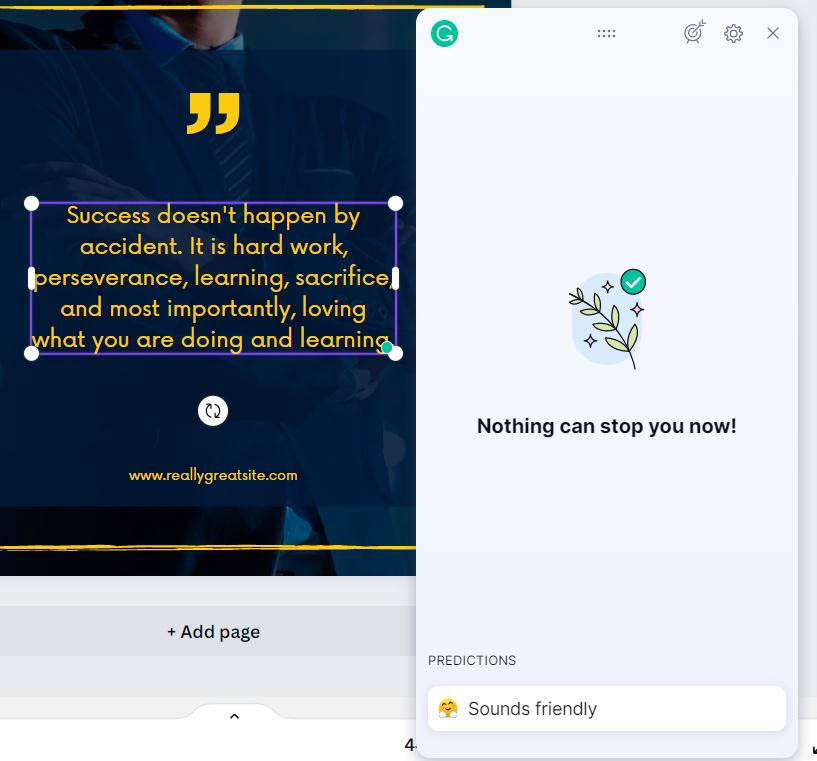
When you’ve corrected all your mistakes, the list will appear empty, letting you know that there are no more typos or mistakes to fix.

Free Grammarly VS Premium Grammarly For Canva
The premium version of Grammarly comes with a lot of bells and whistles, including:
- An AI-powered clarity-focused sentence rewrite function
- Tone, word choice, and fluency adjustments
- Plagiarism detection
As well as a whole host of other smaller options.
With the free version of Grammarly, you will get three things:
- Punctuation checker
- Grammar checker
- Spell checker
If you plan on using Grammarly with other programs such as Microsoft Word and Google Docs, or if you plan on using pages and pages of text in Canva, then it may be a good idea to go for the premium version.
For the purposes of basic spell-checking in Canva, all you really need is the free version.
2. Google Chrome Spell Check
If you don’t feel like downloading an extension to Google Chrome, you can always just go with the spell checker that’s built into the browser itself.
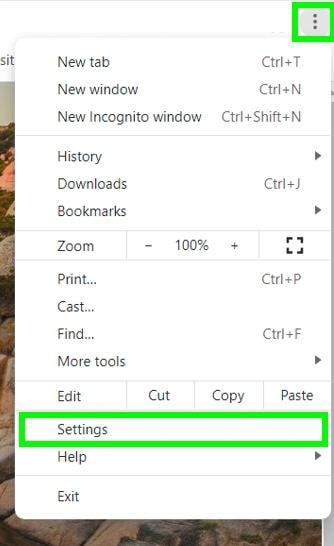
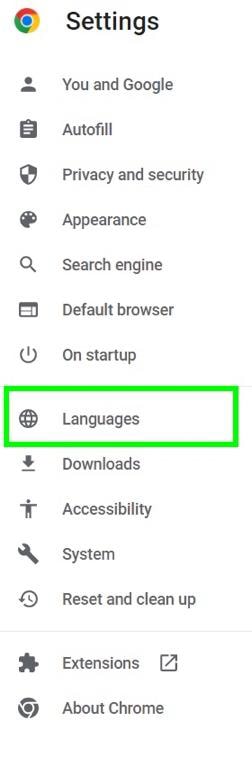
To find the option, click on the Three Dots in the top right-hand corner of your browser, then click on Settings.
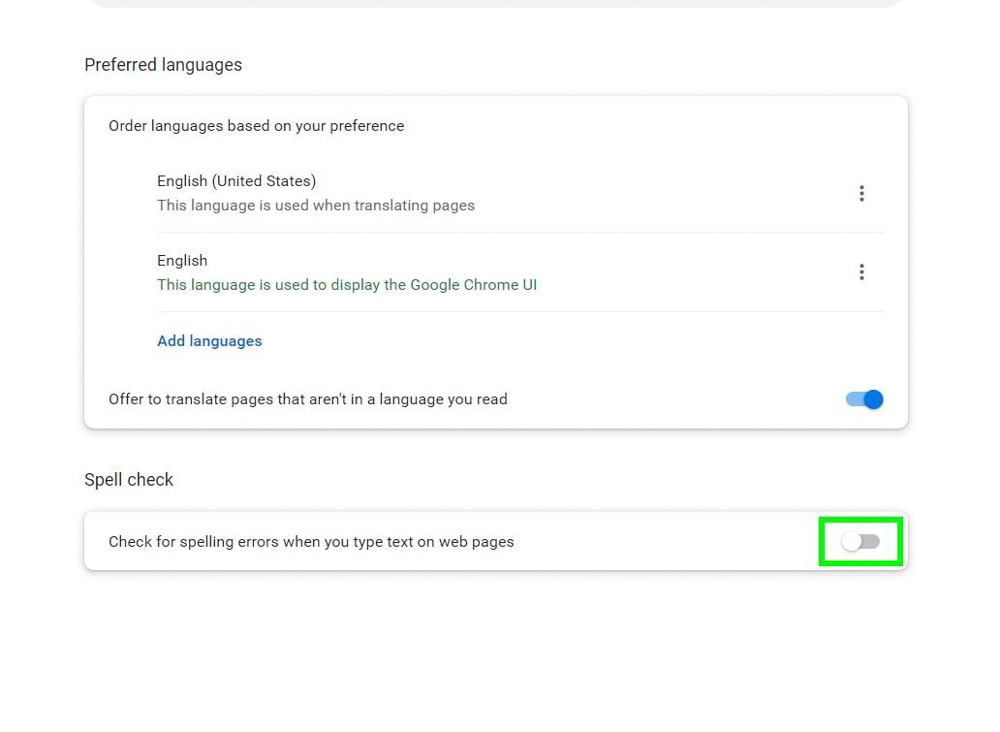
Next, on the left-hand side of the screen, click on Languages. You will then find the option to turn on the Spell Check. Toggle it on to work with the options.
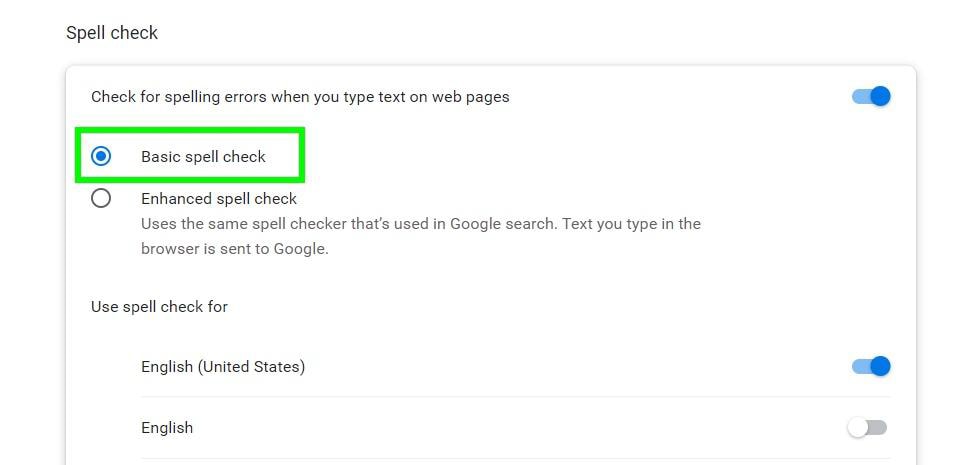
The most important option under the Spell Check Menu is the difference between Basic Spell Check and Enhanced Spell Check.
For the purposes of spell checking for Canva, you just need to have Basic Spell Check on.
Enhanced Spell Check only affects the text you type in Google search, so you don’t need this for spell-checking in Canva.
With the Google spell check turned on, you are now ready to go to Canva. Open up the project that you’re working on and click on the text itself.

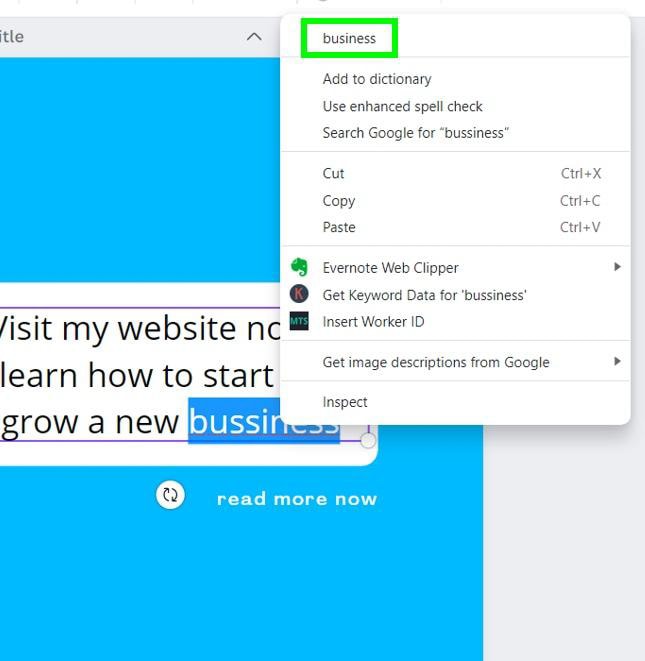
If your text has a typo in it, the typo will be underlined in red.
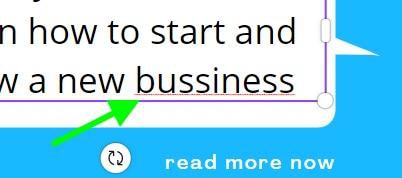
Right-click on the underlined word to bring up the list of suggestions and choose the correct word for your sentence.
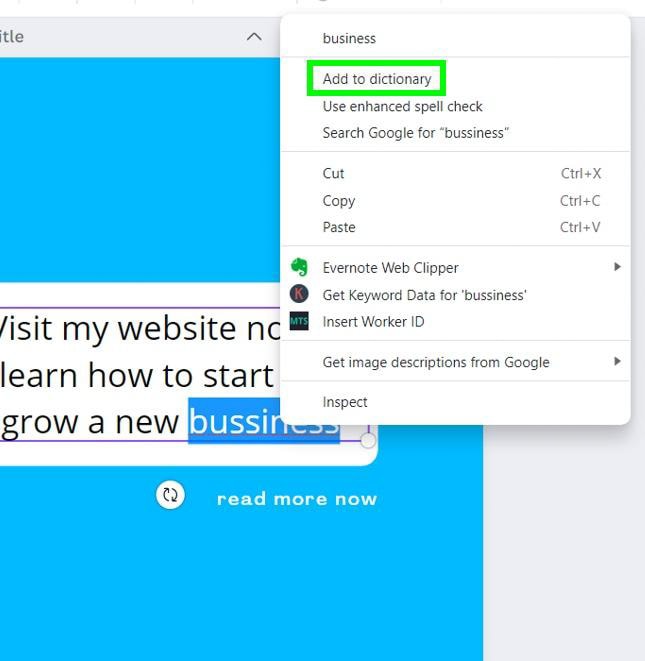
If the underlined word is an uncommon word or a word you made up and you know it’s spelled correctly, you can click on Add To Dictionary.
This will add your uncommon/original word to an approved list within Google Chrome. This way, if you use the word again, it won’t be marked with a red underline.

If your text block is in all caps, any misspelled words may not get underlined. No matter how many times you click on the text, it won’t pick up any typos if it’s in all caps. This is one major downside to this spell check method.

3. ProWritingAid Grammar Checker & Writing Coach
The third way to check your spelling with Canva is to download the ProWritingAid Chrome Extension. If you don’t like Grammarly for whatever reason, ProWritingAid is a viable option.
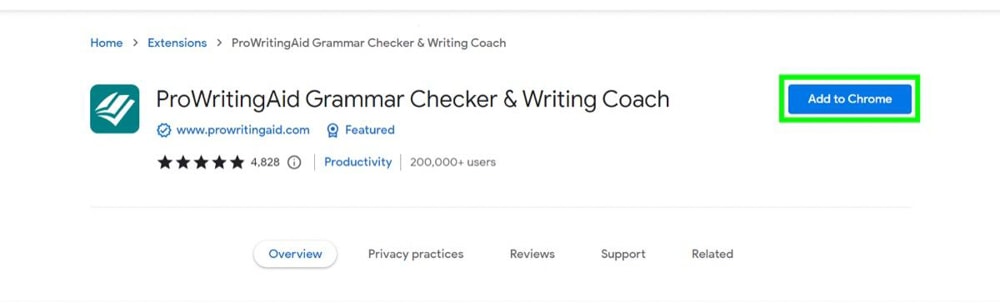
To do this, first, go to the Google Chrome Store and type in Pro Writing Aid. It should be the first result that pops up.
Then, click on Add To Chrome.

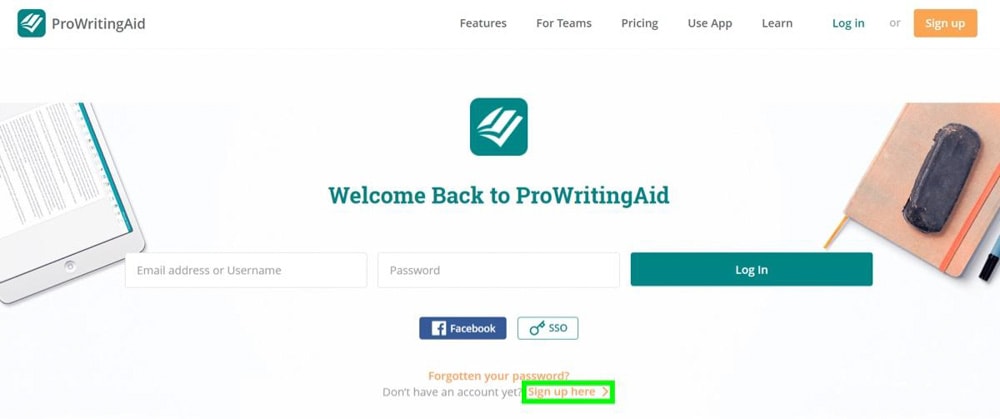
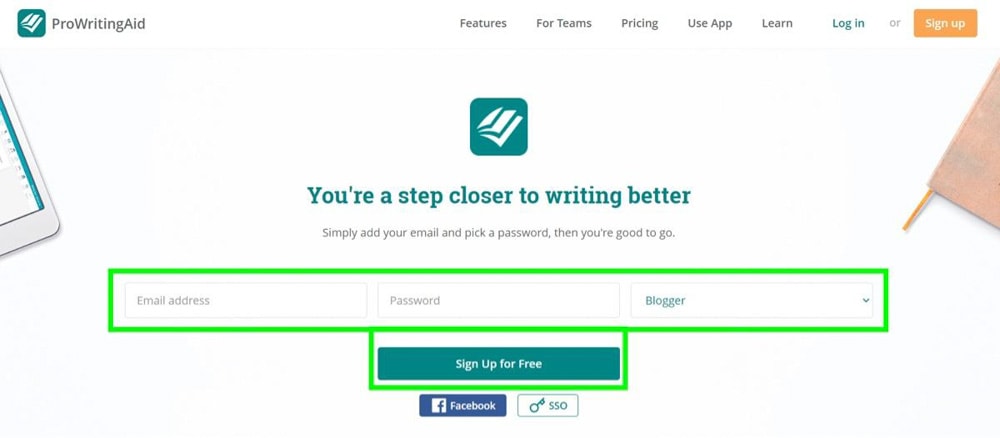
You will be prompted to sign up for a free account. It will only take a few minutes to fill in all the information.
Click on Sign Up Here, fill in your Email and Password and click Sign Up For Free.
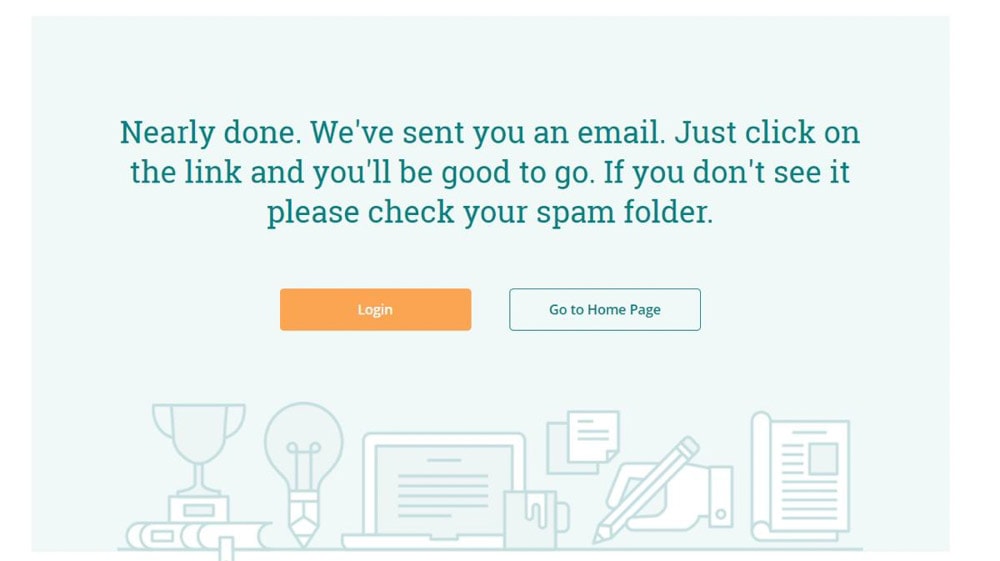
An email will be sent to you to confirm your email address. Confirm your email address, and you will be ready to spell check.
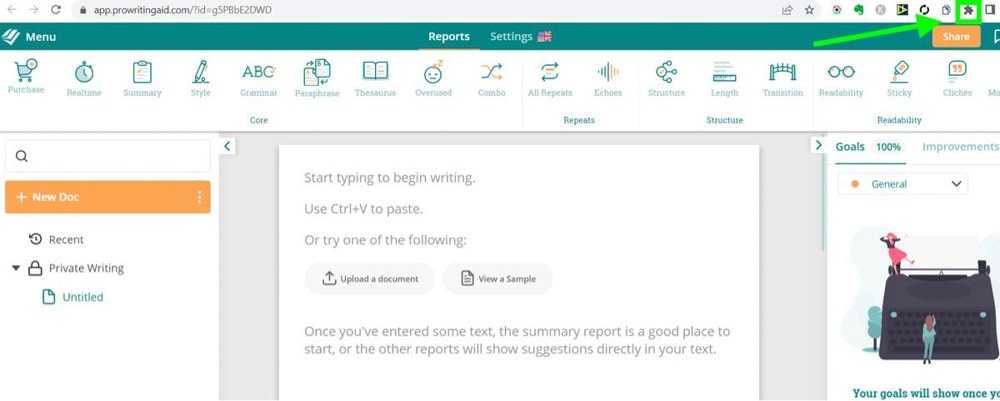
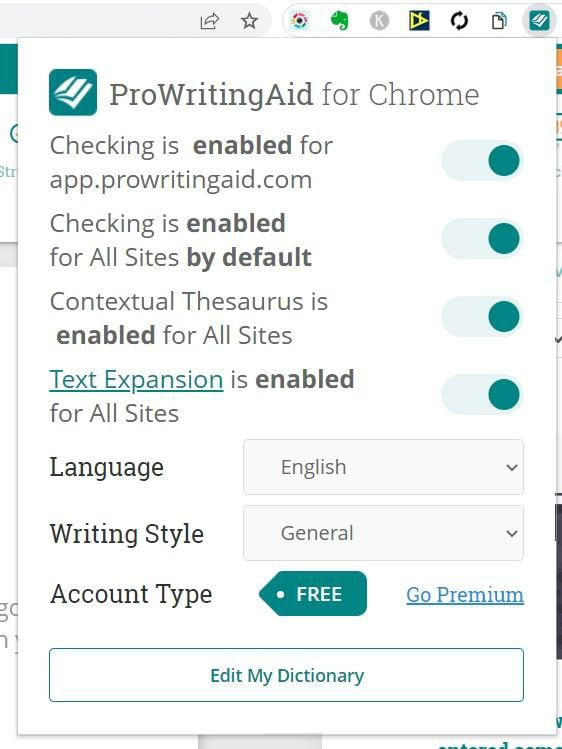
Before you use the ProWritingAid with Canva, first double-check your settings.
Click on the Extensions button, then click the ProWritingAid extension in the list.
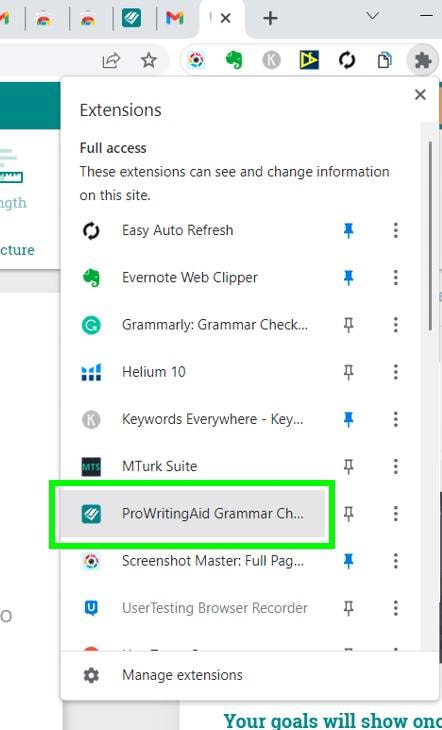
Turn on all the options that are available. Everything here is basic and useful for Canva.
Now, return to Canva and open the project that you’re working on.
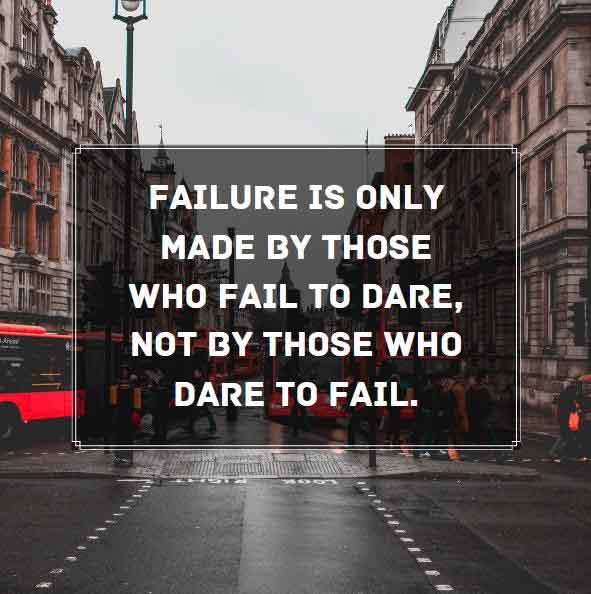
Click on the text block itself, and any typos will be marked with a red underline. Click on the word itself to find a list of the correct spelling(s).

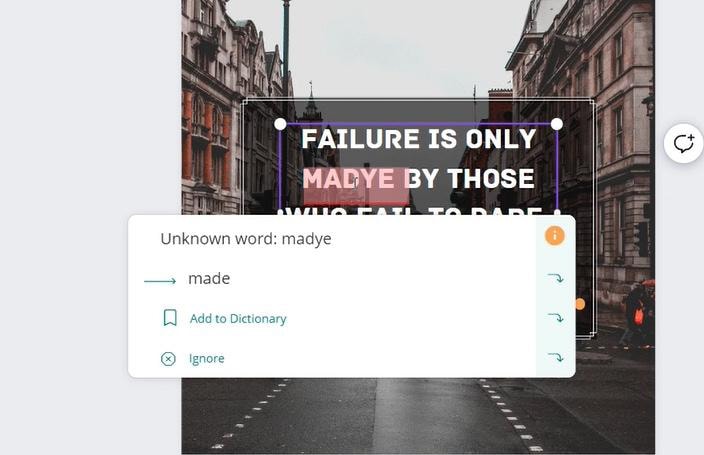
Also, as you can see, ProWritingAid has no problem finding typos in text that’s in all caps.
There are no bells or whistles here compared to Grammarly, but ProWritingAid does get the job done.
I currently use Grammarly for spell-checking in Canva since it also offers grammatical improvement suggestions to. However, there are other options out there that you now know about if you’ve tried Grammarly before and it wasn’t your thing!
- 100+ million premium stock photos, videos, audio, and graphics
- 610,000+ premium and free templates with new designs added daily
- Up to 100 Brand Kits to establish your brand's identity online
- Remove image backgrounds instantly with Background Remover
- Resize designs without quality loss with Magic Resize
- Schedule social media content to 8 platforms
- 1TB of cloud storage
- 24/7 customer support


