
Knowing how to zoom in Lightroom can assist in editing an image as you’ll be able to see more details while making adjustments. You can zoom in using a specific ratio and move around the image once it is zoomed in.
There are several different ways to zoom in and out using Lightroom’s various tools and functions. Once you know how you’ll be able to zoom quickly and efficiently to optimize your workflow!
3 Easy Ways To Zoom In And Out Lightroom
Method 1: Using The Shortcuts To Zoom In Lightroom
To quickly zoom in and out in Lightroom, use the keyboard shortcuts Control + + (Win) or Command + + (Mac) to zoom in, and Control + – (Win) or Command + – (Mac) to zoom out.
Method 2: Using The Zoom Tool
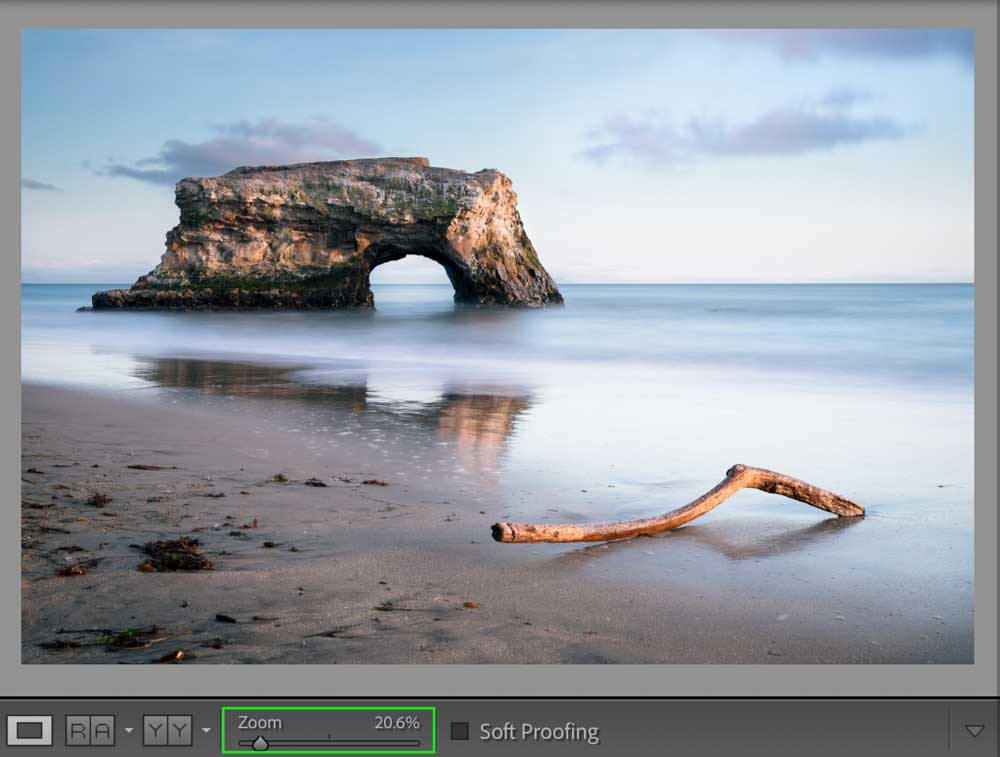
The Zoom Tool is in the toolbar below the images in the Develop module.

Note: You may have accidentally hidden the toolbar, so if you can’t see it, press the T key, and it will appear. If you can’t see the Zoom tool in the toolbar, add it from the Develop module by clicking the down arrow to the far right and selecting Zoom from the options.
To change the amount of zoom, drag the toggle on the zoom bar right to zoom in and left to zoom out. The image will change as you adjust the slider. You can return your view to the full image view by clicking the image once. The zoom percentage will change to reflect.
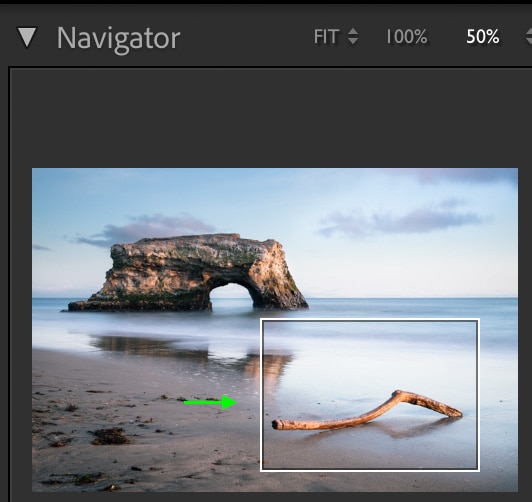
Method 3: Use The Navigator Panel
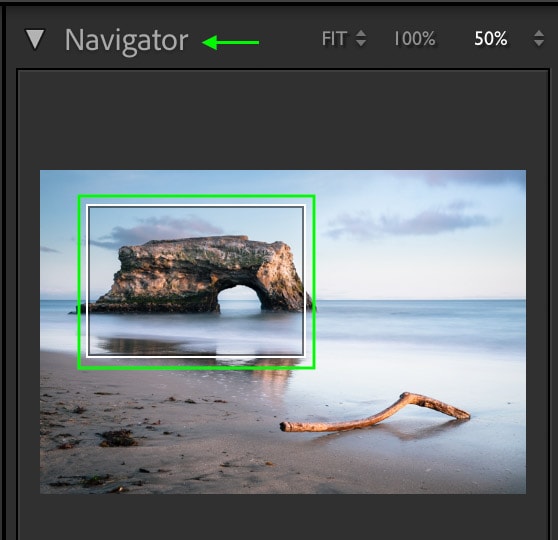
The Navigator Panel, which usually sits to the left of the image in the Develop module, allows you to zoom to a specific ratio using the options available.
Note: If the Navigator Panel is hidden, you can access it by heading to Window > Panels and then selecting Navigator from the options.
To access the different zoom ratios in the Navigator panel, click the arrows next to the current percentage the image is zoomed in. You can click the arrows next to Fit or Fill to zoom back out and see the whole image. Fit will show the entire image fit into the preview, while Fill will fill the preview area with the image.


How To Move A Photo Around When Zoomed In
In the Navigator Panel, you’ll see a smaller preview of your image, with a box around the area that is currently visible after zooming. You can click this box and drag it around the preview to show a different part of the image. This will move the visible part of the image without zooming out.
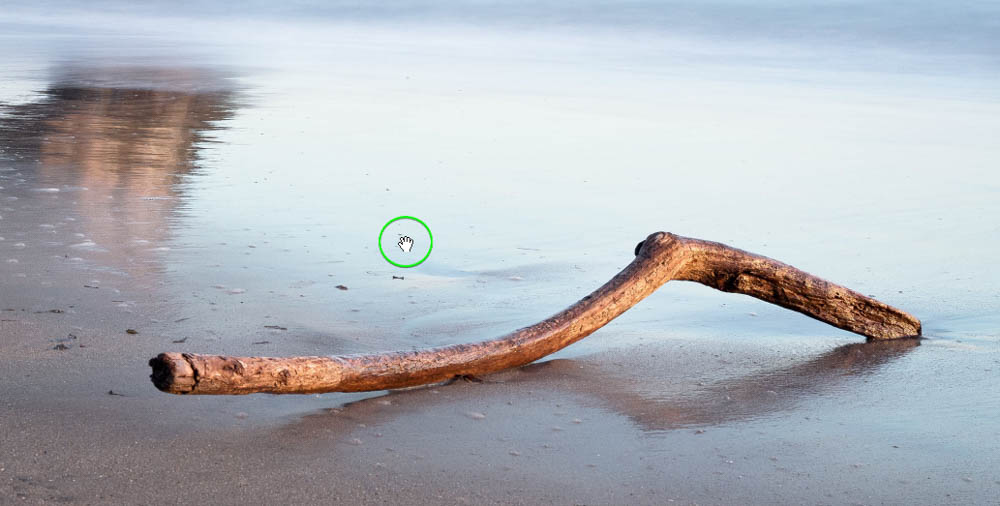
Another quick way to move around an image while zoomed in is to click and drag it along. The cursor will turn into a hand, and you can move around the image as you please.