
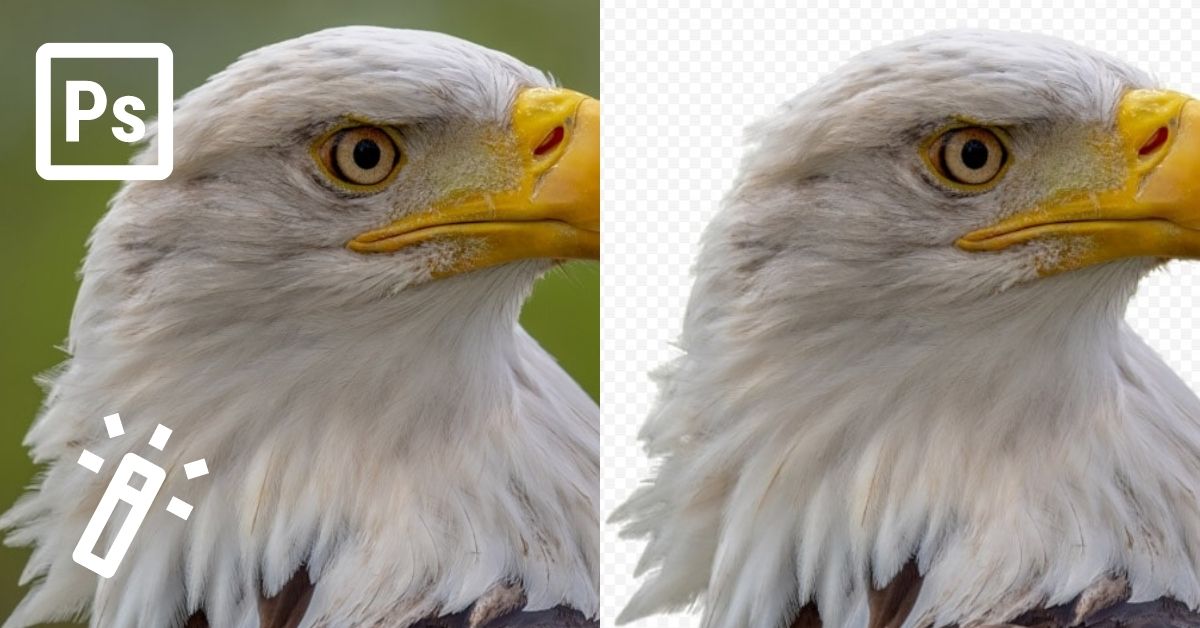

The Magic Wand Tool is one of the most intuitive selection tools for selecting pixels of similar color and tone. I will teach you how to use the Magic Wand Tool in Photoshop to make both simple and complex selections. Once you learn how to navigate the tool’s settings, you’ll start to see how easy it is to use, too.
So, let’s learn what this tool can do!
Video Tutorial
How To Use The Magic Wand Tool In Photoshop
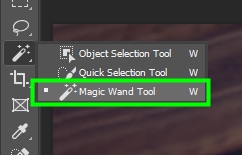
Step 1: Press W To Select The Magic Wand Tool And Adjust The Settings
Click the Magic Wand Tool in the toolbar, or click W on your keyboard.
Then, go to the Options Bar to adjust a few settings. If your image has different hues, it is a good idea to increase the Sample Size so that you can add more pixels as the basis for your selection.
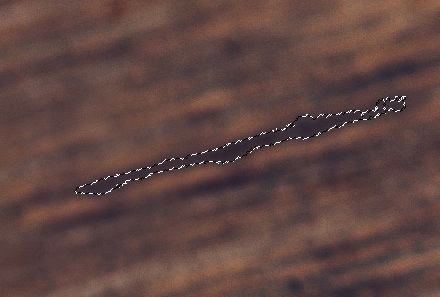
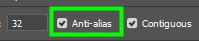
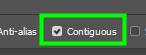
The default tolerance value is 32. You can change this value later if necessary. When removing backgrounds, you should always leave Contiguous and Anti-alias checked. Anti-alias minimizes imperfections on the selection’s edges, and Contiguous ensures that only the background is selected.

Step 2: Make Your Selection By Clicking On The Background Of Your Image
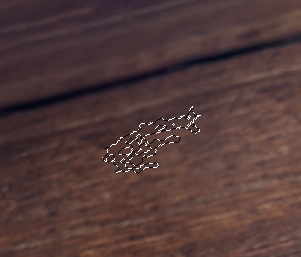
After adjusting all the Magic Wand Tool settings, you can start making your selection by clicking anywhere in the background of your image. To add content to your selection, hold in Shift while clicking on other areas of your image. You can also press Shift and then drag over the area you want to add to the selection.
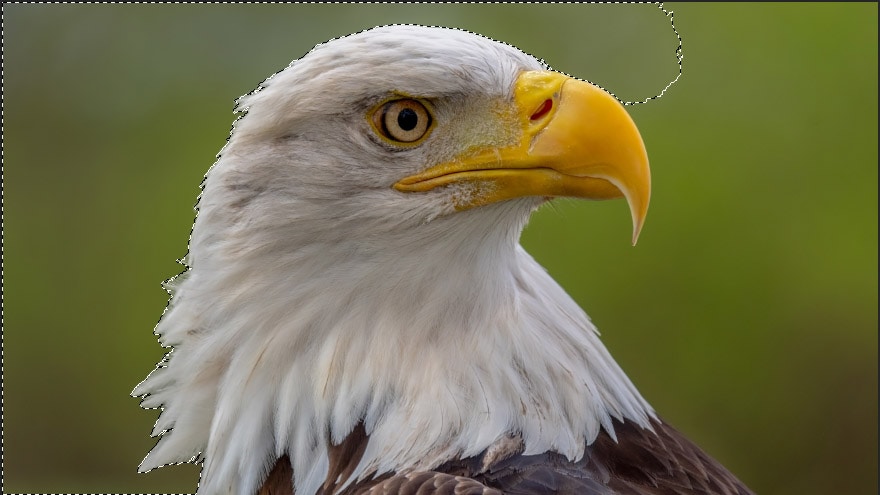
While making your selection, you may end up selecting more than you should. If something like this happens to you, press Alt (Win) or Option (Mac) and click the area to subtract the extra content from your selection.
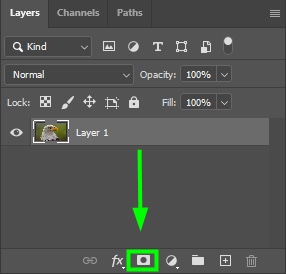
Step 3: Create A New Layer Mask And Remove The Background
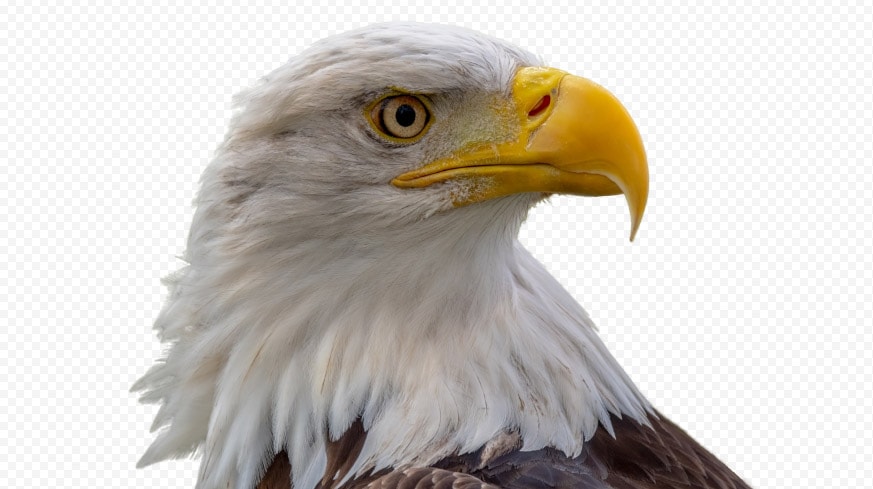
Repeat the steps until you finish selecting the entire background. When you’re finished selecting, remove your background by holding down Alt (Win) or Option (Mac) while clicking the Layer Mask Icon in the Layers Panel to create a new Layer Mask.
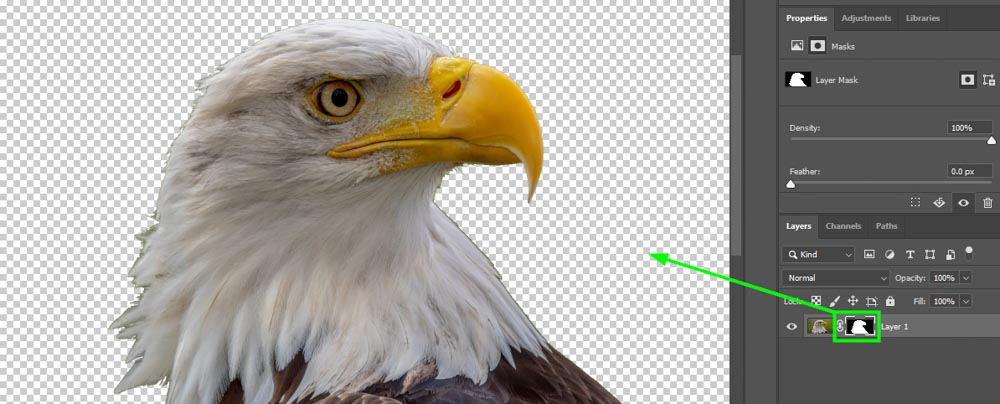
If your selection has imperfections (such as color fringing), you can use Select And Mask to refine the edges.

Magic Wand Tool Settings Explained
– Selection Types
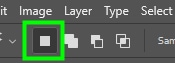
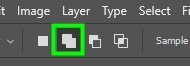
1. New Selection
When you click the magic wand tool, you automatically enable the New Selection option. Then, once you click somewhere in your image, the magic wand tool makes a new selection.
2. Add To The Selection
You should click the second block icon when you have already made your initial selection. When you click this option and then click on an area of your image, that area will be added to your existing selection. You can also add content to your selection by holding in Shift while clicking on an area of your image.


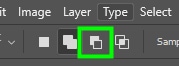
3. Subtract from the selection
This third block icon removes parts of a selection. To enable this option, click on the third square icon in the Options Bar and then click on the part of the selection you want to subtract. Alternatively, hold Alt (Win) or Option (Mac) on your keyboard and click the portion of the selection you want to remove.


4. Intersect with selection
The fourth icon is useful when two selections overlap with a common space between them, and you want to select the intersecting pixels. To do this, click the Intersect with the selection icon and then click the target area. This allows you to merge two different selections into one, even if the selection was made with a different tool.

– Sample Size
Sample Size is one of the most important Magic Wand Tool settings. By adjusting this setting, you can control the number of pixels used as the basis for your selection.
By default, the sample size is set to Point Sample. When this option is enabled, the magic wand tool will only select pixels from the exact tone and color you clicked.
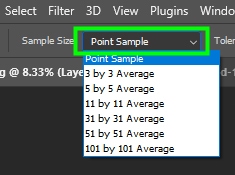

As you increase the sample size, the tool will use a larger area of pixels as the basis for your selection. This will help you make a larger selection where more color tones are included.

In most cases, however, you won’t need to set Sample Size beyond 31×31. Otherwise, you will end up selecting more pixels than necessary.
– Tolerance
Tolerance controls how much the magic wand tool deviates from your sample color. If you set tolerance to zero, the tool will only select pixels with the exact same color and tone as the pixel you clicked.
– Anti-Alias
Anti-alias smooths the edges of your selection by blurring the edges slightly. You should always leave this option checked.
– Contiguous
You should enable Contiguous when you want to restrict the area of your selection. With this option enabled, the tool only selects pixels of the same tone that are touching. If this option is not checked, the tool will select similar pixels to the pixel you clicked across the entire image.


Happy Editing!
