fbpx

How To Mirror Images In Photoshop

Last Updated:

Mirroring your image will create the illusion of your single image being expanded into two halves glued together. Pulling this effect off can create some amazing artistic opportunities. The question is, how do you mirror an image in Photoshop?  

This process involves cropping your image, duplicating the image, activating free transform, moving the reference point, and revealing your entire image by expanding the canvas with two clicks.   


Lesson Summary
Step 1: Select The Crop Tool (C) And Crop Your Image
Step 2: Press Control/Command + J To Duplicate Your Image Layer
Step 3: Press Control/Command + T And Move The Reference Point
Step 4: Right-Click And Select Flip Horizontal/Vertical 
Step 5: Reveal Your Image By Going To Image > Reveal All
Step 1: Select The Crop Tool (C) And Crop Your Image
Step 2: Press Control/Command + J To Duplicate Your Image Layer
Step 3: Press Control/Command + T And Move The Reference Point
Step 4: Right-Click And Select Flip Horizontal/Vertical 
Step 5: Reveal Your Image By Going To Image > Reveal All

How To Mirror An Image In Photoshop

Step 1: Select The Crop Tool (C) And Crop Your Image 

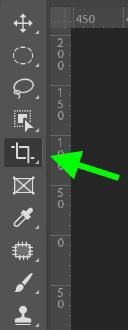
To crop your image, find the Crop Tool (C) in the Toolbar. Enable the Delete Cropped Pixels option in the Options Bar. If this option is not checked, the pixels that you delete will only be temporarily hidden. When we flip our image, all those pixels will return, ruining the effect altogether.

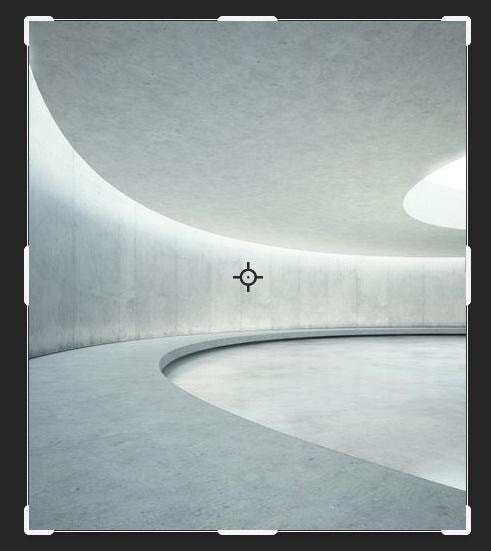
To crop your image, click and hold on one of the white bars and drag it to where you want your image to be cropped. 

Step 2: Press Control/Command + J To Duplicate Your Image Layer

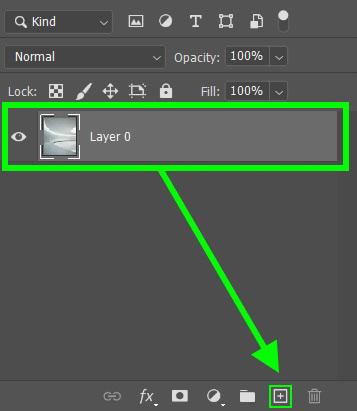
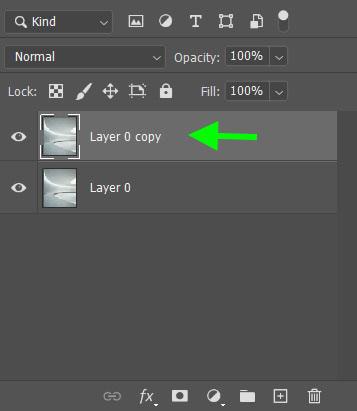
In order to mirror your image, you will need two copies of the same picture. To duplicate your image, click and drag the layer onto the Create A New Layer Icon or press Control + J (Win) or Command + J (Mac)

Step 3: Press Control/Command + T And Move The Reference Point

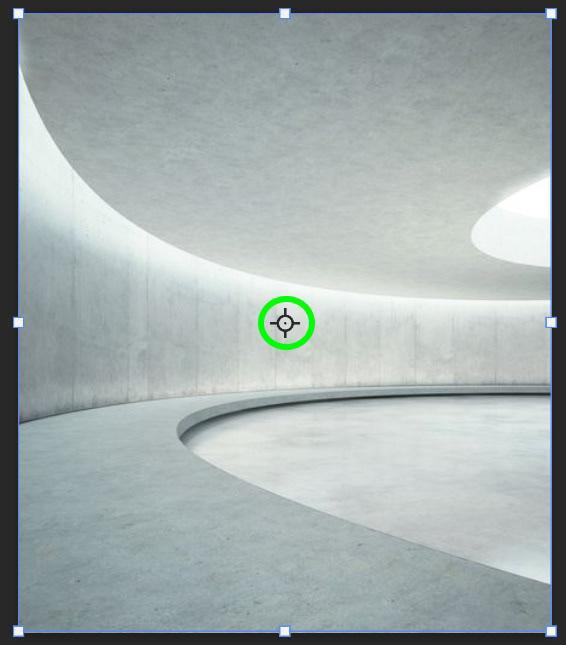
Activate Free Transform by pressing Control + T (Win) or Command + T (Mac). Then, move the Reference Point to the side of the image you want your copied layer to flip to. The Reference Point is the crosshair in the middle of your image. 

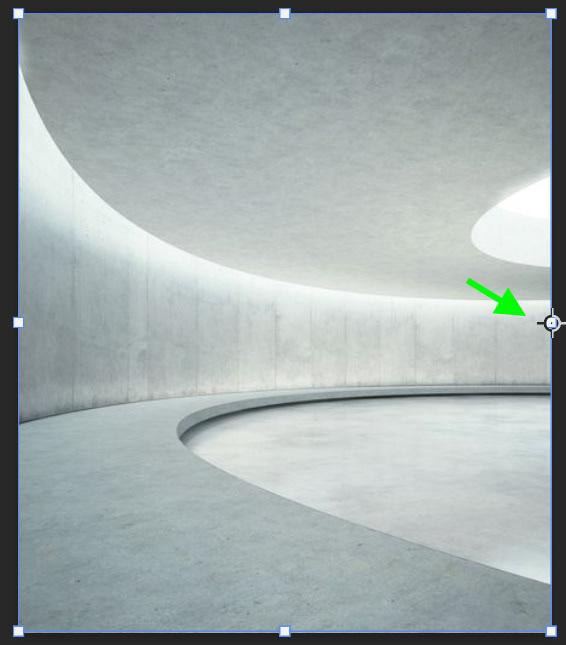
If you want your copied layer to flip vertically, click and hold on to the Reference Point and move it to the top or bottom of the image. If you want your copied image to flip horizontally, move the Reference Point to the left or right of the picture. 

Step 4: Right-Click And Select Flip Horizontal/Vertical 

Now that you set up the Reference Point right-click on your image and select Flip Horizontal or Flip Vertical, depending on your project. 

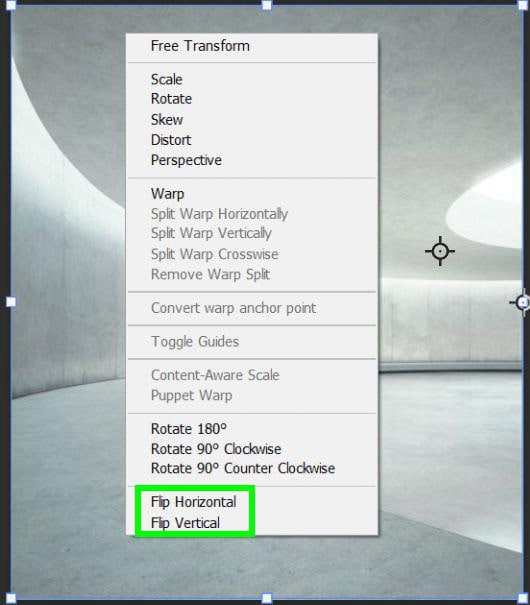
You will know this works when you see an outline of your flipped image outside of the visible canvas. Click Enter to exit Free Transform mode.

Step 5: Reveal Your Image By Going To Image > Reveal All 

You can now reveal the copied image that you flipped outside of your visible canvas. To do this, go up to Image > Reveal All

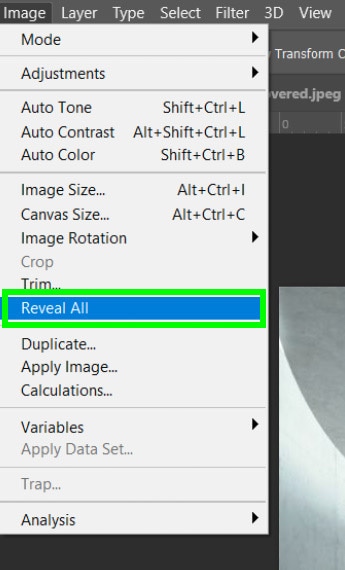
This will expand the canvas size to the exact dimensions of the flipped image you couldn’t see before.

Step 6: Select The Layers And Press Control/Command + E (Optional)

First, click on one of your layers in the Layers Panel, then hold down the Shift Key and click on the other layer. This will temporarily select both layers. Then, right-click on either layer and choose Merge Layers. You can also click on the top layer and press Control + E (Win) or Command + E (Mac) to merge it with the layer below


Photo of author
I'm a Canadian photographer and photo retoucher turned founder of bwillcreative.com. Around here I help you to decode the mystery of photo editing with no-fluff videos and written guides to help you achieve your creative goals. Outside of shooting photos and my passion for educating, you'll find me mountain biking or on the trails with my dog, Sunny!

Continue Reading:

How To Use The Marquee Tool In Photoshop

Learn how to use the Marquee Tool in Photoshop to crop layers, create basic selections, add selective adjustments, and more with ease.

How To Crop A Layer In Photoshop (3 Simple Methods)

If you're struggling to figure out how to crop a layer in Photoshop, you're not alone. Fortunately, there are a few easy (not so obvious) methods to help you crop a single layer in Photoshop.

How To Fill A Selection In Photoshop (5 Best Ways)

Learn how to fill anything in Photoshop from selections, shapes, and text with solid color, gradients, and even images!

What Are Embedded Previews In Lightroom + How To Use Them

Use this guide to help you understand the use of embedded previews in Lightroom along with tips to help you use them in your workflow.

Adobe Lightroom System Requirements For Mac & PC

Here's a breakdown of the system requirements for Adobe Lightroom Classic and Lightroom CC to make sure it will run smoothly on your computer.

How To Add A Watermark In Lightroom Classic & CC

Learn how to add a text or graphic watermark to a photo in Lightroom Classic and Lightroom CC to protect your photos from theft.

How To Outline An Image In Canva

Learn how to outline anything in Canva from outlining images, shapes, text, designs, and more with a few easy steps.

How To Add A Border In Canva (To Images, Shapes & Text!)

Learn how to easily add a border to your designs, images, shapes, and text in Canva using these step by step techniques.

How To Make A Background Transparent In Canva

Learn how to create and export images with transparent backgrounds in Canva to open up more design options and creative styles.

Subscribe
Notify of
guest
0 Comments
Inline Feedbacks
View all comments