

When you’re working on a collaborative project in Photoshop or need to submit a project for review, adding notes can be useful to point out changes. The Note Tool in Photoshop makes this easy, with a one-click method of adding notes to a project for other collaborators to review.
In this tutorial, I’ll show you the power of easily adding text-based comments to your project. You will learn how to make multiple notes, move each note, and delete them. Plus, by the end of this guide, you’ll learn how to make an interactive PDF to view your notes.

How To Use The Note Tool In Photoshop
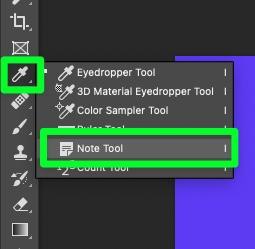
Step 1: Select The Note Tool (I) From The Toolbar Under The Eyedropper Tool
Click and hold the Eyedropper Tool to bring up the sub-menu. The Note Tool (I) is toward the bottom of the list.
Note: Notes written in Photoshop will not appear when you export the photo unless you check the option to do so.
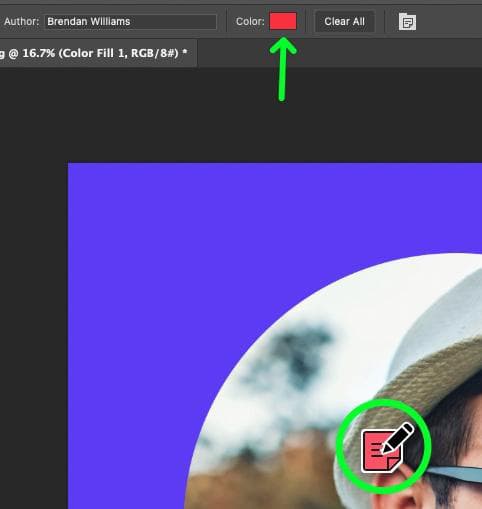
Step 2: Add In An Author And Select The Note Color In The Options Bar
Before you create your note, you can add your name to the Author Box and use the Color Picker to choose a color for the card in the Options Bar.

Step 3: Click On Your Canvas To Add A Note In That Spot
To add your note, simply click anywhere on your canvas. Your note will be represented as an icon in the color you have chosen. The Notes Panel will open right next to it.

Step 4: Type Your Text Into The Notes Panel
To add your text, click inside the Notes Panel itself. You can add as much text as you need. You can edit your note anytime by clicking the middle of it.
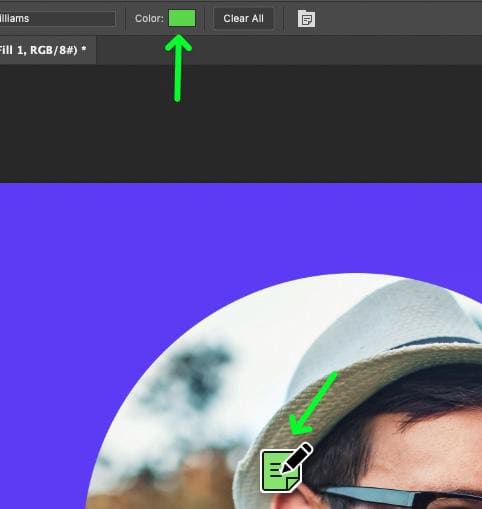
Step 5: Click The Color Swatch In The Options Bar To Change The Color Of A Note (Optional)
You can change the color of your note at any time by selecting it and clicking the Color Picker in the Options Bar.
You can choose any color available in Photoshop, including a more or less saturated version.

How To Move, Delete, And Add Notes
To move a note on your Canvas, position your mouse on the upper left corner of the note icon. Then, click and hold on to the icon. Drag your mouse wherever you need to place your note.

To add a new note, click on the lower left corner of the note icon. This will create a new note you can add anywhere to your project. You can add as many notes as you need to, and you can even add a note outside your canvas.


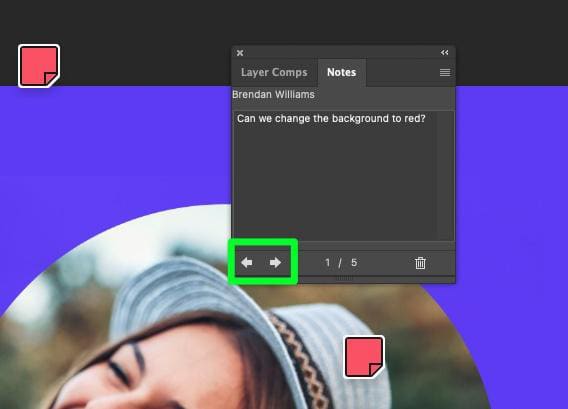
In the Notes Panel, you can use the arrows to cycle through your notes. Alternatively, you can click the exact note you want to view or edit. Just make sure to click the middle of the note.
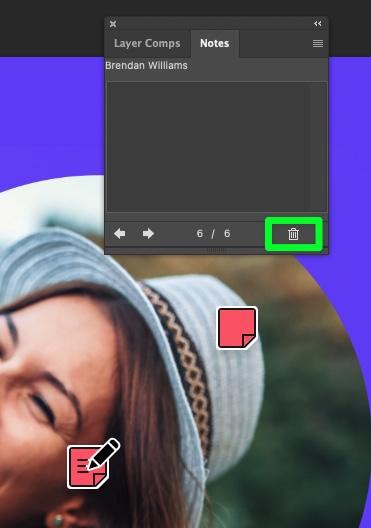
If you need to delete a note, select it, then click on the Trash Can icon in the Notes Panel. You will be prompted to confirm your decision. Click Yes to do so.
If you aim to delete all your notes, click on Clear All in the Options Bar.

How To View Notes In Photoshop
You can read a note at any time by selecting it and then viewing it from the Notes Panel. If the Notes Panel is in your way, you can temporarily hide it by clicking the Show/Hide button in the Options Bar.

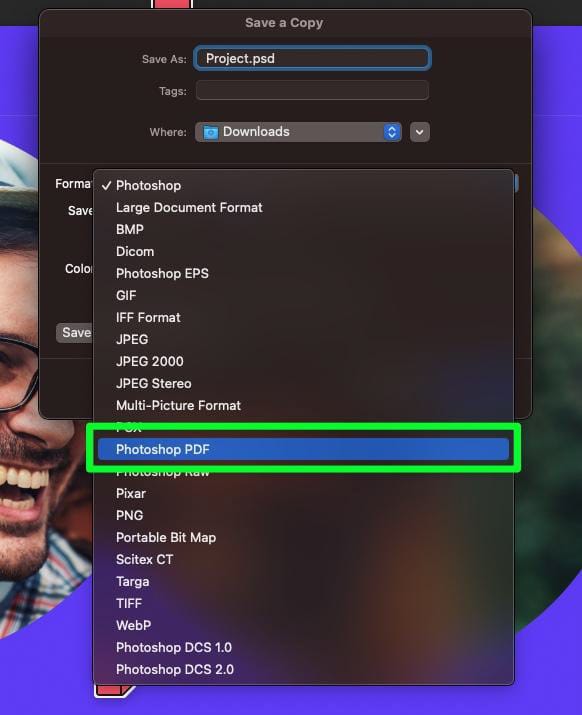
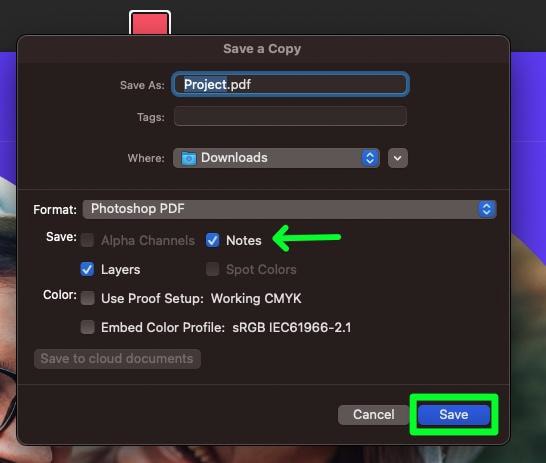
You can also view your notes outside of Photoshop in a PDF format. To do this, go to File > Save A Copy. When the Save A Copy Panel pops up, click on the Format drop-down menu. You must save your copy as a Photoshop PDF.
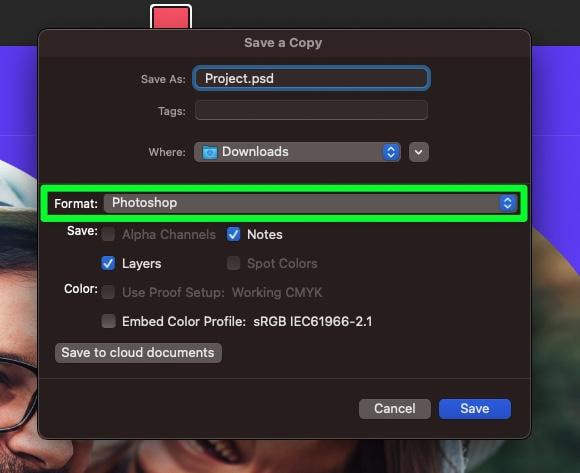
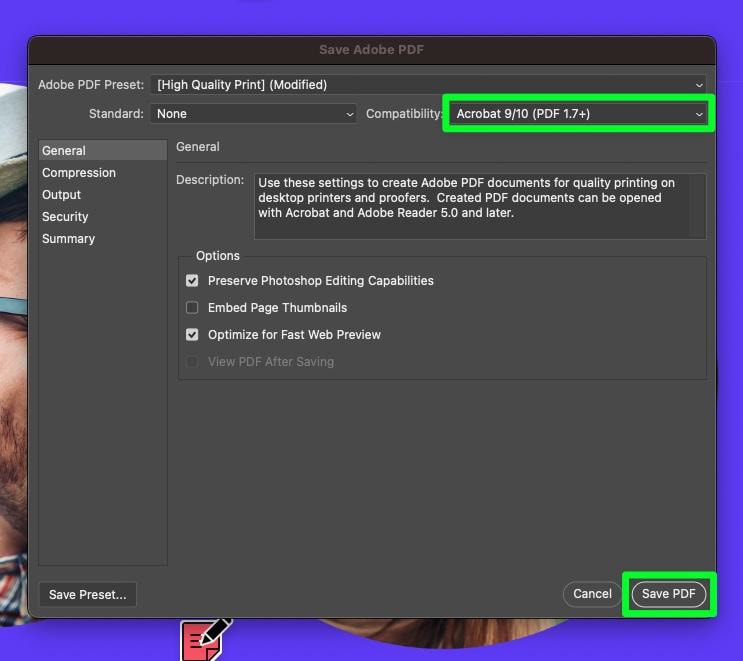
Make sure that Notes is enabled, and click Save. The only option you need to be concerned with in the next menu is the Compatibility option. Click on the drop-down menu and ensure that you have the most recent version of Acrobat. Once that is done, click Save PDF.
When you open this PDF, you will notice little dots on your canvas. These dots may seem like random pixels on your image, but these dots are the notes. To view one of your notes, click on it. Your note will temporarily expand so you can read it.

If you need to move one of your notes, you can just drag it with your mouse. Also, if you want to delete one of these notes from the PDF, click on it, then hit the Delete key. This will remove your note from the exported PDF.
Ultimately, the Note Tool in Photoshop is helpful for in-project and exported project comments to share with your co-workers. That way, you can easily keep track of changes that need to be made without manually writing them down with pen and paper!
