
Odds are that you already know how to remove a background in Canva, but erasing part of an image is a different story. So looking for some type of eraser tool seems like the obvious solution to this problem.
Unfortunately, the problem you’ll find with Canva is that there is no eraser tool. Or I should say, the eraser tool is not in an obvious place. Luckily, in this tutorial, I’ll show you exactly where you can find this hidden tool to erase part of your images in Canva quickly.
Note: These techniques require the Background Removal Tool which is only available for Canva Pro Users. If you are using the free version of Canva, there are not any tools available to help selectively erase parts of a photo. Instead, you will need to simply crop your image instead.
How To Erase In Canva
It’s much easier and more convenient to erase parts of your image in a program like Photoshop. Any software that lets you use an eraser brush will be easier to erase pixels from your design.
However, if Canva is your main graphic design software, or if you don’t have time to open your image in another program, then Canva works in a pinch.
Here is how to erase parts of your image with Canva.
Step 1: Add A Background Behind Your Image
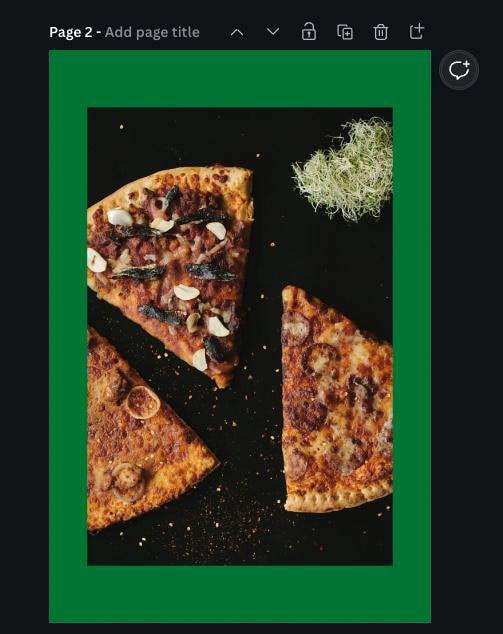
To make the erasing process easier for you later, placing a background behind your image is a good idea.
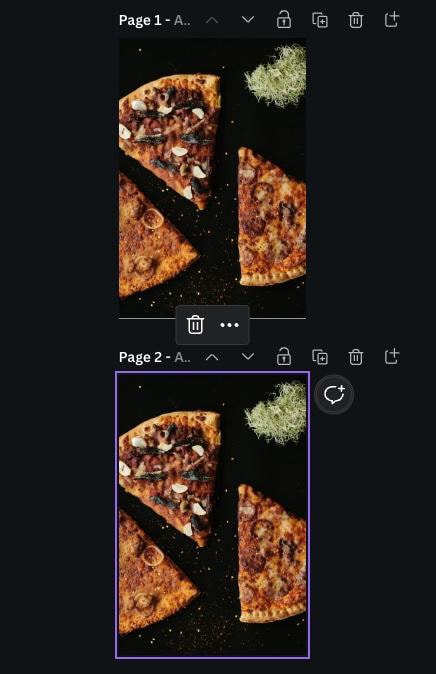
First, duplicate your page by clicking the Duplicate Page button above your canvas. This way, you can make all your edits on the duplicated copy to have the original copy available as a backup.

Now that you have a duplicate copy of your image, you can add your background behind your image.
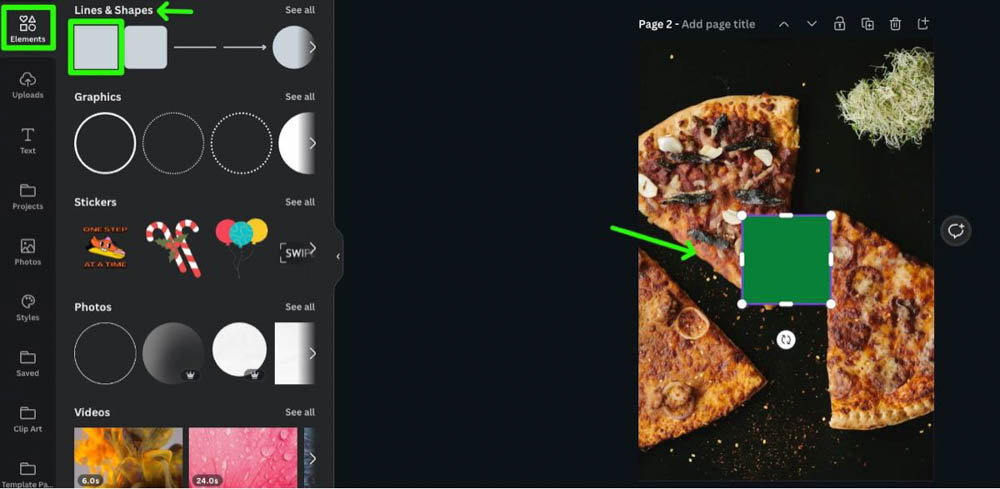
In the Elements tab, scroll down until you find Lines & Shapes. Click on the rectangle to add it to your Canvas.
The rectangle’s color should be darker to make it easier to spot problem areas later on when you are erasing.
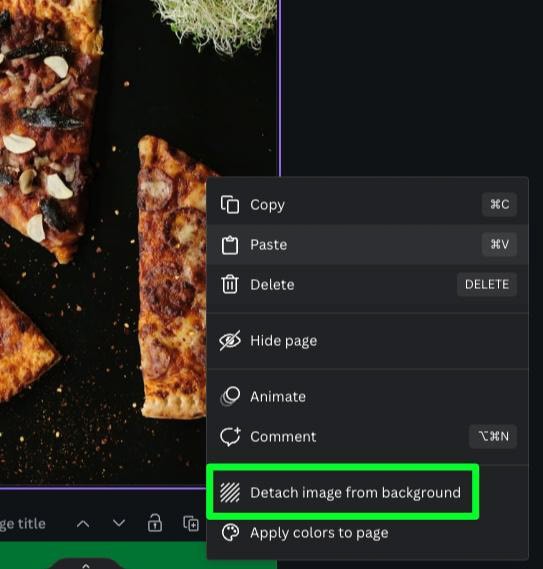
The next thing you need to do is detach your image from the background. If your image takes up your entire canvas, there’s a good chance it needs to be separated so you can place your rectangle behind it.
To do this, right-click on your image, then choose Detach Image From Background.
Now that your rectangle and image are two separate elements, you can stretch out your rectangle to fit the entire canvas. This will act as your background.
From here, you can stretch out your image to fit the rest of your canvas or leave it as it is.
Step 2: Apply The Background Remover
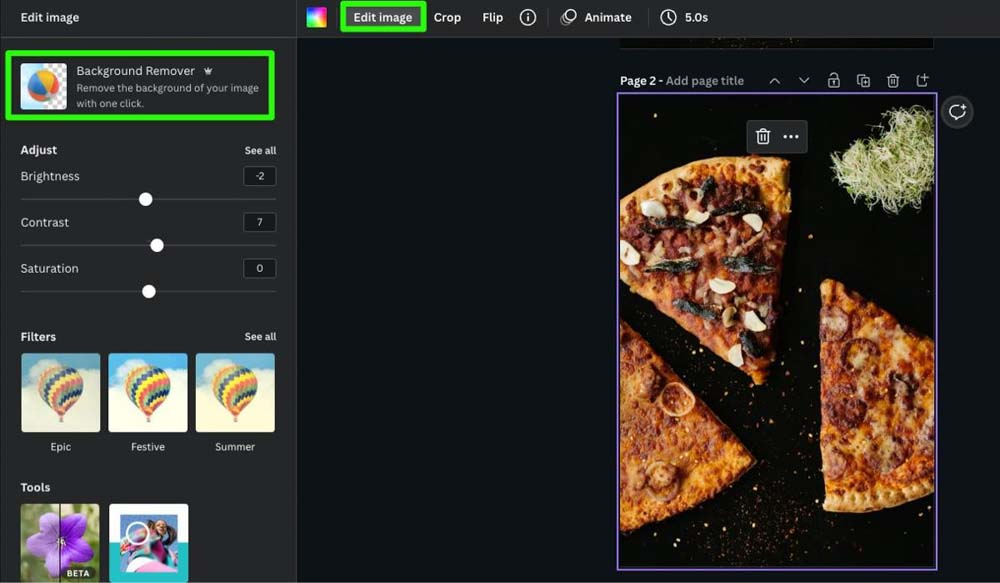
To access the eraser tool, you first need to use the Background Remover. To do this, select your image, then click on Edit Image. Scroll down and click on Background Remover. Note that this is only available for Canva Pro users at the time of writing.
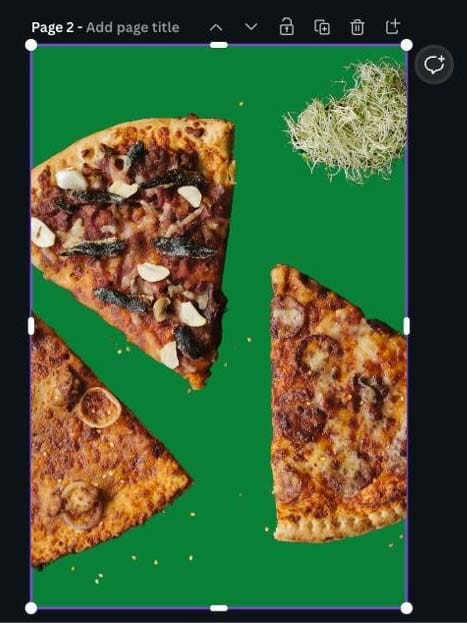
Canva will remove the background of your image instantly. This will reveal the background you added earlier.
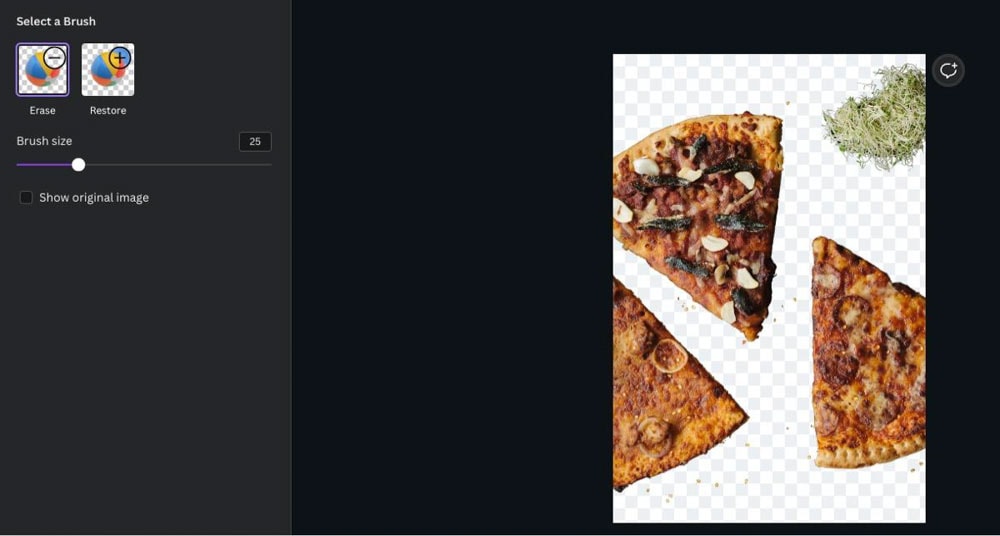
Step 3: Select The Eraser Tool
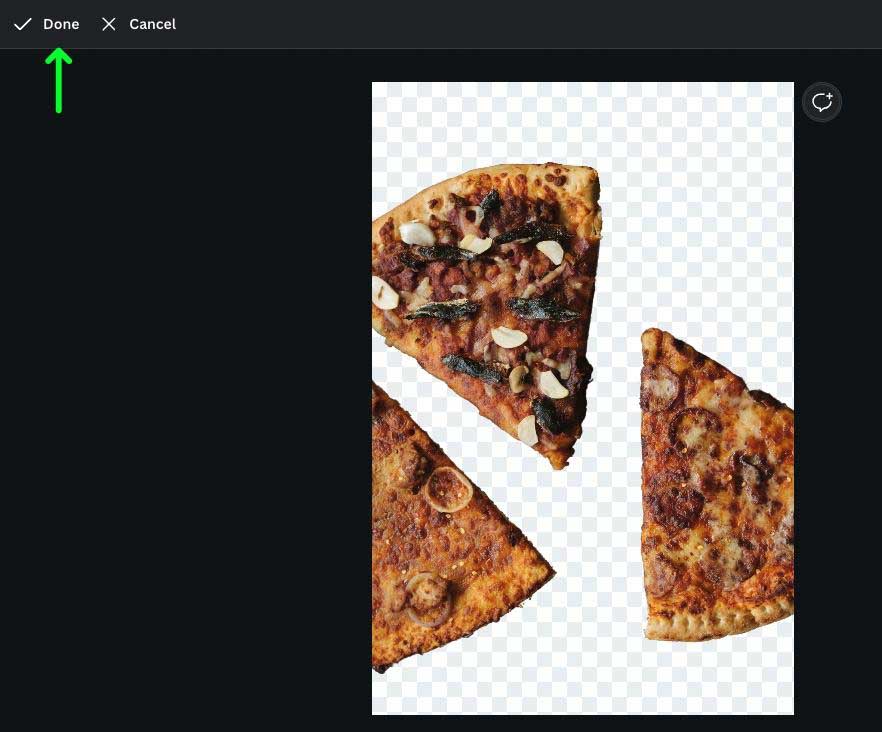
Now that the background of your image has been removed, you now have access to the Eraser Tool (or, Eraser “Brush”). Click Erase to enter eraser mode.
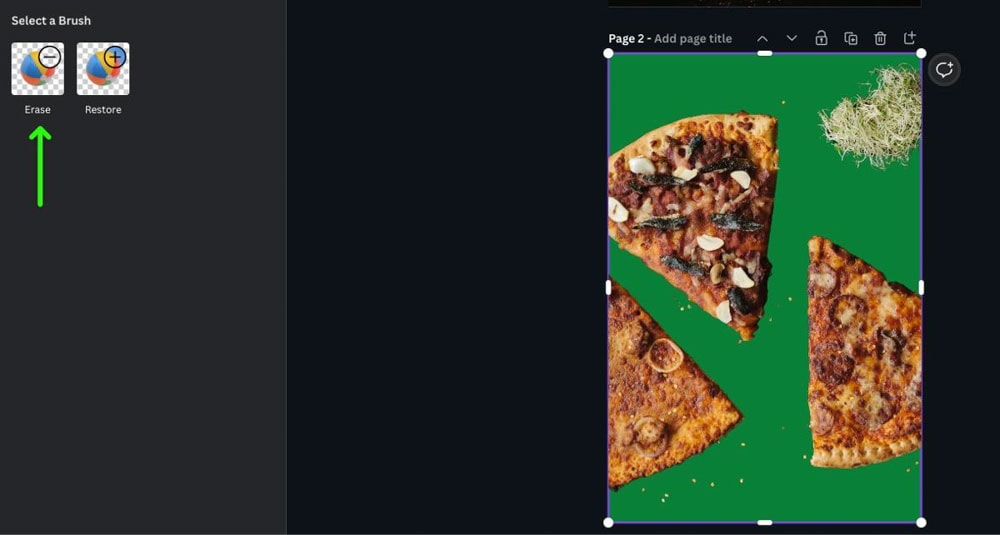
You’ll first notice that the background you placed earlier disappears once you click erase. This is unfortunate when you’re trying to erase part of your image, but the background will return when you confirm your edits.
Step 4: Erase What You Need To In Your Image
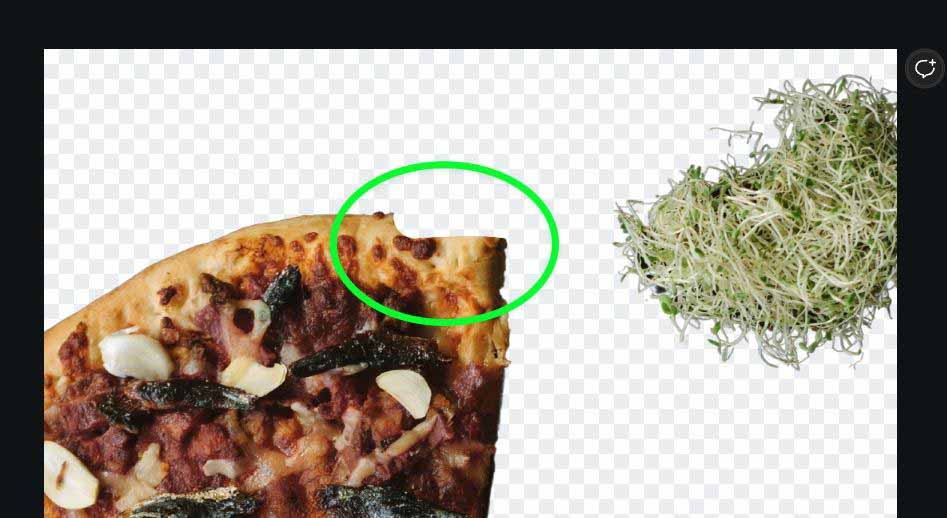
Canva’s eraser brush is just as intuitive as any brush used in any other graphic design software. Just drag your mouse over the areas you wish to erase from your image.
The pixels you drag your mouse over will be deleted instantly.
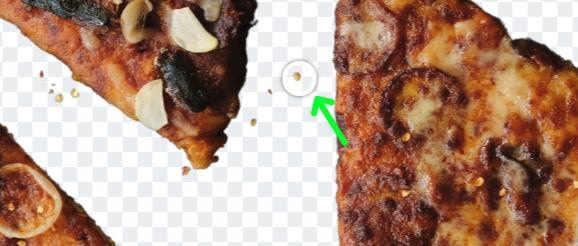
A common problem with using the eraser brush is how easy it is to erase too much of your image by mistake.
Canva only gives you the option of using a round brush. A square brush would make cleaning up edges and tough spots easier, but unfortunately, Canva does not give you that option.
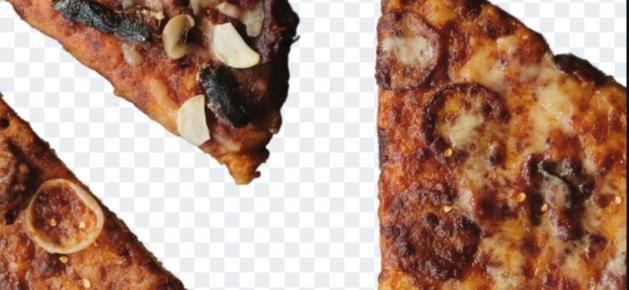
If you find yourself deleting too many pixels, you can select Restore to use the Restore Tool and restore the pixels that need to come back.
The Restore tool is also useful if you don’t want to remove the background but only an element from the image. It’s quite a roundabout way to remove an object, but unfortunately, it’s the only way in Canva. You can restore the entire background and then use the eraser to remove the object you want to.

There’s another problem when restoring pixels as well. You may restore too many if you’re not careful while restoring pixels. If this happens, you’ll need to click Erase again and clean up the area you over-restored.
When using these two brushes, there might be a bit of a push and pull.


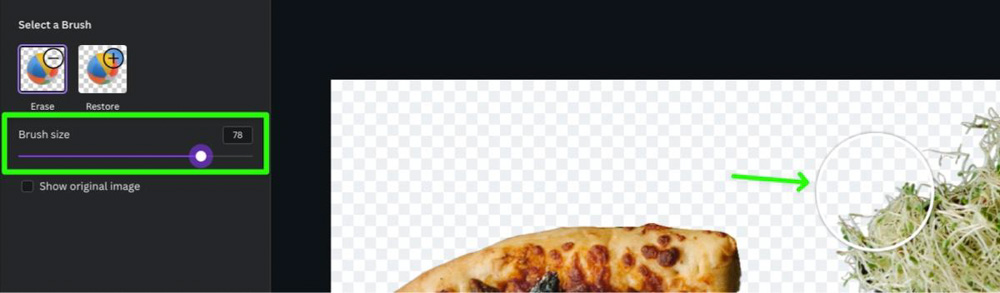
If you have a larger object to remove from your image, you can make your job easier by making your brush bigger with the Brush Size Slider.
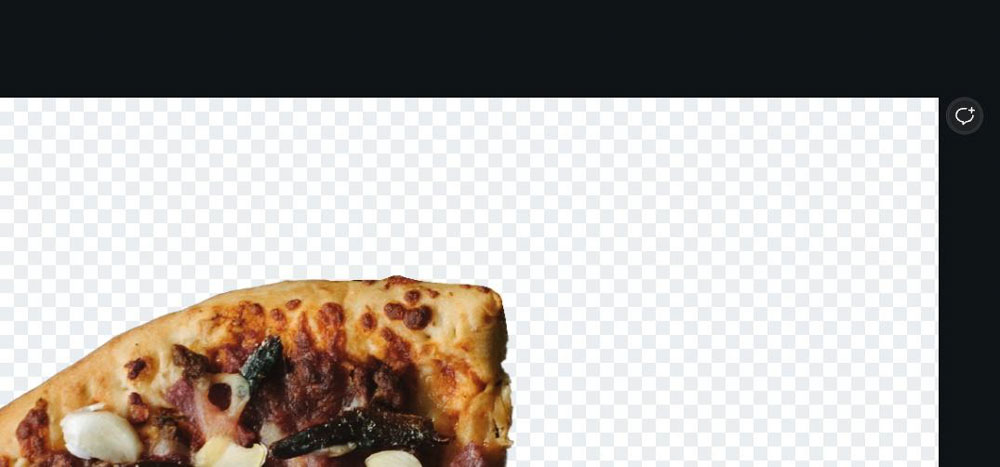
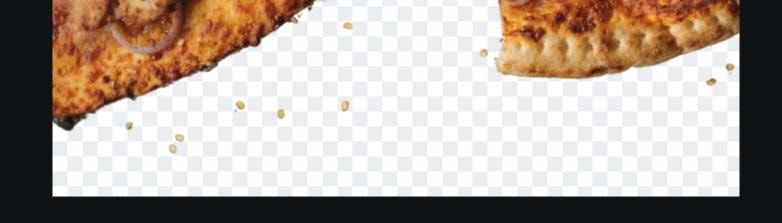
When you are done erasing pixels from your image, click Done to confirm all of your edits.
You can now spot all the areas you may have missed with the background you added earlier.
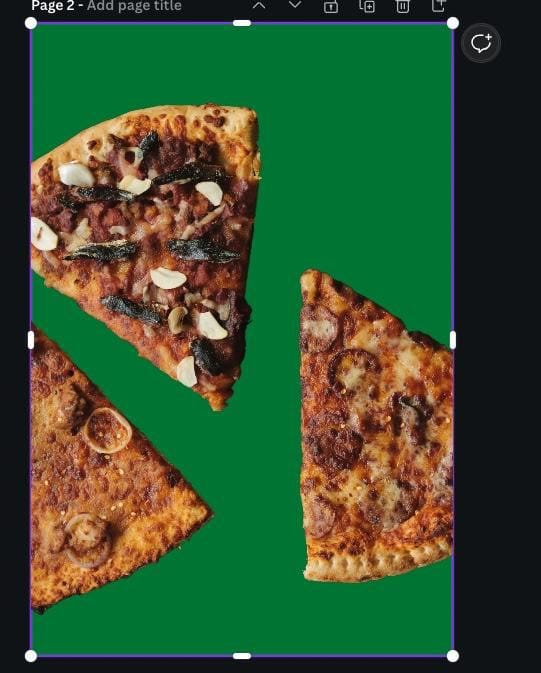
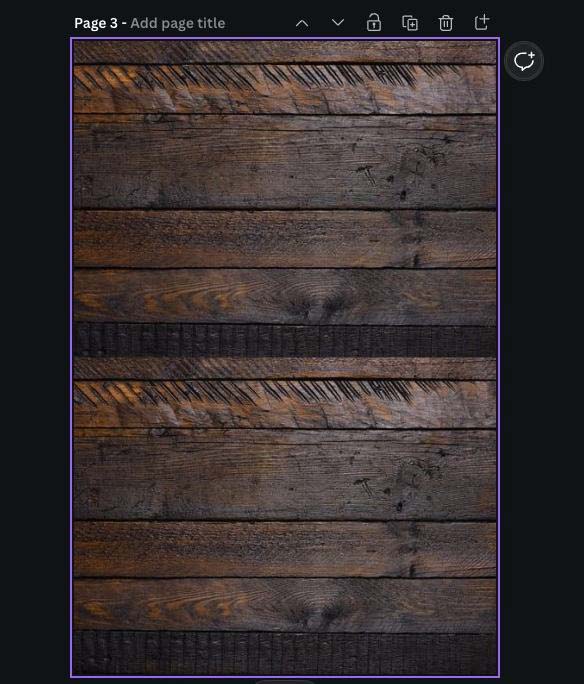
Step 5: Drag Your Cut-Out Image Onto Your New Background
Your image is ready to be placed in front of your new background.
First, drop your new background on a separate page. Then, drag your photo on top of your new background. If you need to, stretch out your image to fit your canvas.

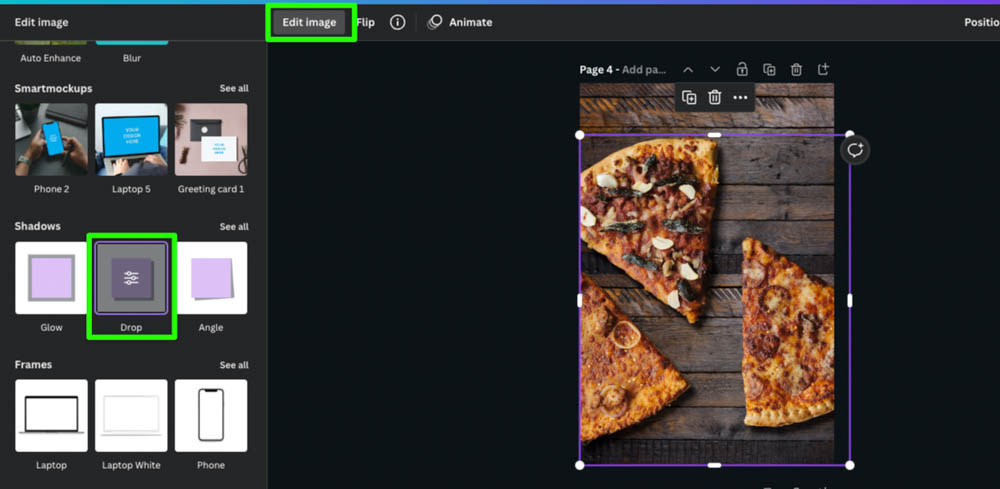
Step 6: Add A Drop Shadow If Necessary
Once you place your image on top of your background, you may notice that it looks slightly off. Often after you do a good amount of erasing, your image will stop looking natural.
One of the easiest ways to fix this is by adding a drop shadow to your image.
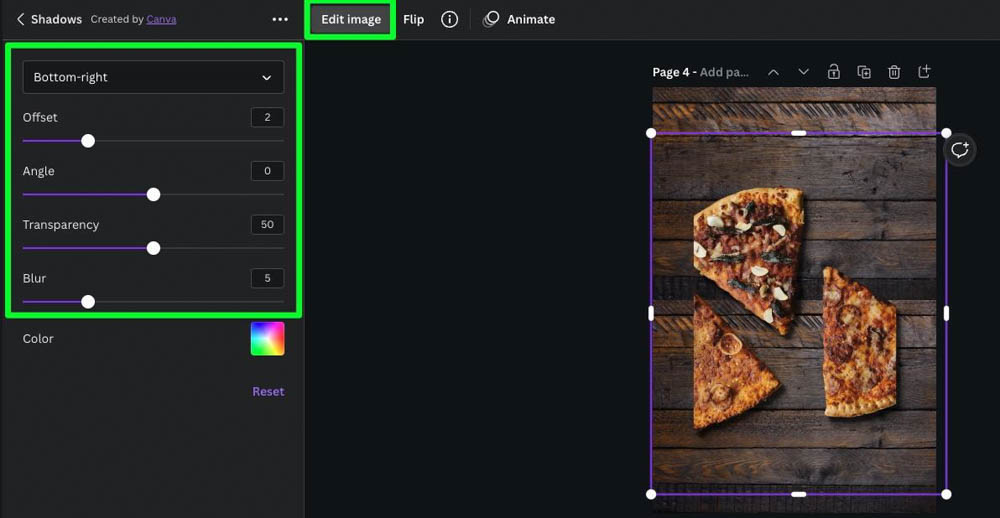
To do this, select your image, then click on Edit Image. Scroll down to Shadows, then select Drop. Click on it again to adjust the settings.
Once you apply the Drop filter, your image will shrink a bit. This is natural, and your image will snap back to full screen when you’re finished.
At the top of the settings, you can adjust where your shadow comes off your image. Your shadow can be angled from the top, bottom, right, left, and everything in-between.
As for the rest of the settings:
- Offset – This setting will adjust how far your shadow will stretch out.
- Angle – Move this slider back and forth to adjust the angle of your shadow even further.
- Transparency – This slider will adjust how “see-through” your shadow is.
- Blur – Adjust this slider to add a blur to your shadow. This slider is pretty powerful, so keep that in mind while you move the slider back and forth.
You can also change the color of your shadow with the Color Picker toward the bottom of the options. This is not recommended if you’re going for a more realistic look with your design. This, of course, depends on the design you’re creating.
When you’re done editing, click Apply to confirm your changes.
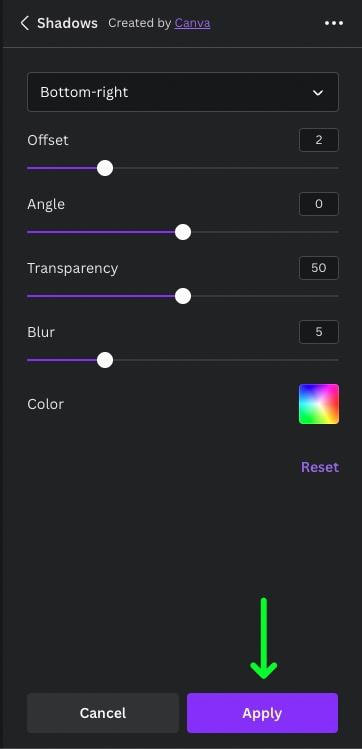
Your image should blend better with your background now.

Step 7: Add Your Final Elements
Now that your image and background are set, you can add your final elements to your design.

You now know how to erase anything from your photo using Canva.