

Focus stacking is a skill that any aspiring professional photographer should learn and with the help of this guide, you’ll be able to do it yourself a lot faster than you think.
The focus stacking technique keeps a shallow depth of field to your images while ensuring that the subject of your photo is super sharp and in focus. It simply requires you to capture several photos at different focus points to get a full coverage of your subject in focus. From there, you use Photoshop to blend them all together in a few clicks. Just make sure you have a tripod ready to go before you try this for yourself!
So let’s first break down how to capture a focus stacked image, and then dive into Photoshop to blend it all together!
How To Capture A Focus Stack
Focus stacking is the process of taking multiple photos of one scene using various focal points to stack the images onto each other during post-editing.
This process is used to overcome depth of field limits by creating a very shallow depth of field (blurring the background) while keeping the image’s subject in focus. It is also used to keep an entire scene in focus where light is limited, and you can’t use a narrow enough aperture. Think night photography for example.
Often, you will be able to achieve the depth of field you want using the right lens and aperture settings. However, in some cases, you will need to use this technique to produce a well-balanced image.
Focus stacking is a technique commonly used in macro, product, and nighttime photography, but only on non-moving subjects. Since you need to take multiple images of the exact same scene, you will need everything in the frame to remain perfectly still, as well as your camera.
To get started, set up your scene or go to the area you want to take the image and get your camera and tripod ready.
Step 1: Set Your Camera Up On A Tripod
To reduce ghosting in the final picture, which is unintentional blurred areas of the image due to moving objects, camera shake, or the photos not lining up correctly, you should use a tripod. So prepare your equipment by setting your camera up on your tripod.
Remember to ensure the tripod is level and stable, and the camera isn’t skewed. You don’t want to have to straighten the images in post-processing, especially as you may cut out important details from the image.
At this point, set up the exact composition you want, as you won’t be able to change the composition after taking the first shot. If you realize that the composition is off after taking a few images, you’ll have to start the process over.
So make sure everything is correctly in the frame and there are no moving objects that will enter the frame or move for the few minutes it will take to capture the images. Use a timer or cable release to avoid camera shake.
Step 2: Set Your Lens To Manual Focus (MF)
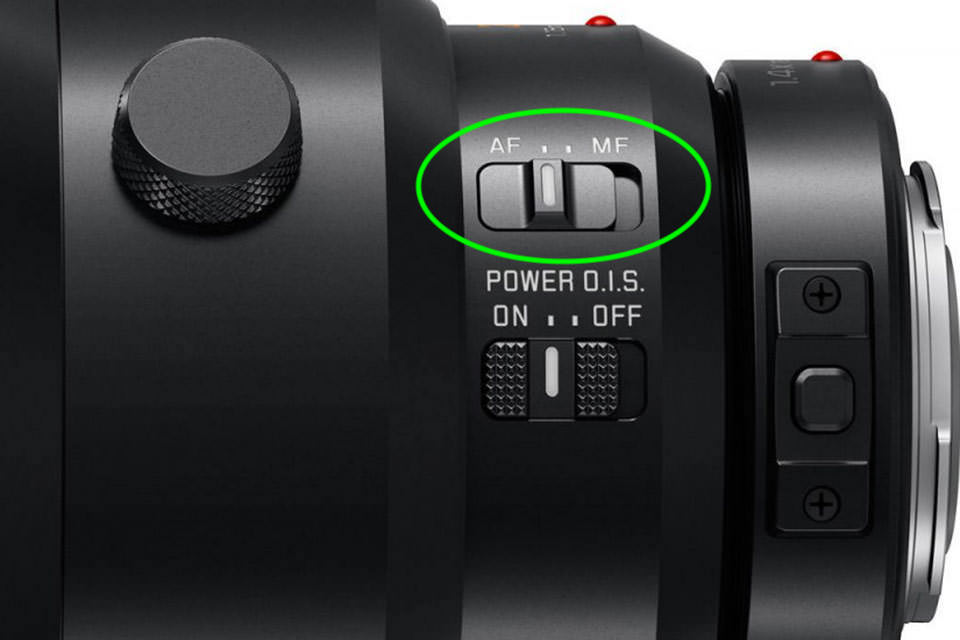
Next, set your lens to manual focus by flipping the switch on the side of the lens barrel. Every professional lens will have a button that says AF/MF, which controls the focus. Make sure the switch is on MF.
Step 3: Set The Focus To The Furthest Point Of Your Subject
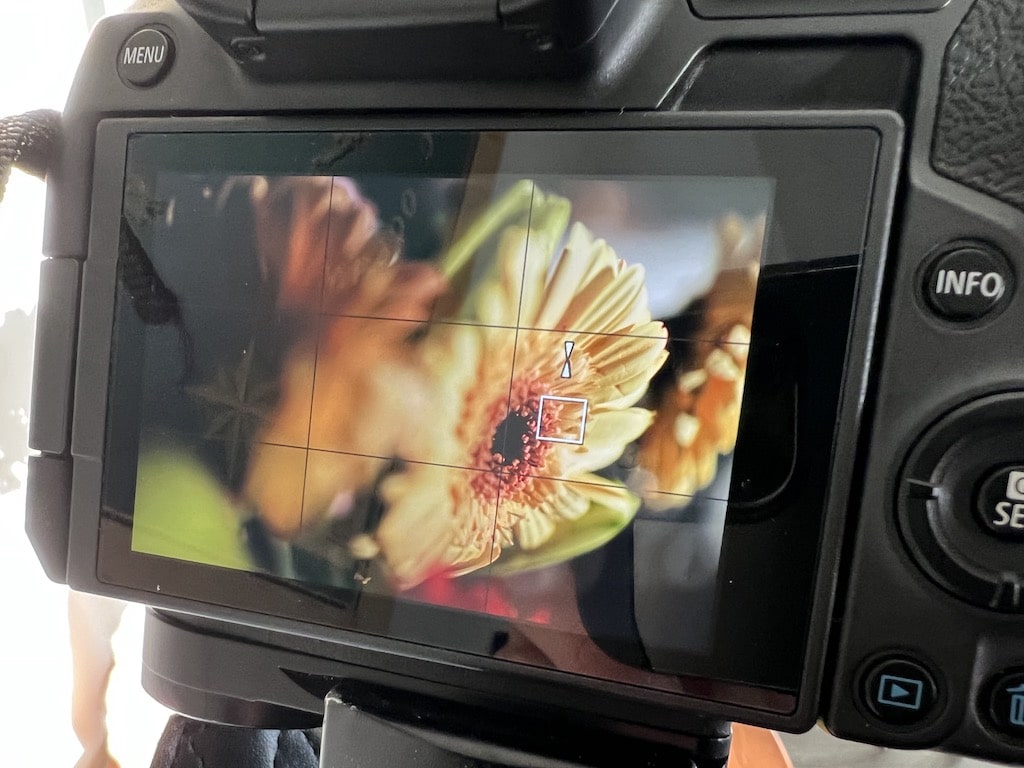
Manually set the focus to the furthest point of the subject by turning the focus ring on the lens barrel. Once the most distant point is in focus, don’t worry about how the rest of the image looks, capture the photo.
A focus rail captures the focal points in small increments, which is extremely helpful, especially for macro photography. However, you can still achieve a good result without one.
Step 4: Move The Focus Point Closer To The Lens
Now, move the focus slightly closer to the front of the subject, but not too much. Then, capture the next image. The amount you shift the focus depends on how much of the image you want in focus.
You will need at least two images to focus stack, but I recommend you take more photos for better results. For landscapes, three images should be enough. Take one of the background, then the middle ground, and then the foreground. For macro photography, you will need a lot more images, starting with at least eight pictures and reaching beyond 20 images in some cases.
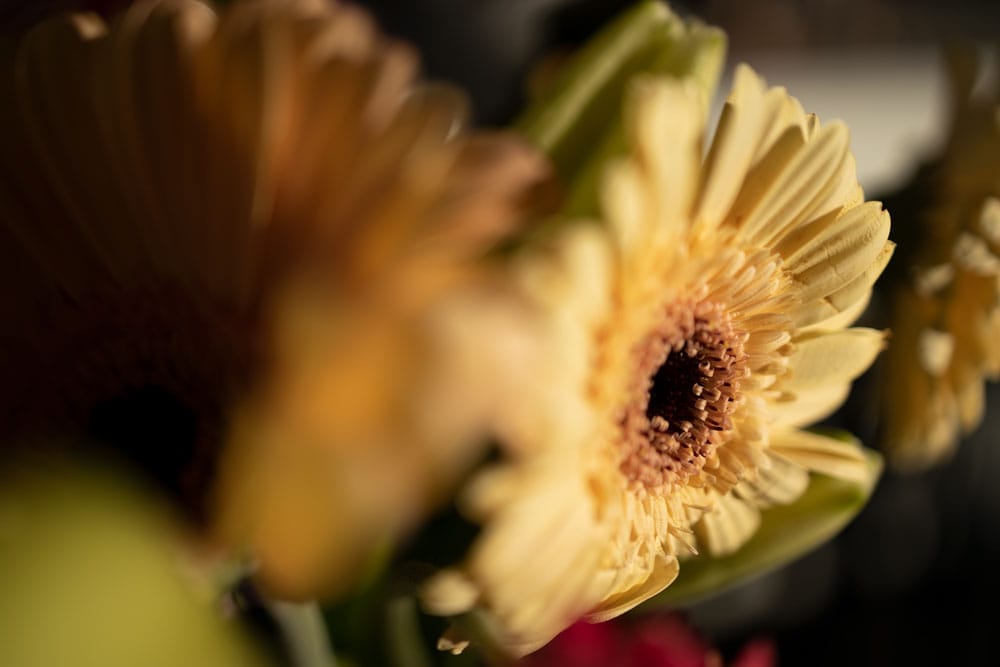
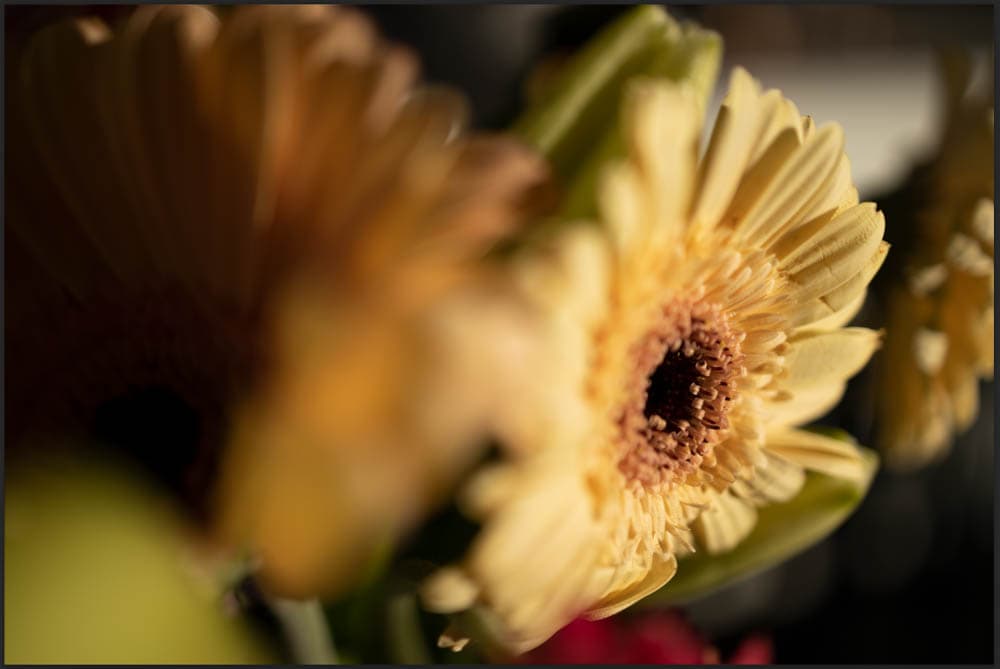
For my example, I have taken 11 photos to add to the focus stack to get my subject sharp and in focus while keeping the background blurred.
Note: Rather take too many images than too few images, as you can delete similar-looking images in post-processing rather than being left with too few photos to complete the process.
Step 5: Repeat Until You Have Captured Every Point of Your Subject In Focus
Repeat the process by moving the focus slightly closer to the front of the subject each time before taking the photo. In the end, you will need to have an image of every point of your subject in focus to achieve the desired result.
Check the photos to ensure that nothing has moved between the shots you took and that the brightness of the scene has remained consistent. If the brightness has shifted throughout the images, you will need to correct the lighting and start the process from the beginning.
How To Blend A Focus Stack In Photoshop
Once you have your images with the different focal points, you can transfer them to your computer and blend the stack using Photoshop in a few quick and easy steps. If you are editing the images in Lightroom first, you can right-click and open the files as layers in Photoshop, but you can also open the images directly into a stack from your files.
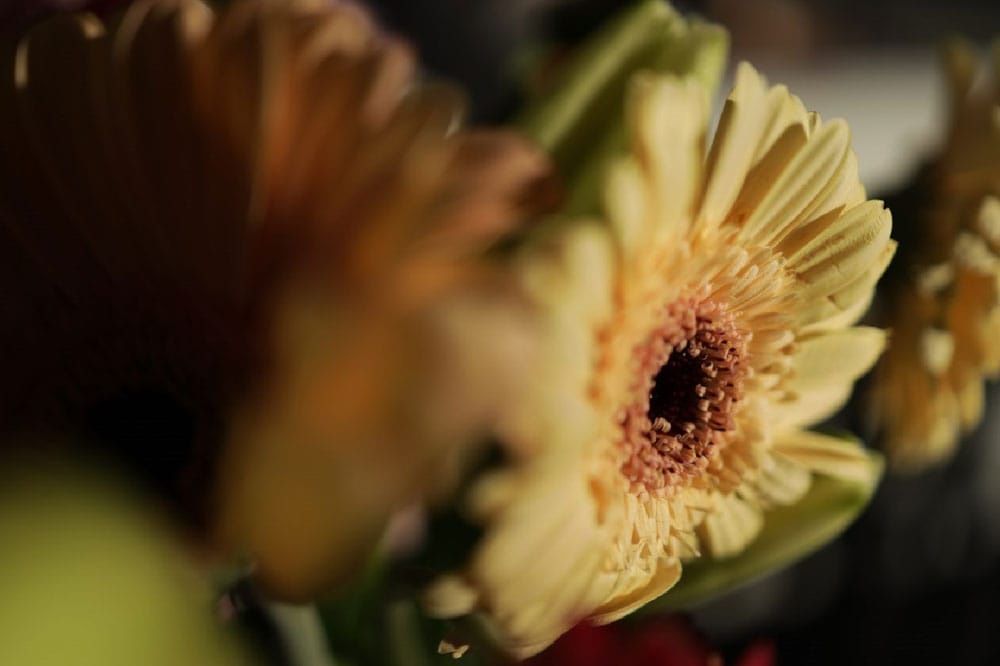
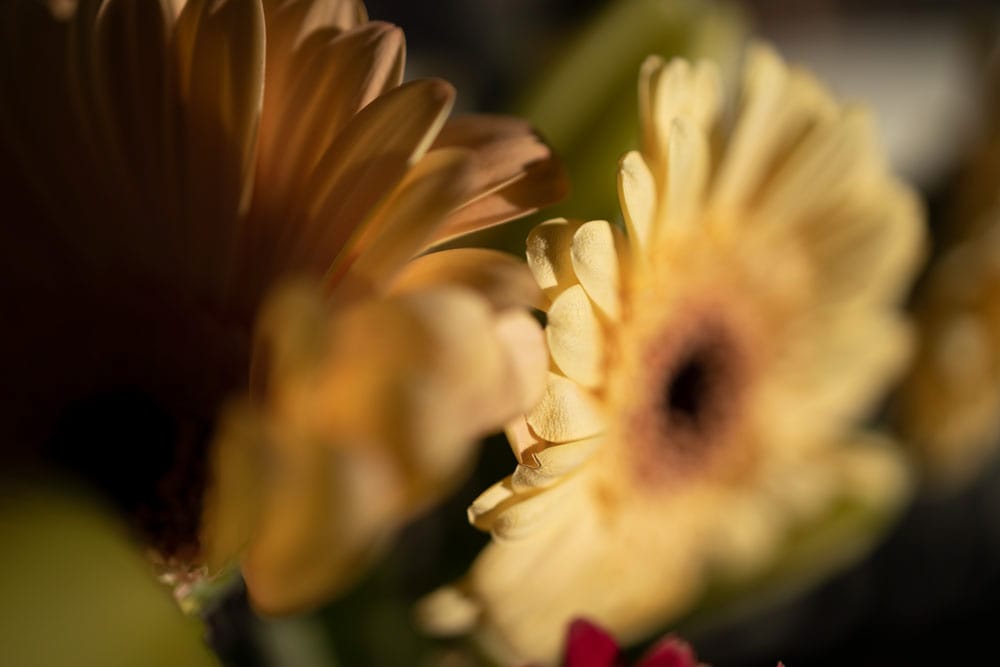
Here are three of the images I will be using that show the different focal points. I will add 11 images in total to complete the stack.
Step 1: Load The Images Into A Stack In Photoshop
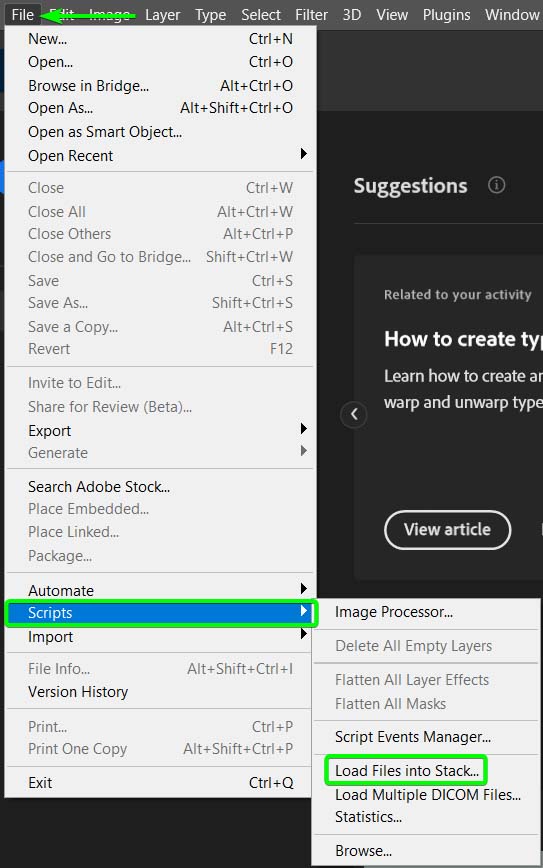
To start editing, you must open the images as individual layers in one document. You can easily do this by going to File > Scripts > Load Files into Stack.
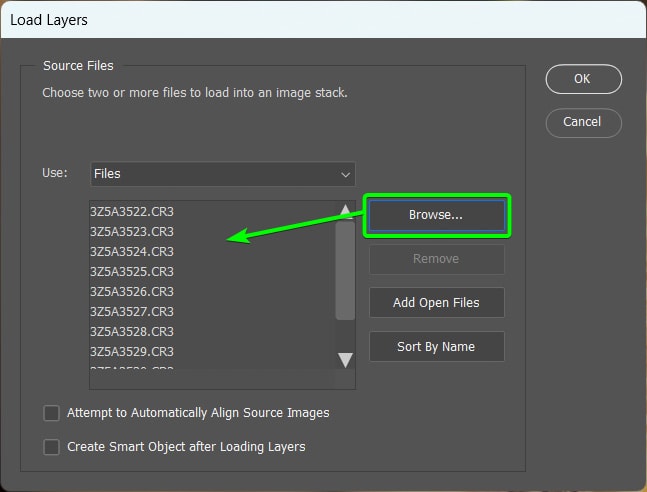
In the Load Layers panel, you can find the folder containing your images by clicking on Browse and loading the photos into the panel.
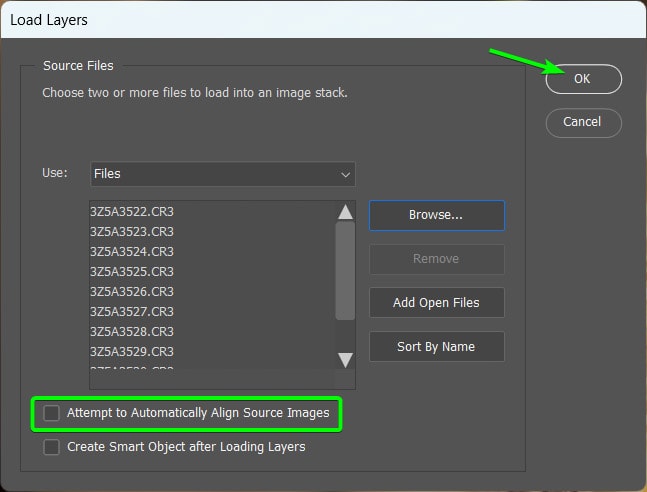
Once your images are loaded, if you feel you may have bumped the tripod during shooting or didn’t use a tripod, you can check the box next to Attempt to Automatically Align Source Images, then click OK to open them in Photoshop.
However, I will also show you how to auto-align the images in Photoshop as well.
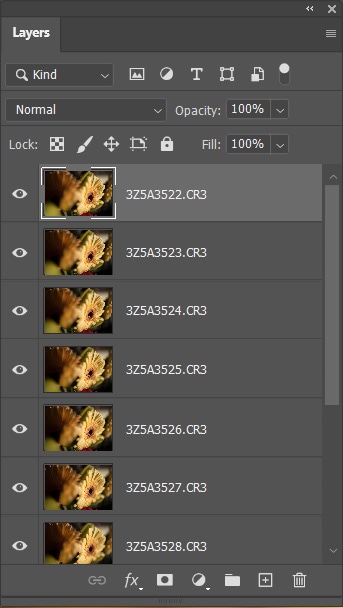
Your images will open as individual layers in the Layers Panel. The ordering doesn’t matter as long as all the photos have been loaded.
Step 2: Auto-Align The Image Layers
Suppose you want to ensure that all the images are lined up correctly to reduce any ghosting. This step is beneficial in case the tripod moved slightly or pressing the shutter button caused a bit of camera shake. In that case, you can auto-align the images in Photoshop before creating the focus stack.
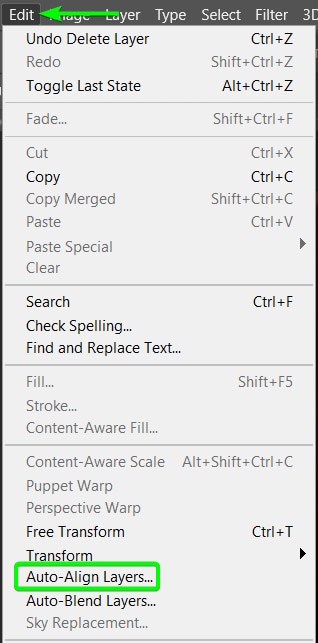
To auto-align the images, select all the layers by clicking on the first layer, then holding in Shift and clicking on the last layer. Then, go to Edit > Auto-Align Layers.
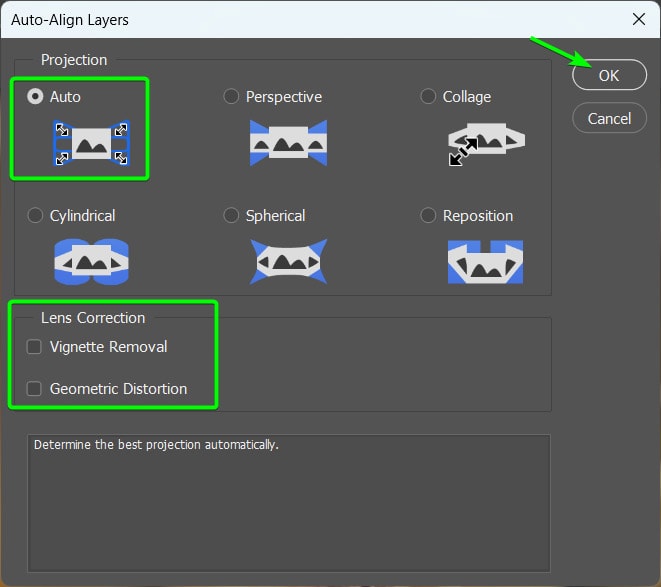
When the auto-align panel opens, select the Auto option and ensure both lens correction options are unchecked before clicking OK.
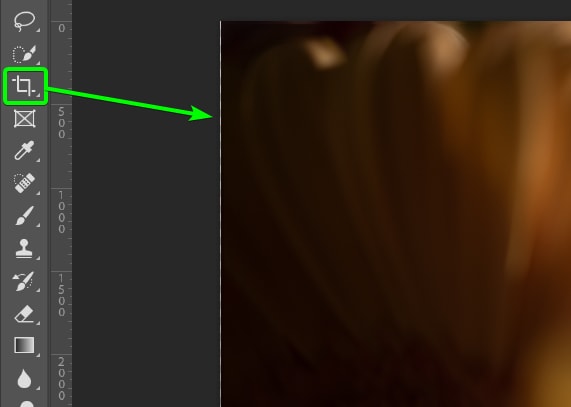
Once the auto-align is complete, you may notice transparent edges around the image, which you will need to crop before continuing.
Select the Crop Tool (C) and cut off the transparent edges.
Your images should now be lined up and ready to be stacked based on the focal points.
Step 3: Auto-Blend The Image Layers
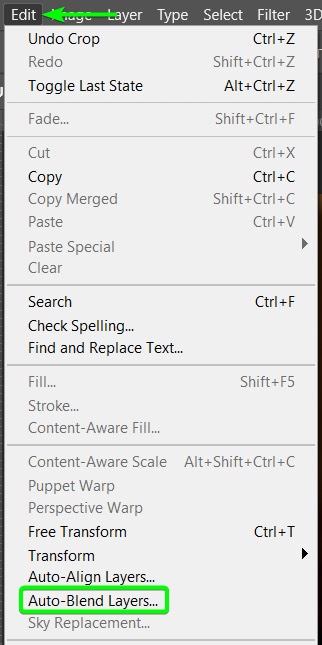
Now, the most crucial point of the process is auto-blending the layers by telling Photoshop to blend the focal points to portray the subject entirely in focus. To do this, ensure that all the layers are selected and then go to Edit > Auto-Blend Layers.
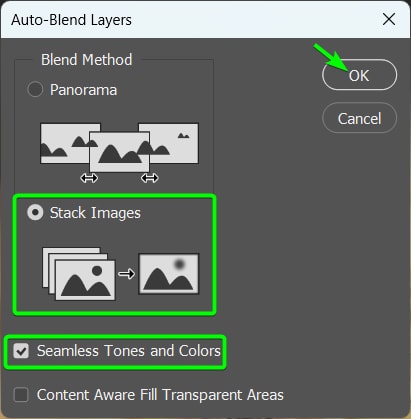
Once the Auto-Blend panel opens, select the Stack Images option. Then, check the Seamless Tones and Colors option. Click OK to stack the images.
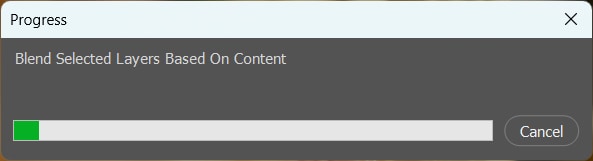
Give Photoshop a few moments to stack the image. You will see the progress bar as it completes the task.
Once the stacking is complete, you will notice that all the layers in the Layers Panel now have a layer mask added to them. These layer masks hide the blurred areas of the subject and only show the in-focus areas.
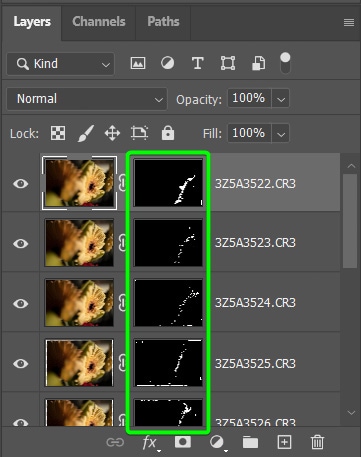
You will also notice that your image now has a completely clear subject, while only the areas you left blurred are out-of-focus.
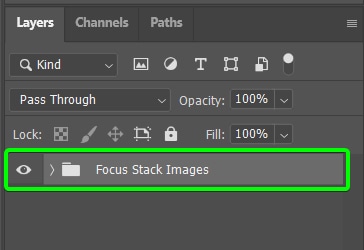
Step 4: Add The Layers To A Layer Group
In most cases, you will want to add a few adjustments to the completed image, such as adjusting the curves or color balance. In this case, I recommend you group the image layers to keep your Layers Panel organized, making it much easier to edit the entire image stack.
To group the layers, ensure they are all selected and press Control + G (Win) or Command + G (Mac). Once the layers are in the group, you can rename the group as you’d like by double-clicking on the group name.
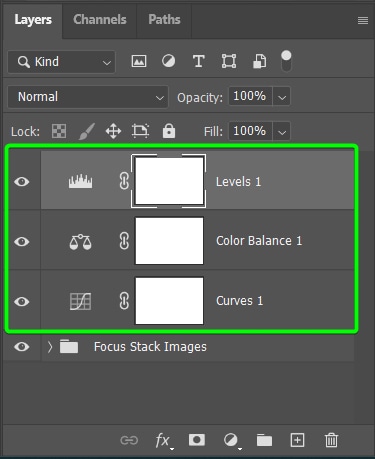
(Optional) Step 5: Edit The Final Image As Needed
You can now continue editing the image as needed. Each photo will be different and may need additional edits, but here are a few options that my image needed.
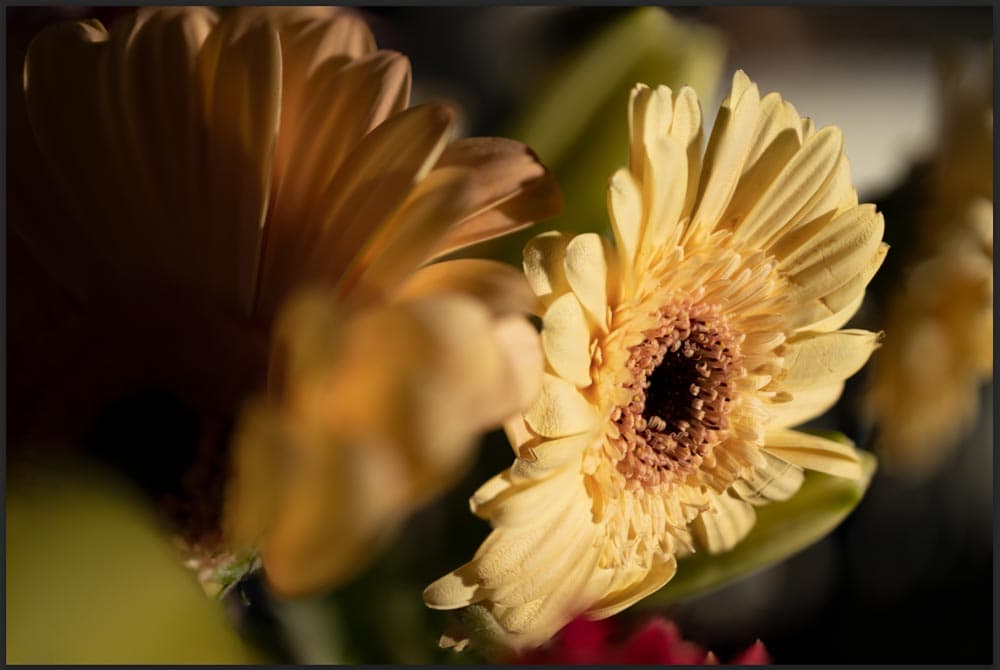
I added a Curves Adjustment Layer and a Levels Adjustment Layer to correct the image’s exposure by slightly brightening the flower and darkening the background. I also added a Color Balance Adjustment Layer to tone down the yellow tint across the photo and put more blue into the shadows to make the flower more prominent.
Once I have added the adjustments, I am happy with my image’s exposure, color balance, and focus areas.

How To Deal With Ghosting In A Focus Stack
In most cases, auto-aligning the images before creating the focus stack will minimize ghosting in the picture. However, in some cases, there may still be some areas that contain ghosting.
Ghosting is when there has been slight movement, whether camera shake or the subject moving, and it creates a noticeable doubled effect in the image.
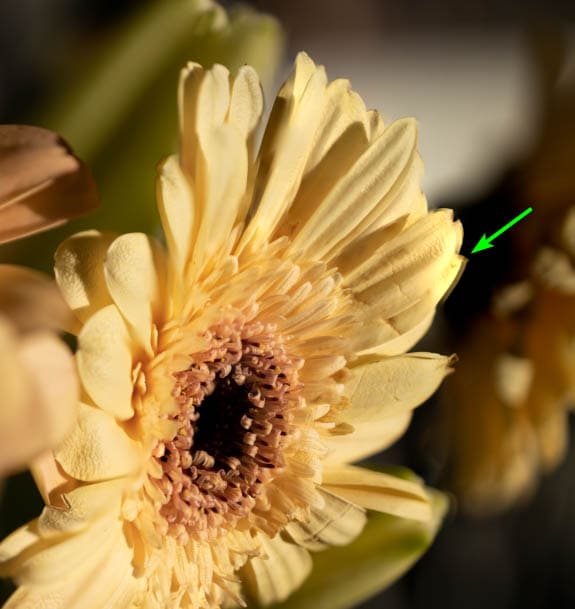
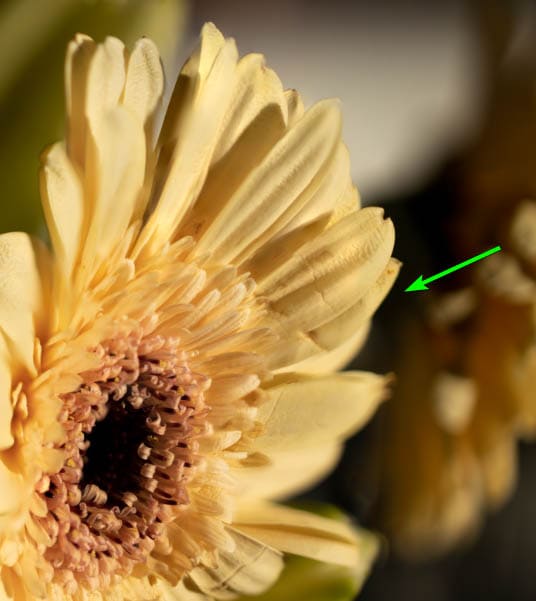
When stacking my images without auto-aligning them first, I notice ghosting on the edge of the flower.
To correct the ghosting, you must manually add a layer mask and fix the areas yourself. However, it is a simple process. First, you need to locate the image where the area containing ghosting is in focus. Then, open that image as a new layer in your document.
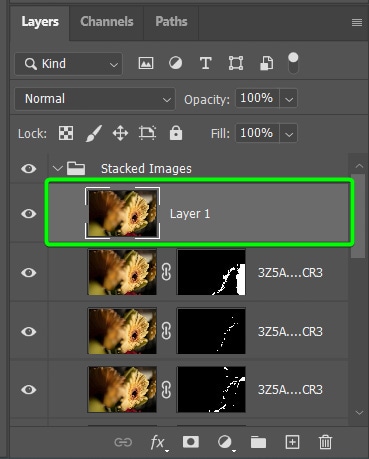
This image should cover the rest of the stack, even though it is not entirely in focus. Now, you need to cover the entire new layer with a layer mask and then only reveal the problem areas where the ghosting was visible.
To do this, add a layer mask to the new layer by clicking on the layer mask at the bottom of the Layers Panel.
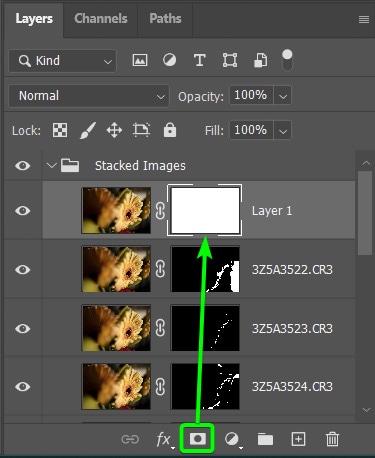
To hide everything on the layer with the layer mask, select the mask and press Control + I (Win) or Command + I (Mac). The layer mask will turn completely black to show that everything is hidden.

Now, you can paint those areas back in from the layer by selecting the Brush Tool (B), choosing a soft round brush, and changing the foreground color to white.

Then, start brushing over the areas to correct the ghosting.
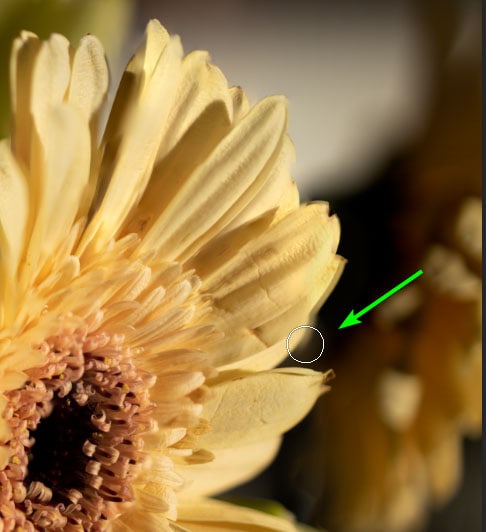
Keep brushing around the area until the image looks sharp and the ghosting is removed.
Focus stacking is a good skill to add to your photography and can be useful in many situations. If you find yourself in a low-light setting and can’t get the entire scene in focus, consider taking a few images with different focal points and applying this technique in Photoshop. Focus stacking has been an incredible asset to my photography, especially for my macro photography. I hope it can help you too!


