
If you’ve been using Canva for a significant amount of time, you will eventually run out of space or become overwhelmed by a disorganized pile of designs. So let’s tackle this issue by merging some designs and getting ourselves organized once again.
Merging designs in Canva is quite simple once you know how to do it. It’s a great way to combine elements from different templates or images into one cohesive design.
In this post, you’ll learn how to merge multiple designs, whether you’re a Canava Pro user or a free user. Plus, if you need to merge two or more designs between multiple Canva accounts, I’ve got you covered here as well.
How To Merge Designs & Pages In Canva
Merging designs and pages in Canva is quick and easy. Unfortunately, only for those who subscribe to Canva Pro.
In order to use this method, you will need to utilize the Projects and folder options that Canva provides through Canva Pro. If you are a free user, don’t worry. I will have a solution after this section for those with the free version of Canva.
For those with Canva Pro, here is the fastest way to merge your designs and pages with Canva.
Step 1: Review Your Projects
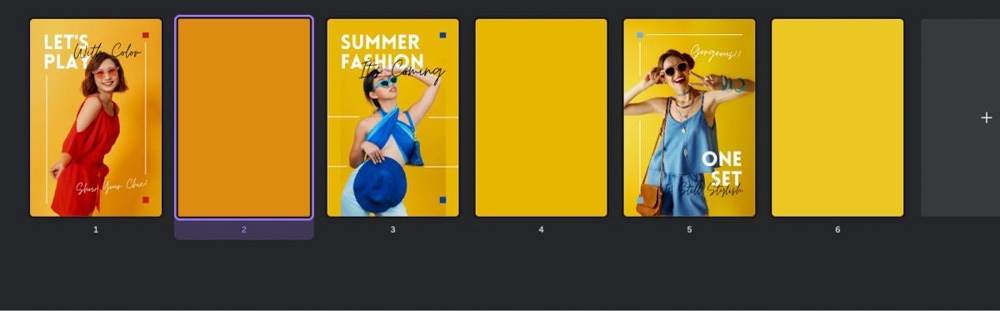
Before merging anything, double-check each of your projects. The best way to do this is to click the Grid View Button.
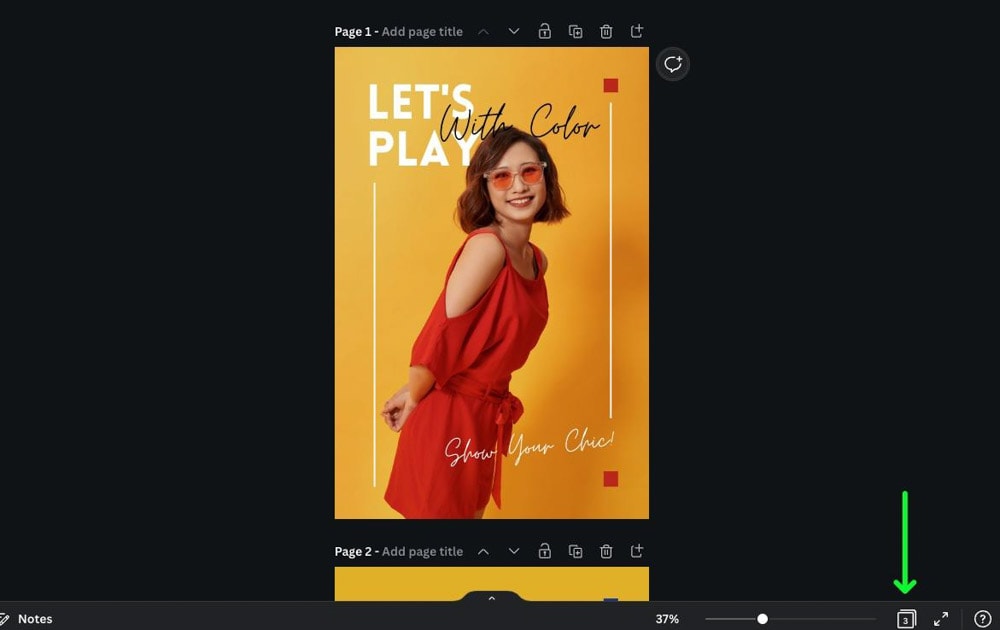
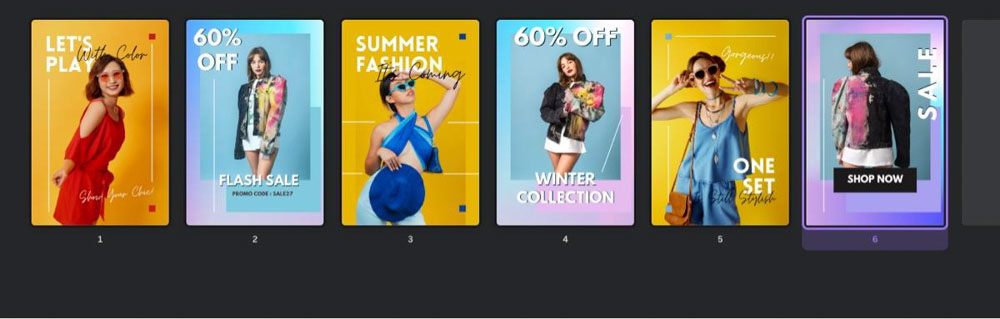
You will now see your project from a bird’s eye view, where you can move your pages around and delete any unnecessary designs. This will also allow you to visualize how you want to compile your pages.
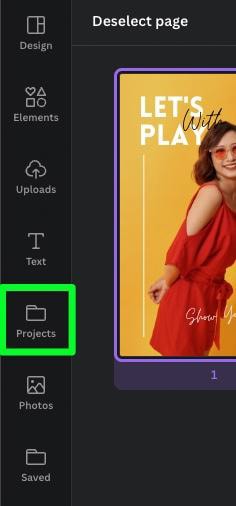
Step 2: Click The Projects Folder
Now that you know exactly where your projects are and what they look like, your task is to find them in your Projects folder.
First, click on the Projects tab.
You will now see five sections within the projects tab where you can find the design you need to merge pages from.
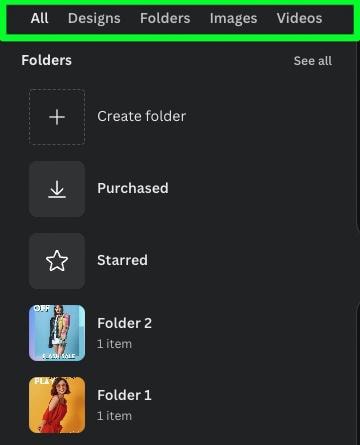
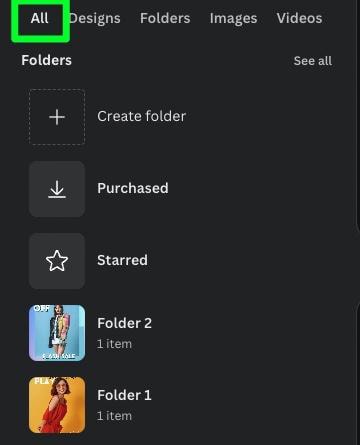
The All Section
For many people, you can find the project you need in this section. The All section will show every folder and design in one place.
The bad part about this section is that it may take a long time to find the project you’re looking for if you have hundreds of folders and designs.
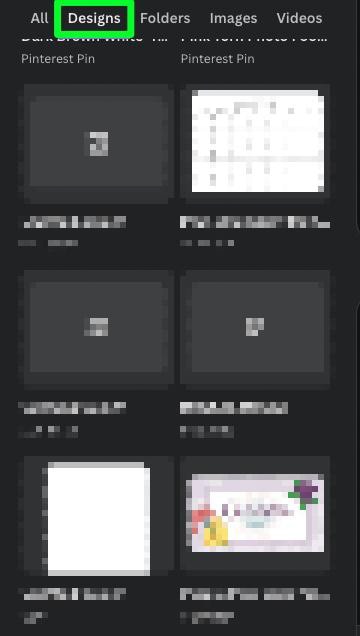
The Designs Sections
The Designs section will show you all the designs you’ve made without any folders. This section can be helpful, but if you have hundreds of designs already on your account, you could run into the same problem as the last section.
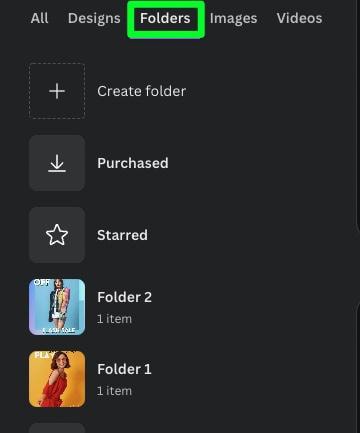
The Folders Section
The Folders section is probably the easiest way to find the project you need. This section will only show you the folders available on your account.
To quickly find your project using this section, just remember to save the project you need in an accessible folder. For example, if you save your project in a folder named “Folder 1”, it will stay toward the top of the Folder section.
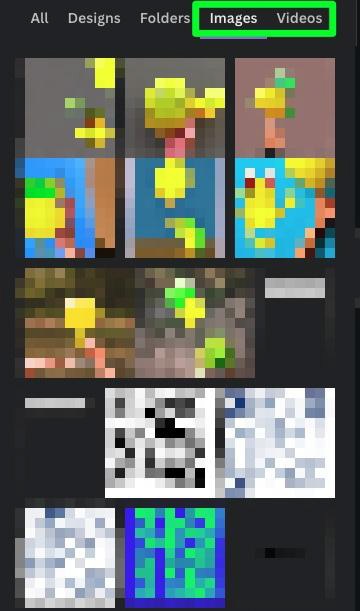
The Images & Video Sections
The Images and Videos sections are a quick way to find an image or video you downloaded into Canva. This is the easiest way to find an image or video if you don’t upload photos or videos often.
Step 3: Locate Your Second Design
Now that you know where you can find your second design, it’s time to put this method into action.
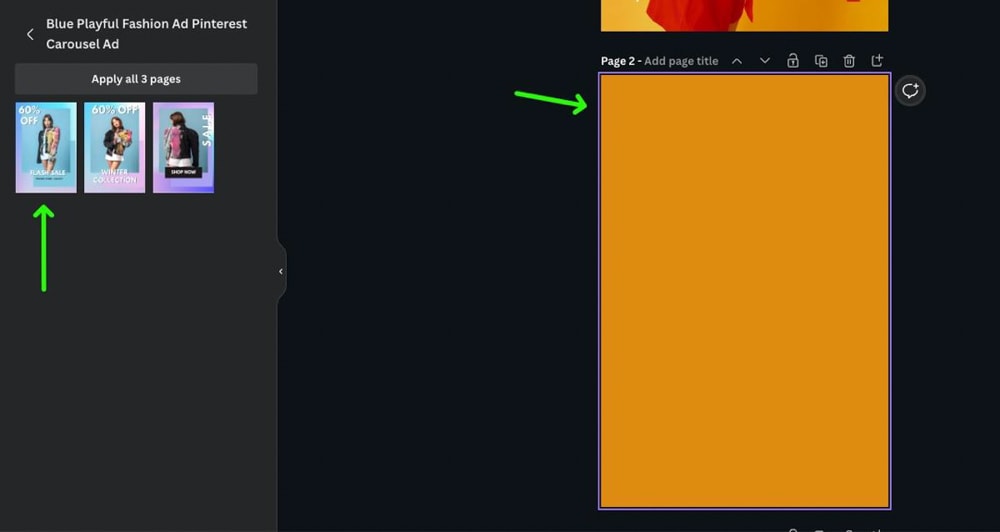
With your first design open, click on Projects in the side panel.
Using the tactics in the last step, locate the design you need to merge from.
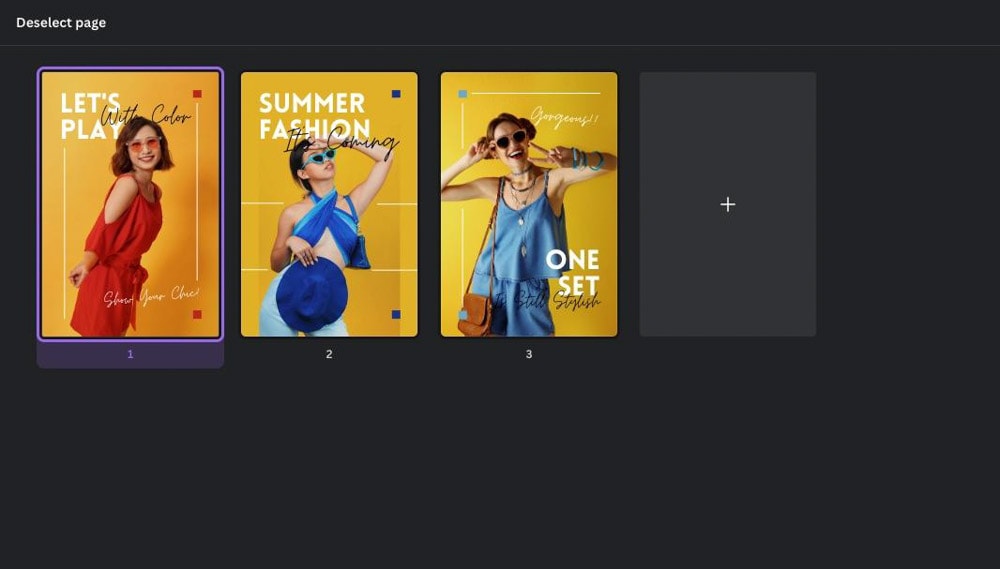
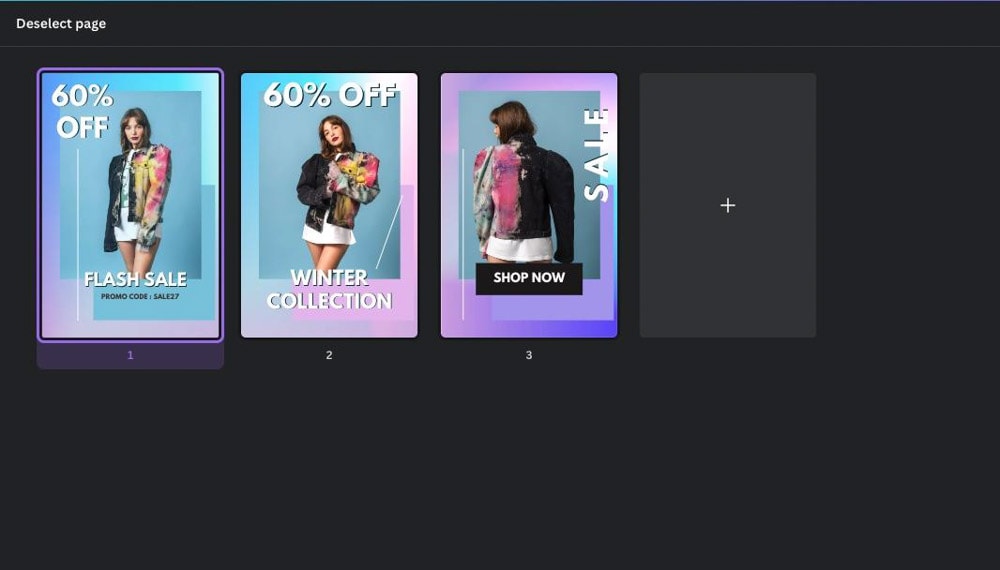
Once you click on your design, you will see all your design pages in the side panel.
Step 4: Add More Pages To Your First Project
One last thing for you to do before you officially merge your designs. You need to add extra pages to make room for the merger.
Scroll down, past your last page, and click Add Page. This will add a brand new page to your design.
Don’t worry if the page is a color that doesn’t work for you. That won’t matter in a minute.
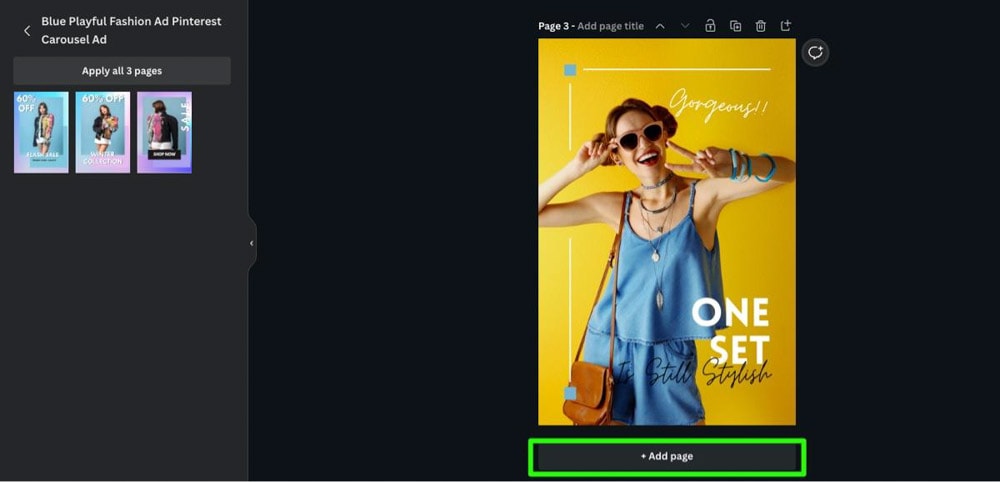
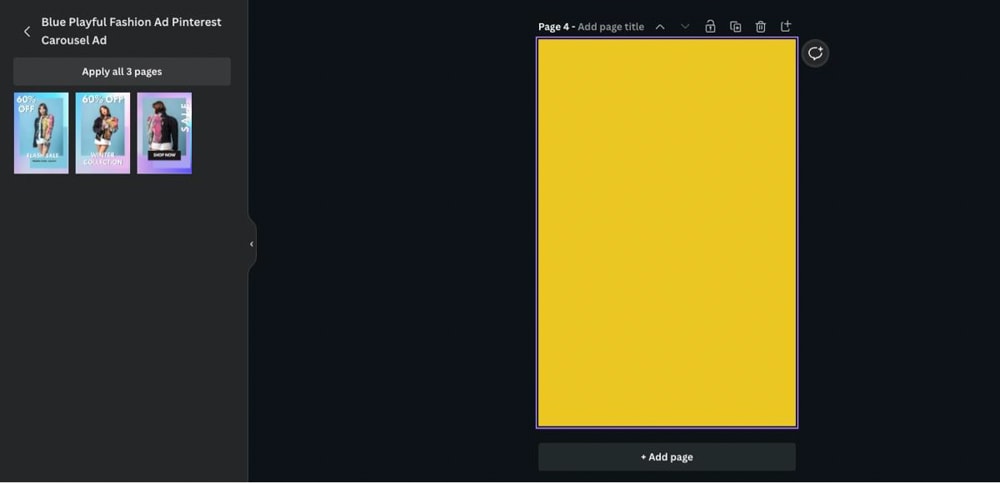
You’re not limited to just adding pages to the end of your design. You can add pages between each page with the Add A Page button. You can find this button above each page of your design.
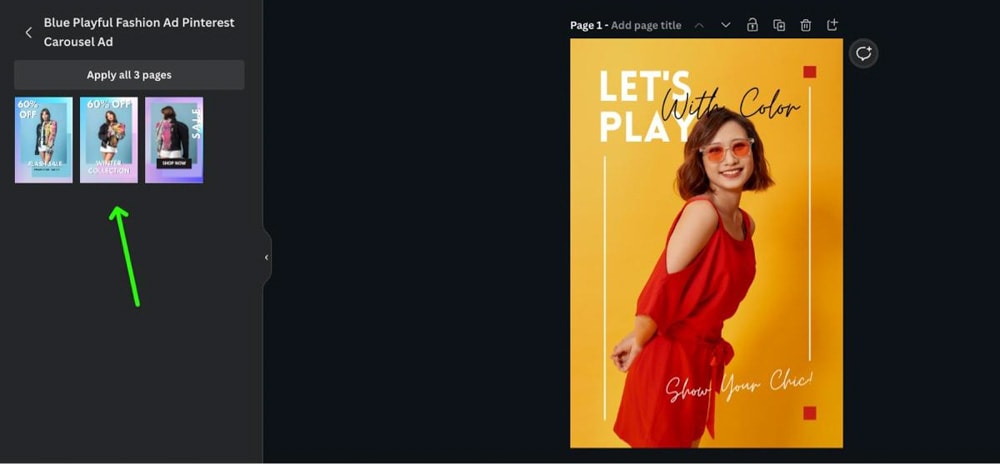
Step 5: Merge The Designs From Your Second Project To Your First
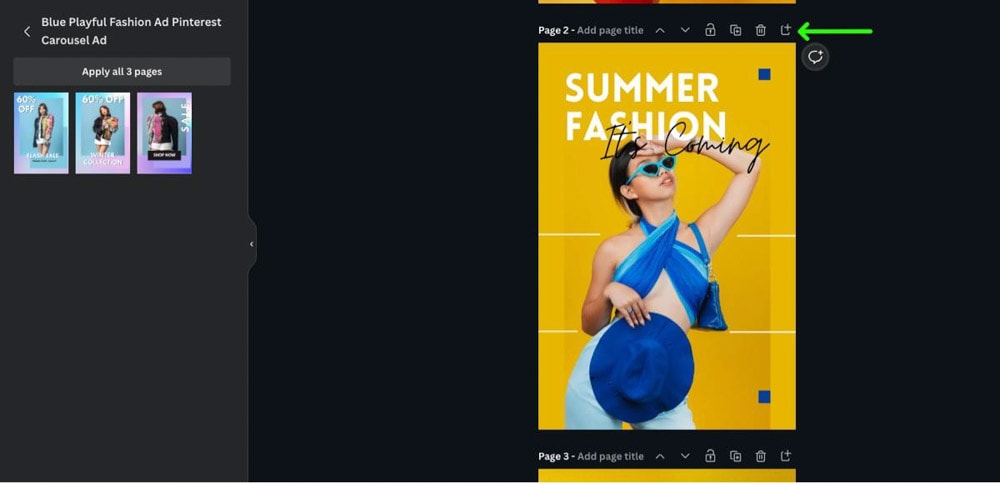
To merge both of your designs, select one of your blank pages, then click on one of the pages of your second design to replace the blank page.

Repeat this process until your blank pages are replaced with the pages from your second design.
Step 6: Delete The Project You Don’t Need
If you’re merging two projects to make room on your Canva account, delete your second project.
You can quickly do this by navigating to the Canva home page, clicking the Three Dots on the upper right corner of the project, then selecting Move To Trash.

The Copy & Paste Method
What if you’re a free Canva user without the ability to access folders? There is a workaround for free users to merge their designs. However, this method does take longer and can be a little annoying.
First, perform steps 1 – 4, as detailed in the previous section.
When you are ready to merge your first page, drag your mouse over your entire design, then press Control + C (Win) or Command + C (Mac) to copy all of the elements to your clipboard.

On your second project, select a blank page, then press Control + V (Win) or Command + V (Mac) to paste your copied elements to the page.

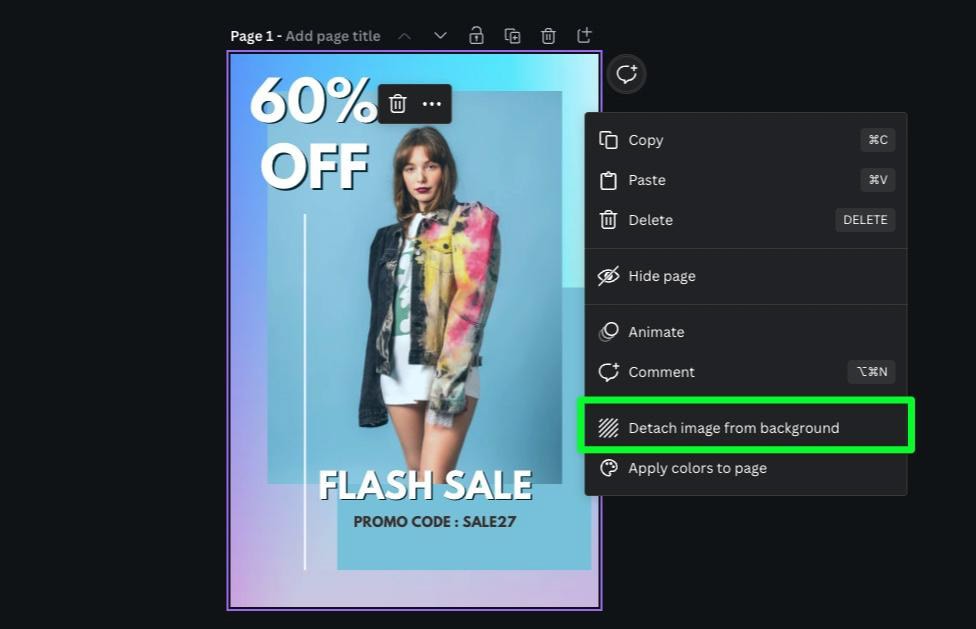
The first thing you’ll notice is that the background element may not have transferred over to your new project. If that’s the case, you must detach the background elements.
Go back to your second project and right-click the background. From the list that pops up, select Detach Image From Background.
Your background element will now appear on its own in front of your design.
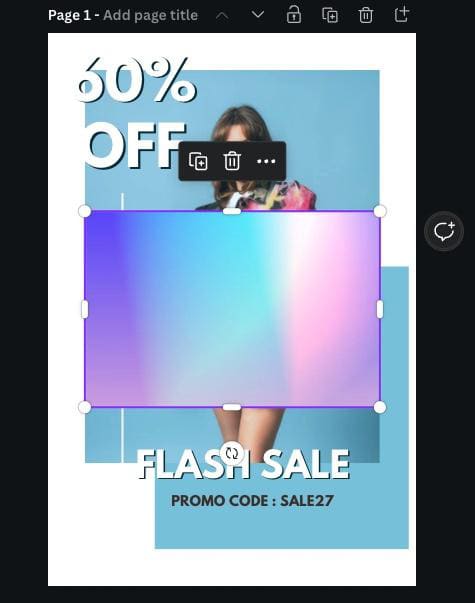
Click on your background element, and press Control + C (Win) or Command + C (Mac) to copy the element to your clipboard.
Return to the first project, and press Control + V (Win) or Command + V (Mac). This will paste your background on your canvas.

Line your element in one of the corners of the design, then stretch the element over the rest of the design.
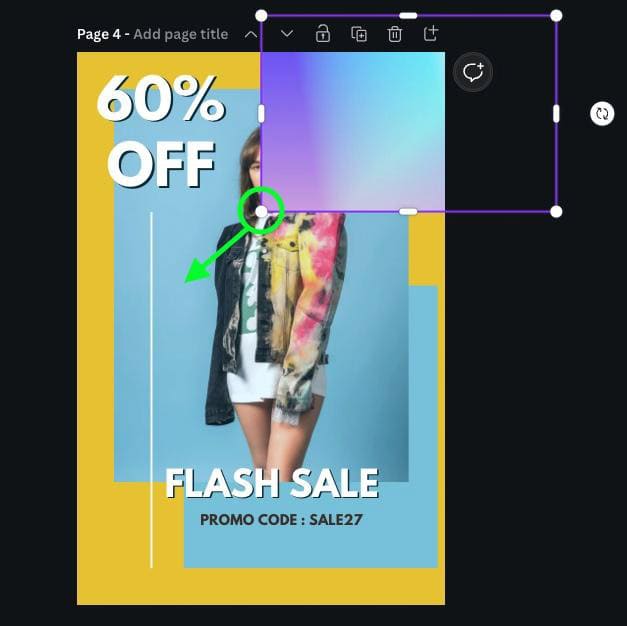
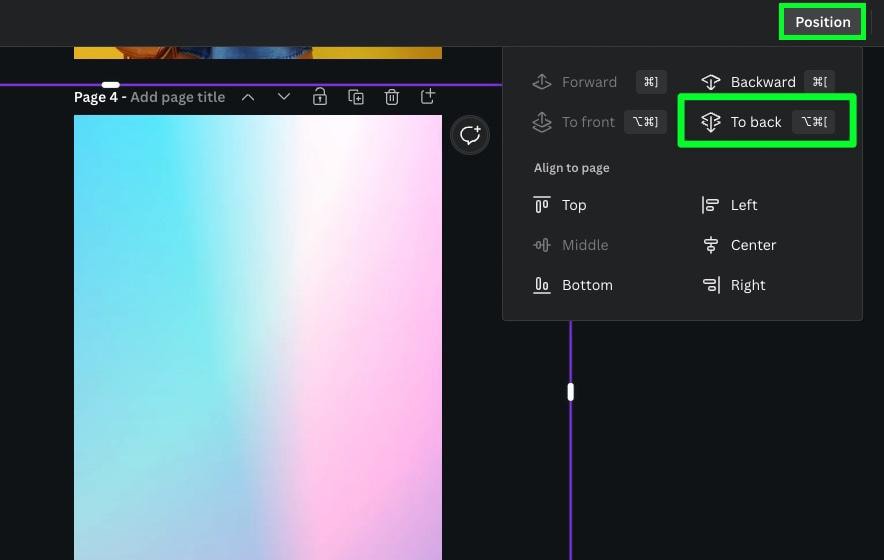
Finally, select the element again, then click the Position button. Click on To Back to send your background element behind the rest of your elements.
Repeat this process for the rest of your pages.

How To Merge Designs Between Different Canva Accounts
Merging your designs between multiple accounts you own or merging a friend’s design into your Canva account is a little more complicated.
Thankfully, there’s an easy workaround for this as well.
Step 1: Click The Share Button
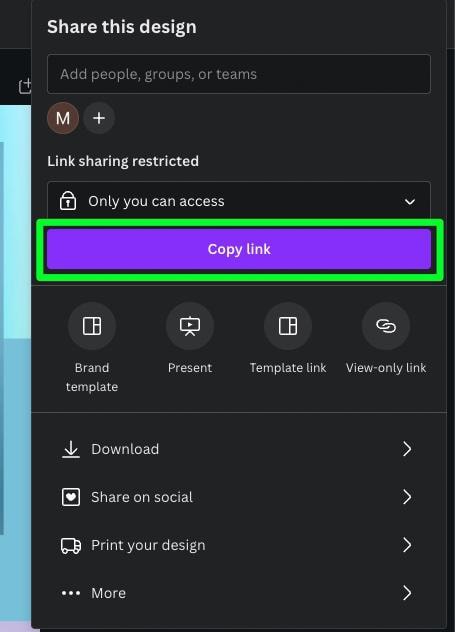
With the project you want to merge from open, click on the Share button in the top right corner of the screen.

Step 2: Copy The Link Of The Project You Want To Merge From
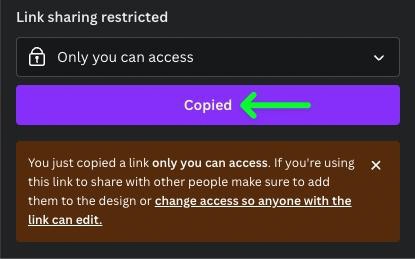
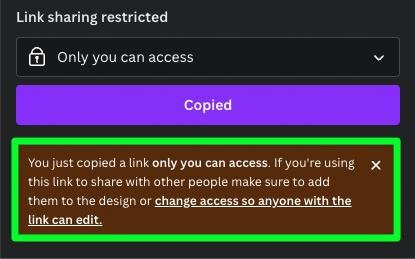
After clicking the Share button, select Copy Link. A message will pop up telling you that the link has been copied.
Step 3: Change Your Link’s Access (Optional)
After you copy your link, you’ll notice a warning telling you that only you have access to the link that you copied. To give access to others, you will have to do so manually.
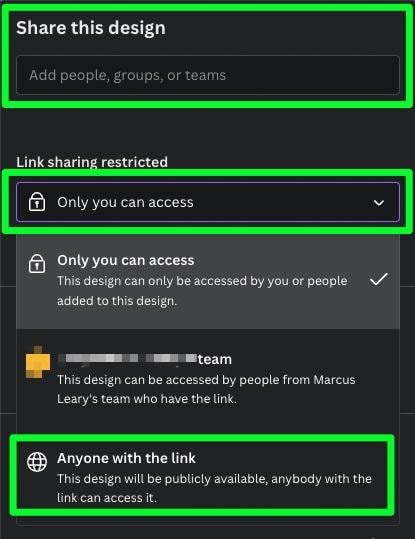
Above the Copy Link button, you can add individual people in the Share This Design area.
Open up the Link Access Drop Down Menu, and you will have three options:
- Only You Can Access – This is set by default. So, if you plan to send your link to yourself, you can leave this option unchanged.
- Share With Your Team – Choose this option if you just want the team members connected to your Canva account to open the link.
- Anyone With The Link – With this option, it doesn’t matter who receives the link. The person will be able to open it. This will most likely be the best option for you to use.
Step 4: Send The Link
Now that you have the link to your project copied, it’s time to text, email, or DM your link to the other person in question.
If you’re sending the link to yourself, make sure to sign into the Canva account you wish to merge your design into.
Once you sign in to the correct Canva account, click on the link that you sent to yourself. You will be asked to confirm that you want to open the project.
Step 5: Merge Both Designs
You now have access to the project you wish to merge from and the project you wish to merge to. You can now use the methods detailed in the sections above to merge your projects.
So whether you’re looking to get your Canva designs more organized, remove unused templates, or share and merge designs with another account, you now know exactly how to do it!


