
Collaborating with others has never been easier than it is today. With Canva, you can share your project with a colleague or send your design as a template for others to work on. This process is not complicated and only takes a few minutes!
Today I will show you how to make a template you can share (or sell) and another method to collaborate with another user on the same project in real-time. You will learn two ways to send your project to someone and how to share all the elements needed in a project with your entire team while directing them to one single folder.
How To Share A Canva Design As A Template
Sharing your Canva Design as a template for someone else is helpful as the person gets a fresh copy of your design and any changes they make are separate from the design you have on your account.
Step 1: Double-Check Your Project
Before you send your template out for someone else to use, double-check and make sure everything is to your liking.
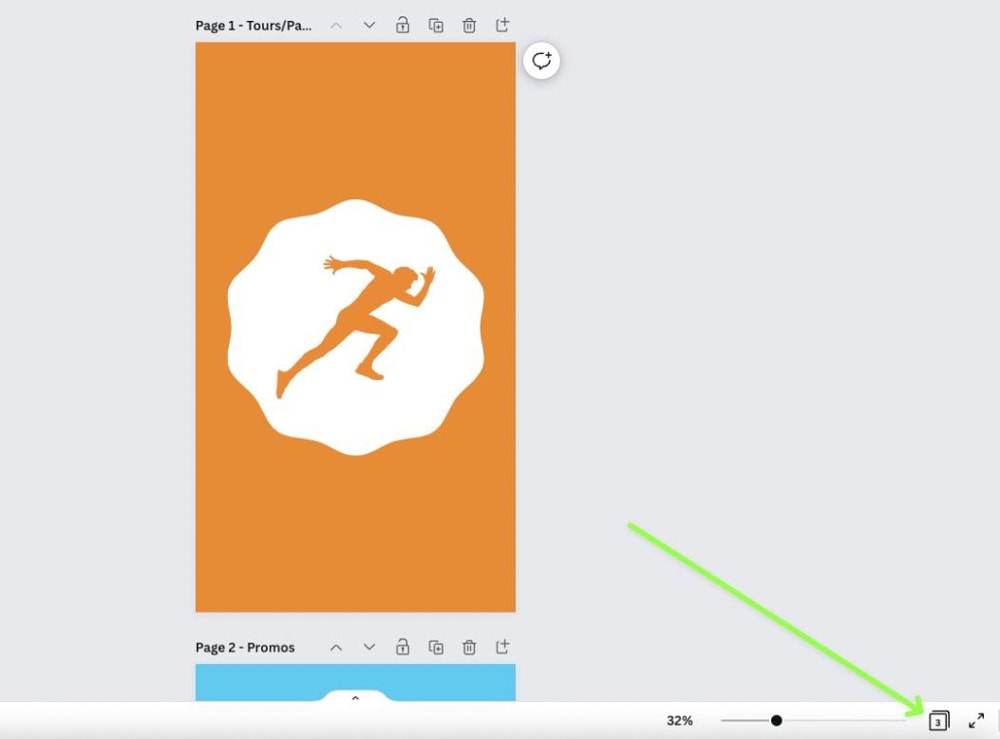
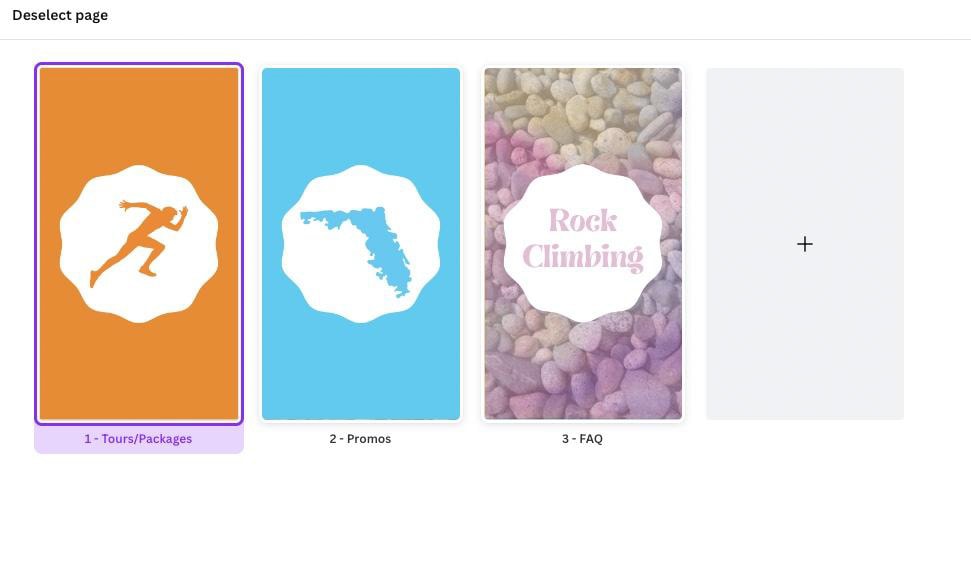
You can do this by clicking on the Grid View button. This will show you every project page from a bird’s eye view. From there, you can change anything you need to before you send it off.
Step 2: Click The Share Button
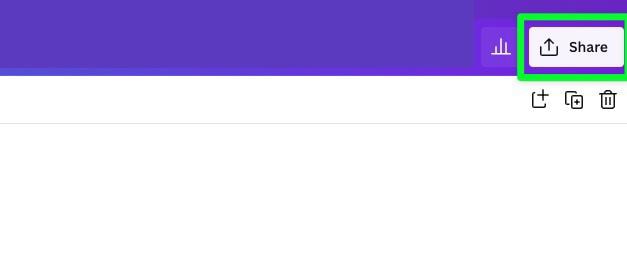
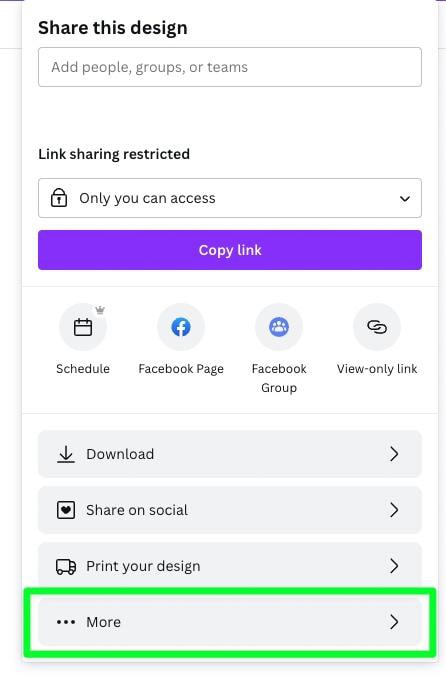
Once you’re sure your project is ready to be shared, click on the Share button to start the process.
When the menu pops up, click on More at the bottom to open up another list of options. You will use these options in the next step.
Step 3: Choose How You Want To Share Your Project
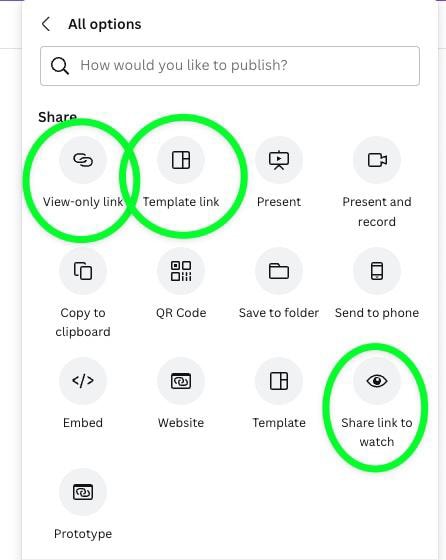
With the More menu open, you can now see all the options you have for sharing your project.
For your purposes today, you have three main options to share your project with someone else:
- View-only Link – The link you send can not be edited in any way, only viewed.
- Template Link – The link you send can be edited however they see fit.
- Share Link To Watch – The end user can only view a “movie” version of your project that can not be edited.
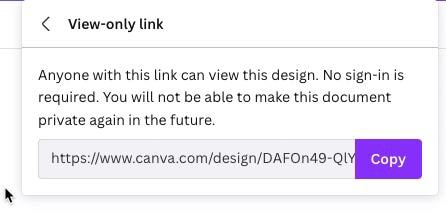
When you send a view-only link, the person you send it to will only see a slideshow-style preview of your project.
This is useful when you want to show a friend or client a prototype of your project. The person you send it to can not make any changes.

When you share your project as a Template, you are giving the person you send it to the freedom to customize the pages in your template however they see fit without affecting the copy you have of it.
On their end, they will be informed that you created the template. They just need to click on Use Template to start working with it.


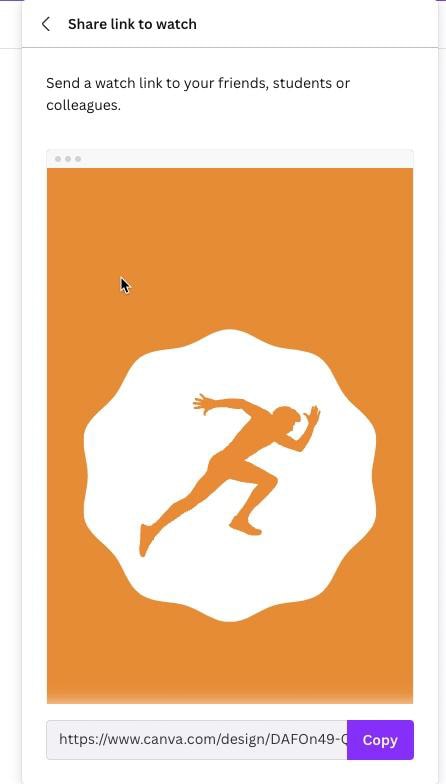
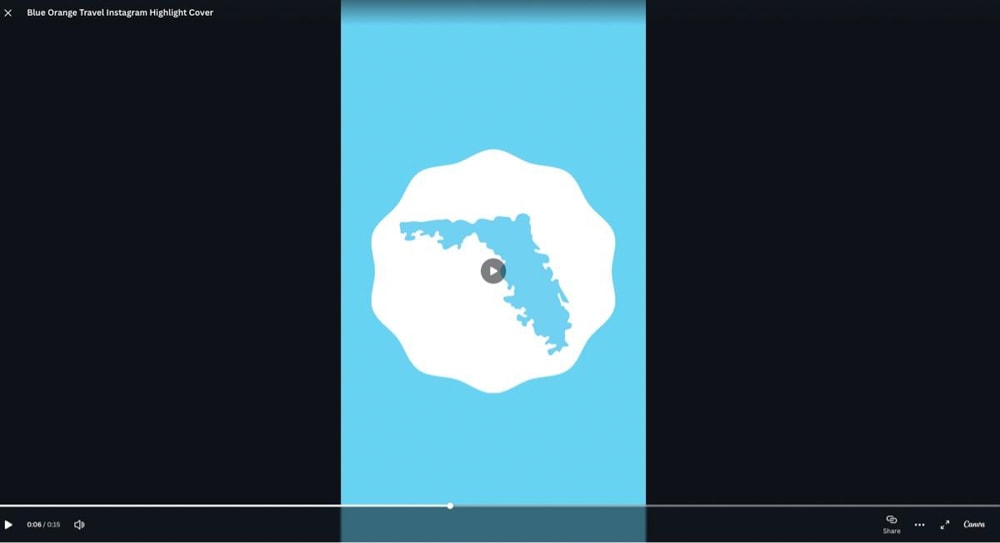
If you send your project as a “link to watch,” the person you sent it to will only be able to watch your project as a “movie.”
If your design is only static images, they will see a slideshow presentation, similar to when you send a link that can only be viewed. If your design has any animation or video attached, the person you send the link to will also watch those videos and animations.
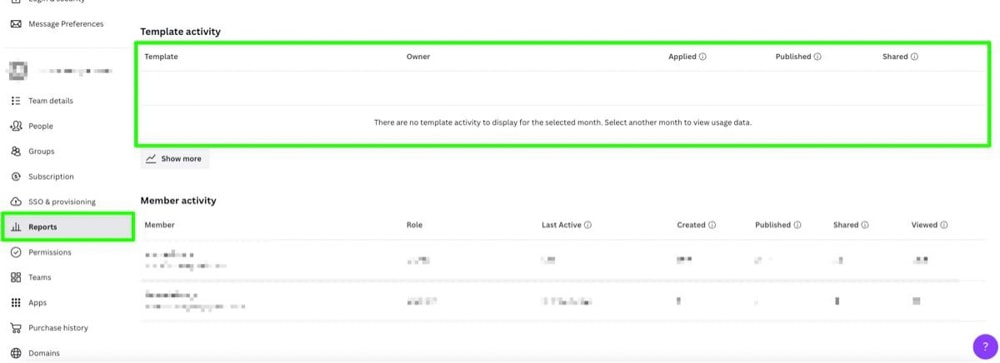
Another cool thing about Canva, when it comes to sharing your project with others, is that you can track the activity of the link you sent out.
You can do this by clicking the Reports tab. From here, you’ll be able to track how many people you shared your link with and how often others have interacted with them.
How To Share Your Canva Designs To Collaborate On
So far, you’ve learned how to send someone a link and never worry about what the other person will do with that link. What if you want to collaborate with someone?
Not only can you collaborate with someone in Canva, but the changes you and your team make will be seen in real-time for each team member. That means there’s no waiting around to see what changed. Each team member will see changes immediately!
There are a few ways to collaborate with someone in real time via Canva:
Option 1: Sharing Via Link
Sharing with a link is the perfect way to share a project over a text message or direct message.
You will share your project with the Copy Link button, but before you click on it, there’s an option to consider first.
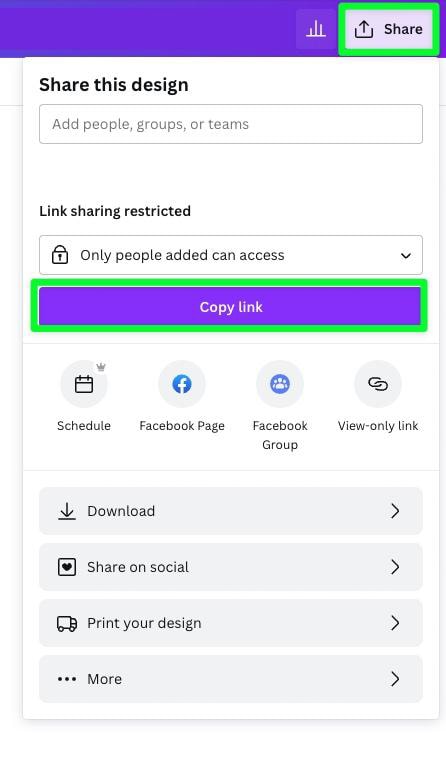
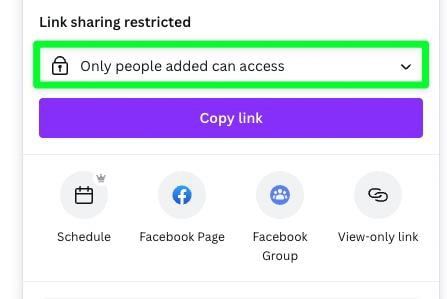
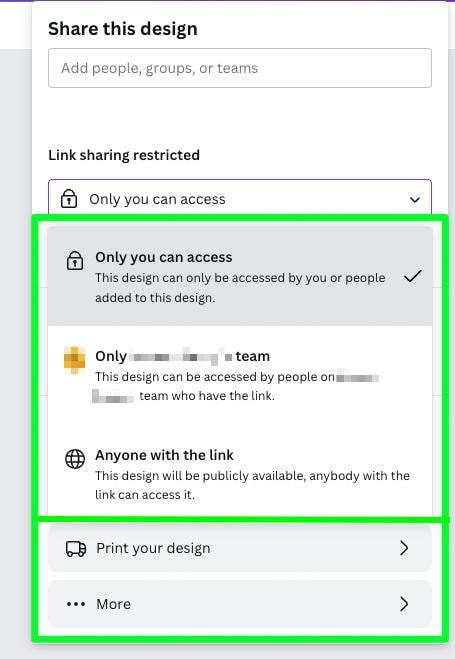
Under Link Sharing Restricted, click on the drop-down menu to open up your options.
You will have three choices in how you would like to restrict your link:
- Only You Can Access – This option will only let your or someone on your team view or access your project. This option is not helpful if you share your project with someone not linked to your Canva account.
- Only (Your Name)’s Team – Only the people who have been added to one of your teams will be able to access your design.
- Anyone With The Link – Your design will be available to anyone who can access the link. This option is best for when you want to show someone your creation on social media or if you want to send it to someone, who is not in your organization, to edit the design. This option is also useful if the person you send the link to will share the design further with people on their team.
Option 2: Sharing Via Email
If you know the email to the person you want to share your design with, this option is for you.
After you hit the Share button, type in the name or email of the person you wish to send your project to under Share This Design.
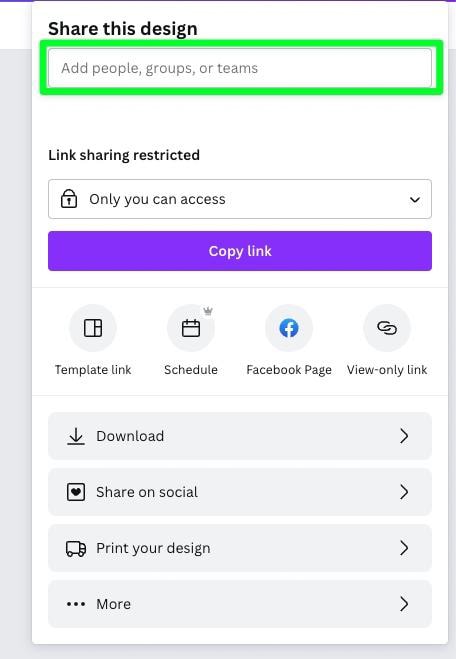
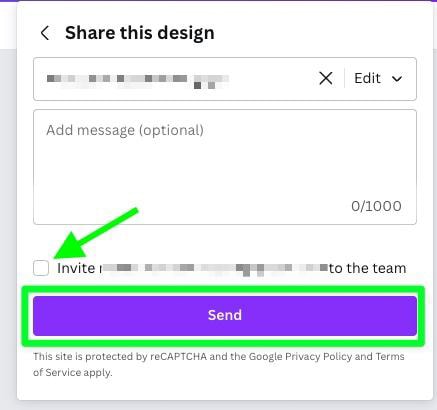
You will be allowed to add a message to the person if you would like.
You can also invite the person to your team by checking the checkbox above the Send button.
When ready, click on the Send button to share your project.
Option 3: Share A Folder
This option is slightly different from the other two but can prove to be very useful for the productivity of your shared project. With Canva, you can share a folder with another user so that all the elements that each team member needs will be in one place.
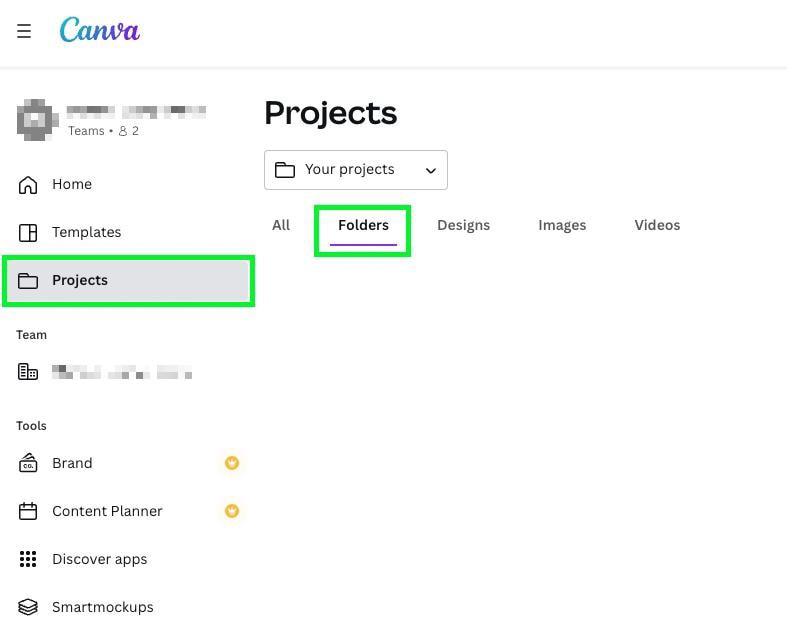
First, click Projects on the Canva Homepage. Then, click on Folders.
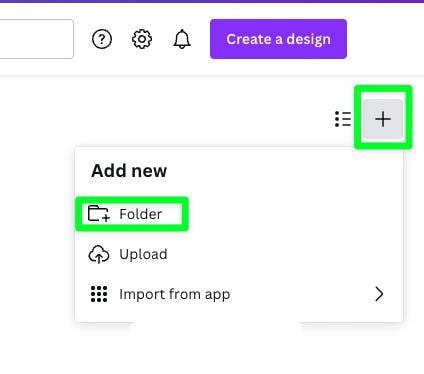
To add a new folder, click the plus button on the right-hand side of the screen, then click on Folder under Add New.
Once you add a new folder, you will be prompted to name your folder under Folder Name. You will also be asked to add team members under Invite Team Members.
Once you type in the name of the team member you would like to access the folder, they will get an email informing them of the folder and an invitation link.
Sharing a folder can only be done with team members, so you won’t be able to send someone outside of your team a link to give them access to the folder.

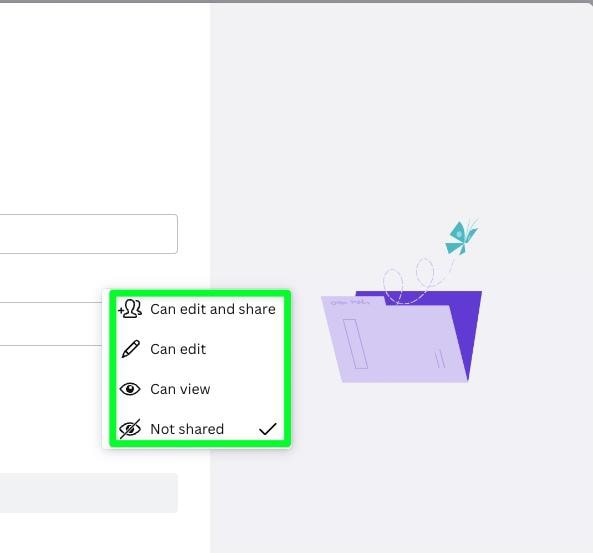
Under Share Access With Your Team (Optional), you can restrict how you would like your team members to interact with the folder’s contents. There are four options from which you can choose.
- Can Edit and Share – Your team members with access to the folder can edit the elements inside and share them with others. This includes adding new elements.
- Edit – Your team members can edit the folder’s elements. This includes adding new elements.
- Can View – This option restricts your team members from editing the elements in the folder. This includes keeping them from adding new elements as well.
- Not Shared – No one except for yourself can interact with the folder’s contents.
Click on Create Folder when you are finished.
Don’t worry if you forgot a team member or if you want to add a new team member later. You can do this easily by selecting the folder and clicking on the Three Dots. Then, click on Share.
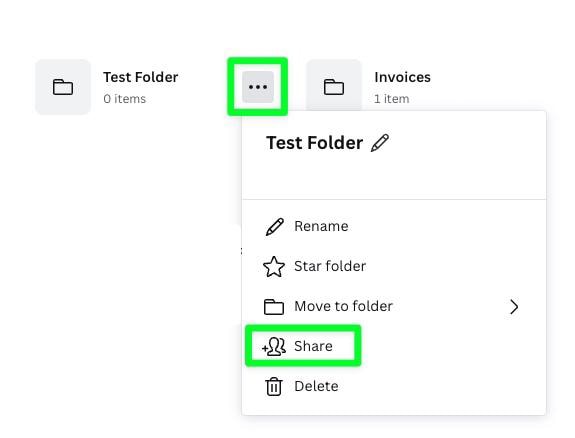
You will be allowed to rename and share the folder with whomever you want on your team. Click Done when you are ready.

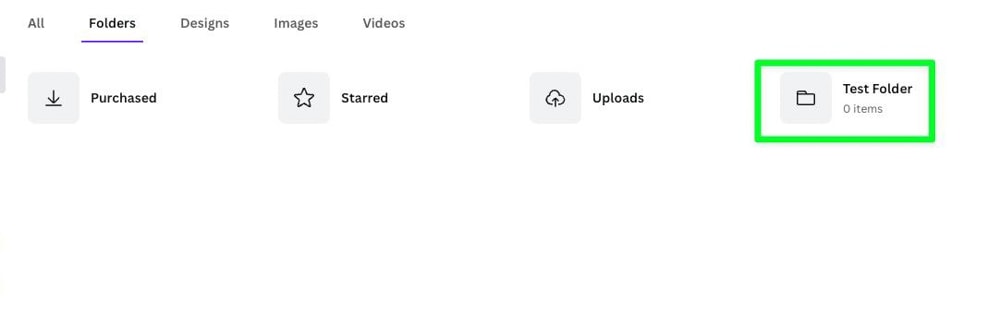
Once your folder is created, and all your preferred team members are selected, you and your team members can access this new folder just like any folder in Canva.
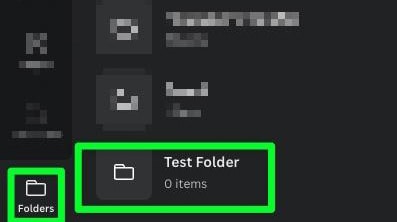
Scroll down the left side of the screen and click on Folders. You will find the new shared folder where you can add and remove all the elements you need for your project.
Whether you want to share your images with someone to view, use for themselves, or collaborate on, it’s all easily done in Canva!


