

Most photographers know how to move objects around a project in Photoshop using the move tool. But getting an object to sit in the exact part of the document you want can be tricky. Clicking and dragging the layer might not always place it with the best possible accuracy. This is where knowing how to nudge layers in Photoshop comes in handy.
To nudge a layer in Photoshop, select the Move Tool (V) and click on your layer in the Layers Panel. Now use the up, down, left, or right arrow keys to nudge your layer by 1 pixel in any direction. To speed up the process, hold Shift while pressing any arrow key to nudge in 10-pixel increments.
To take this one step further, snapping can be a helpful (or limiting) addition to nudging. While Snapping can assist with placing some objects, it can also get in the way of accurate placement. So let’s take a look at nudging more in-depth along with how you can use snapping for more stress-free alignments.
How To Nudge A Layer In Photoshop
Nudging is the process of moving a layer as little as one pixel left, right, up, or down. It will allow you to fine-tune each object’s placement in your project.
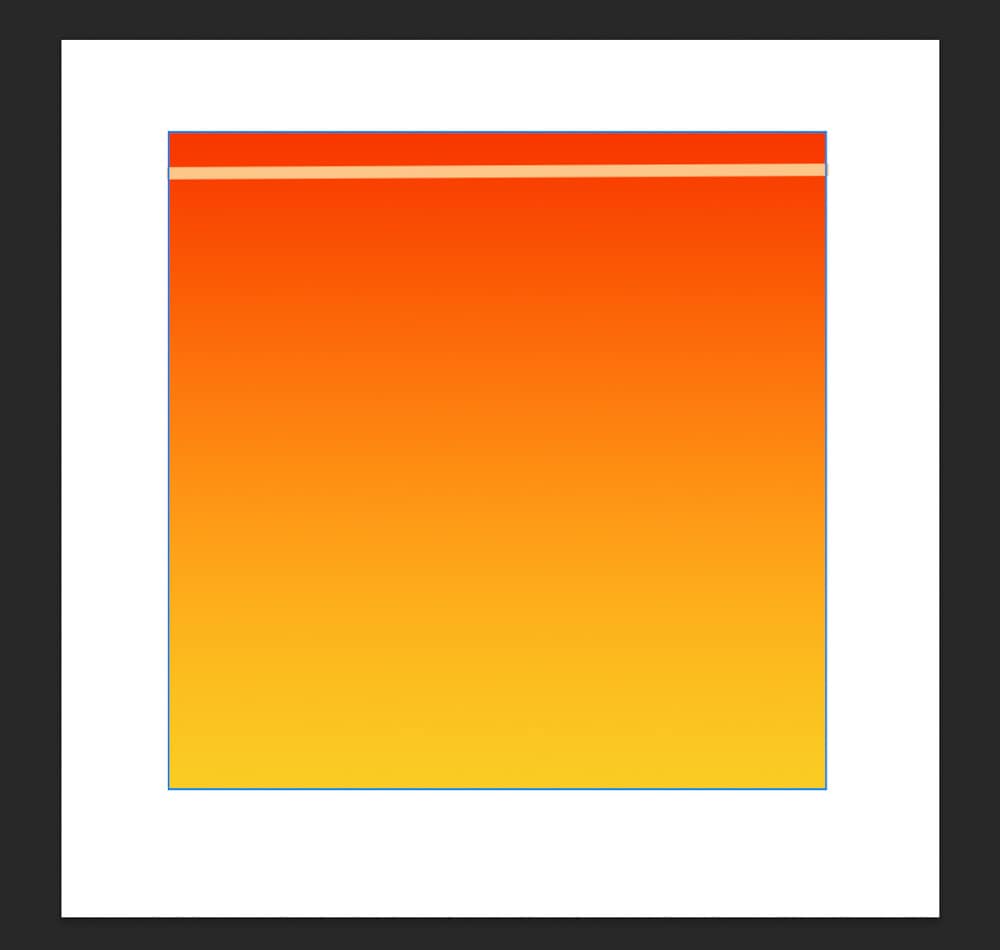
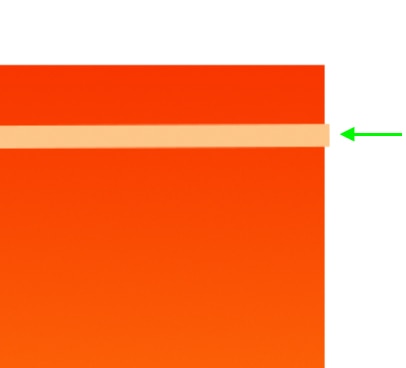
Let’s say you want to move the below light-colored line to sit against the side of the square. You can try to use the Move Tool, but you may not be able to get the line to sit in the exact position you want. In the example below, I’ve added a line to the top of this square, but I want it to sit in line with the square’s edge, not beyond it.
To nudge the object into position, you’ll first need to select the layer you want to move in the Layers panel.
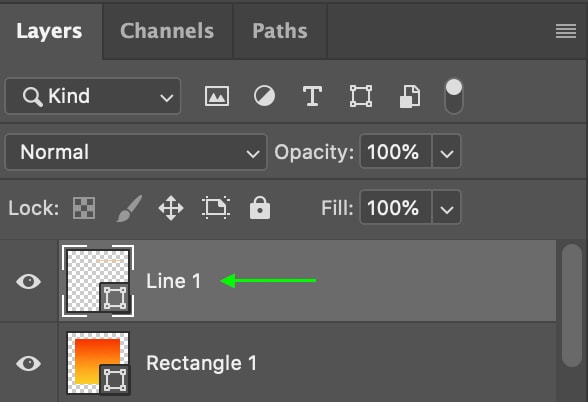
You’ll also need to make sure you’ve activated the Move Tool.
Now, use the up, down, left, or right arrow keys on your keyboard to move the selected object in 1-pixel increments. Press the key repeatedly until the object sits in the exact location you want, or hold the key down to move the object further. You can zoom in for a better view.

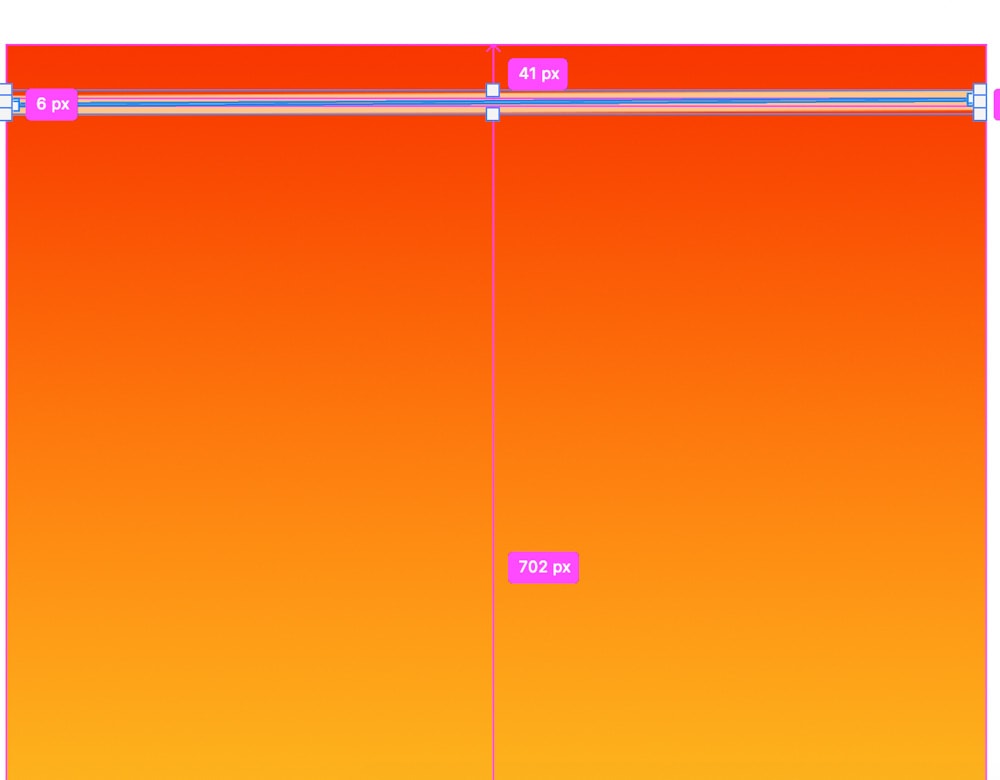
If you’d like to view measurements on your document while you move, hold down Control (Win) or Command (Mac). You’ll see pink lines appear across your document with measurements on them, and the number will change as you press the arrow keys. This is useful if you’re trying to move an object to a specific pixel location on the canvas.
How To Nudge A Layer By Larger Increments
If you’d like the process to move faster, you can hold down the Shift key while pressing the arrows. This will move the object by 10-pixel increments in a super nudge. This way, you can switch between moving an object by 1-pixel and 10-pixel increments when necessary.
How To Enable Or Disable Snapping For Easy Layer Alignment
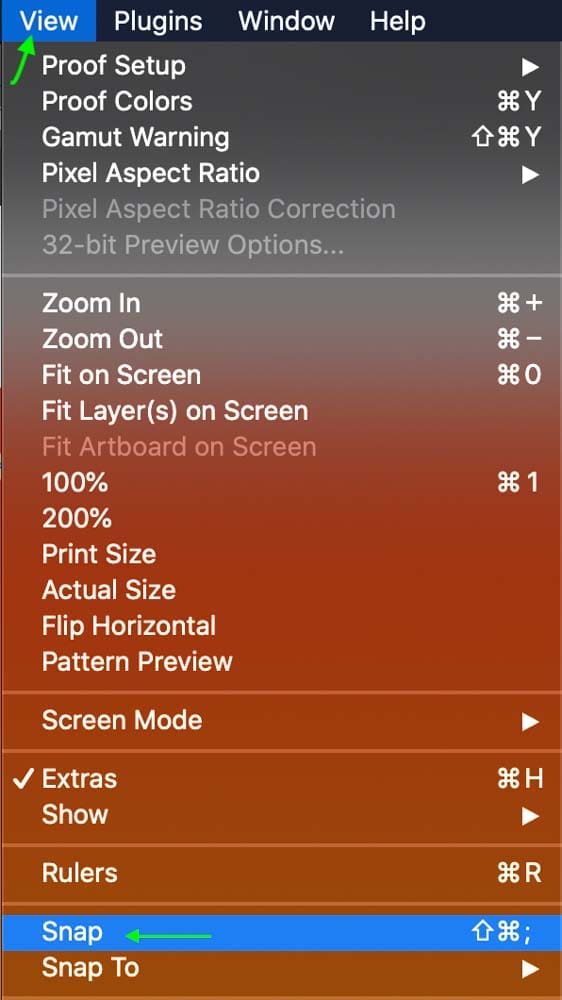
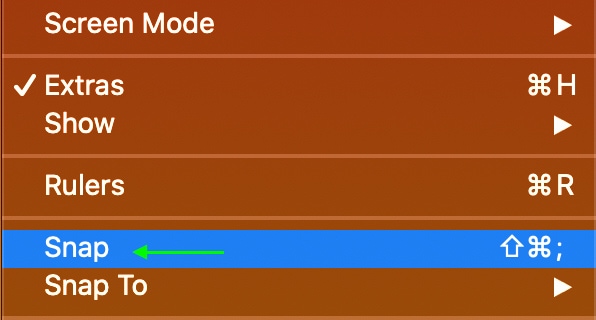
With Snapping enabled, objects being moved “snap” to other objects, grids, guides, and layers. You can turn Snapping on and off by heading to View > Snap.
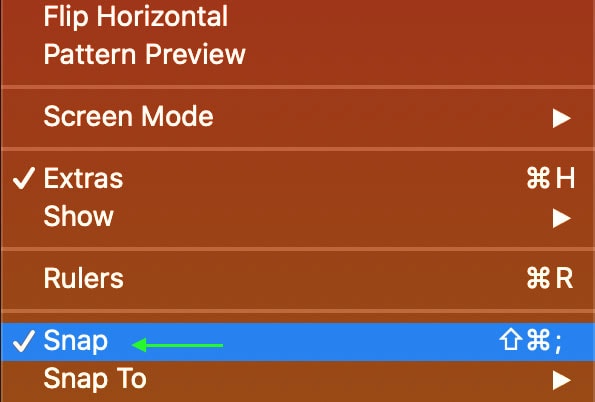
Snapping is enabled when there is a checkmark next to it in the menu.
You’ll notice that, with snapping enabled, objects jump a few pixels when you’re moving them. Often they snap to the center of an object or the edges. You can choose what you’d like to snap to by heading to View > Snap To.

Select which you’d like objects to snap to. You can choose Guides, Grid, Layers, Slices, Document Bounds, All or None.
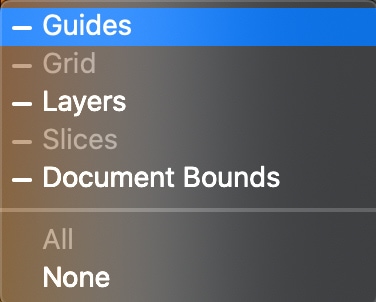
If an option is greyed out, you do not feature that object in your project. For instance, I have no grids or slices visible in my project, so the two options are greyed out in the list above.
Sometimes, snapping can be helpful, but if snapping is preventing you from placing an object accurately, it is better to turn it off. You’ll know snapping is turned off when no checkmark is beside it in the menu.
Ultimately, with the help of nudging and snapping, it becomes a whole lot easier to align your elements with complete control. Now, if you are trying to center your objects, then nudging is usually too slow of a process. Instead, see this tutorial on how to center anything in Photoshop in a couple of clicks!
Happy Editing!
