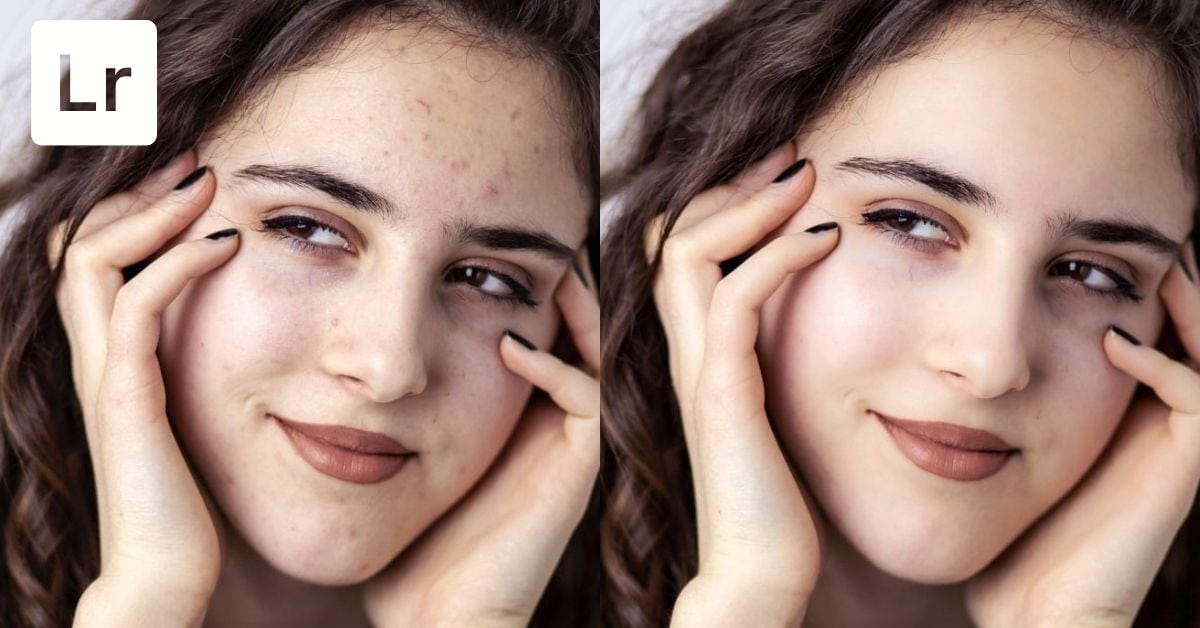

Although you may think of Photoshop as the first tool for retouching skin, Lightroom is still very capable of removing blemished and softening skin too!
This might also be an easier option for many photographers who are used to working in Lightroom. It is quick and simple, yet the result looks just as professional and realistic as adjustments made in Photoshop.
From removing blemishes to softening skin, let’s take a look at how to make some simple facial touch-ups in Lightroom.
How To Remove Blemishes In Lightroom
Using the healing brush, you can remove blemishes from your subject in a way that looks natural and authentic.
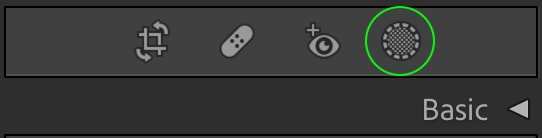
With the image you’d like to edit open in Lightroom Classic’s Develop tab, you’ll see a bar with several icons above the Basic edits. Click the Spot Remover icon, which looks like a band-aid.

If your image turns black and white, it is because the visualize spots option is checked in the bottom toolbar. Make sure to uncheck visualize spots when removing blemishes since then you can actually see your subject. Visualize spots is meant specifically for finding sensor spots in a photo, which isn’t something we need to worry about for this tutorial.

Now, at the top of the panel on the right, you’ll see the different spot removal settings.
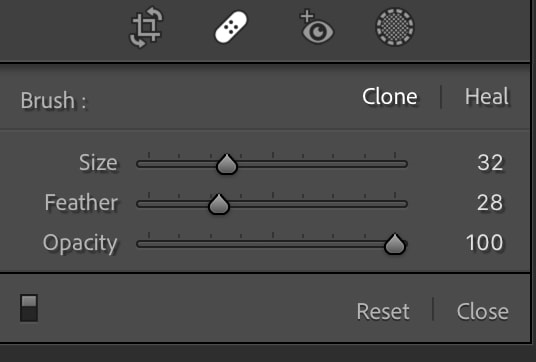
Next to Brush, you’ll see the options Clone and Heal. The Clone setting directly reproduces pixels from a surrounding area to replace the area you brush over, while the Heal setting will blend the colors and textures of the area surrounding the spot you’re healing. This is useful as it keeps the skin’s texture but fixes the color and tone of the blemish, matching it to the surrounding area.
For now, let’s select Heal as Heal is the most widely applied brush setting to use when removing blemishes.

Before starting to brush over blemishes, you’ll want to set the brush settings so they best fit your situation. You can drag the toggles to increase or decrease size based on the area you’re fixing as you want the brush to be slightly bigger than the blemish. Do the same with feathering (the softness of the brush’s edge) and opacity.
I’d suggest keeping Feathering moderately high to ensure the healed area blends well with the surrounding area. You can always adjust these settings as you go, and you will be able to see the change on your image as you adjust.
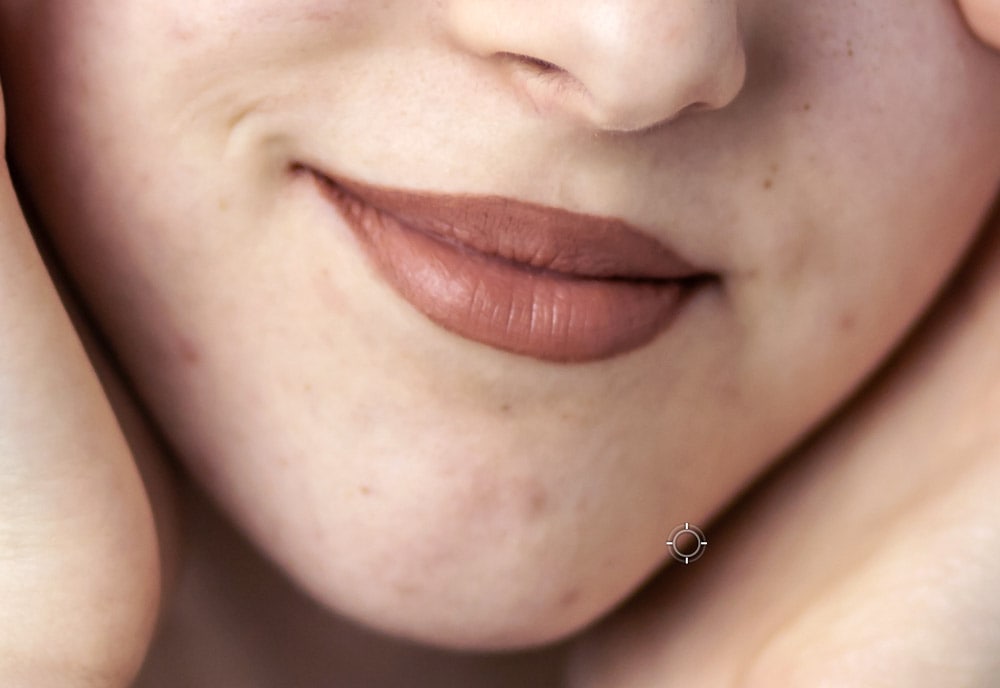
Once you’ve set the settings the way you’d like, simply click the blemish you’d like to heal. You’ll see the circle appear on the blemish, and another circle nearby that pulls example texture and color to help heal the blemish. You can click and drag the example circle to make the healed spot more accurate.
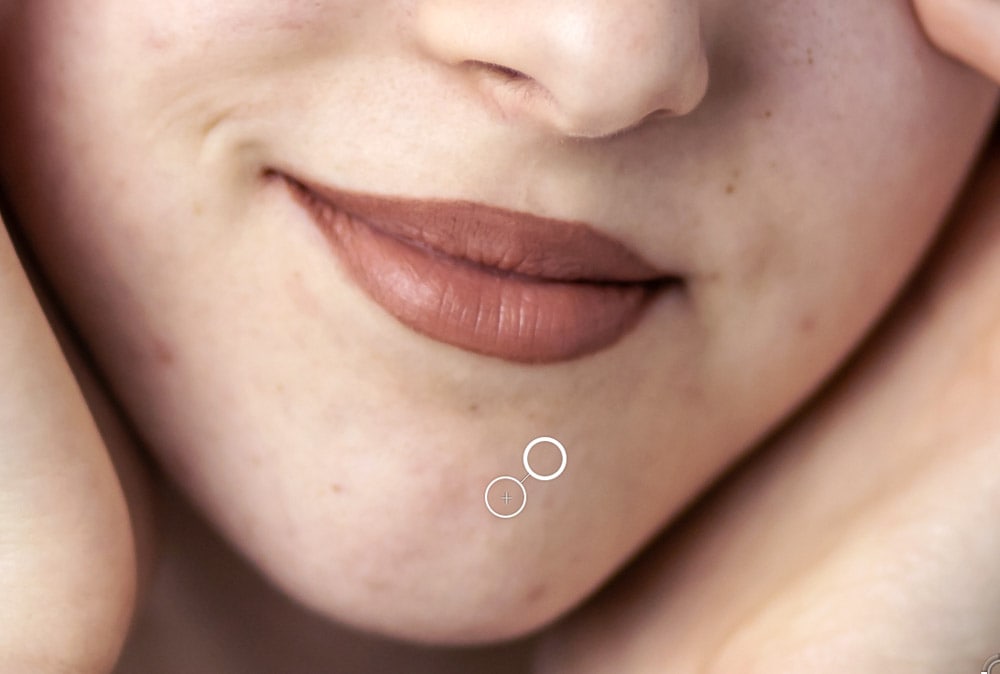
Do this as many times as you need to. You’ll notice the blemishes will appear invisible and the healed areas blend naturally into your subject.
To fix spots that aren’t round, you can just click and drag the brush, and it will brush over the area. To easily delete a spot adjustment you can hold Alt (Win) or Option (Mac) and click the spot. You’ll notice your cursor changes to a pair of scissors. To delete multiple spots at once, hold Alt (Win) or Option (Mac) while dragging over the spots.
Some photographers also use the healing brush in the Clone setting, as this replaces the selected area with the exact pixels from another area of the image with a similar color.
Depending on the image you’re working with this can give you better or worse results than the heal setting — better if you’ve got a lot of pixels that are the same color, or worse if you don’t. I’d recommend starting with the healing brush and only switching to the clone adjustment if you aren’t getting the desired result.
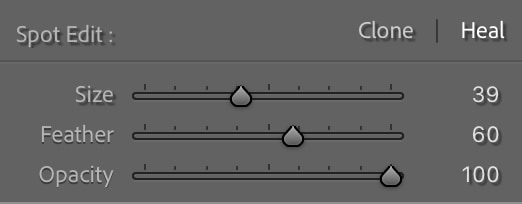
Now let’s go over this process in Lightroom CC since the buttons are a bit different.
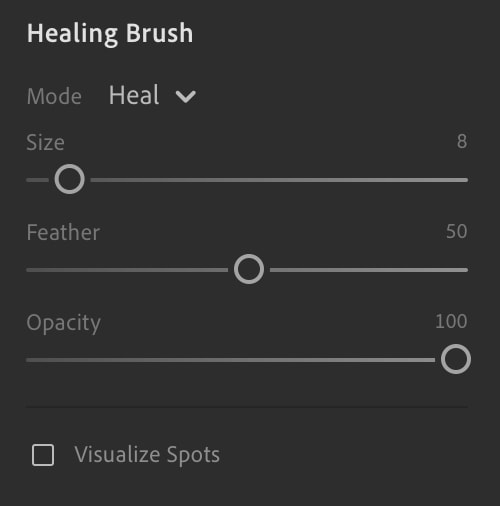
In Lightroom CC, you’ll find the Healing Brush on the right-hand icon bar.

You can set the Mode to Heal or Clone at the top, and then adjust the brush settings below. Adjust them as you’d like, and check the box next to Visualize Spots if this effect helps you identify and cover the spots.
From there, the healing brush will work the same as in Lightroom Classic: just click the spots to heal them, and adjust the settings as needed.
How To Soften Skin In Lightroom
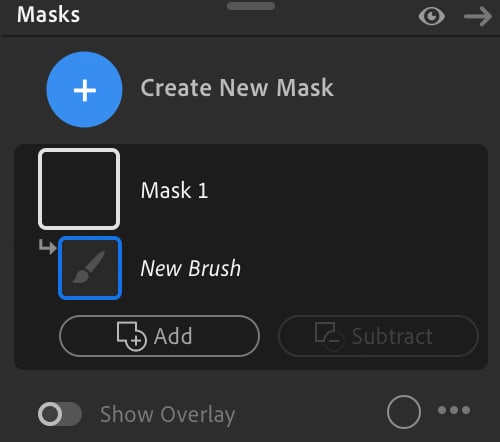
Another skin touch-up you can easily make in Lightroom is softening skin. For this, we will use the adjustment brush, which you can find in the Masking panel. Click the Mask icon in the bar above the Basic tab.
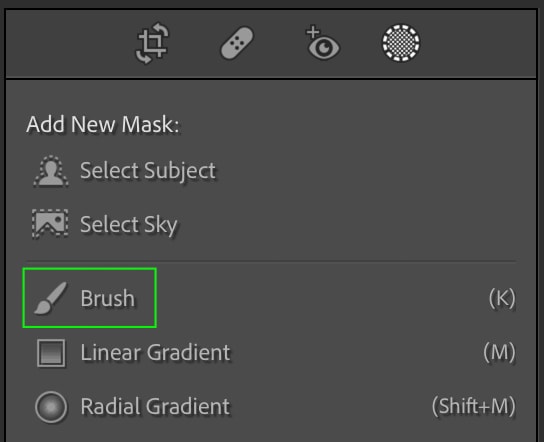
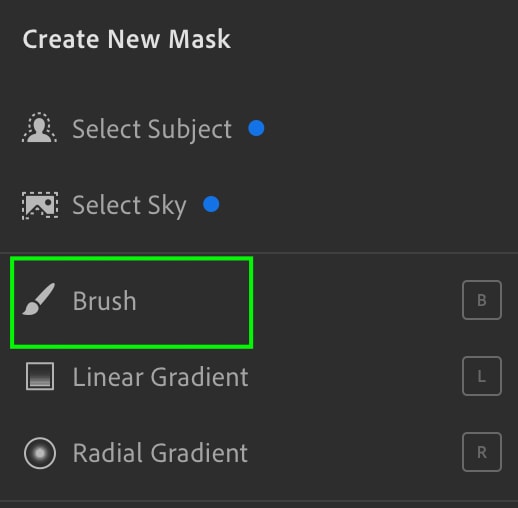
This will bring you to the Masking panel, where you can add a new mask from the available options. Select the Brush option.
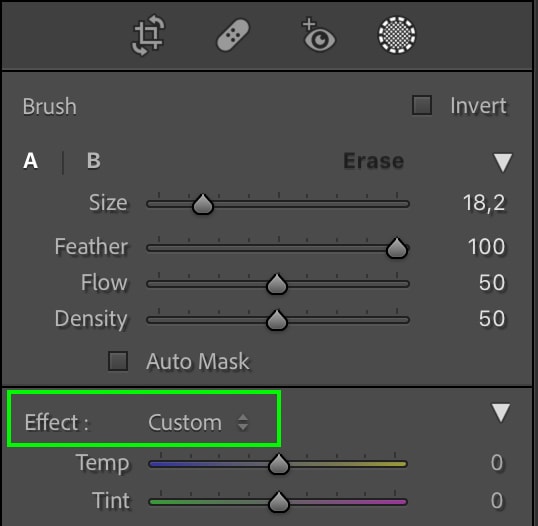
From here, we will take advantage of the brush effect presets that come with Lightroom. These are a somewhat new edition that allows you to make brush strokes in your image that have a specific effect on them. To find these presets, click the drop-down menu next to Effect.
Here, you’ll see a menu of the different brush presets available with Lightroom. The ones we’ll focus on are Soften Skin and Soften Skin (Lite).
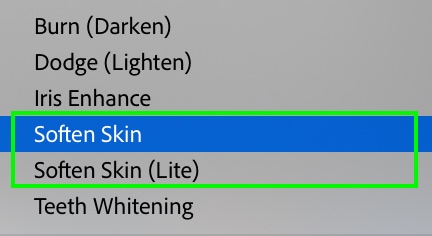
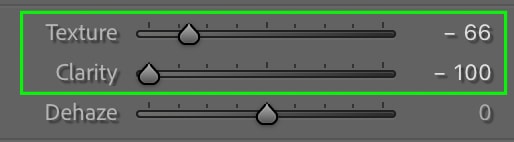
These two effects automatically set reduced texture or clarity adjustments that make the brush soften the area you mask. The latter is the more subtle of the two, but for now, let’s use Soften Skin, as this effect will be more noticeable for demonstration purposes. Feel free to explore which of the two options you prefer for your image.
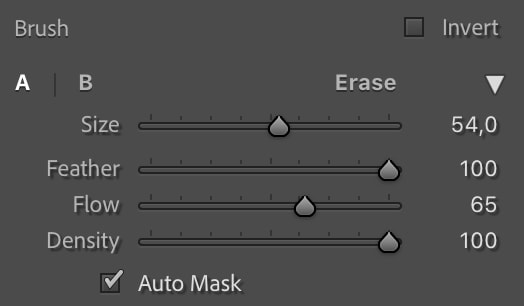
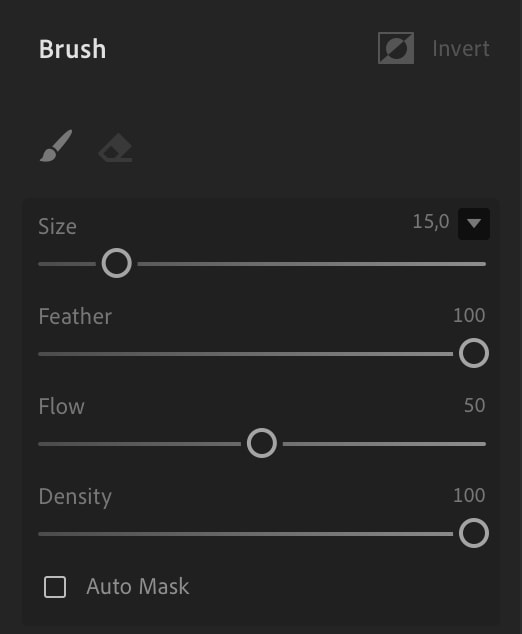
Once you’ve selected a brush effect you’ll notice some of the adjustment sliders move; leave them, for now. As for the brush settings, you’ll want to set the size large enough to easily paint over your subject’s skin, without going over any details like their eyes or teeth.
Flow can be set between 50 and 75 for the most natural appearance, Density set to 100, and Feather can be set to 100 as we won’t need any feathering to use this brush. It also might help to check Auto-Mask, which helps keep your mask in an area of similar color or exposure for better accuracy.
To ensure you’ve selected the correct area, make sure you set the mask to remain visible as you brush by heading to the Mask Panel and selecting Show Overlay.
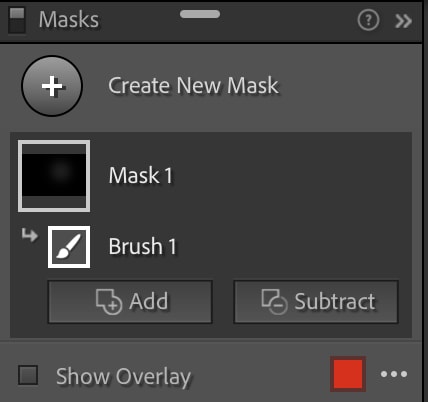

This is an opaque highlight that will cover the masked area and allow you to see what you’ve selected so far. The color will automatically be set to red, and this is the suggested color setting as it will be visible in most situations.
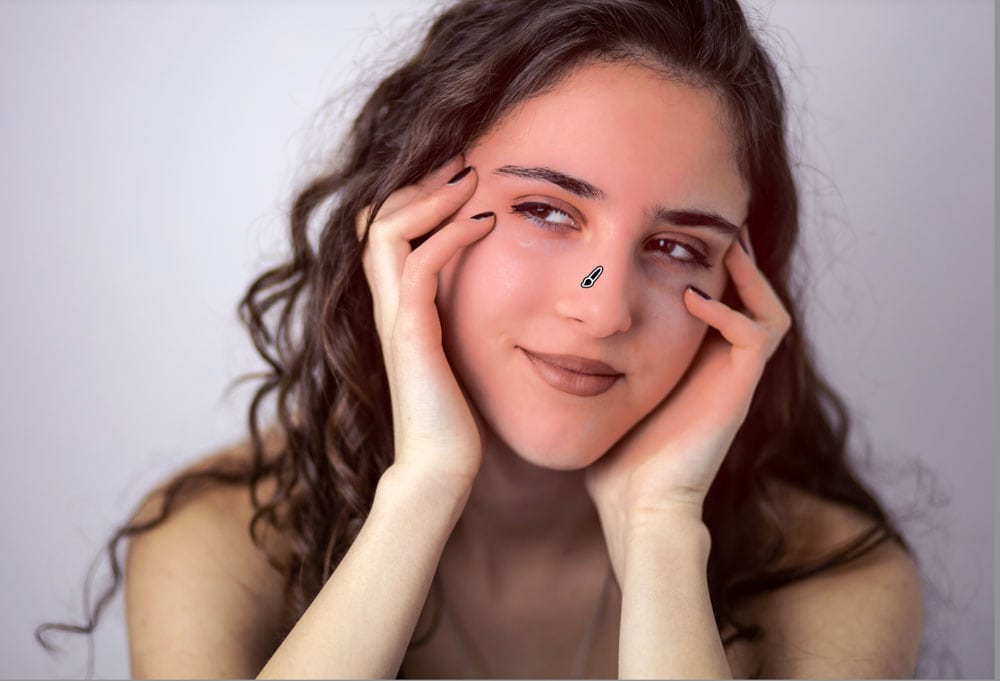
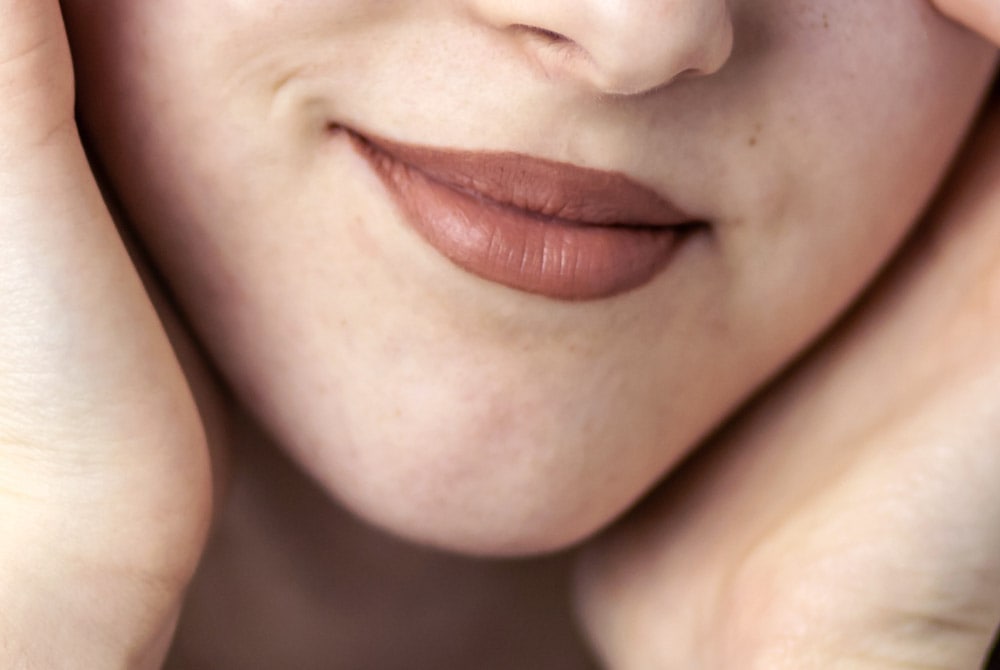
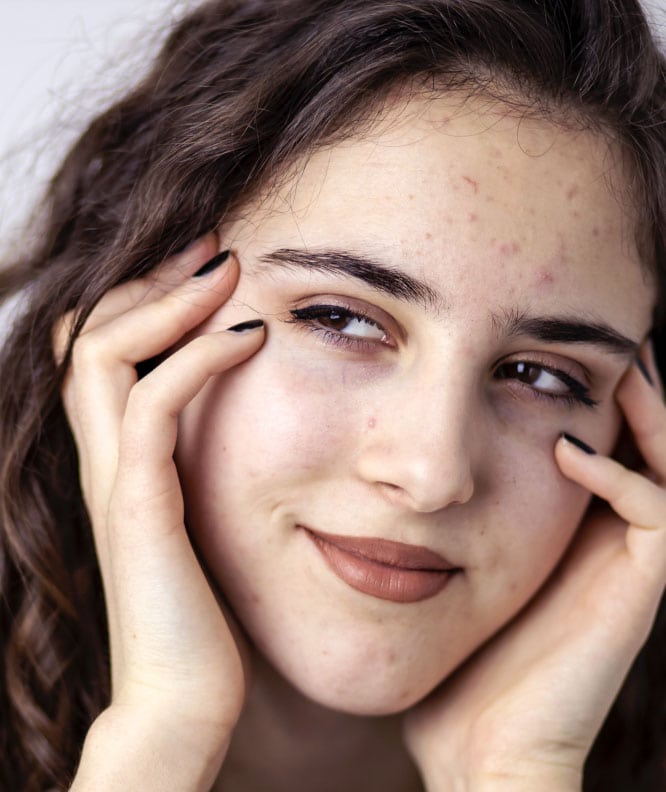
After masking the skin on the subject’s face, you will notice how smooth the skin looks once the effect is applied.
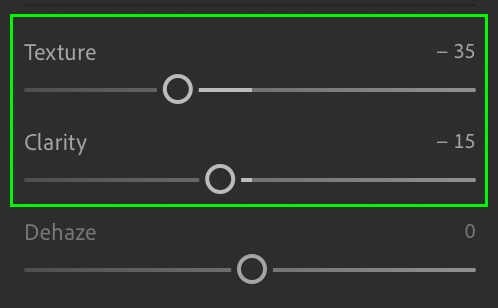
If you think the skin-softening effect is too intense or too subtle, you can always adjust the affected sliders, which are Texture and Clarity. In the brush adjustments area, you can click and drag the toggles on the two effects. Dragging the toggle to the left will increase the softening effect while dragging them to the right will make the skin appear less smoothed and more textured.
The steps to soften skin are the same in Lightroom CC. Here, you can find the Masking panel by clicking the Mask icon on the right-hand toolbar.

Of the available masks to add, select the Brush option.
You’ll see the same brush settings as in Lightroom Classic. Set them the way you’d like — remember, you can adjust them as you go.
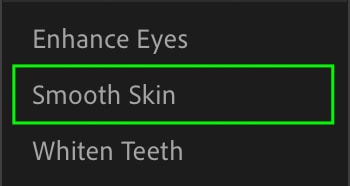
Effects can be found by heading to the drop-down menu next to Mask 1 adjustments, beneath the brush settings. Click to see all the available brush effects, and scroll to find Smooth Skin.

You only have one Smooth Skin effect option here, but you can still adjust the intensity of the effect using the Texture and Clarity sliders. These can be found among the Mask Adjustments below the brush settings — you’ll notice the Smooth Skin preset has already adjusted them, so feel free to make any further adjustments by dragging the toggle left or right.
It also helps to make sure you’ve set the mask overlay to appear covering the masked areas by heading to the Mask Panel and selecting Show Overlay. The overlay will automatically appear as red, helping you discern where the mask has been placed.

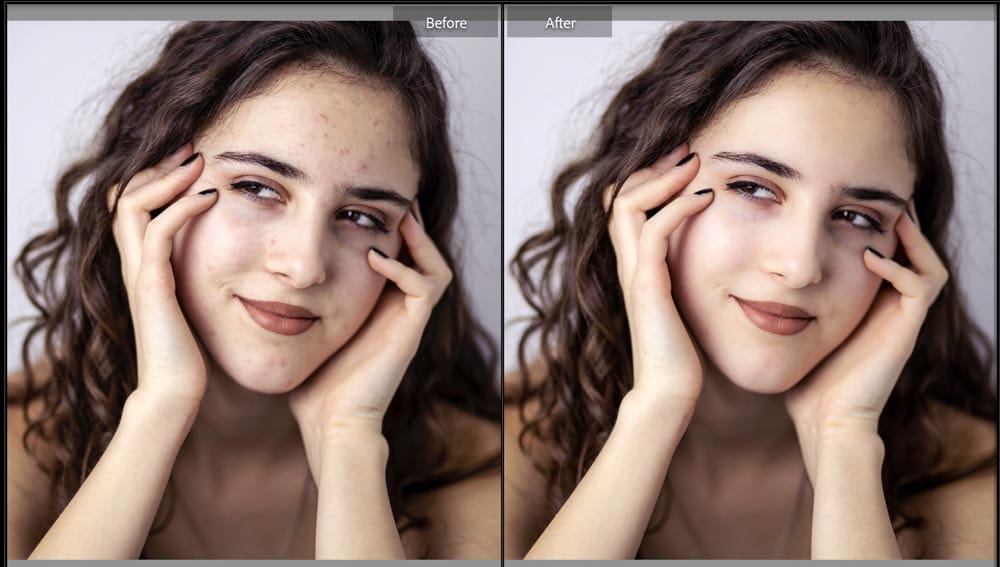
Once you apply the masking effect in Lightroom Classic or Lightroom CC, you will notice the Soften Skin effect makes the skin look smooth and helps to minimize blemishes, especially after first applying the heal effect on the most noticeable blemishes.

Now that you know how to smooth skin in Lightroom, it’s useful to know a few more advanced tools that are only available within Photoshop. To learn more, see this next guide on how to retouch skin in Photoshop
Happy Editing!


