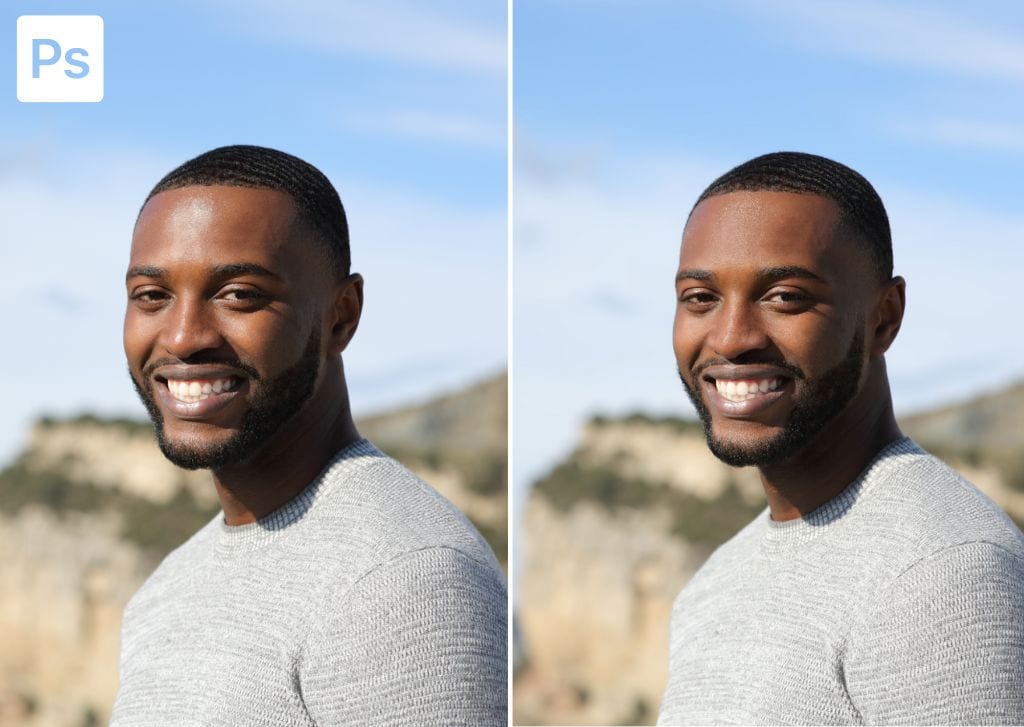

Oily skin in photos can appear bright and shiny, and as a result, it can distract from the subject. When photographing people, they also may request that you remove the oily look on their skin from the images. Luckily, you can easily remove face shine quickly in Photoshop.
Here is how to do it in four simple steps.
How To Fix Shiny Skin In Photoshop
Step 1: Create A New Blank Layer
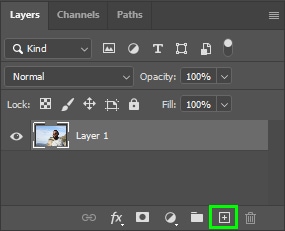
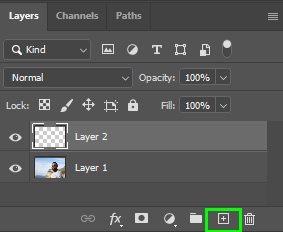
First, you must create a new layer to place the color changes you will apply to your image. To do this, go to the Layers panel and click the plus sign icon at the bottom.
Step 2: Identify The Problem Areas
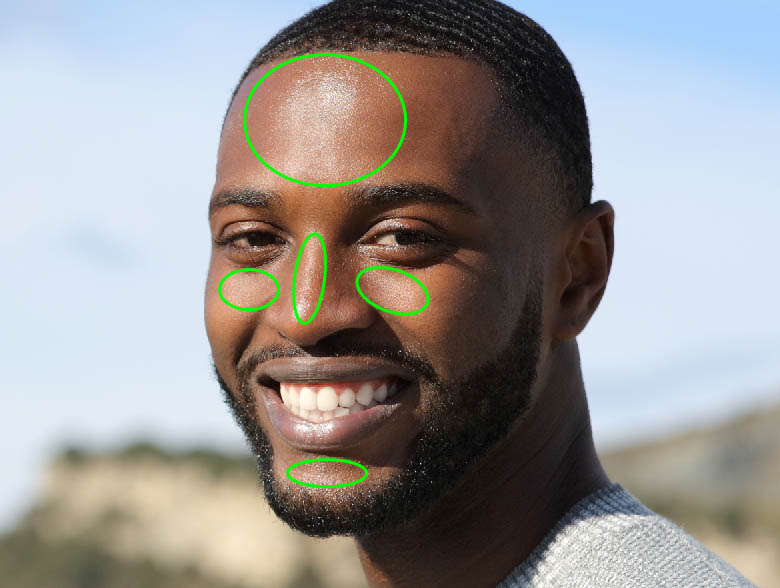
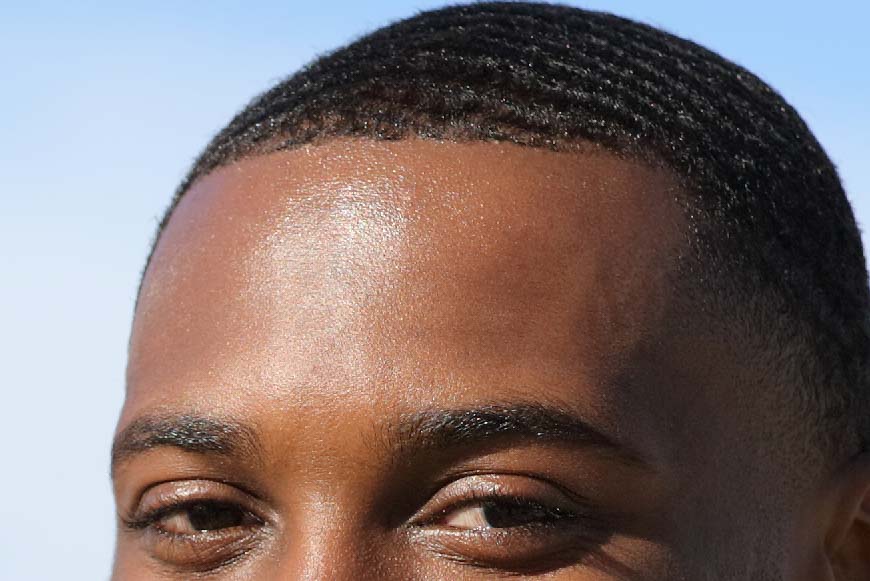
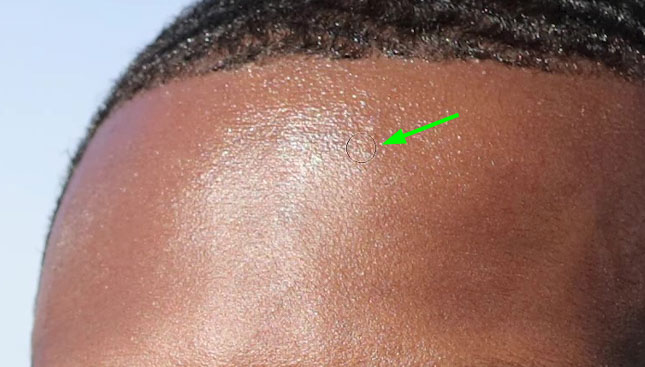
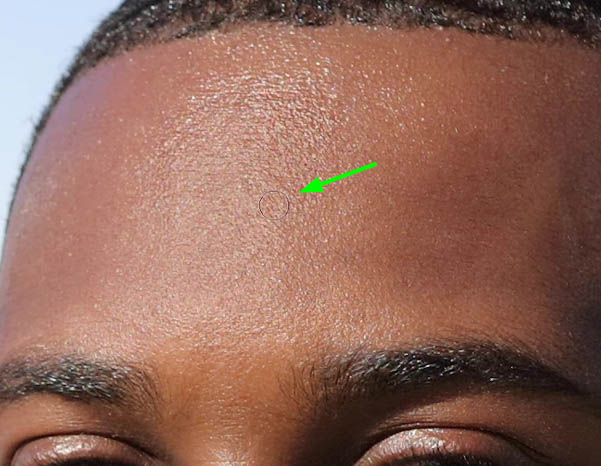
Oily skin appears in photography as bright spots much lighter than a person’s skin tone. They are more evident in areas hit directly by light. In the face, the spots where the face shine is more prominent are usually the forehead, chin, nose, and cheeks, as in the example below.
The solution is to darken the problem area so it can become less inconsistent with your subject’s skin tone, thus minimizing the effect of oily skin.
However, areas that have the most face shine are those where there is naturally more incidence of light. Due to that, you can’t darken the area too much. Otherwise, the highlights will fade, making your photo look less natural.
The key is to minimize the oily skin effect while preserving your photo’s light and shadow data.
Step 3: Paint Over The Oily Skin Using The Brush Tool
Select the blank layer you created previously. Afterward, go to the Toolbar and select the Brush Tool (B).
Once you enable the Brush Tool, you must change some of its settings in the Options bar.

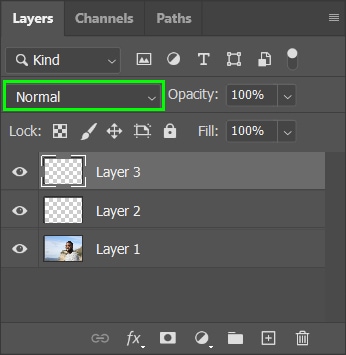
First, change the blend mode to Darken. This will make the brush paint pixels that are lighter than the color we will sample. Thus, regions around the problem areas that are already darker than the sampled color and do not need to be painted will not be affected.

Next, change Opacity to 20%. This will allow you to achieve more subtle and natural results.

Now zoom in on the area you want to correct. You can zoom in on your image by pressing Control + + (Win) or Command + + (Mac).
In my case, I decided to start correcting the forehead of my subject.
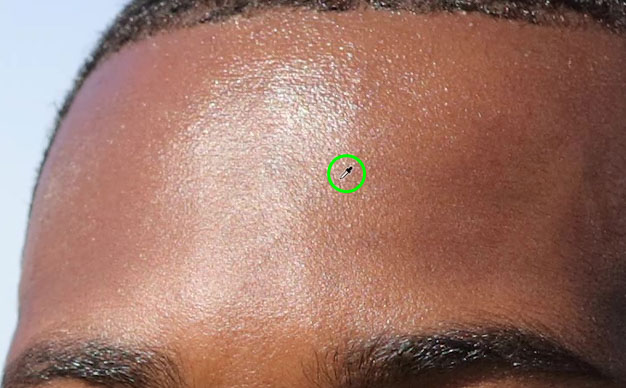
Now, hold Alt (Win) or Option (Mac) and click an area adjacent to the bright spot you want to correct to sample pixels from there. I prefer pixels that are darker than the bright area but not too dark to the point that it will mute the highlight effect.
Once you hold in Alt/Option, your cursor will turn into an eyedropper icon, then click the desired pixels to sample them.
Next, you will see the sampled color active in the Foreground color swatch.

With the desired color sampled, right-click on your image to bring up the Brush Settings panel.
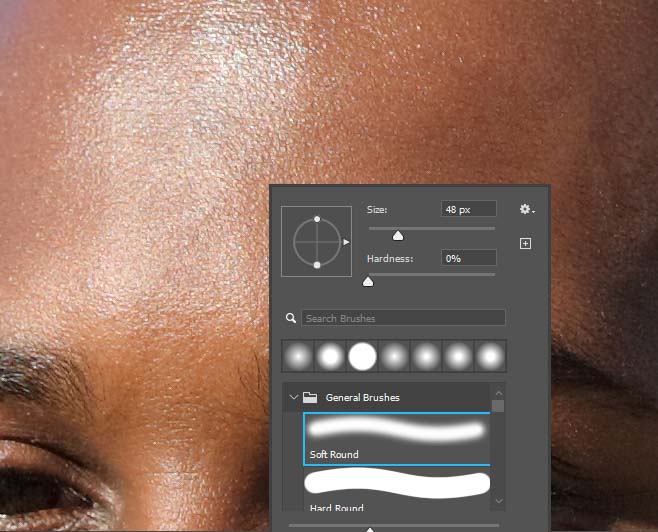
Choose a brush Size proportionate to the area you will initially cover. Remember that you can adjust the brush size anytime, by bringing back the Brush Settings panel by right-clicking your image. Alternatively, you can adjust the brush size using the bracket keys on your keyboard. The right bracket key ] increases brush size, while the left bracket key [ decreases it.
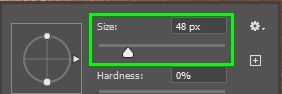
Leave Hardness at 0%.

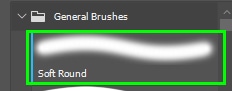
Choose a Soft Round brush.
Now, paint over the bright pixels to cover them with the color you sampled.
You can continue to sample colors adjacent to the bright pixels until you notice the bright area is more even with your subject’s skin.

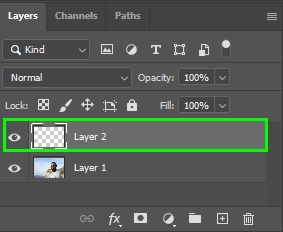
To better blend pixels in the target area and cover pixels that may not have been covered, create a new layer by clicking the plus sign icon in the Layers panel.
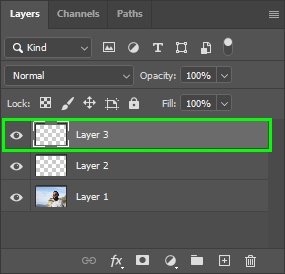
Then, keep the new layer selected and change the blend mode to Color.
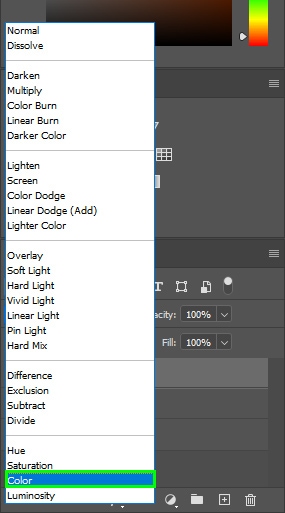
The Color blend mode allows you to paint pixels preserving their luminance.
With the brush active and adjusted as demonstrated above, zoom in on the target area and sample pixels adjacent to the problem area.
Then, keep painting the affected area with the sampled colors until the brightest spots are covered.
Step 4: Change Layer Opacity
If you feel the pixels you collected are not blending well with its surrounding, you can bring down the Color layer’s Opacity. This will blend the original pixels and the new ones.
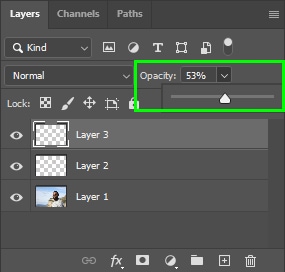
You can change the opacity of the first and second color correction layers. Then repeat the process over the rest of the shiny areas to remove the oily skin.


This simple trick is one that is great to have in your back pocket when editing portrait images. Especially when shooting headshots, this will be one of your most requested retouching adjustments!


