


Whether you’re working in Lightroom Classic or Lightroom CC, learning how to install and use presets is simple. Using presets can save you tons of editing time, as you can apply the adjustments with a simple click, and adjust or remove them just as easily. Whether you’re editing in large batches one going through your photos one by one, this post will share everything you need to know when using your Lightroom presets.
To upload presets, you’ll need to first have some downloaded. You can get 12 free Lightroom Presets here to get started with if you don’t already have some (or just want more).
If you have downloaded presets elsewhere, they will likely be XMP files, which is the format accepted by newer versions of Lightroom, though you may still find presets in the older .lrtemplate format.
How To Install Lightroom Presets
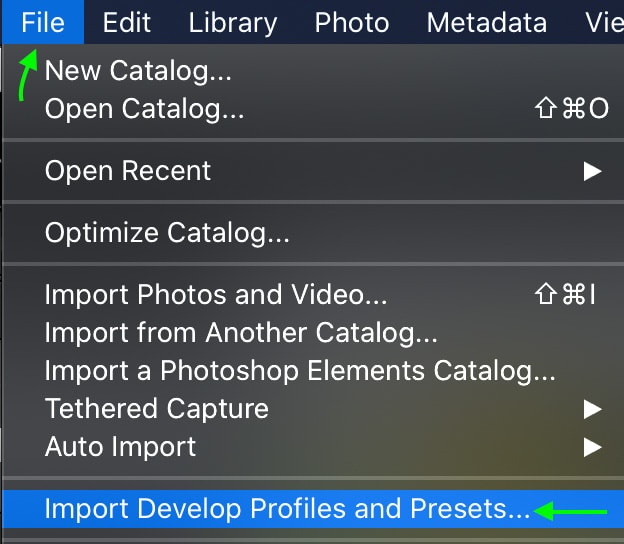
To install presets in Lightroom Classic, go to File > Import Develop Profiles and Presets, select the desired XMP files, and click import. The process of importing presets is similar in Lightroom CC, by going to File > Import Profiles and Presets, then selecting the desired XMP files once again.
Now let’s go through this process more in-depth for each program.
Installing Presets In Lightroom Classic
In Lightroom Classic, you can upload presets by heading to File > Import Develop Profiles and Presets.
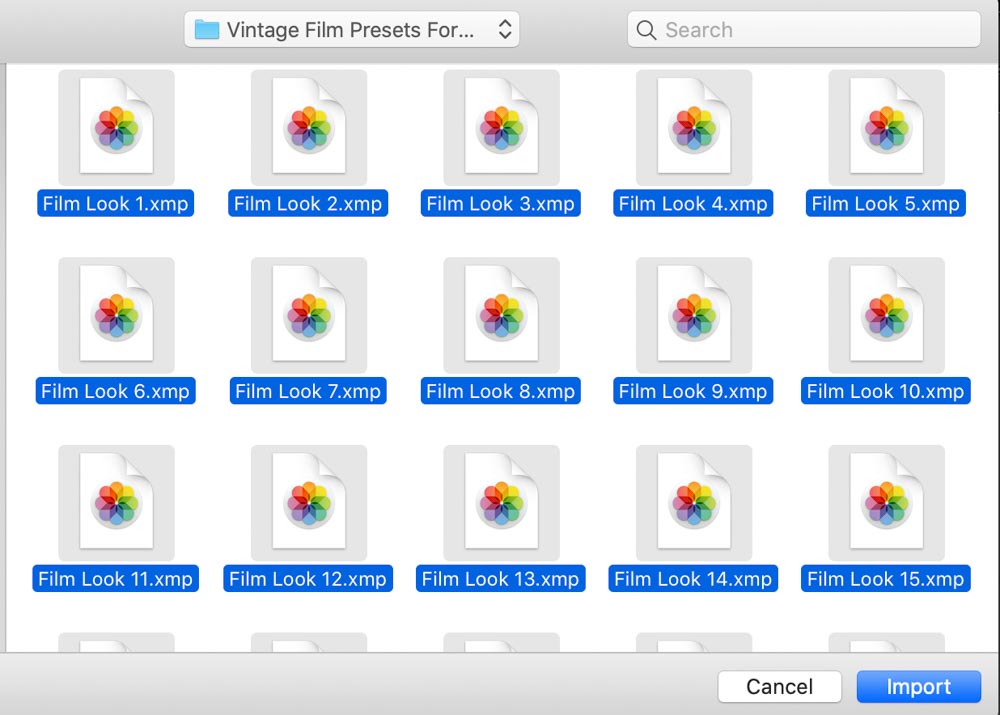
In the window that opens, you can find and select the presets you’d like to install. Again, the file format accepted by Lightroom Classic is .xmp, so make sure the presets you’ve downloaded are in the correct file format or they might not be recognized by Lightroom. To select more than one, click and drag around the files you’d like to install or hold Control while clicking.
Click Import, wait a moment, and the files will be successfully installed in Lightroom.
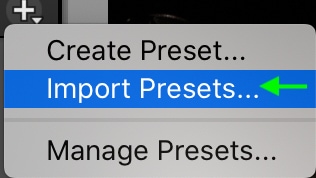
You can also import presets while working in the Develop module, by clicking the plus sign next to the Presets tab and selecting Import Presets, then following the same steps as above when the window pops up.

Installing Presets In Lightroom CC
The process of uploading presets is similar in Lightroom CC. Start by heading to File > Import Profiles & Presets.
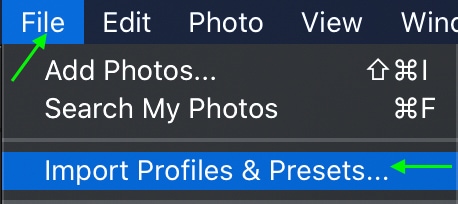
From there, you can select the files you’d like to upload and click Import when you’re ready.
How To Organize Lightroom Presets
Once you’ve uploaded your presets to Lightroom Classic, you can access them at any time by heading to the Develop module.

From there, you’ll see the Presets tab on the left side panel.
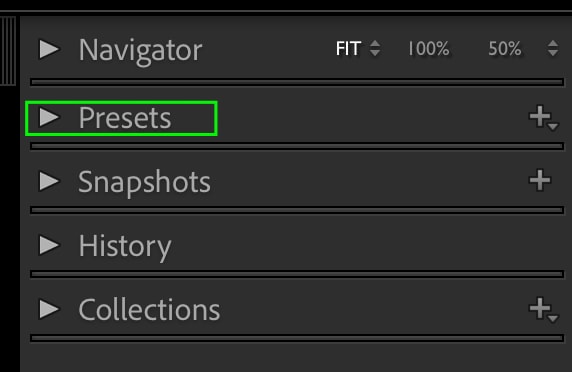
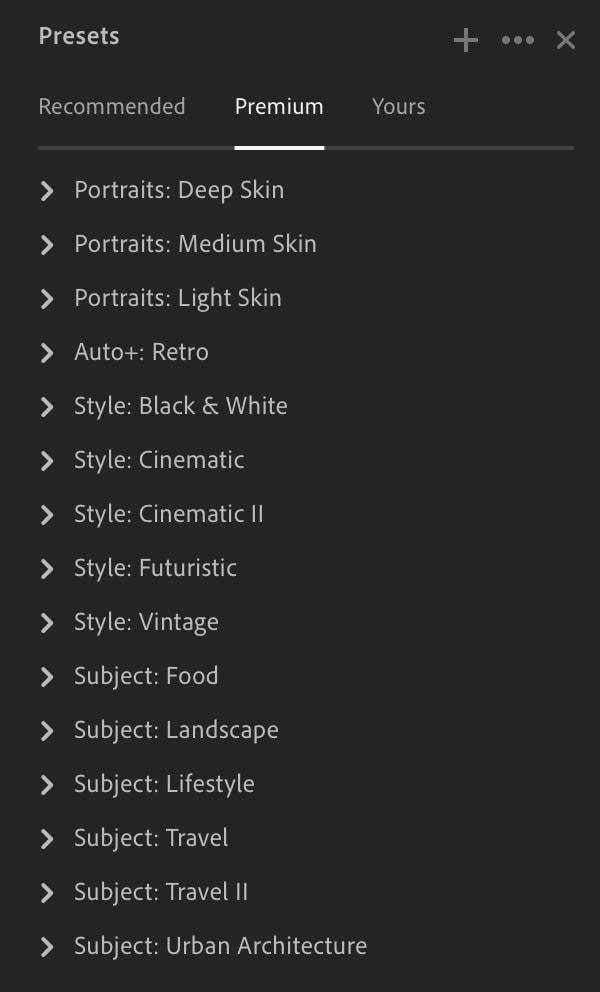
Click to open the presets tab and you’ll see all the available presets you have.
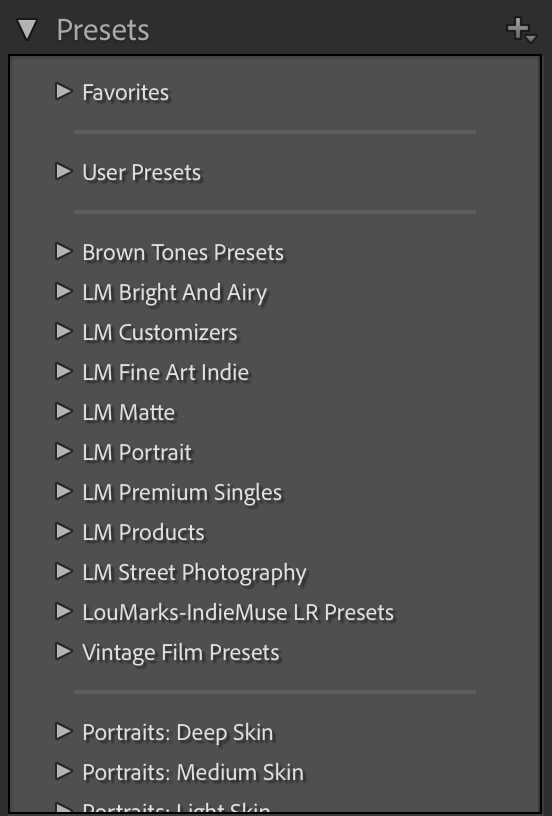
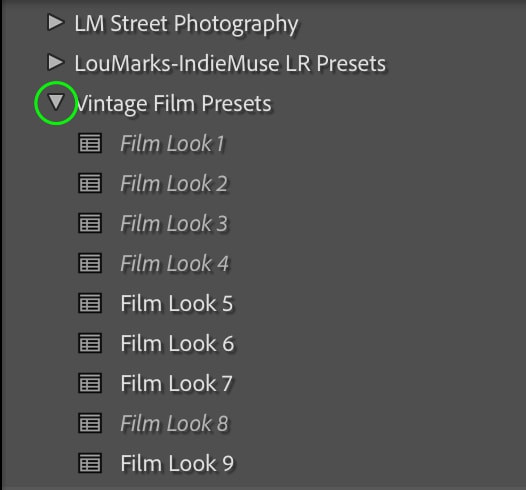
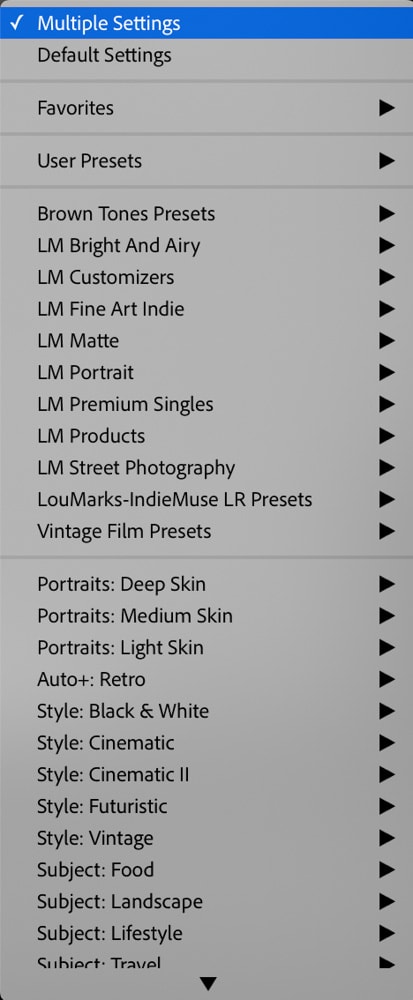
At the top will be your Favorites, followed by your User Presets, which are the presets you’ve created and saved in Lightroom. Under this, you’ll see all the presets you’ve installed, organized by the preset groups you’ve installed them from. Then below those, are the presets that come with Lightroom. Click the arrow to open any of the groups and see the presets inside.
You can easily reorganize any of your presets by clicking and dragging them. For instance, if you’d like to move a preset from one preset folder to another, just click the preset you’d like to move and drag it to a new folder.
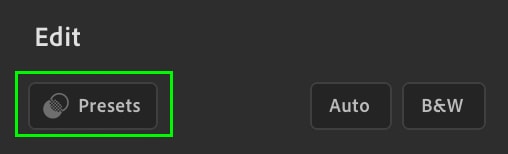
To find your presets in Lightroom CC, just click the Edit icon, and then Presets, at the top.

In the panel that opens, you’ll see all the presets you’ve added to Lightroom CC.
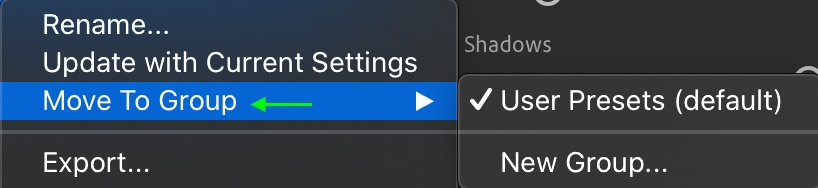
You won’t be able to click and drag in Lightroom CC. Instead, you’ll have to right-click or Control + click the preset you’d like to move and select Move to Group, then choose the group where you’d like to move your preset.
How To Rename Lightroom Presets
Whether you’re creating presets or uploading them, it is important that they are named in a way that allows you to understand what their best use is for. This helps to find them quickly and easily.
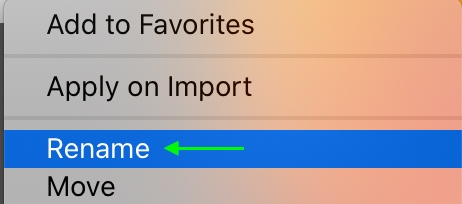
To rename your presets in Lightroom Classic and Lightroom CC, right–click (Win) or Control + click (Mac) the preset you’d like to rename and select Rename.
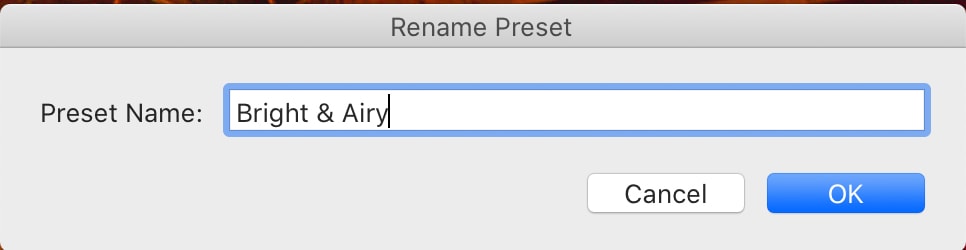
In the window that appears you can type in a new name that matches the style of the preset, or anything that helps you locate and organize it. Click OK when you’re done. Renaming presets isn’t always necessary, but it’s good to have the option!
How To Use Lightroom Presets To Edit Photos
Once you’ve installed and organized your presets, you can begin applying them to your images. In Lightroom Classic, you’ll start in the Develop tab, while in Lightroom CC you’ll head to the Edit tab.
Make sure your Presets tab is open so you can see all your available presets. In Lightroom CC, you’ll have to click the Presets icon at the top of the Edit panel to see your presets.
The process is now the same in both versions of Lightroom. To start, select the image you’d like to add a preset to, make sure it’s visible in the preview, and then click the preset you’d like to apply.

The adjustments will be applied to your image immediately.
You can also hover over any of the presets without clicking them to see how they would look on your image before deciding. Once you’ve clicked to apply a preset, you can apply a different one simply by clicking any of the other presets and the image will change to fit the adjustments as each is applied.
How To Refine The Preset Adjustments
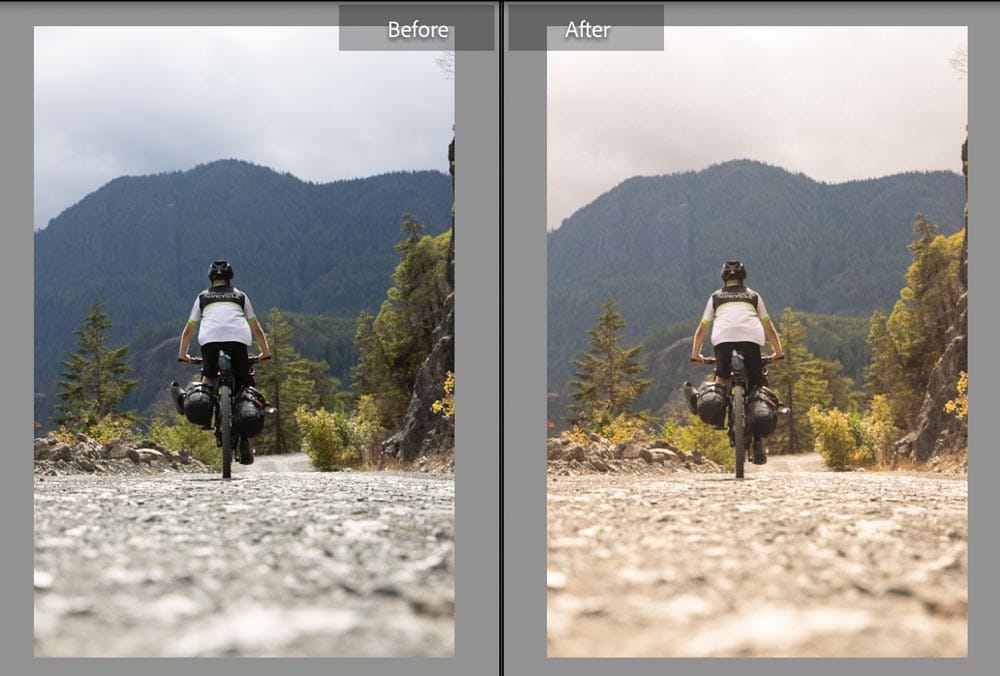
If you’d like to make any further adjustments to the preset you’ve selected, you can do so by refining any of the adjustments in the develop module or the edit tab. You’ll notice the adjustments are already set to match the information in the preset, so adjust them as needed. Doing so will not get rid of the preset or change the adjustments it contains, but it will allow you to further edit your image the way you need to.
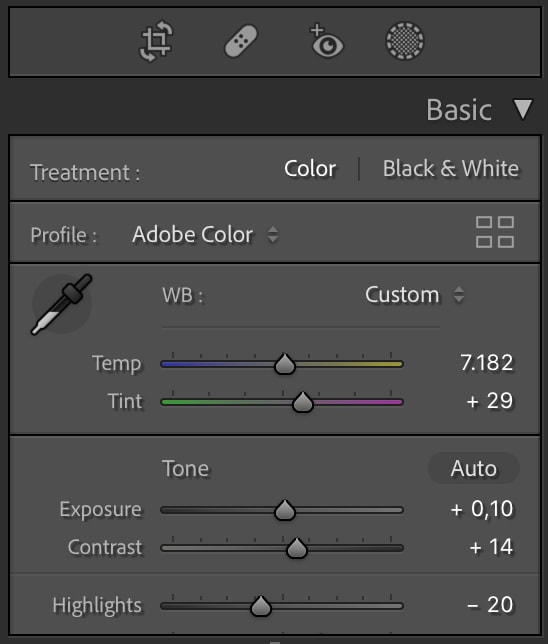
For example, in the above image, I like the way the preset looks, but I would still like to adjust the image exposure. I can easily do this by heading to the adjustment panel on the right and adjusting the exposure, which can be found under the Basics tab.
How To Apply Lightroom Presets To Multiple Photos At Once
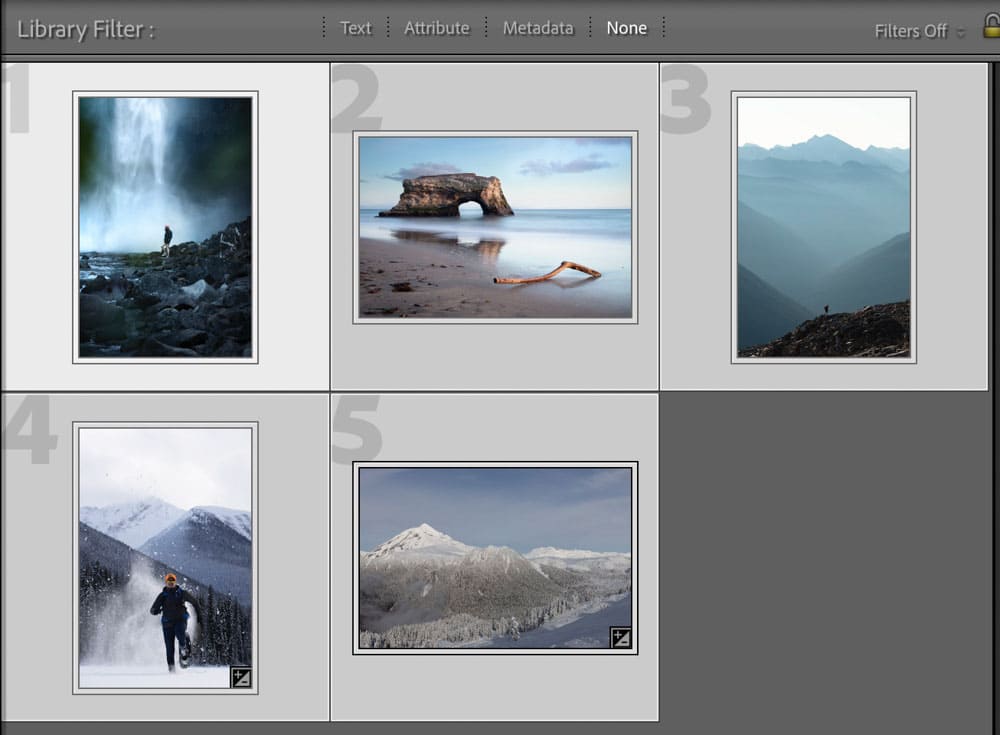
To make your editing workflow even faster and simpler, you can apply presets to multiple images at once. To do this, you’ll need to first select the images you’d like to apply the preset to. In Lightroom Classic, the easiest way to do this is in the Library panel, as you can utilize the Quick Develop tab to the right.
Starting in the Library panel, hold Command (Win) or Control (Mac) while clicking on the images you’d like to select. Selected images will turn a lighter gray.

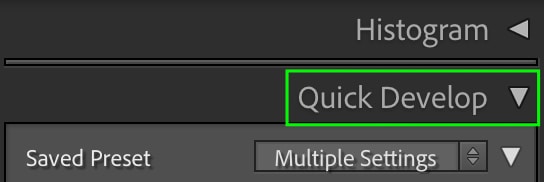
Then, click the Quick Develop tab on the right.
Click the box next to Saved Preset, and you’ll see your available presets.
Click the one you’d like to apply to your images, and you’ll see it applied to all the images you’ve selected.
In Lightroom CC, the process works a bit differently. You’ll need to first head to Edit and click the Preset icon.
With an image up, you can apply the preset you’d like to this image by clicking it. Once the preset is applied, you’ll have to copy the image’s settings using Control + C (Win) or Command + C (Mac). Then, select multiple images to apply the preset to by holding Control (Win) or Command (Mac) and clicking the images in the film strip.

Selected images will have a light gray border around them, while the image you’ve got open will have a white border. Once the images are selected, you can paste the settings of the preset that you’ve copied to the selected images by holding Control + Shift + V (Win) or Command + Shift + V (Mac). The images will all appear with the preset applied.
Want More Lightroom Presets?
Now that you know how to import and use Lightroom presets in Lightroom Classic and CC, how about getting a few more presets to add to your collection? Click get 12 Lightroom presets in my free Lightroom Starter Kit preset bundle.
