

How To Make Your Own Presets In Lightroom Mobile
You can easily create a custom preset in Lightroom by following a few simple steps. By saving the adjustments you’ve already made to your photo, you can apply them to other images later on. With presets, you can get stunning edits in less time, completely from your mobile device!
Lightroom Mobile has a variety of options for creating, importing, and syncing presets. If you’ve already purchased a preset pack that you want to download, make sure to check out this post instead. The steps for installing pre-existing presets are slightly different than creating one from scratch.
Likewise, if you have presets that you already use in Lightroom Desktop, you can sync your existing presets to appear in Lightroom Mobile. I highlight more on how to do that here. That way, you don’t have to start from total scratch!
As for the steps outlined below, this will help you to create your very own custom Lightroom Mobile preset from ground zero. By making your own, you can inject your personal style into the edits and truly make it unique. Whether you want to change colors, adjust the white balance, or stylize your edit, it’s all possible with a Lightroom Mobile preset. Here’s how to do it.
Creating A New Preset In Lightroom Mobile – Step By Step
Step 1: Import And Open Your Image In The Edit Module
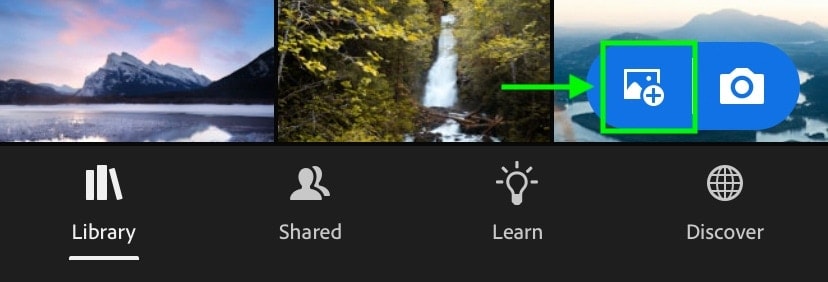
Before you can create a preset, you need to choose an image to edit. You can select one in your Library, then tap on it to bring it into your Edit Module.
If you don’t have any files imported yet, simply click on the “Add Photos” button. From there, you can manually select which images you want to import from your device.
Step 2: Make Exposure & Color Adjustments To Your Photo
A preset works by saving the exposure and color adjustments you make on a certain photo. That way, you can use those same adjustments across multiple images to get a similar look. However, if you don’t make any adjustments to your photo, you can’t create a preset!
There are a variety of tools in Lightroom Mobile that help you to adjust your image. At the bottom of the screen in the Edit Module is a toolbar with all your adjustment options.
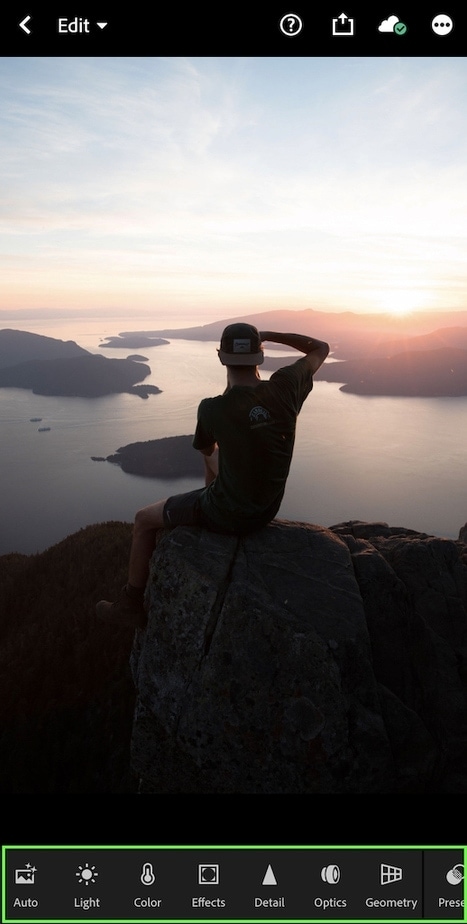
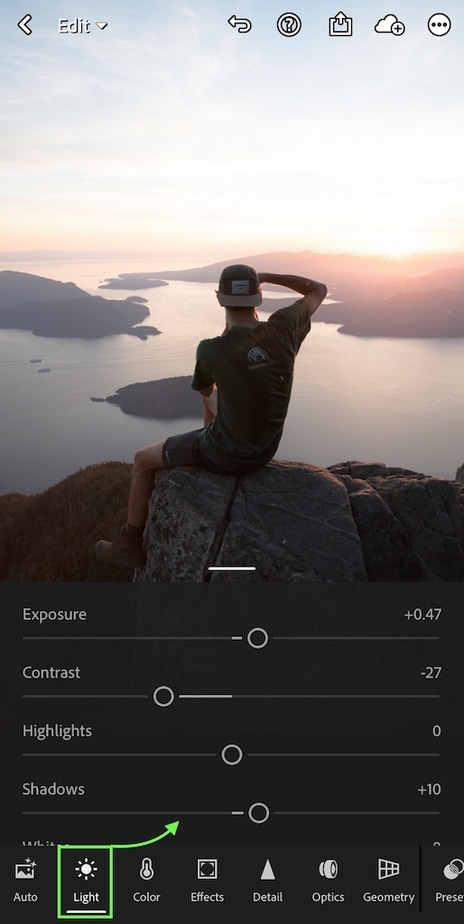
By selecting any one of the options, you’ll be able to adjust your photo with that specific tool. For example, if I select the “Light” adjustment, I can change the exposure and contrast.
Likewise, if I tap on the “Color” adjustment, I can control things like white balance, vibrance, or even change the colors in the photo!
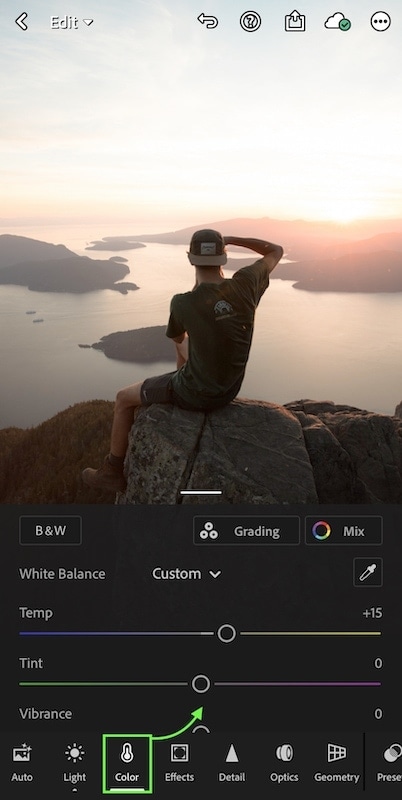
After making a few simple adjustments, I’ve softened the shadows and warmed up the image. Although this is a pretty basic edit, it’s all I’ll use for this new Lightroom Mobile preset. If you want to learn more in-depth photo editing looks, make sure to check these posts on how to get brown tones in your edits or creating the orange and teal effect!
Step 3: Open Your Additional Options And Choose “Create Preset”
At this point, all the adjustments you want should be applied to your photo. That’s because all your current adjustments will be saved in the new preset you create!
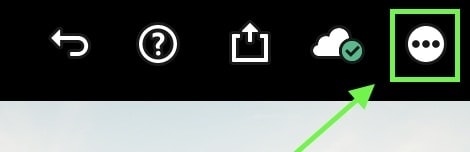
To create a new preset, first, click on the three dots in the upper corner of your screen.
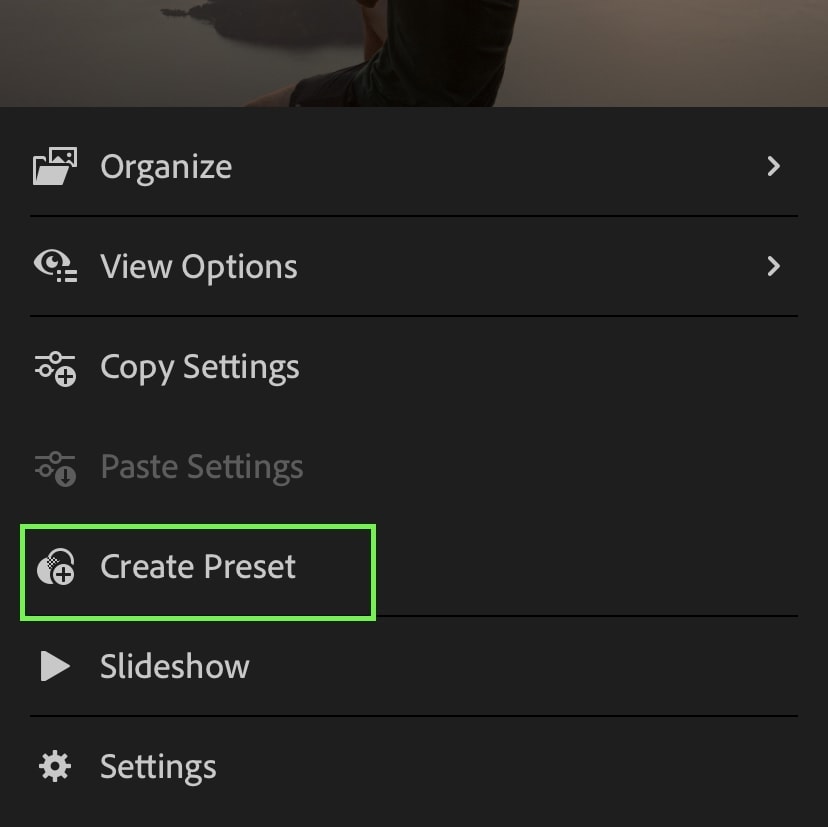
In the new window that appears, select “Create Preset.”
Step 4: Create A Name, Preset Group, And Select Adjustment Options
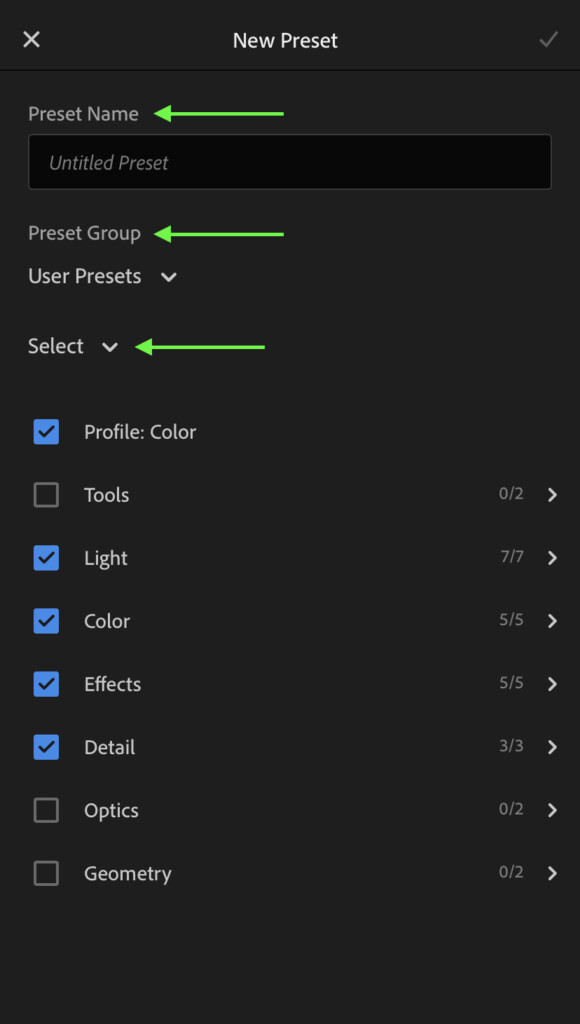
Within the New Preset panel, you’ll have a variety of options. Here you can set the name, where it will be saved, and what adjustments will be included in the preset. Let’s break down each of these areas individually.
– Preset Name
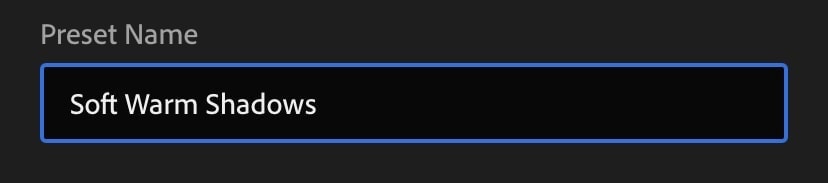
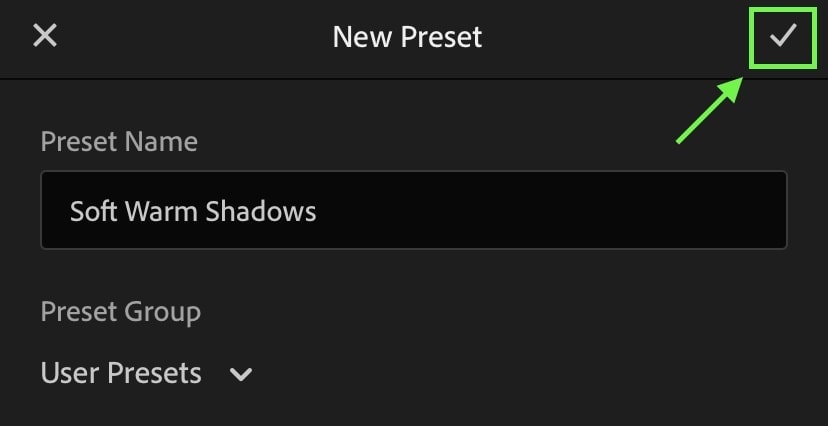
Your Preset Name will be the name that your preset is displayed as. Try to name it something that describes what the preset does for your photo. Since my adjustments softened the shadows and warmed up the white balance, I’ll call mine “Soft Warm Shadows.”
Don’t worry; you can change the name of your presets later on if need be.
– Preset Group

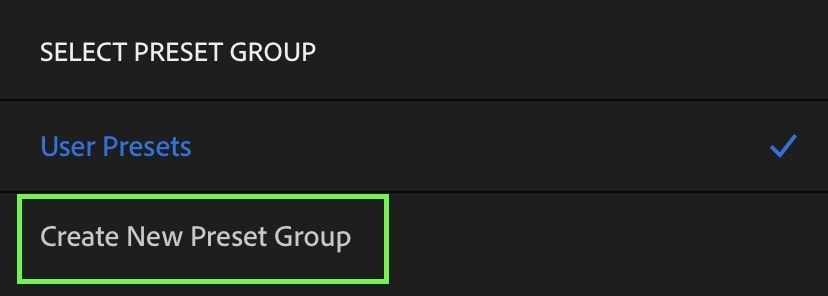
Preset Groups are a way Lightroom Mobile organizes your presets. All your custom LR mobile presets will be found within the “User Presets” group by default.
However, it may be smart to create a separate group if you plan to add a series of similar presets. For example, if you had a bunch of presets that enhance golden hour, you might great a new Preset Group called “golden hour.” You can create a new preset group by tapping on the preset group option and selecting “Create New Preset Group.”
– Select
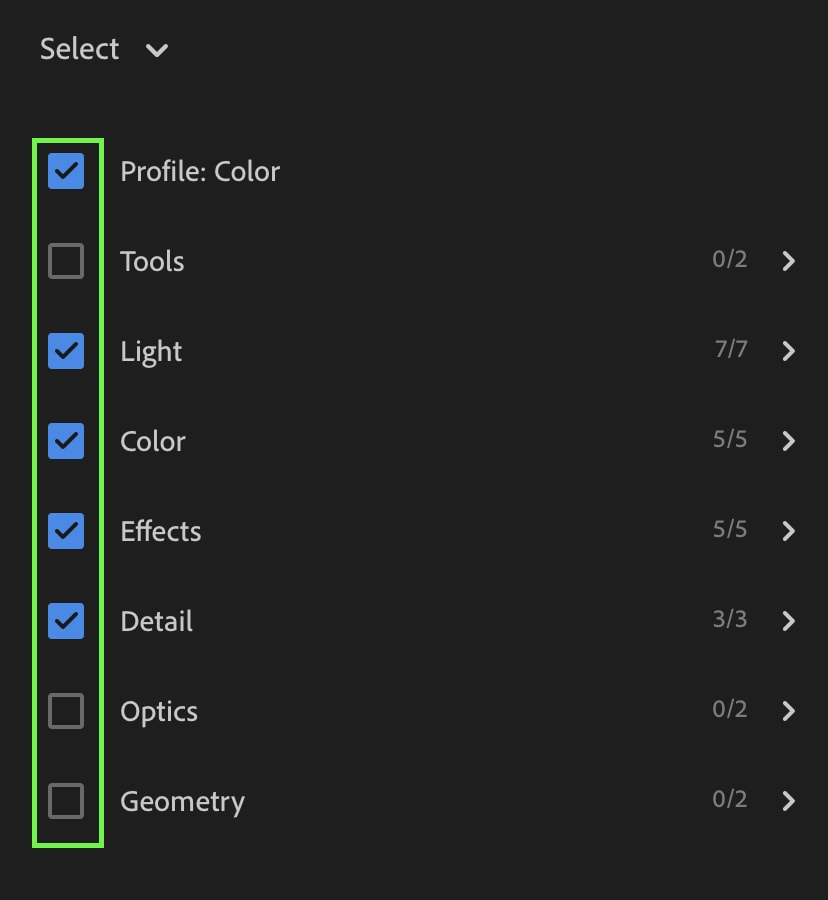
The Select option lets you choose which adjustments are saved in your preset. If you made a straightening adjustment to your current photo, you might not want that applied to every image. Instead, you can choose to exclude your cropping or lens correction adjustments but deselecting that option.
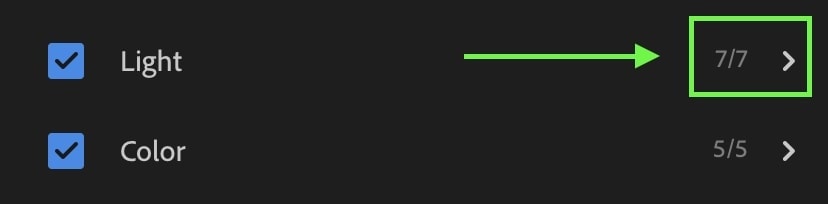
You can further adjust which settings are included in your preset by tapping on the additional options. Here you’ll see a breakdown of all the adjustments within a specific tool. This makes it much easier to choose exactly what adjustments are included.
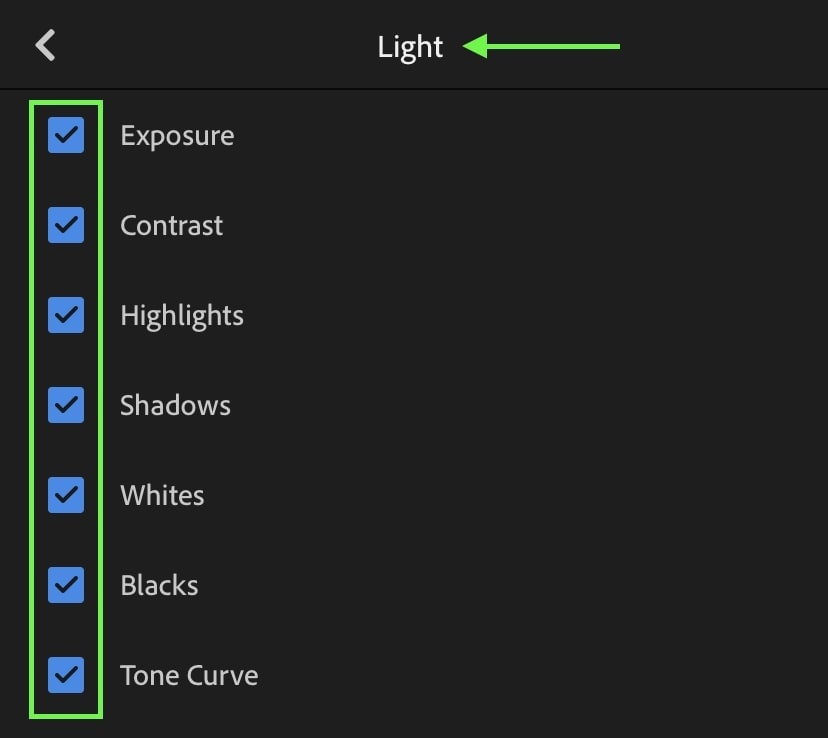
Simply put, a checkmark means that adjustment will be saved with your preset. An unchecked setting means it will not. Easy peasy.
Step 5: Save Your Preset!
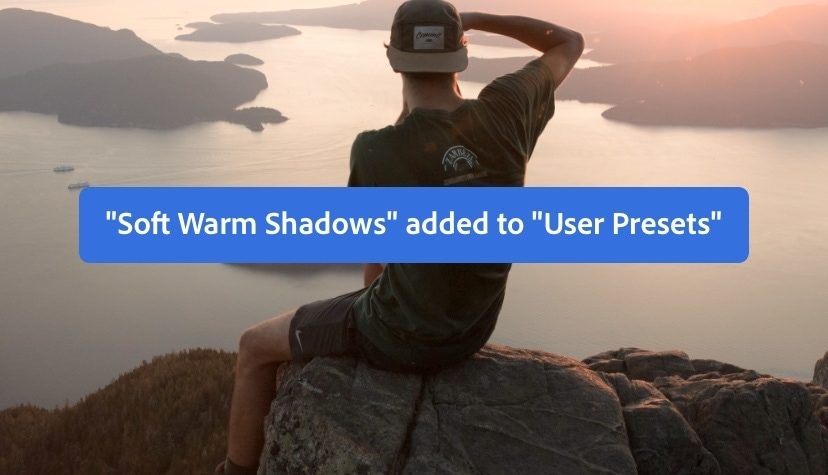
After setting the parameters for your new Lightroom Mobile preset, all that’s left is to save it! Just click the checkmark in the upper corner to create your new preset.
How To Use Your Lightroom Mobile Presets
Now that you’ve made a custom preset, it’s time to put it to use! Open up a new image in the Edit Module by selecting it from your Library.
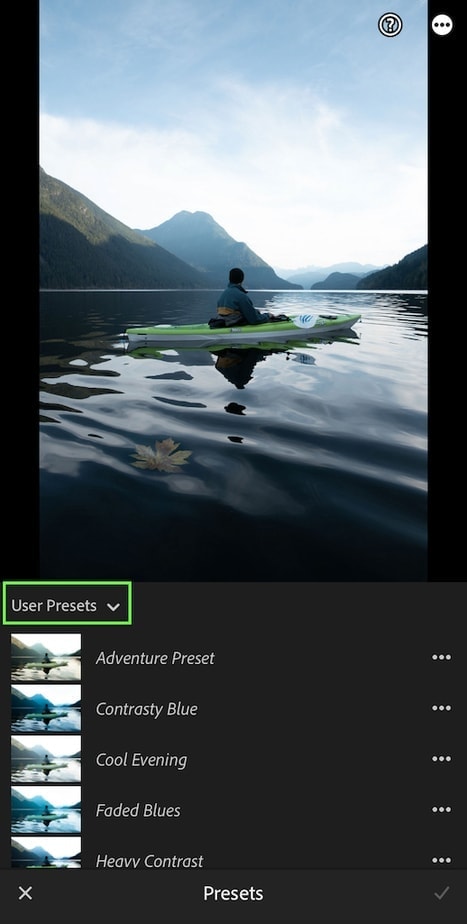
Scroll through your toolbar until you see the “Presets” option.
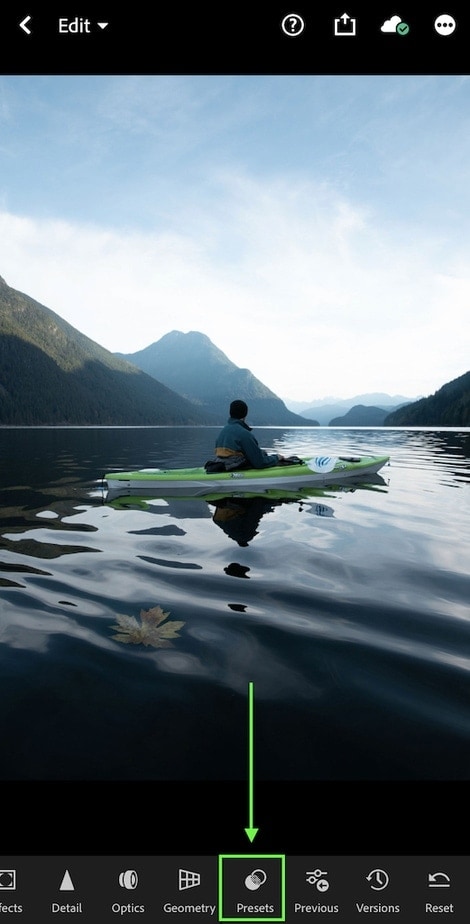
Within the Presets panel, you’ll find all of the presets available to you in Lightroom Mobile, including the one you just created. If you don’t see the preset you’re looking for, try changing the Preset Group.
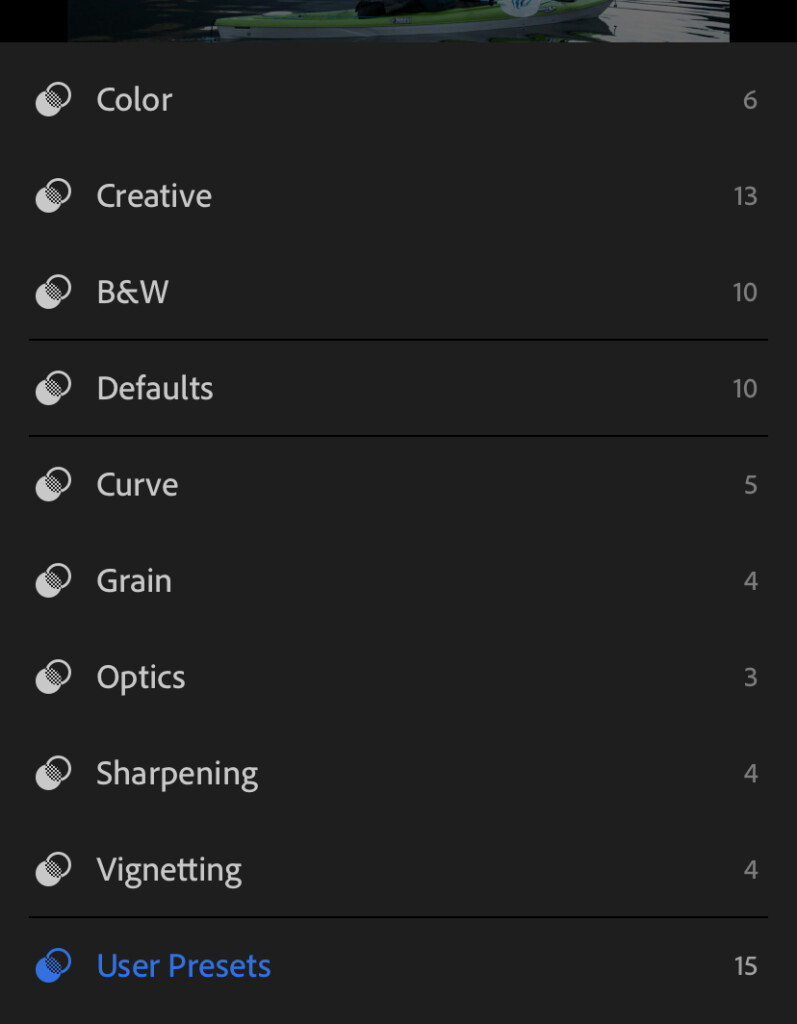
Lightroom Mobile will then show you all your preset groups and the number of presets saved inside of each. Since I saved my new preset to the “User Presets” group, that’s where it will be saved.
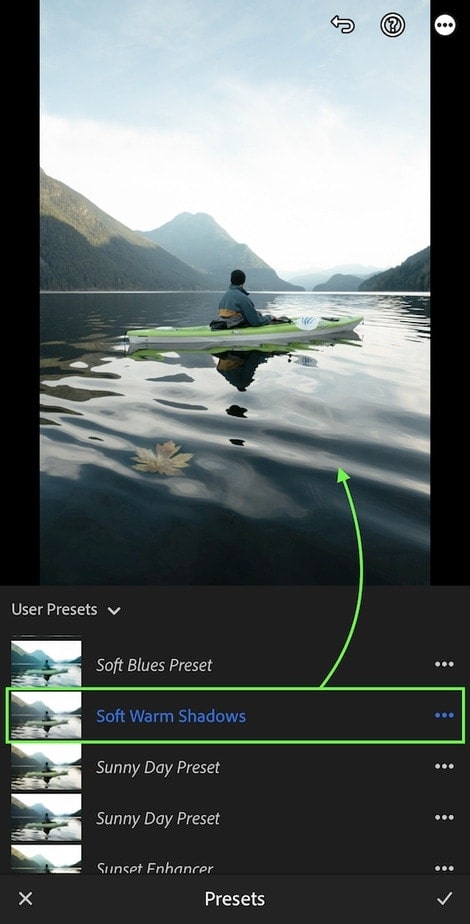
To apply your new preset to a photo, simply click on it. All the adjustments will be instantly applied to your photo. Once you’re happy, press the checkmark in the bottom corner of the screen.

After applying a preset, you can make any further adjustments as usual. By selecting any of the tools, you can refine adjustments as needed. In some cases, a preset may need a little fine-tuning to get it looking just right.


Once you’re happy with your edit, all that’s left is to export your photo! There are many different ways to export an image from Lightroom Mobile, depending on what you want to do with it. Whether it be to print, share on social, or upload to your website, there are different export settings you’ll want to use. To help make the export process easy, check out this post on the best ways to export photos from Lightroom Mobile.
Happy Editing!
Brendan 🙂
