
If you want to share a Lightroom mobile preset with a friend or just another device, it’s not as easy as just pressing share. To send a preset in Lightroom Mobile, you need to first export the preset with a DNG file to transfer to another device. Here’s how it works.
To share a Lightroom Mobile Preset, first, apply the desired preset onto an image. Then press the Share icon, select “Export As,” set the file type to DNG, and press the checkmark to export. A few options will appear to share your preset via text, social media, or cloud storage apps.
Now let’s break down this process into a more step-by-step process. Later in this post, I’ll also share how to transfer your Lightroom Mobile presets onto your desktop computer, as the process is slightly different!
Video Tutorial
How To Share Lightroom Mobile Presets
Before we get started, if you’re looking to get your hands on some new Lightroom Presets, check out my Lightroom Starter Kit to get 12 of my most used Lightroom presets totally for free!
Step 1: Apply Your Preset To A Photo
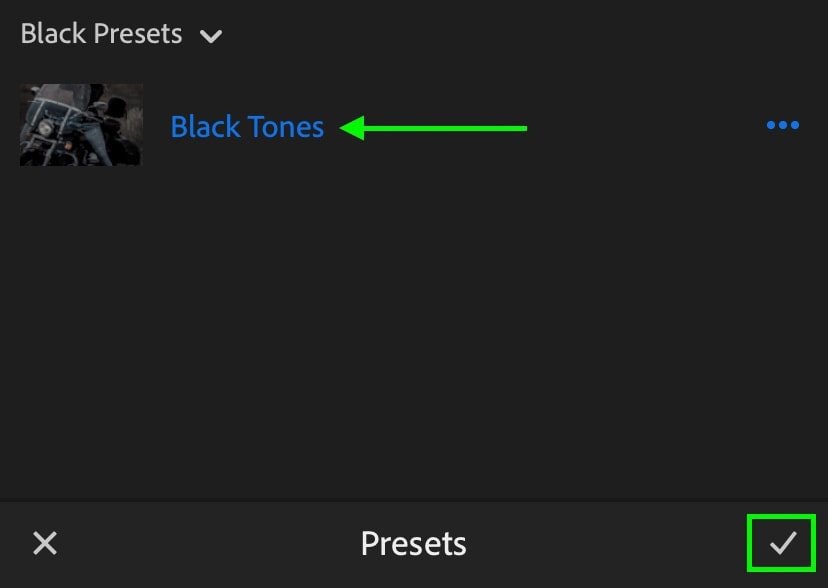
The first step to sharing a Lightroom Mobile preset is to apply your preset onto an image. You can only apply preset at a time, so you’ll need to repeat this process for each preset you want to share.

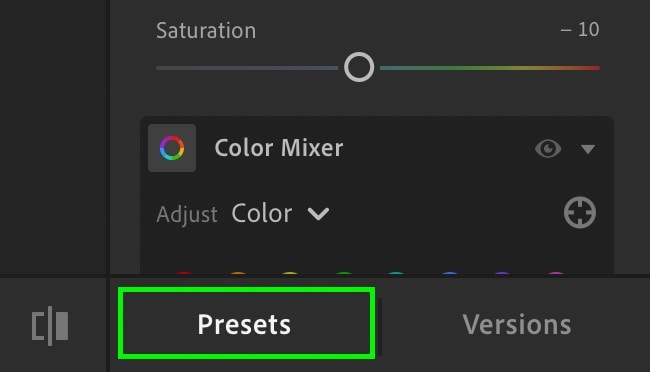
To apply a preset, select the Preset option, then select one of your presets to apply it to your photo.
If you aren’t sure how to create a Lightroom Mobile preset, see this tutorial.
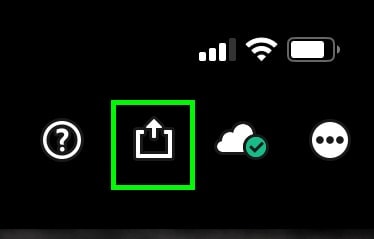
Step 2: Click “Share”
With your preset applied, click the share icon in the upper corner of Lightroom mobile. This icon is represented by a box with an arrow pointing upwards.
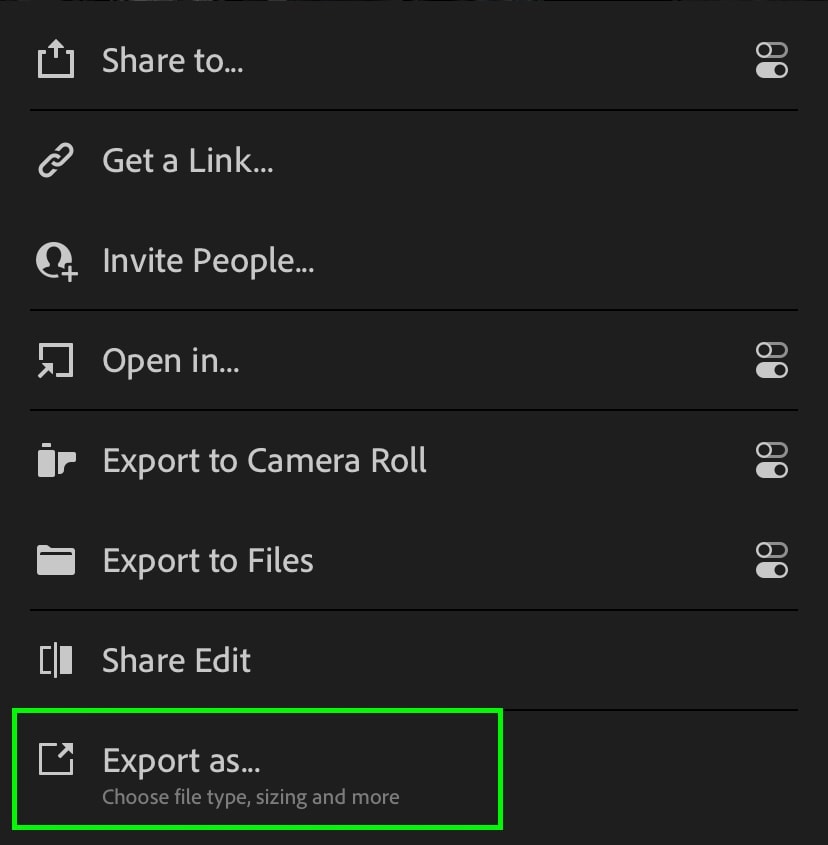
Step 3: Choose “Export As”
From the variety of sharing options provided, choose “Export As…”
Step 4: Set File Type To DNG
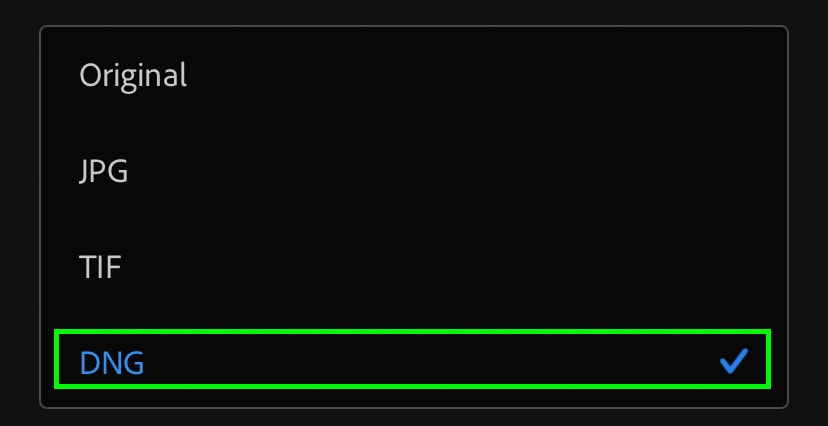
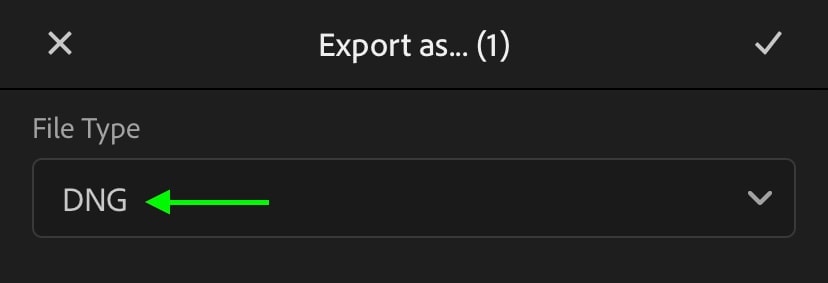
To keep all of your preset information, you need to export your photo as a DNG. Simply click on the “File Type” option and select DNG from the provided list.
Step 5: Press The Checkmark
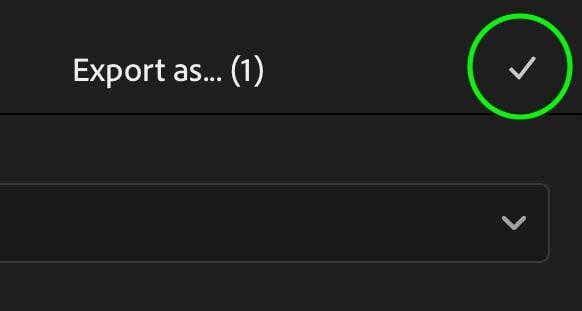
With your file type set to DNG, press the checkmark in the upper corner to export your Lightroom Mobile preset.
The app may take a moment to process your export before revealing the different sharing options.
Step 6: Select A Sharing Method
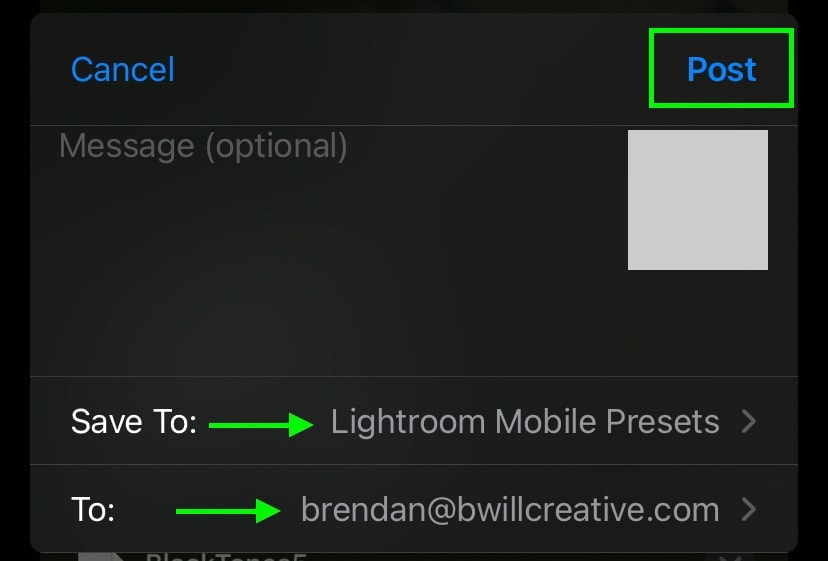
You will be provided with a variety of sharing options for sending off your preset. You can directly text the file to one of your contacts, save the image to your camera roll or files, share to social media, or add to a cloud storage provider such as Dropbox.
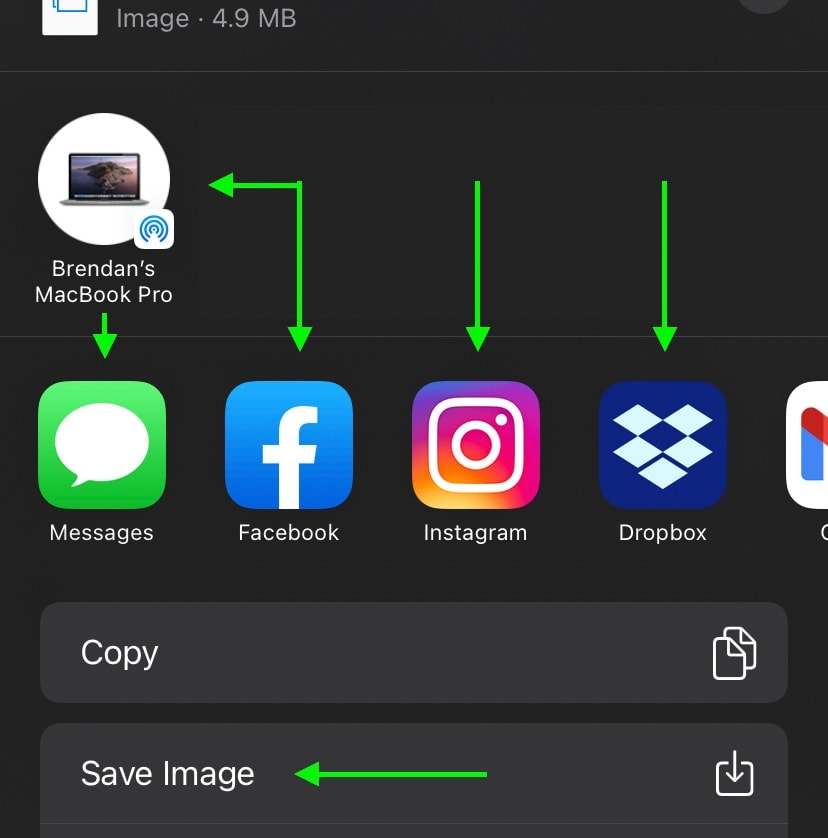
I find it best to share the Lightroom Mobile preset to a cloud storage option in most situations. I use Dropbox, but you could also use something like iCloud or Google Drive.
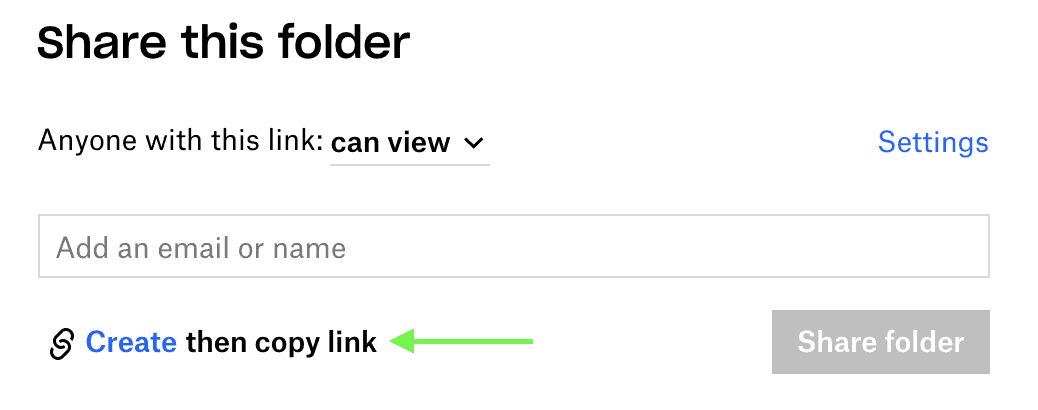
The reason cloud storage is so useful is that you can easily create a shareable link for your image to send to friends. In Dropbox, for example, I can select the preset file and its folder, click share, then create a shareable link for anyone to access.
Rather than having your presets taking up space on your device, cloud storage provides the most effective way to store and share your Lightroom Mobile presets.
Now that you’ve shared your presets, you’ll need to know how to install new Lightroom Mobile presets to your device.
How To Transfer Presets From Lightroom Mobile To Desktop
Although you can use the above sharing method to share your preset to your desktop computer, there is an easier workaround. Using Lightroom’s built-in cloud storage, you can sync your presets between mobile and desktop.
Step 1: Create A Lightroom Mobile Preset
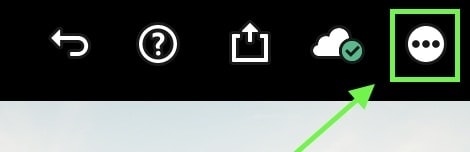
First, you’ll need to create a preset or install one on your mobile device. After the adjustments are applied, go to the Presets panel, click on the three dots icon, and choose create preset.
Give your preset a name and a specific preset folder if you wish. Otherwise, leaving the preset group set to “User Presets” is a valid option.
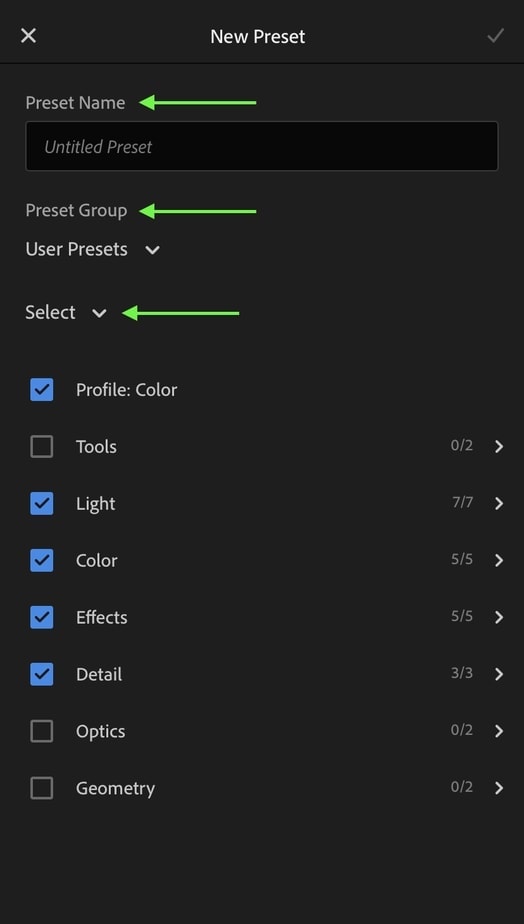
Once complete, press the checkmark in the upper corner to create your preset.
Step 2: Activate Syncing
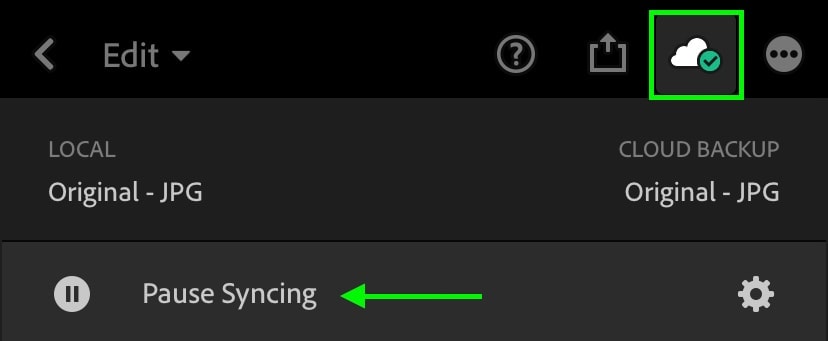
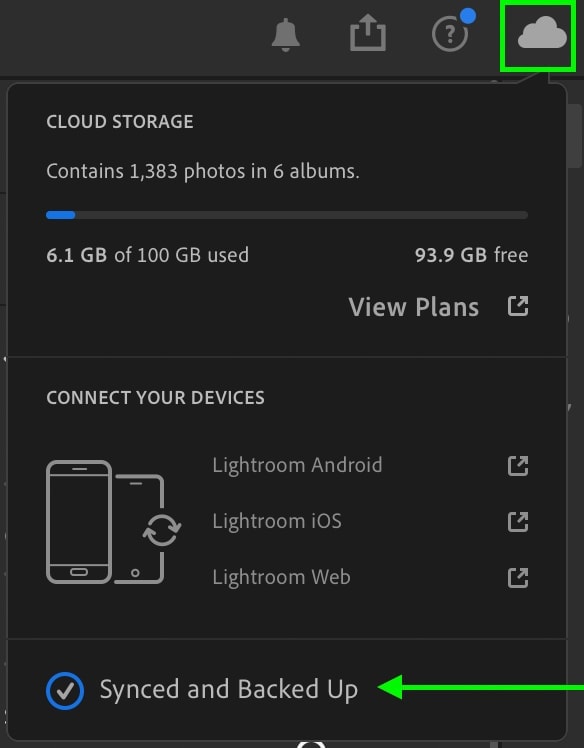
Since Lightroom Mobile and Lightroom Desktop are cloud-based, you can sync many of the adjustments between the two automatically. In Lightroom mobile, click on the cloud icon in the upper corner.
Then make sure that syncing is enabled. If it is not, you will see a “Resume Syncing” option. By clicking the play icon, you will activate syncing once again.
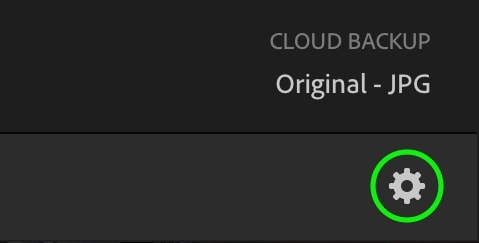
While you’re syncing, it’s useful to double-check your cloud storage settings. By clicking on the gear icon, you can reveal a variety of options. The most important thing to note in this view is how much cloud storage is available. If the storage bar is full, your new presets will not sync.
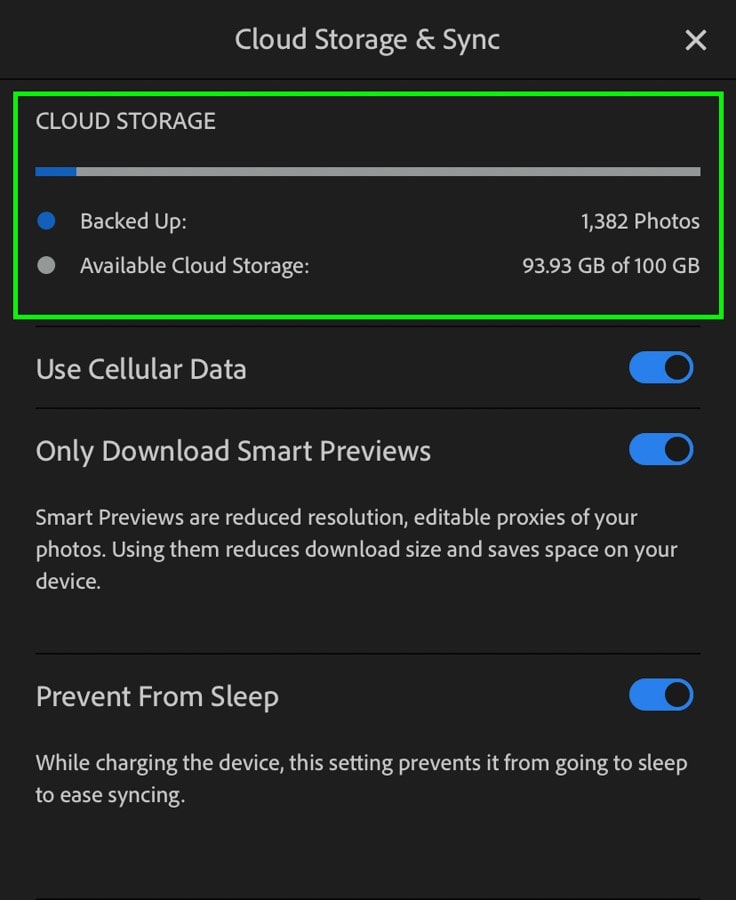
Luckily you can upgrade your cloud storage plans if need be.
Step 3: Open Lightroom Desktop
Once you’ve synced Lightroom Mobile, open Lightroom on your desktop computer.
Select an image from your library, click on the Settings option, then go to the Preset tab.
Inside the preset panel will be all of your presets, including the ones you just synced from Lightroom Mobile.
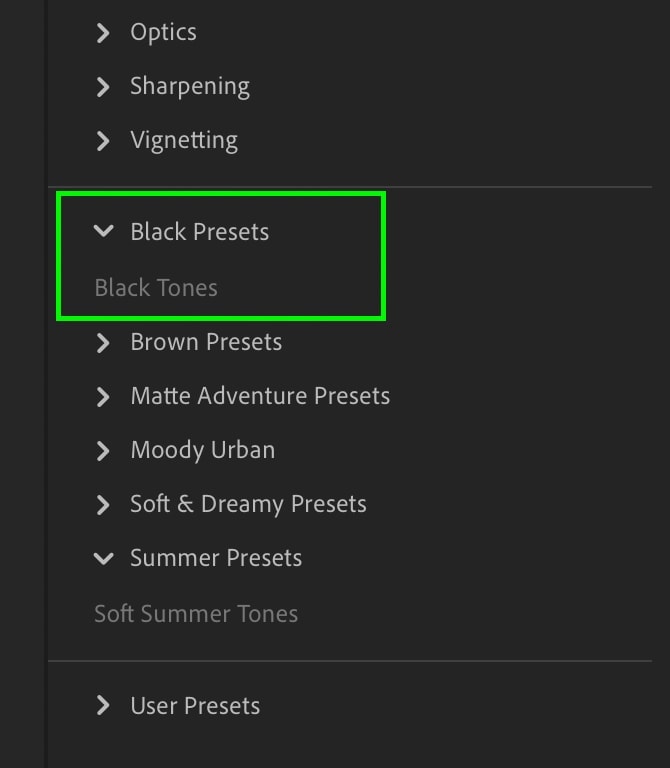
If you do not see your Lightroom mobile presets, it is likely because the syncing has not been completed yet. You can double-check by clicking on the cloud icon in the upper corner and making sure that it reads “Synced And Backed Up.” If you see a progress bar, syncing has not yet finished, so just give it a minute or two!
Step 4: Confirm Your Presets Are Working
Now that your Lightroom Mobile presets are on Lightroom Desktop, select any of the preset to ensure they are working properly.
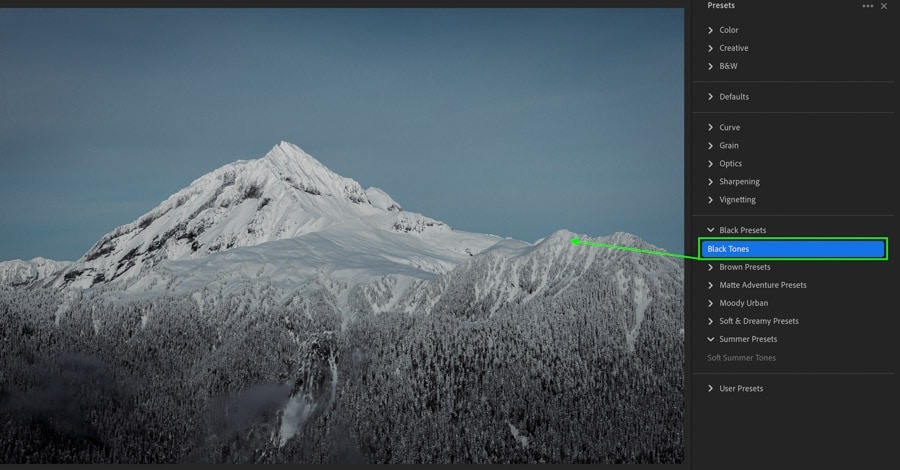
With that, you have successfully transferred your Lightroom Mobile presets to Lightroom Desktop.
How To Transfer Lightroom Mobile Presets Into Lightroom Classic
In the last example, you learned how to sync photos to Lightroom, which is the cloud-based version of the program. If you want to transfer Lightroom Mobile presets into Lightroom Classic, you need to add an extra step into the mix.
To transfer Lightroom Mobile Presets into Lightroom Classic, apply your mobile preset and export as a DNG. Send the DNG file to your computer and import it into Lightroom Classic. Select the DNG file, and create a new preset in the preset panel. Now your DNG preset is saved in Lightroom Classic.
Let’s get into that a little deeper.
Start by following the same steps as before for sharing your Lightroom Mobile preset. Apply your preset, select share to, then export as a DNG. You can then choose to share your DNG file using any of the provided methods.
In this example, I’ll just use airdrop (only available with iPhone/Mac).
Now go and open Lightroom Classic, click the Import option, and find your DNG preset file on your computer.

After the file is imported, select it, and go to the Develop Module.

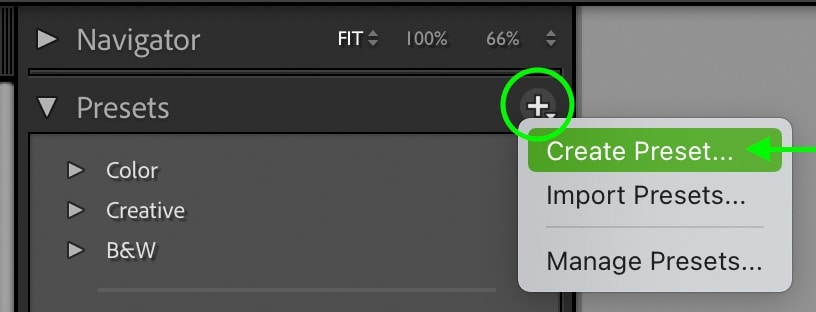
On the left side of your screen, click on the + icon beside the Preset panel and choose Create Preset.
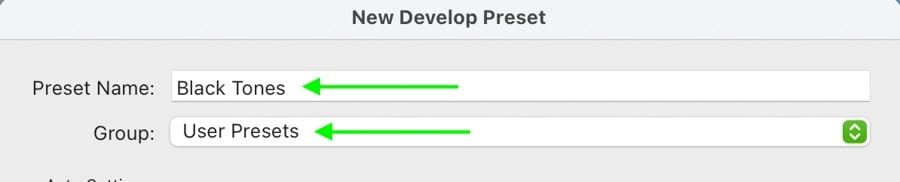
You can create a new name for your preset and a preset group to keep everything organized.
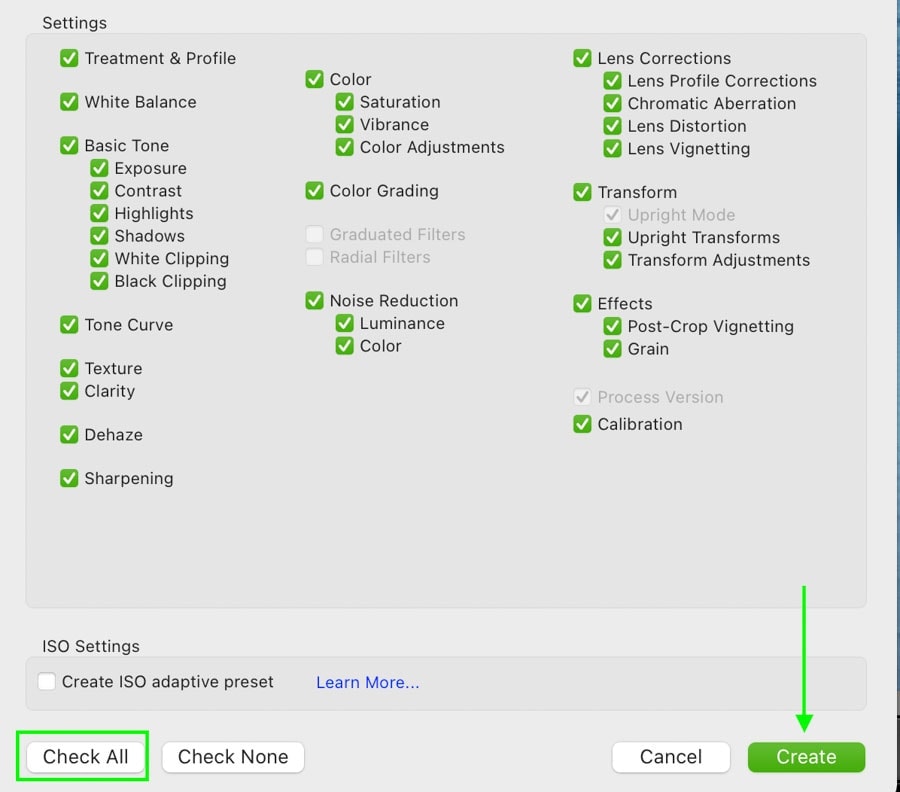
Lastly, select the check all option to save all of the adjustments in your preset.
Then click Create.
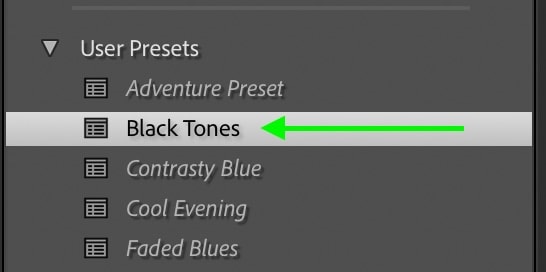
Now all of your settings from the DNG file will be saved as a new preset in Lightroom Classic. Select another image, open your presets panel, and click on the preset you just made to apply this preset.
This is a slightly more roundabout way of getting your Lightroom Mobile preset onto your computer but is the only option since there isn’t cloud-storage syncing in Lightroom classic.
With that, you know the ins and outs of how to share Lightroom Mobile presets with friends or simply to your desktop computer. If you’re looking for even more Lightroom Mobile presets to spice up your editing, definitely check out the 12 free presets included in my Lightroom Toolkit Preset Bundle. It’s the best way to get professional-looking images, even if you’re new to Lightroom!
Happy Editing!
– Brendan 🙂


