

Although many photographers use presets as a staple in their workflow, it’s not totally clear how a preset differs from a profile in Lightroom. Presets and profiles have some similarities but function quite differently within Lightroom and will edit your photos in a variety of different ways.
Lightroom Profiles are similar to Presets in the sense that they each apply a premade set of adjustments to a photo. The difference, however, is that Profiles act as a LUT, often applying more advanced adjustments than what’s possible with a Lightroom Preset.
Let’s take a deeper look at both presets and profiles and explore the function of both.
What Is A Lightroom Preset?
A Lightroom Preset is an XMP file containing image metadata that adjusts the exposure, contrast, color, and sharpness of a photo with a single click. Presets are used to speed up the editing process as they help to achieve certain editing styles with premade adjustments built into the file.
Lightroom presets are files containing specific adjustments that make your photo appear a certain way. When applied to your photo, they instantly adjust the settings according to the preset and give your photo a specific appearance. You can make your own presets, download ones others have made, or use the ones that come with Lightroom. Presets exist in the form of XMP files, which is the standard file type for presets across all Adobe software.
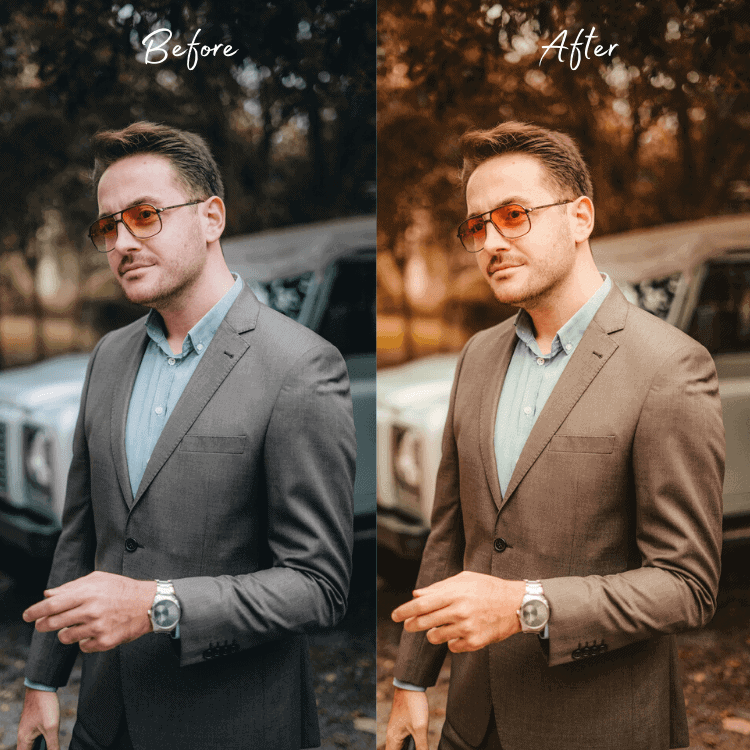
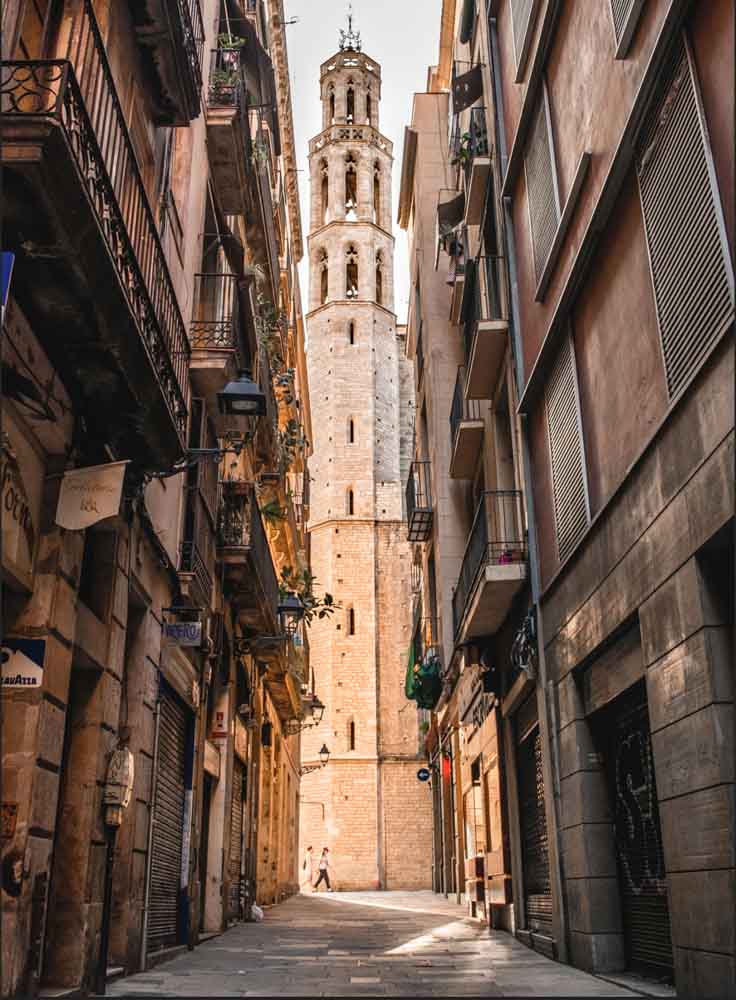
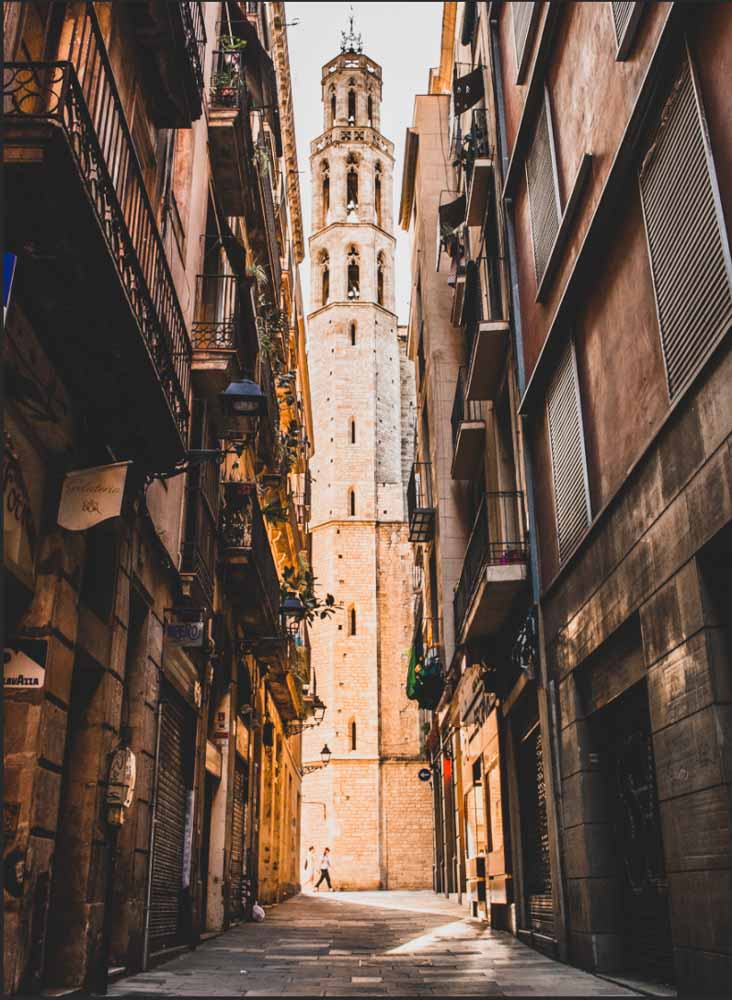
To give you an example of a preset in action here is a before and after using one of my Caramel Brown Presets. Since the preset applies a premade group of settings, it adds warm brown tones into the photo with one click.
Perhaps it is easiest to think of presets like filters. They are useful when you’d like to edit your photo to match a specific style or tone. For instance, you can try out different black and white exposures, or give your photo a vintage look. You can also find presets for specific photography types, such as portrait or landscape photography. Presets make batch editing much easier and quicker as you can edit multiple photos the same way in a few simple steps.
What Is A Lightroom Profile?
A Lightroom Profile is a type of LUT (3D Look Up Table) that edits the RGB curves, Color Grading, Contrast, and other adjustments. Profiles can apply similar adjustments as a preset, except they do not alter the adjustment sliders within Lightroom. Instead, they are added directly to the image.
Did you know your camera has a built-in profile? Every camera does, as does the Adobe software, and each one is a little bit different – though chances are you wouldn’t notice it unless you compared them, as the changes are quite small.
Your camera’s profile is the specific way it translates the data in your image, and how that data appears to you when you view it on your camera’s screen. You can change your default profile in Adobe software, but that would affect every image you import to Lightroom. Instead, most photographers choose to play with the different looks that profiles can give their images by using the ones in Lightroom, downloading them from other photographers, or making their own (we’ll get into that in a bit).
To better understand how a Lightroom profile works, it first helps to understand 3D Look Up Tables or LUTs. LUTs are composed of a variety of adjustments, such as color balance and RGB curves. They contain adjustments that you wouldn’t otherwise be able to make in Lightroom, as they are beyond Lightroom’s editing capabilities.
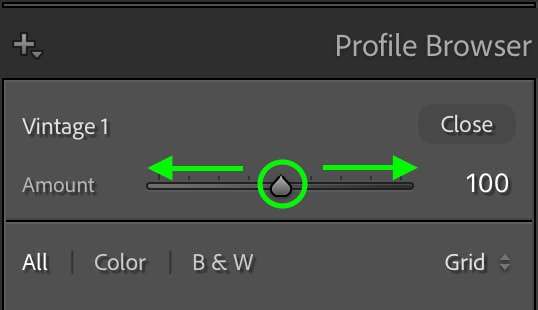
Lightroom Profiles are made by editing the LUTs in Photoshop and saving them to apply to photos. They can be added to a photo on their own, or placed on top of a preset. Profiles do not affect the sliders in the Develop Module and are instead controlled by a slider that increases or decreases the intensity of all the adjustments built into the LUT.
This means that a profile can act as a base, editing your image but still allowing you to make adjustments in the Develop Module without changing the appearance of the profile. In simple terms, a Lightroom profile is like an advanced version of a Lightroom preset, taking the capabilities of a preset several steps further. When you apply a preset and then make further adjustments in the Develop Module, you’re actually editing the Lightroom profile LUT.
What’s The Difference Between Lightroom Presets and Profiles?
It might seem at first like Lightroom presets and profiles are, essentially, the same thing. It’s true that they both allow you to apply specific edits or overall styles to your photos easily. There are presets and profiles that change the tone or exposure of your image, or add a specific look or artistic quality – for instance, a vintage effect.
However, there are some major differences between presets and profiles, both when it comes to how they function, and the effect they have on the overall editing process. Let’s look at some of the main differences.
- Presets are adjustments to the editing tools available in Lightroom, while Profiles contain adjustments to features that you could not otherwise adjust in Lightroom, as they are beyond Lightroom’s capabilities. This can include textures or very specific color grading that you’d normally see in films.
- Presets can be easily created in Lightroom, while Profiles must be created in Photoshop.
- Presets can be a bit faster and easier to use, as you can simply click to apply the preset and then make further adjustments as needed. Profiles give your photo a look that you might not be able to get otherwise.
- Applying a preset will instantly change the basic edits and adjustments in the Develop Module. If you continue to edit after you’ve applied a preset, it will change the appearance of the preset on your image. Profiles do not affect the adjustment sliders in the Develop Module, so with profiles applied you can continue to edit without changing the profiles effects.
- Because presets change the adjustment sliders in the Develop Module, they can be a bit limiting as you cannot adjust past the end of the sliders. For instance, if you’d like to pull the blacks all the way up or down after applying a preset, you are contained within the limitations of the slider. But because profiles don’t affect the sliders, you have a bit more control, adding to whatever adjustments the Profile has made.
- You can see what presets are adjusting by how the sliders change, but you cannot see what profiles adjust.
How To Turn A Lightroom Preset Into A Profile
You can turn a Lightroom Preset into a Profile with the following steps:
- Import your XMP preset files into Photoshop’s Camera Raw
- Click on the Preset Icon inside Camera Raw and apply a preset.
- Option/Alt + Click on the Create New Preset icon to make a new profile.
- Give the profile a name and a group to be saved to.
- Check off any settings you want to include in the profile.
- Click OK to save the profile.
- Now your preset has been converted to a profile and installed back into Lightroom!
Let’s break these steps down more in-depth.
You can either use profiles you have downloaded and imported into Lightroom, or you can create your own. To create a profile, you must start with a preset. You can either create and save your own preset or load one into Photoshop (learn how here).
Once you’ve done that, open a RAW file in Photoshop and Camera Raw should open automatically (or open a JPEG and head to Filter > Camera Raw Filter.) With Camera Raw open, click the preset icon in the toolbar on the right.
Apply the preset you’d like to start with. I chose the default “flat” preset that comes with Adobe software. From there, adjust the basic edits the way you’d like them to look in your profile by clicking the adjustments icon in the toolbar.

You can adjust color grading and HSL, for example, to create a specific color profile. Remember to have the visual style of your profile in mind as you edit. It also helps to discern what type of photograph you’d like to apply this profile to, as not all profiles will fit well on every style of photography.
Let’s see how the final profile looks.
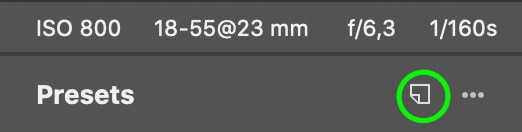
To save your settings as a new profile, head back to the presets tab (the second icon from the bottom) and Option + Click (Mac) or Alt + Click (Windows) the New Preset icon to bring up the New Profile window.
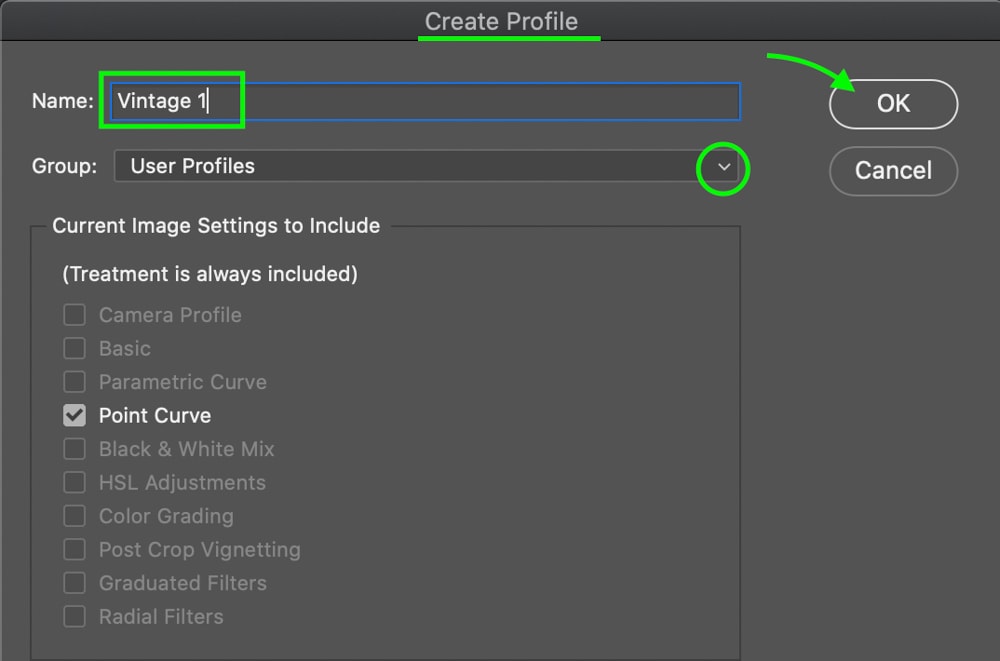
Make sure the top of the window says Create Profile, not Create Preset. Here you can name your profile and select your group in the “Group” dropdown menu. The group you select will appear as a folder in Lightroom later. Make sure the edits you’d like to include in the profile are checked and click OK.
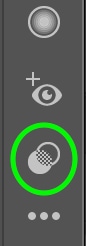
You will now be able to find your profile in Lightroom by heading to the Develop Module and clicking the drop down arrow next to the Basic tab, then clicking the four rectangles on the right.
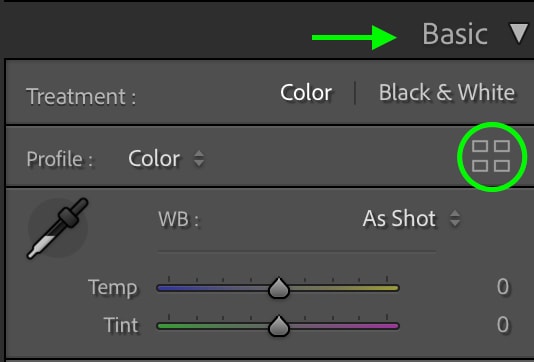
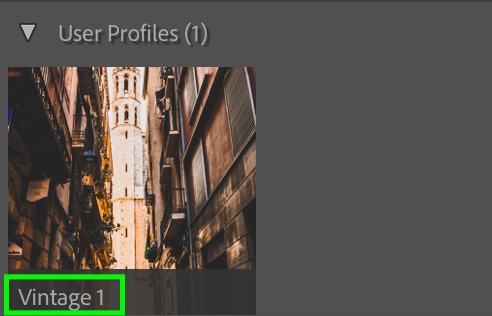
This will open your profile window, where you can find your newly saved profile.
Should You Use Presets Or Profiles?
Whether you use Presets or Profiles depends on how you would like your photo to look, and how much control you’d like to have over the final results.
Because presets change the adjustments in the Develop Module, they can be useful as a starting point since you can go into specific adjustments and edit them. For instance, if you apply a preset that makes your photo a bit overexposed, but you like the color tone, you can simply bring down the exposure while the rest of the adjustments stay the same.
Profiles, however, give your image an overall look that you control the intensity of. This means you can add a preset on top of the profile, or simply edit the adjustments in the Develop Module to complete your image. This gives you a lot of control over how your image looks in the end.
To discover which method works best for you, spend some time playing around with both presets and profiles. Try them out on a variety of photos, and see which gets you closer to your desired result. You will likely end up using both presets and profiles at different times, so it is best to get comfortable using both. To help get you started with some Lightroom Presets, make sure to grab my free Lightroom Starter Kit below!
Happy Editing!
