

Batch editing in Lightroom Mobile is one of the best ways to save time while editing a large collection of photos. By applying the same settings across multiple images, it’s easy to edit dozens or even hundreds of photos all at once.
To edit multiple photos at once in Lightroom Mobile, first edit an image with the adjustments you’d like to copy and paste. Then click the icon with three dots in the upper corner and choose Copy Settings. Going to your library, click and hold to select multiple photos, then press Paste Settings.
It’s important to remember that not every adjustment will work for every photo. That’s why it’s best to copy and paste settings between images with similar exposure, color, and contrast amounts. Below I share some helpful tips for making your batch editing work flawlessly, plus break down the whole process more in-depth.
So let’s get started!
How To Batch Edit In Lightroom Mobile
Step 1: Apply Your Editing Adjustments To A Photo
First, you need to make some adjustments that you’re going to copy to other photos. For the best results, avoid making edits specific to the image, such as cropping, spot healing, or selective adjustments. Instead, focus on global adjustments that will look great across multiple photos.
Things like exposure and contrast, color, sharpening, and lens corrections. If you’re new to any of these settings in Lightroom Mobile, this guide will help get you started.
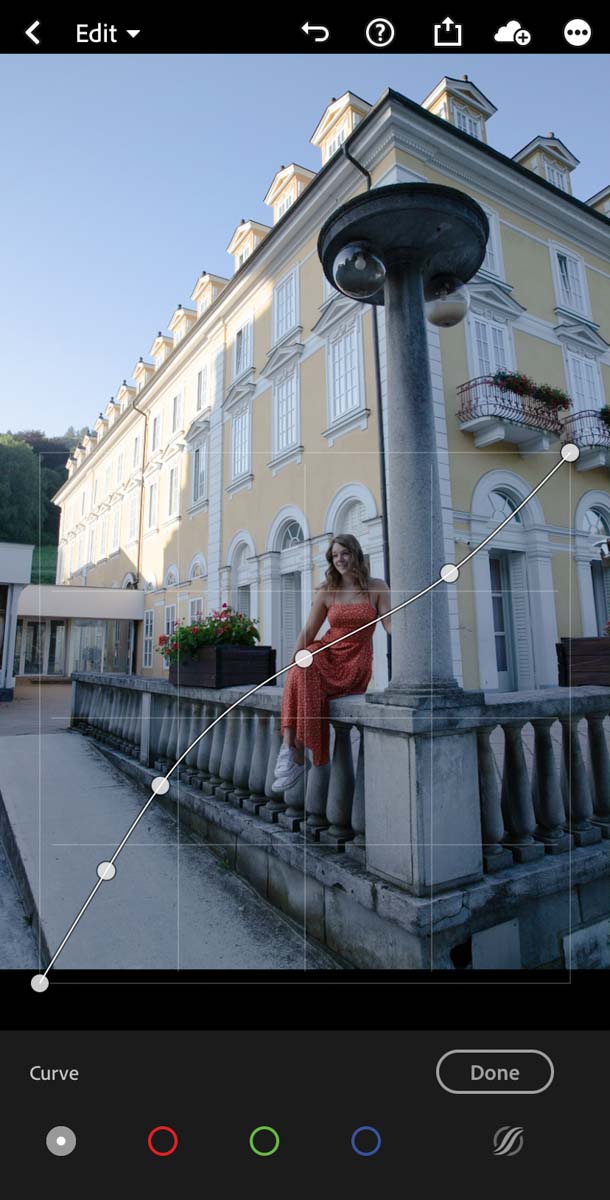
For my example, I will adjust the exposure and curve within the “Light” adjustment.
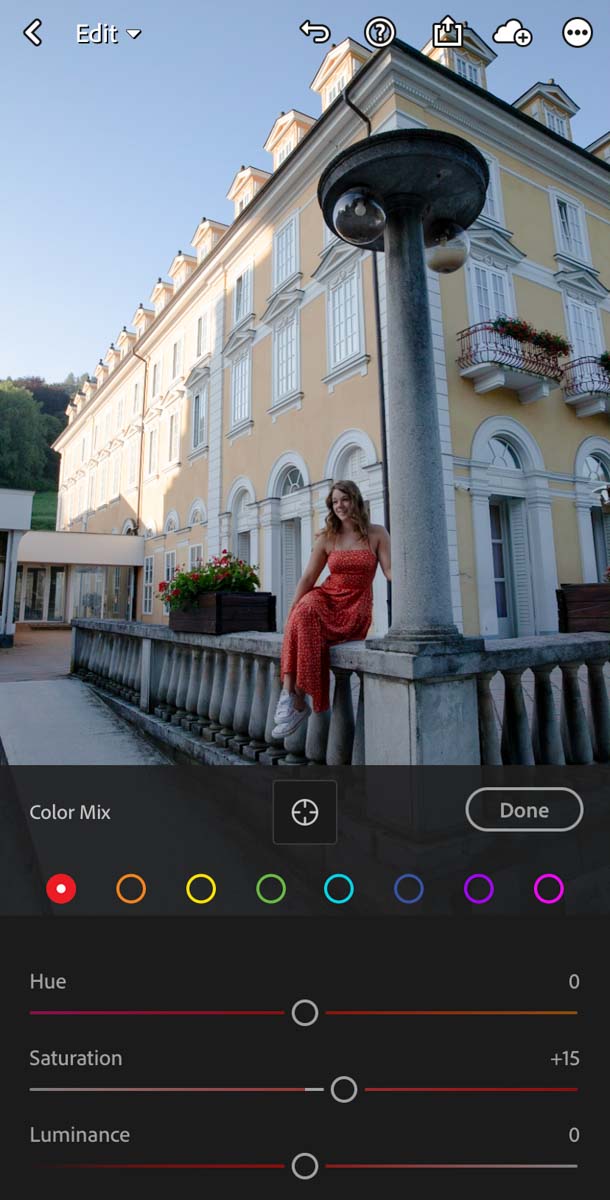
Then I will give my photo some warmer hues by changing the white balance and editing the “Mix” adjustment.
Now you have a basic edit applied to a photo with no image-specific spot adjustments.
Step 2: Click The “…” Icon And Choose “Copy Settings”
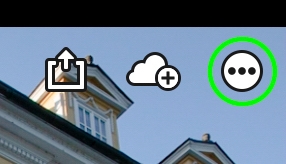
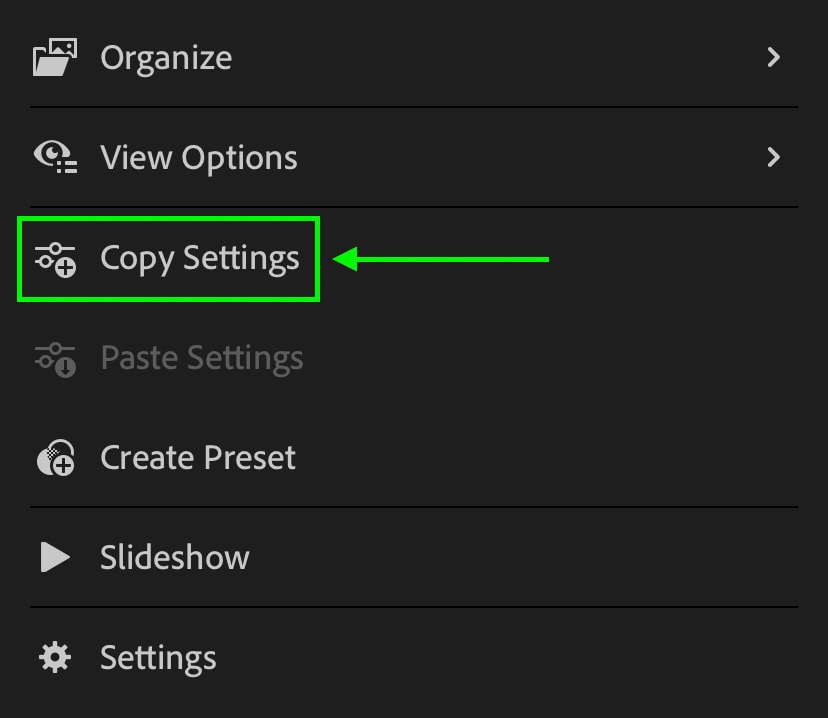
To copy the settings you just made, click on the icon with three dots in the upper corner of the screen.
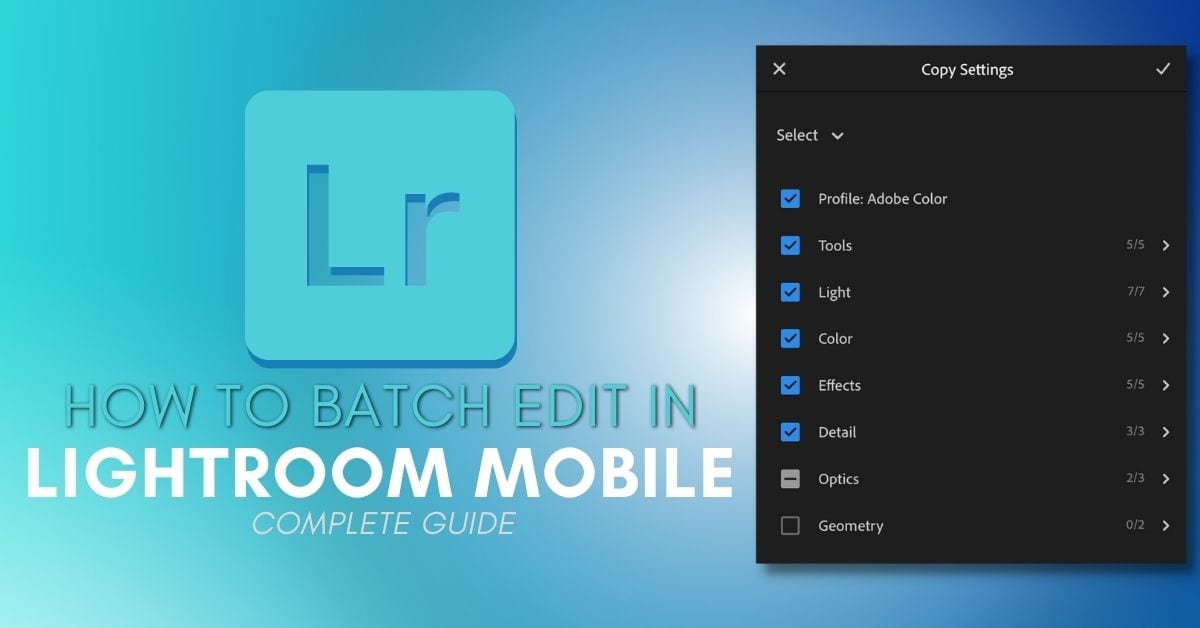
From the window that appears, choose “Copy Settings.”
Make sure that all of the options you see below are checked off. This will make sure any of the edits you made are copied for later use!
Step 3: Select Multiple Images In The Library
Now go to your image library and select the images you want to paste the adjustments to. For the best results, select photos with similar color and exposure as the one you just edited. This isn’t an absolute rule, but it will ensure you have less refining to do afterward!
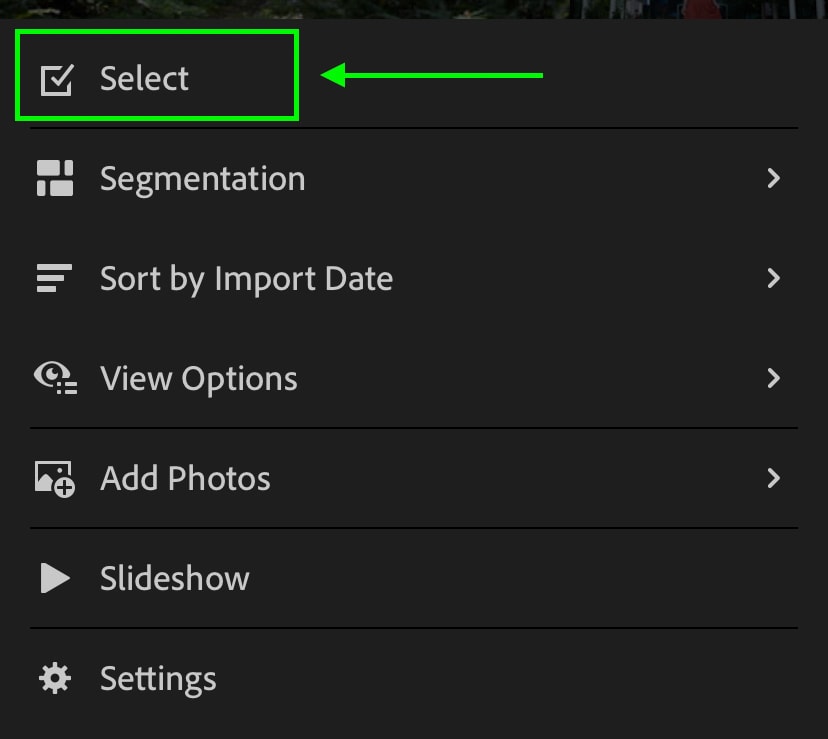
There are two ways to select multiple images in your Lightroom Mobile library. This first is to click on the three dots icon in the upper corner and choose “Select.”

The second option is to click and hold on an image to access the select option. Now you can tap between the multiple images you want to paste your adjustments on.
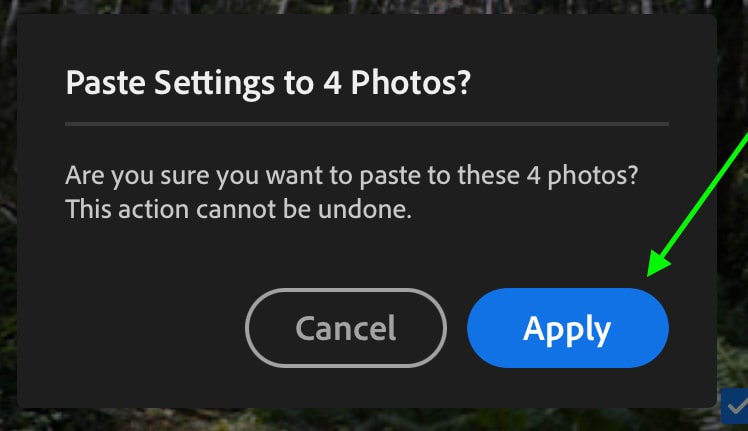
Step 4: Click “Paste Settings” To Apply Edits To Selected Photos
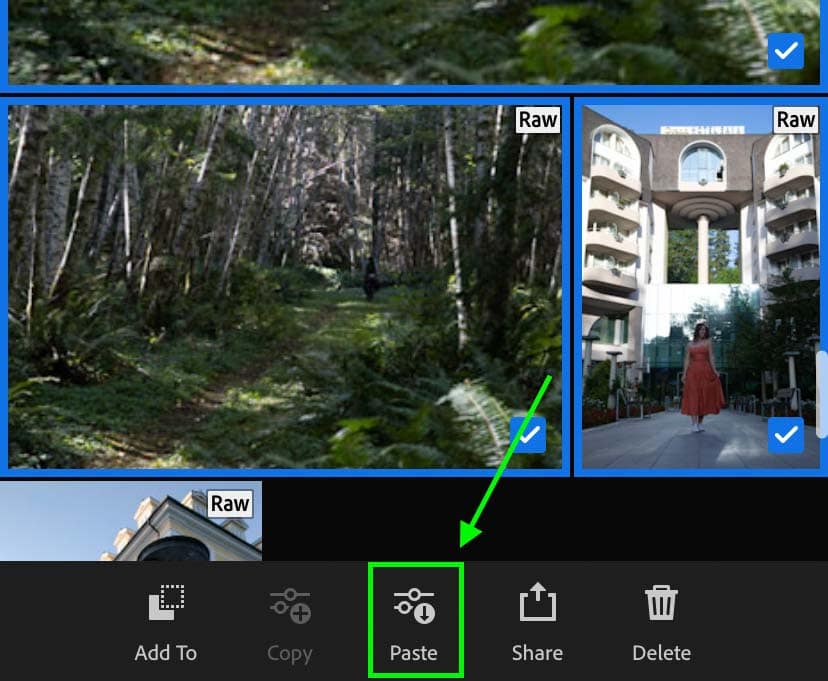
With all of your desired images selected, click the “Paste Settings” option found in the bottom bar. Now you will apply all of your copied settings to the chosen images in one click!
As you can see, batch editing in Lightroom Mobile is pretty straightforward. A simple copy and paste is all you need to do! However, there are some ways to improve your workflow while batch editing.
How To Change Which Adjustments Are Applied When Batch Editing
Looking back to step 2, you learned how to copy your adjustments from a photo; but there’s a handy trick here you can take advantage of.
For example, you may have a batch of images that are all a bit too dark. After editing your first photo, you copy and paste the settings, but the color adjustments just don’t look good on your other images. Wouldn’t it be nice to copy and paste only the exposure adjustment instead?
Well, luckily, you can by selecting which adjustments you want to copy!
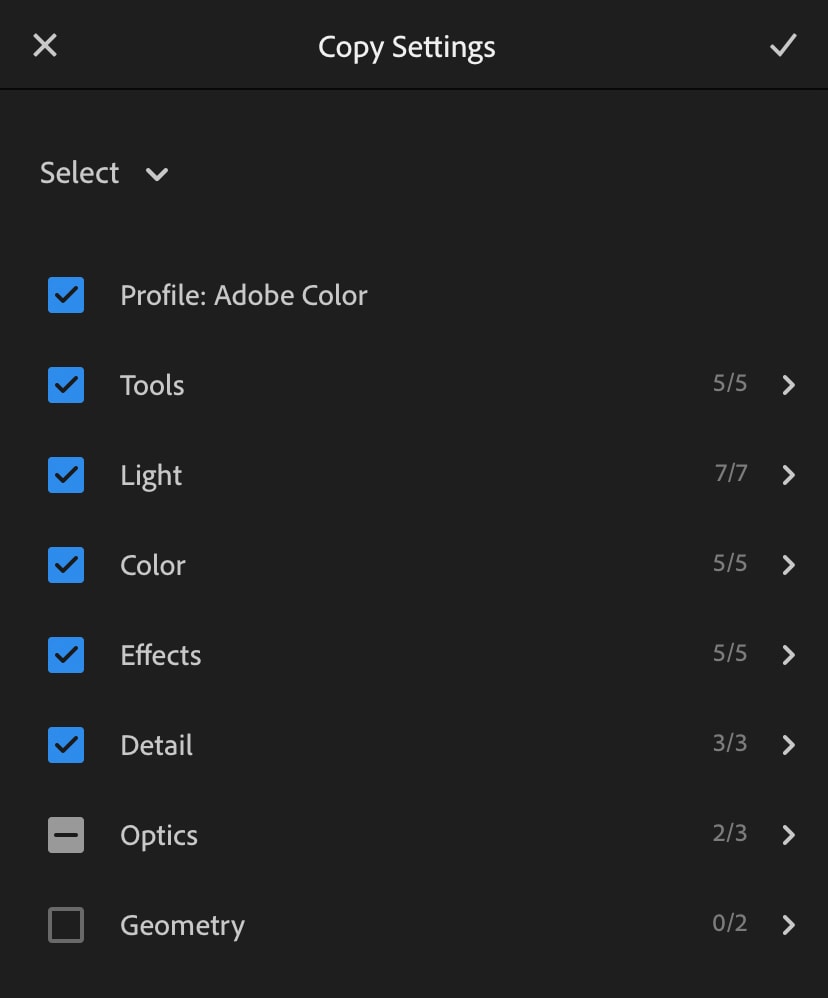
When clicking on the three dots icon and choosing Copy Settings, a window appears with all the settings you will copy. By default, nearly all of them are checked off. However, you can make sure you don’t copy certain adjustments by unchecking the different settings.
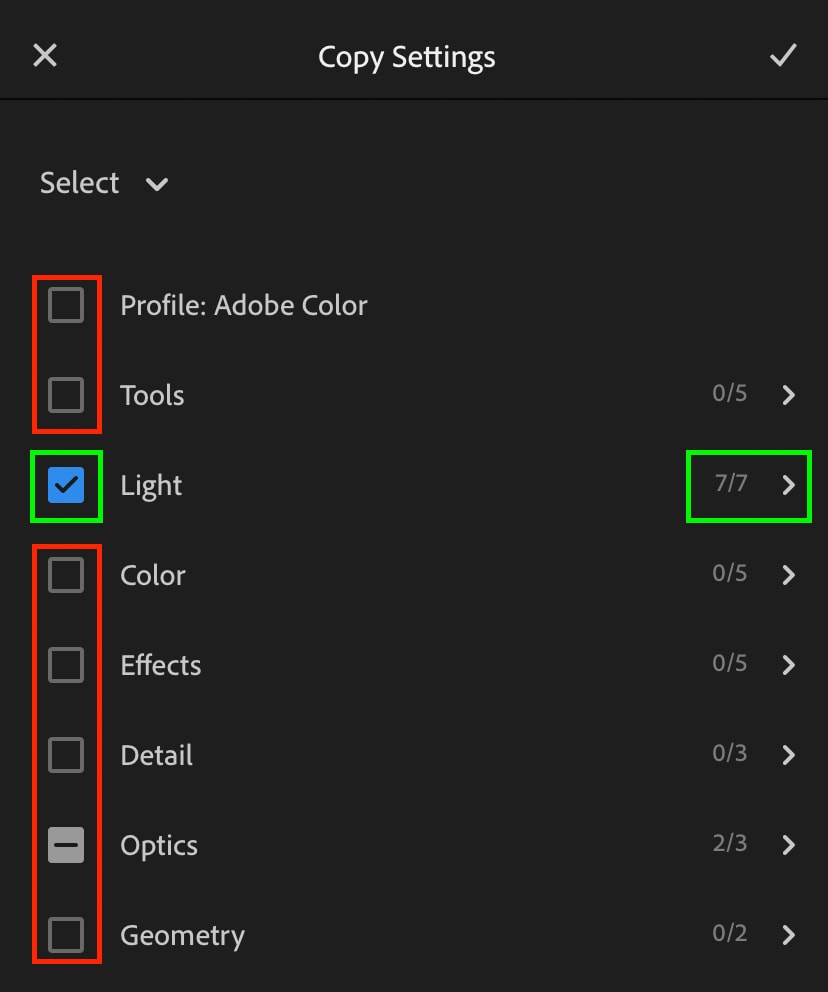
You can also get more specific by clicking on any of the individual groups to reveal more settings. For example, by clicking on the “Light” option, I can include the exposure and contrast adjustments, but not the whites and blacks. Of course, the same thing applies to every other adjustment too.
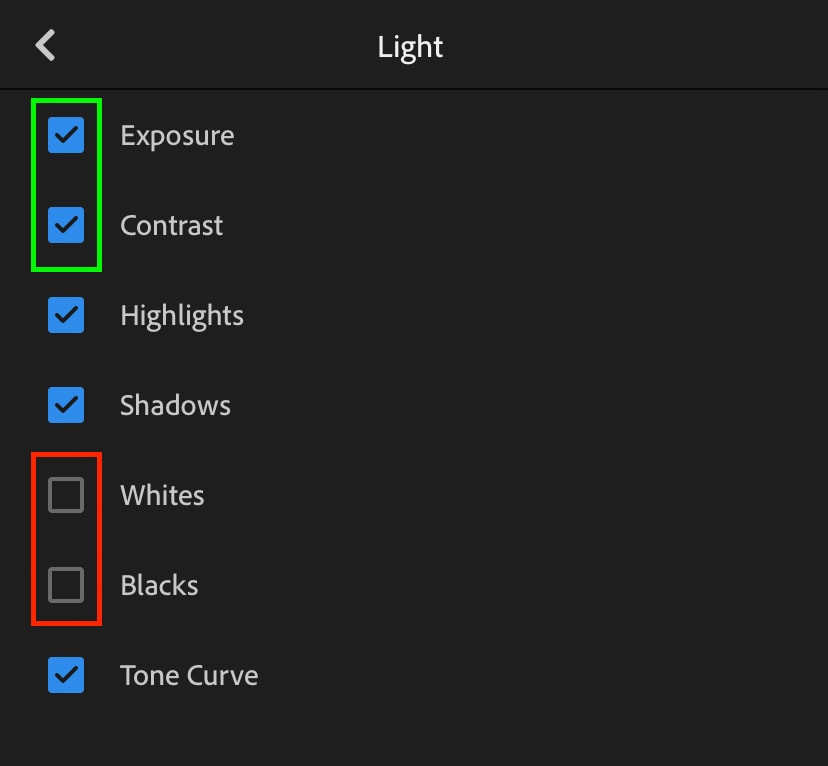
So in the case an image looking too dark, I can uncheck the adjustments that aren’t related to exposure. This way, I will only copy and paste the brightening adjustments and avoid my colors looking weird in the batch edit.
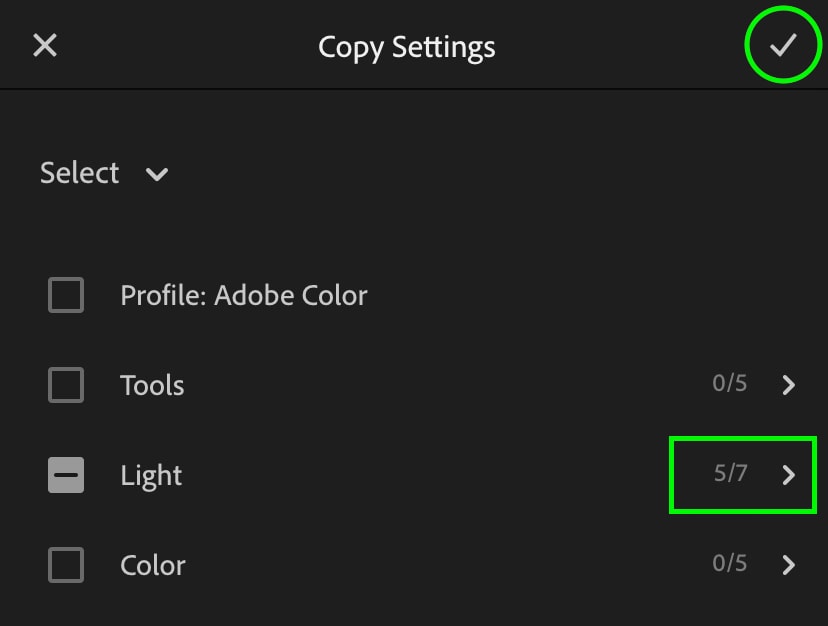
In some situations, it’s helpful to copy and paste specific settings rather than your entire edit for the best results. With this easy trick, you can edit one image exactly how you like, then only copy a specific part of your edit to apply on other images.
Saving Time With Lightroom Mobile Presets
Now, rather than making all of your adjustments manually, you can get a head start on your edit using Lightroom Presets. A preset essentially remembers a certain set of editing adjustments and can be applied to any photo in one click. They can help create a certain editing style or just getting the base adjustments completed faster.
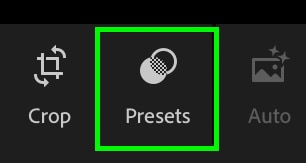
You can create presets yourself or find preset packs online. Either way, everything will be located here under the “Presets” option in Lightroom Mobile.
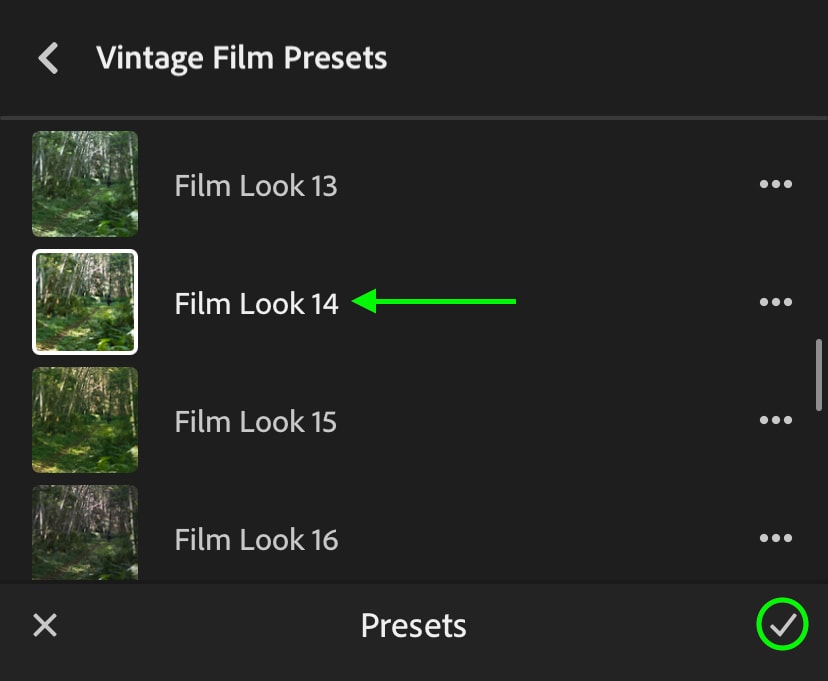
By selecting a preset, all the adjustments are applied in a single click without copying and pasting. You can simply swipe through your image library and apply the same batch of presets, or copy and paste your settings after a presets is used. This is a great way to speed up your workflow and helps a ton with batch editing in Lightroom and Lightroom Mobile!
Happy Editing!
Brendan 🙂
