
Adding grain to a photo is a great way to add a retro or vintage look. Grain effects work well on all types of images, but especially so with portraits. In Photoshop, there are a few options to add grain to an image, so let’s break down each of them together to see which option best suits your workflow.
How To Add Grain To A Photo In Photoshop
Option 1: Using A Noise Filter
Many photographers are familiar with camera noise and consider it the bane of their existence. Normally, you’d seek to decrease visible camera noise in an image, as it can reduce the image quality. However, intensifying or adding camera noise will give your image that grainy, vintage effect.
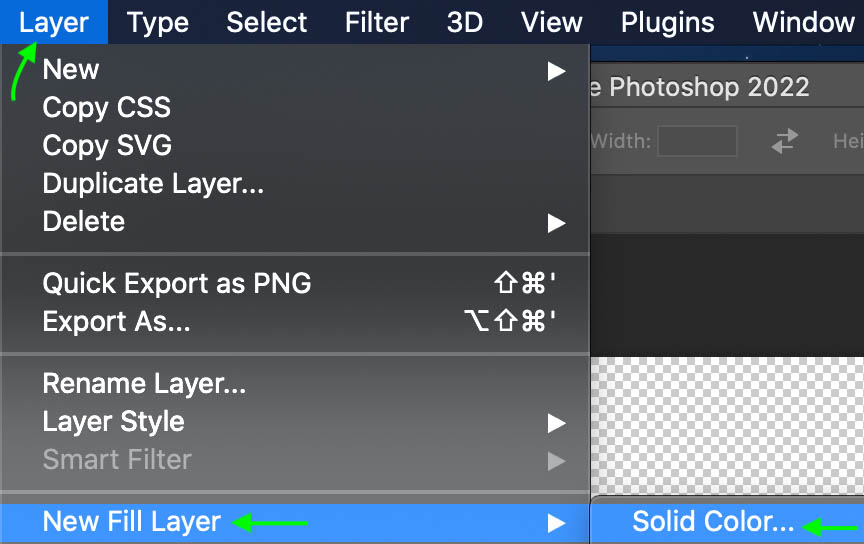
To add noise to an image, first, you’ll want to create a Fill layer over your image layer, to apply the noise. You can do this by heading to Layer > New Fill Layer > Solid Color.
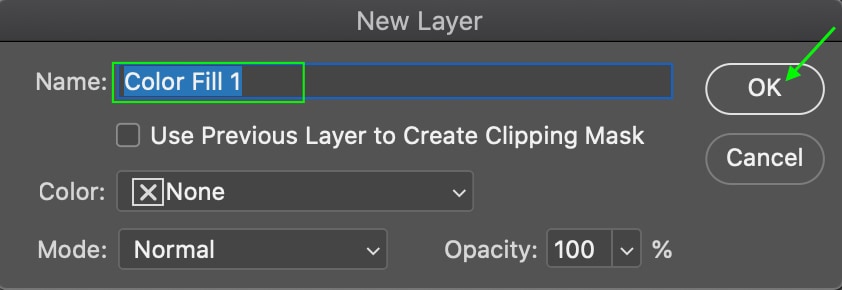
The New Layer dialogue box will appear. Name the layer if you’d like and click OK.
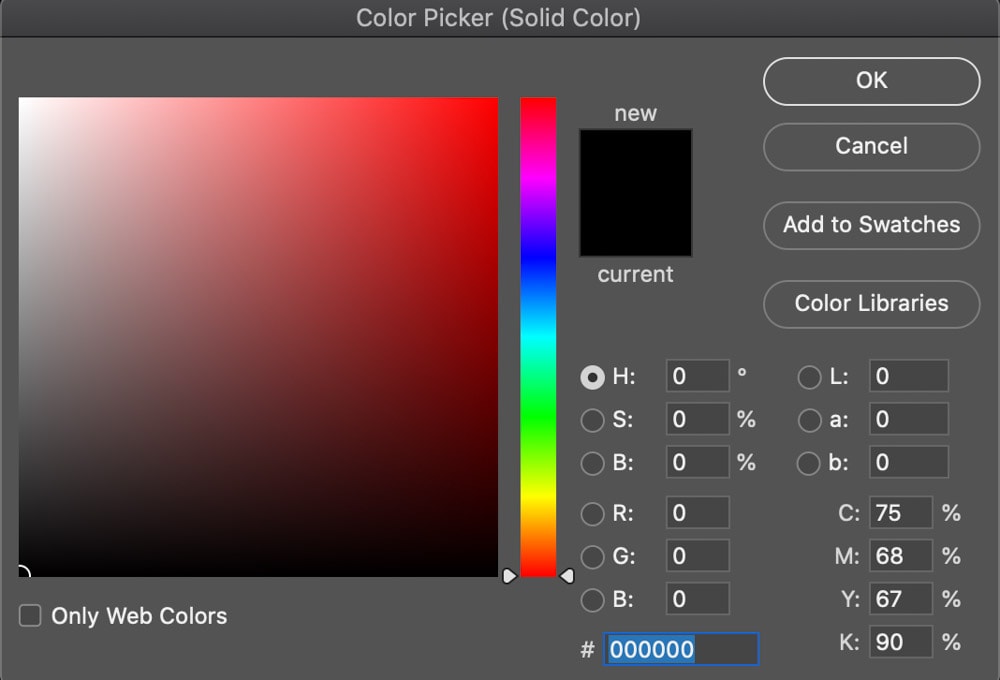
In the Color Picker window, select either gray or black for the layer’s color and click OK.
In the Layers panel, you’ll see the Color Fill layer appear above your image.
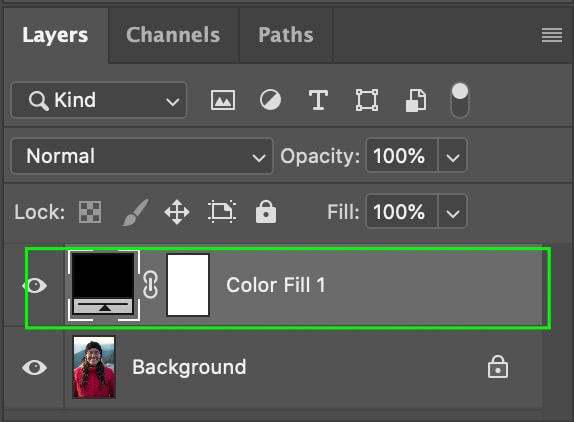
Then convert your new layer to a Smart Object by heading to Filter > Convert for Smart Filters.
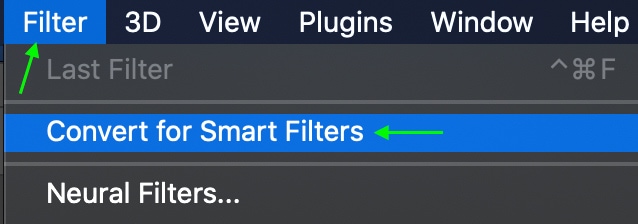
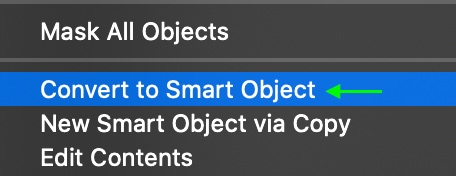
You can also convert the layer to a smart object by right-clicking (Win) or Control + clicking (Mac) the layer in the Layers panel and selecting Convert to Smart Object.
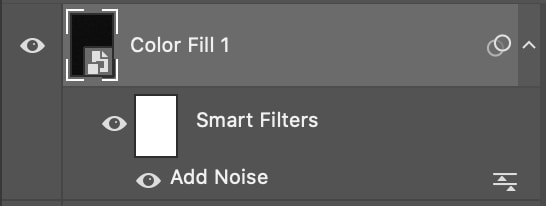
When you’ve converted the layer, you’ll see the Fill Layer converted to a smart object, reflected by the Smart Object icon in the bottom corner of the thumbnail in the Layers panel.

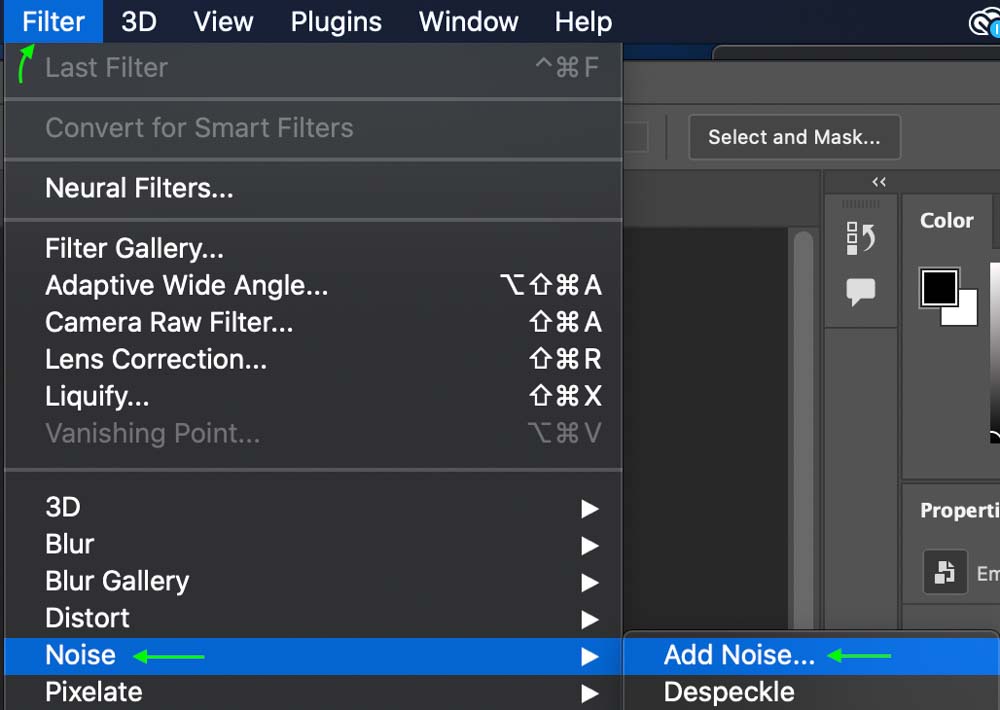
Now, to add noise to the image, head to Filter > Noise > Add Noise.
In the Add Noise window, drag the toggle to set the amount of noise you’d like. For a subtle grain effect, it is best to keep it low, and you’ll see the amount of noise reflected in the preview.
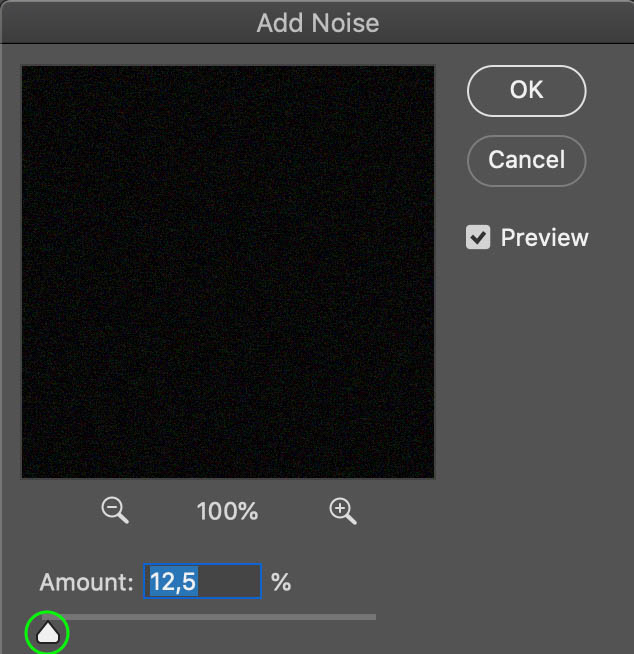
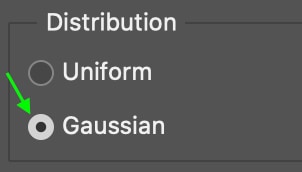
Then, select Gaussian for the Distribution of the noise. Click OK to make the changes.
You’ll notice in the Layers panel the Color Fill layer now has the Smart Filter with the Add Noise filter below it.
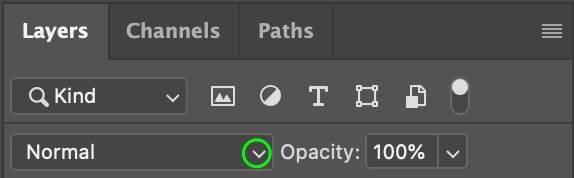
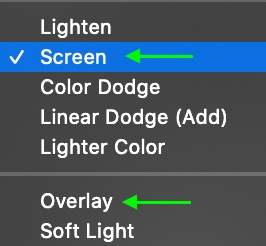
To add the noise to the image, change the layer blend mode to either Screen or Overlay, depending on the look of the image — you can hover your cursor over the different options to see the preview change and decide which looks best. For my image, I selected Screen.
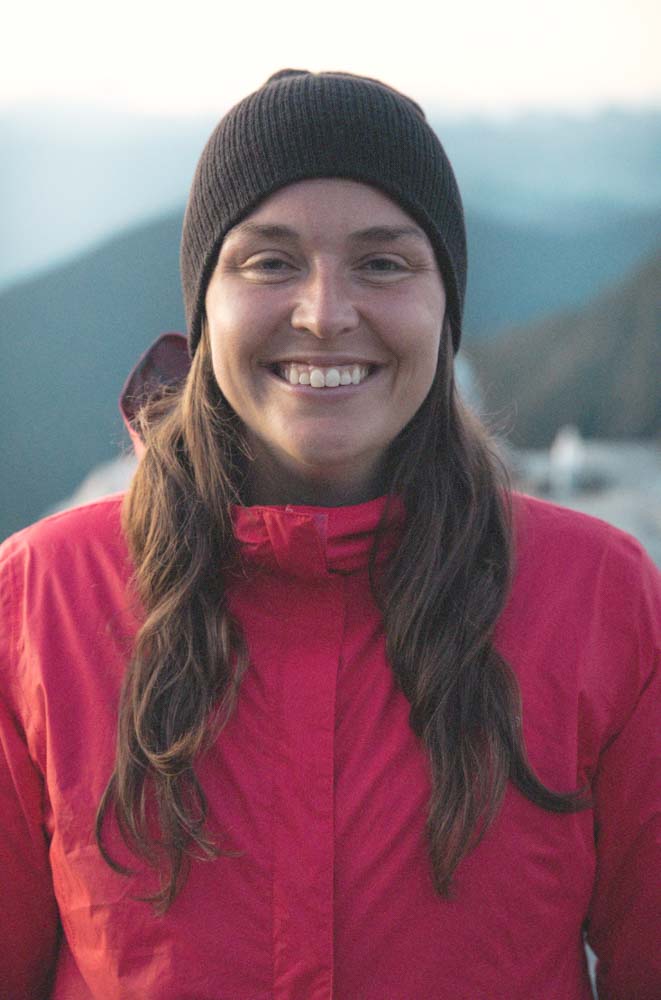
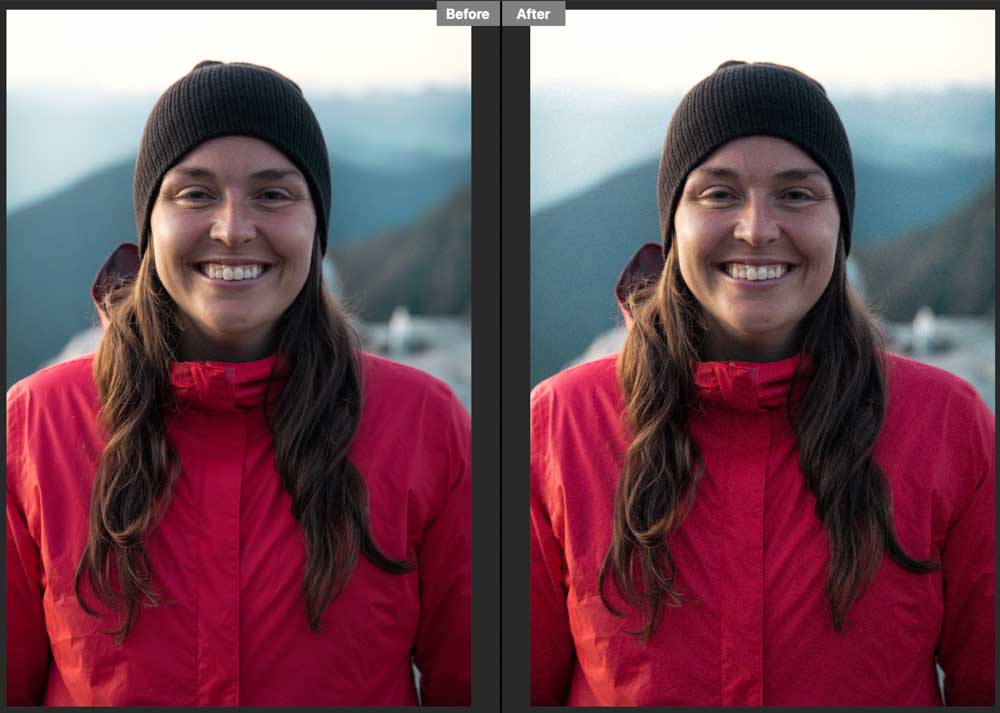
You’ll see the image now features a soft, grainy look compared to the original.

Option 2: Using The Grain Slider In Camera Raw
Another easy way to add grain to an image is to use the grain slider in Camera Raw. This is useful if you’re working with a raw image because the Camera Raw window will open automatically when you open a raw file in Photoshop. Otherwise, you can open Camera Raw when working with a non-raw file by first converting the image to a smart object. You can do this by right-clicking or Control + clicking the image layer in the Layers panel and selecting Convert to Smart Object.
You’ll see the Smart Object symbol appear on the thumbnail in the Layers panel.

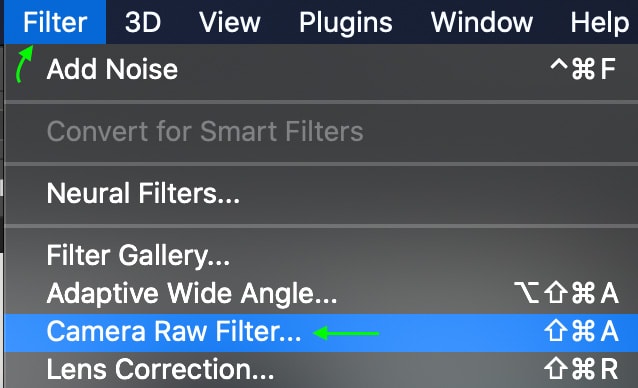
Now, open Camera Raw by heading to Filter > Camera Raw Filter.
The Camera Raw window will open, and from the options on the right, ensure you’re in the Develop panel.
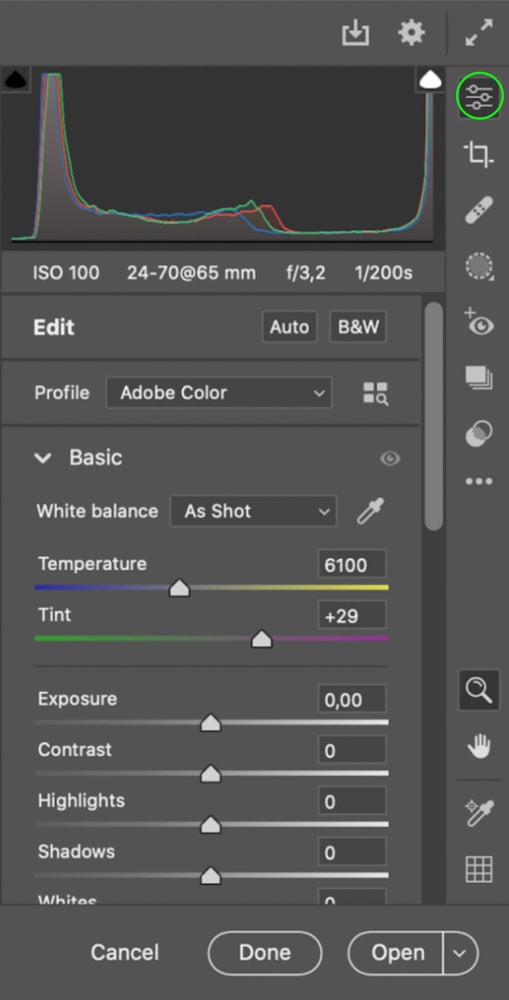
Scroll through the tabs until you find the Effects tab and click to open it.
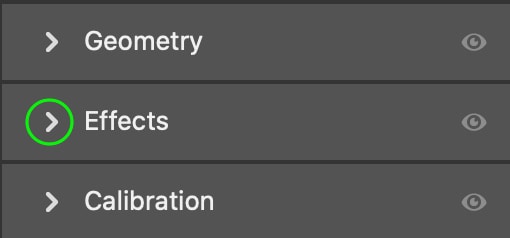
You’ll see the Grain slider under this tab. Click the arrow on the right to open the settings for the grain.

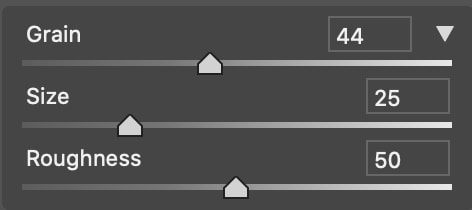
Now you can click and drag the toggle along the bar to adjust the grain amount — left for less grain, right for more. You can also set the size and roughness of the grain. The image changes as you drag, so play around with the settings until you like the look of the grain effect.
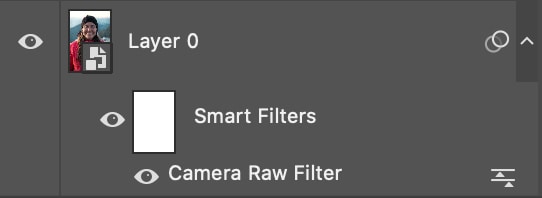
Once you’re happy, click OK. In the Layers panel, you’ll see the Camera Raw filter below the image.
Option 3: Using A Grain Texture Overlay
The last method of adding grain to an image is to use a grain texture overlay. Overlays allow you to add texture or patterns on top of an image or project. You can find these textures for free online — for instance, this free grain texture is a great one to use in your pictures.
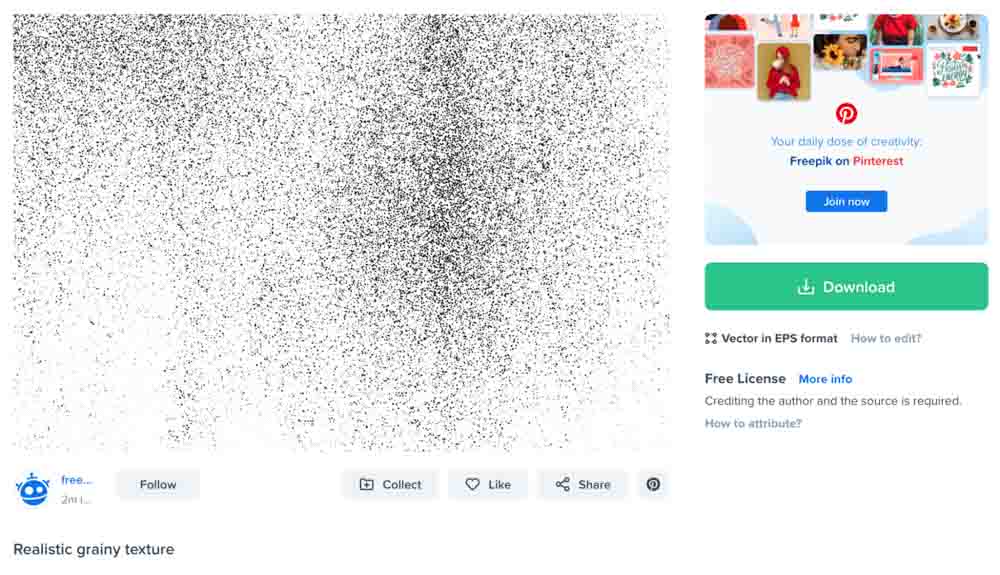
Freepik and other free photo hosting sites often have grainy textures to download and use, some of which may also feature scratches or light marks to add to the aged, retro look.
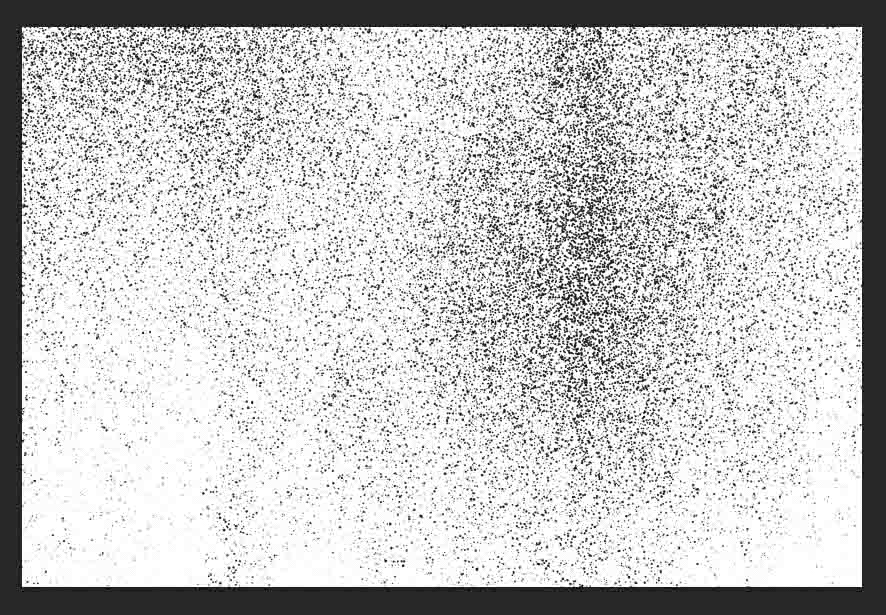
Once you’ve downloaded the overlay, you can add and use the texture in Photoshop. First, open the image you’d like to edit. Then, drag over the texture you’d like to use on the image from your files. The texture image will appear on top of your original photo.

The sizing likely won’t be correct, but you can remedy this by dragging the toggles around the image to change the size and using the Move Tool (V) to click and move the texture so that it fully covers the image.
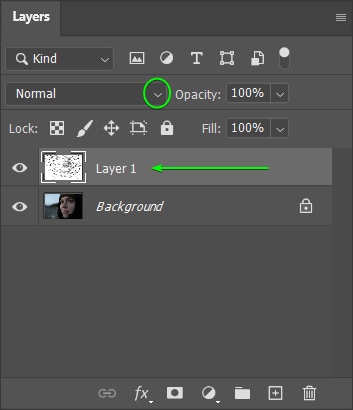
In the Layers panel, you’ll see that the texture image appears above the original image. To blend the two, make sure the texture image layer is selected and click the Blend Mode drop-down. Select Screen or Overlay, whichever looks best with your chosen image.
The image now appears with the texture overlay blended on top. The overlay gives the image a truly unique look.


Now to take this one step further and add a vintage look to your images, see this guide on making a vintage photo effect in Photoshop


