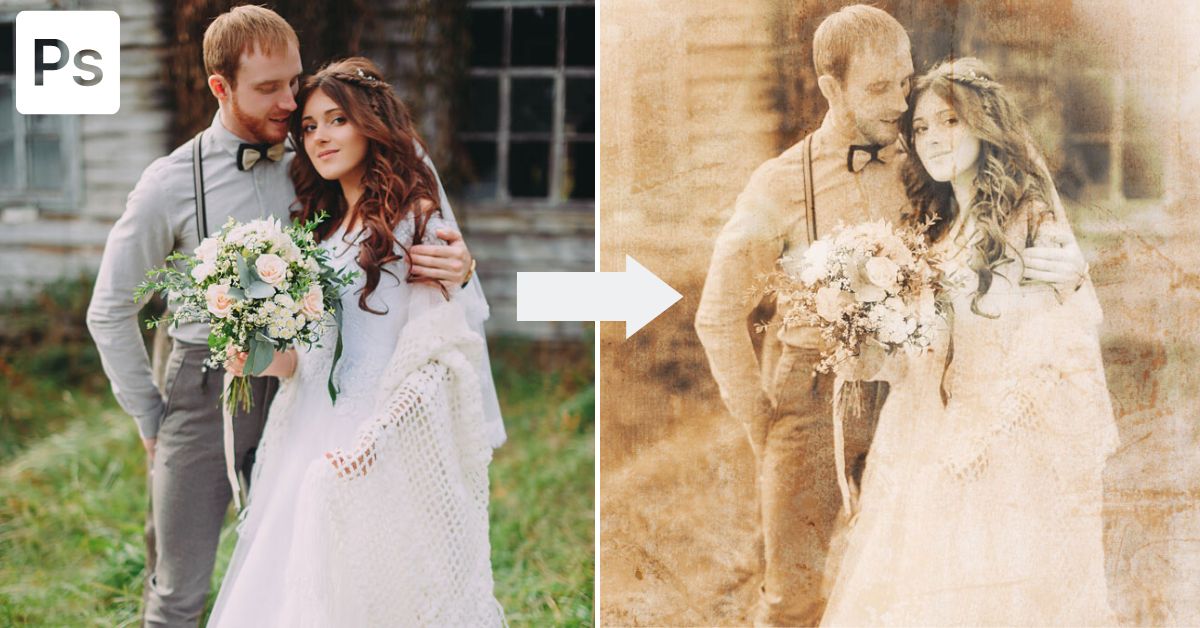

You can create an old look on your photos using various adjustment layers and filters. However, you will end up with a full Layers panel. While this isn’t a bad thing, I have an easier way of creating this effect using the Camera Raw filter.
I’ll show you a non-destructive editing method where you add all your changes to one smart filter layer. Then lastly, I’ll show you a neat trick of adding a grain overlay to finish the effect.
Step 1: Convert Your Image To A Smart Object
Firstly, you need to convert your image to a Smart Object to edit the photo non-destructively using a smart filter.
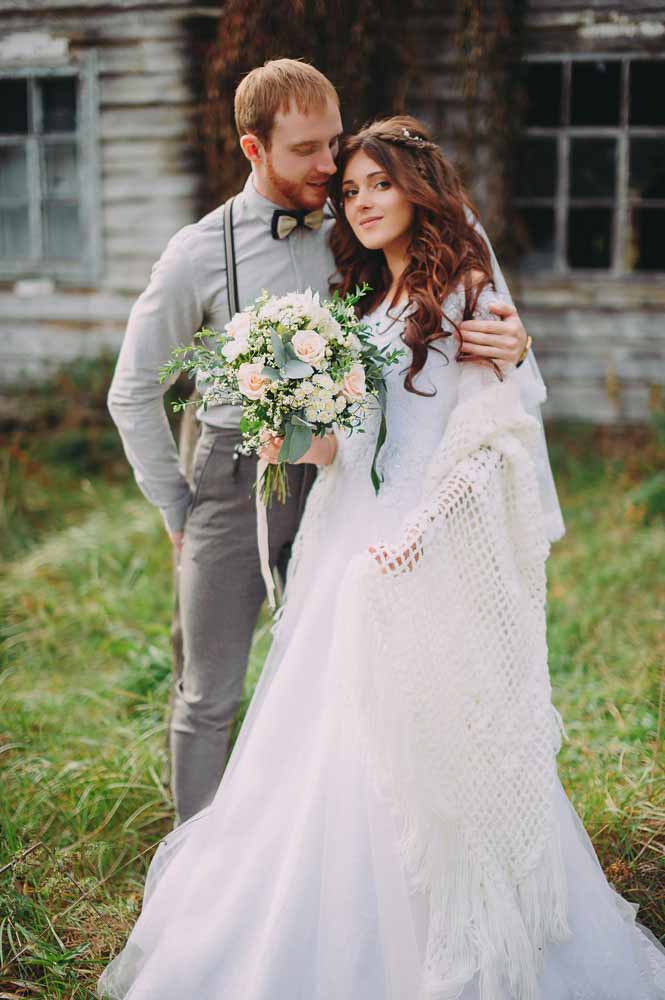
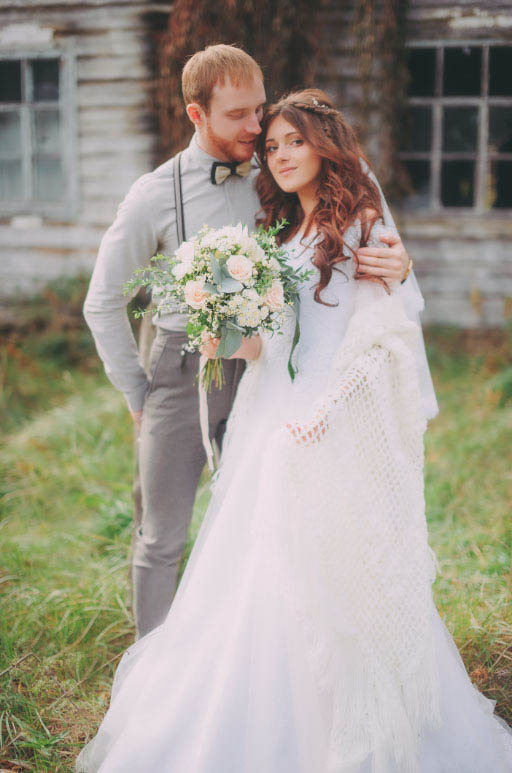
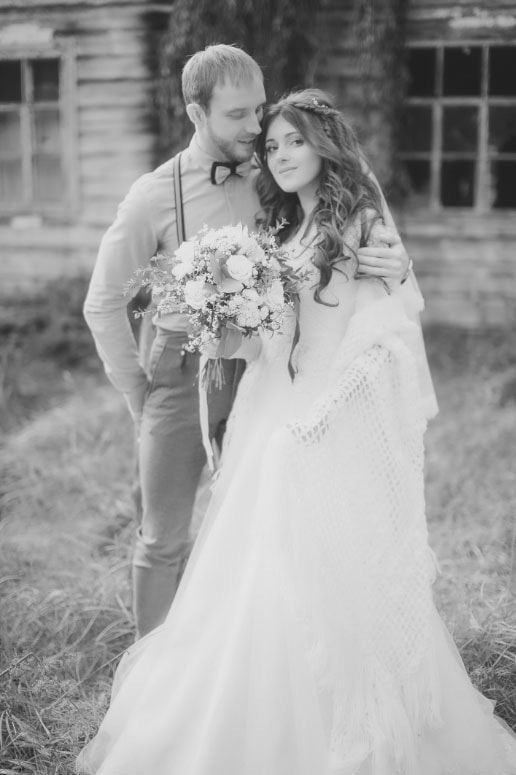
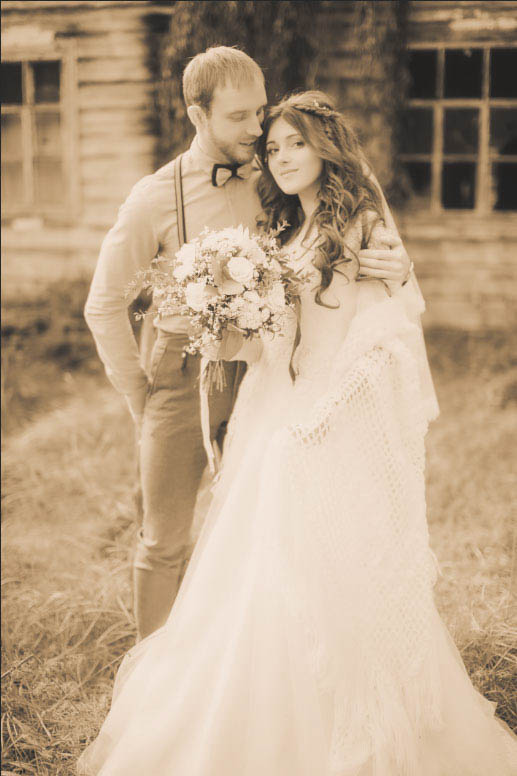
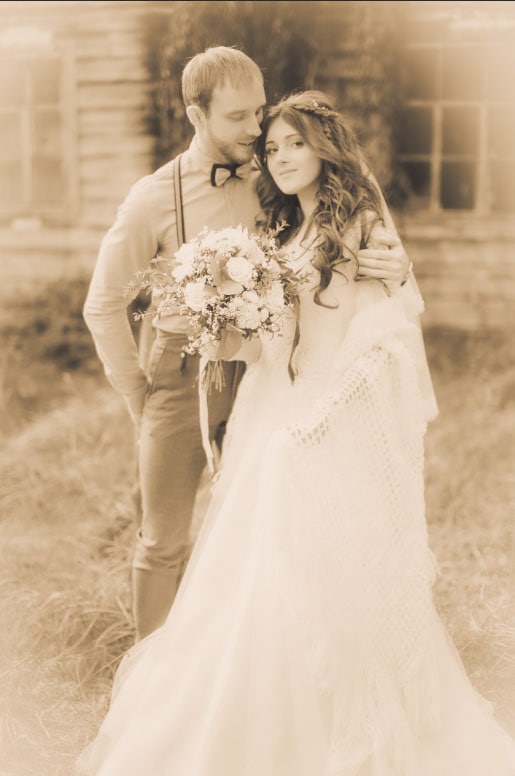
Start by opening your image. I will use this picture of two people on their wedding day to edit and make it look like the wedding happened in the early days of film cameras.
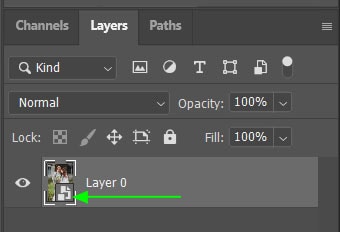
Once your image is open, right-click on the layer in the Layers panel and select Convert to Smart Object.
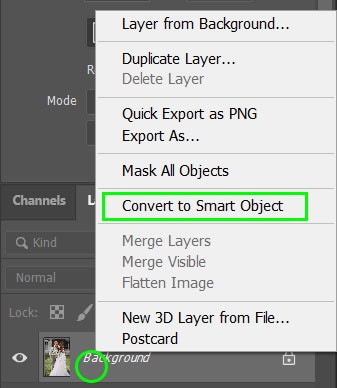
This conversion will unlock the background layer and add a Smart Object icon in the layer’s thumbnail to indicate that the layer is now a Smart Object.
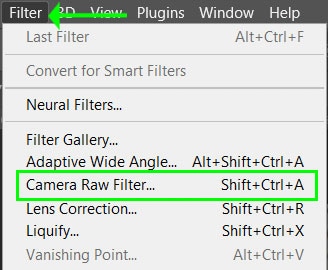
Step 2: Open The Camera Raw Filter Workspace
Ensure the layer is still selected and open the Camera Raw Filter by navigating to Filter > Camera Raw Filter. You can also press Shift + Control + A (Win) or Shift + Command + A (Mac).
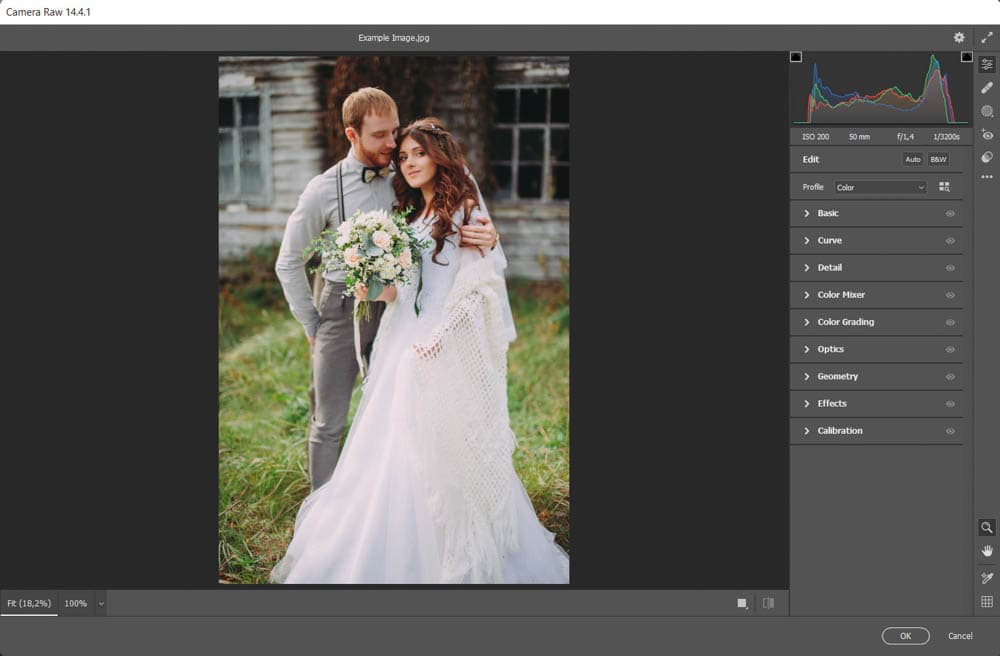
Your image opens in the Camera Raw Filter workspace, where you will make most of the edits to create the effect.
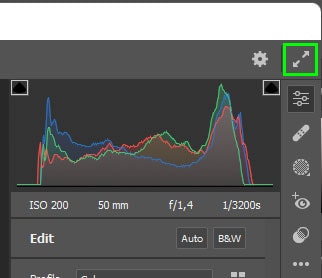
As you will be editing in this workspace for a while, you can extend the space to fullscreen by clicking on the Fullscreen mode icon or pressing F to toggle between the current and fullscreen view.
Step 3: Adjust The Contrast And Clarity In The Basics Tab
Photos taken with older film cameras and faded over time don’t have as much contrast as recent pictures. These images also lacked clarity and had a hazy look. I will show you how to create these effects using the Basic tab in Camera Raw.
First, open the Basic tab by clicking the arrow to the left of the tab’s name.
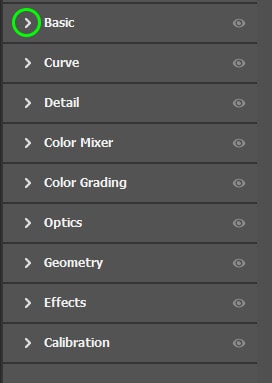
Once the tab is open, several sliders will appear, which you can use to make basic edits to the image, such as changing the exposure, contrast, and clarity.

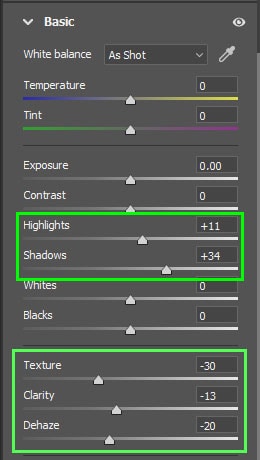
Here, you should focus on the Highlights, Shadows, Texture, Clarity, and Dehaze sliders. Follow my settings as a guide, but check the preview image and adjust the sliders to your image’s needs.
Move the Highlights slider to the right to increase the intensity of the highlights and slightly blow out the highlights in the image. I set the slider at +11.
Move the Shadows slider to the right to lighten and flatten the shadows in the image. This slider decreases the contrast of the picture. I set the slider at +34.
Move the Texture slider to the left to decrease the amount of texture in the image and soften it without affecting the finer details that make up the image. Older cameras didn’t capture as much detail as the cameras today can. I set the slider at -30.
Slide the Clarity slider to the left again to decrease the structure and contrast of the mid-tones. This slider reduces the details in the image. I set the slider at -13.
Lastly, adjust the Dehaze slider by dragging it to the left. Usually, the Dehaze feature is used to remove fog and mist from images by moving the slider to the right. However, in this case, I want to add a hazy look to achieve the old-school effect. I set the slider at -20.
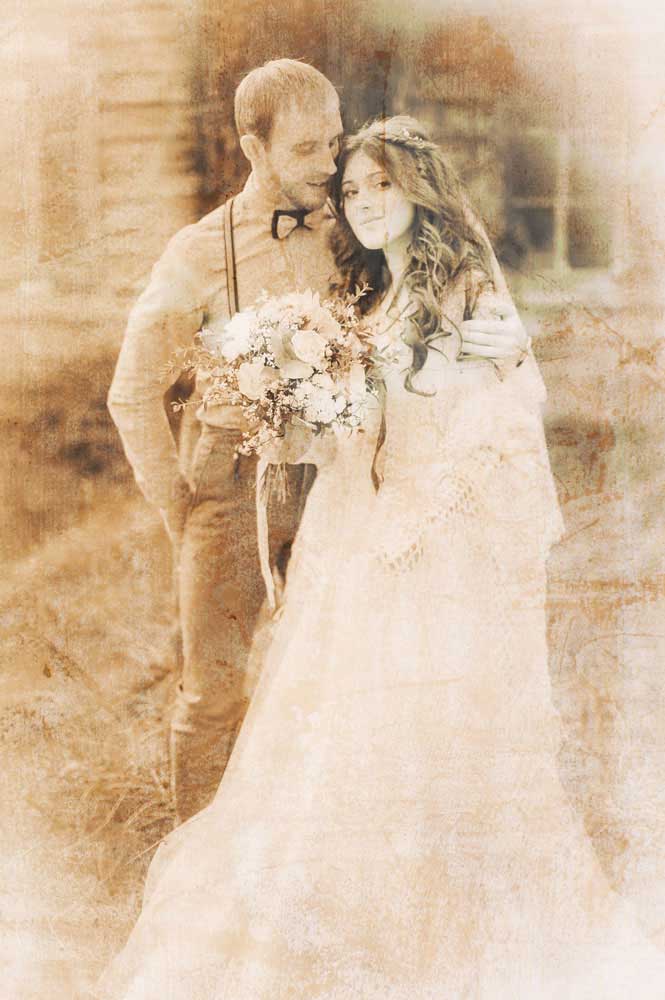
Here is how my image looks after those adjustments. The edits may not look like much now, but once we convert the image to black and white and add a sepia tone, you will see the old photo effect.
Step 4: Convert The Photo To Black And White
The next step is to close the Basic tab and convert the image to black and white using the automatic B&W Mixer. Then you need to adjust the color channel sliders to customize the black and white effect.
First, click the B&W icon at the top of the panel to convert the photo to black and white.
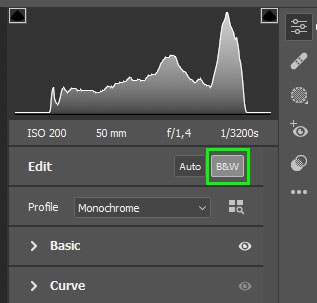
Then, open the B&W Mixer tab — which was initially the Color Mixer tab when the image was in full-color mode.
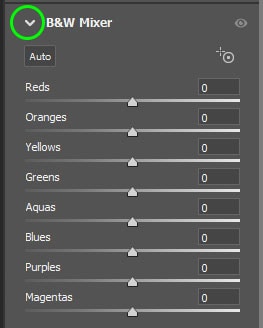
There is no standard way to adjust these sliders, as it all depends on the original colors in your image. Each slider represents a color in your photo, including Reds, Oranges, Yellows, Greens, Aquas, Blues, Purples, and Magentas.
These colors were visible in your original image before converting to black and white, but the color channels remain in your photo. Move the sliders to adjust the lightness or darkness of the black and white areas in the picture that initially contained the color you are changing.
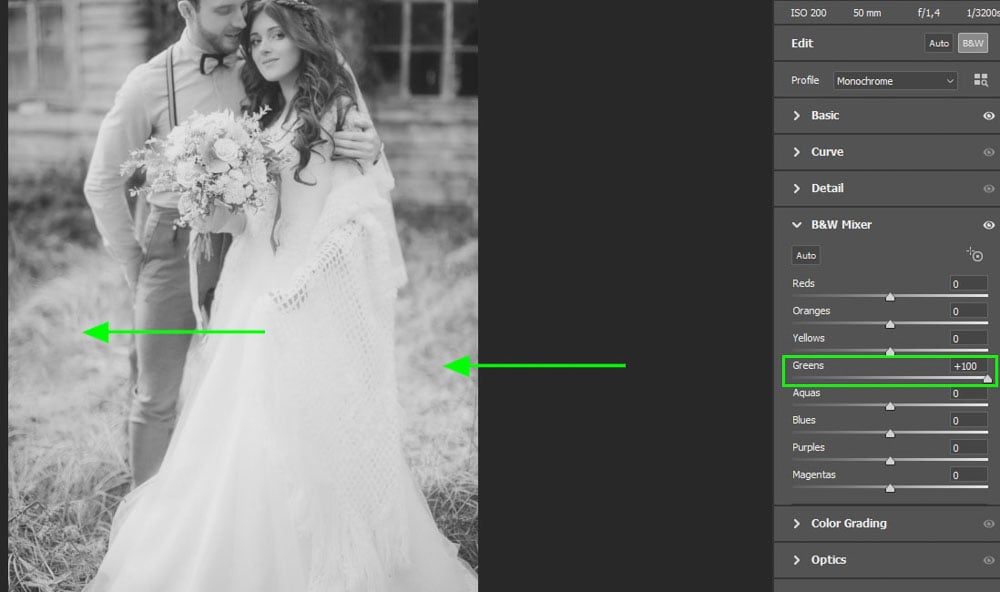
For instance, moving the Greens slider will lighten or darken the areas of the image where the grass is because the original color in that area was made up of greens. Increasing the Greens slider to the right brightens the grassy regions of the image.
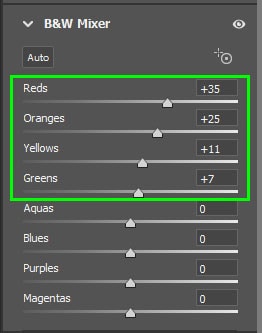
Play around with the sliders to customize your image as you see fit. However, the aim here is to reduce the contrast and slightly blow out the lighter areas on the image. Here is how I adjusted the sliders and how it affects the image.
I didn’t move the sliders from Aquas onwards as my picture doesn’t contain much of those color channels, but your image might.
Step 5: Add A Sepia Tone Using The Color Grading Tab
To further the old photo effect, you should add a sepia tone effect. This technique adds a burnt orange look to the image.
The sepia tone on old photos is usually not caused by the aging of the image and was instead an effect the photographer applied using a chemical process in the darkroom when developing the photos. While the sepia tone made the pictures look pleasing, the original motive for this effect was that the chemicals slowed down the aging process of the print by protecting it from environmental elements.
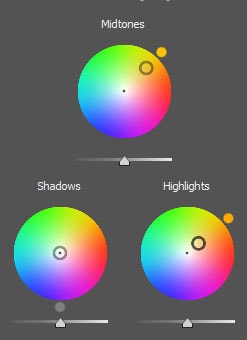
To produce the sepia tone effect, I will use the Color Grading tab directly below the B&W Mixer. When you open the Color Grading tab, you will notice three color wheels that make up the Midtones, Shadows, and Highlights.
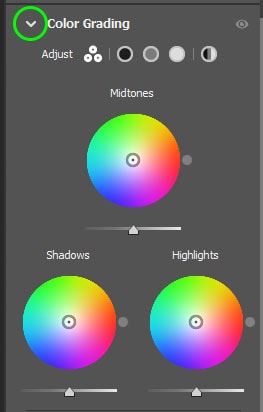
You can adjust how you view the color wheels using the icons at the top of the tab. The first icon is the default setting, letting you view the three wheels together.

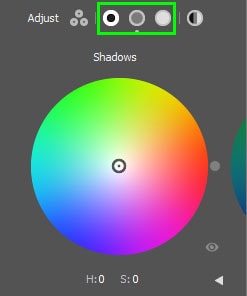
The next three icons let you toggle between viewing one wheel at a time.
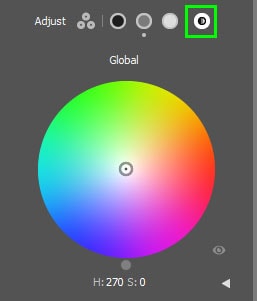
The last icon opens the global color wheel, which lets you adjust the mid-tones, shadows, and highlights altogether.
For this example, I will keep the view as seeing all three wheels and adjust the different tones separately to have more control over the final look of the sepia effect because I don’t want to affect the shadows.
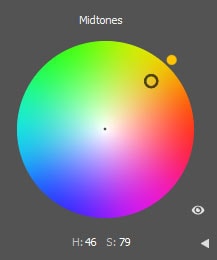
You can adjust the color wheel to produce the sepia tone you are after since many sepia effects range from slightly greenish to burnt orange. For my image, I will move the circle in the center of the mid-tones wheel and drag it toward the brighter orange color.
Then I will slightly move the highlights circle into orange to slightly tweak the brighter areas of the image. I will leave the shadows wheel because I want the dark tones to remain as they are.
After adjusting the Color Grading settings, my image is starting to take on the old photo effect, and here is how it looks.
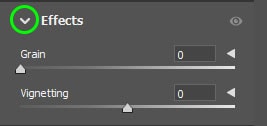
Step 6: Add A Vignetting Effect Around The Image
Now it’s time to add a vignette around the image to mimic the fading of older photos and the camera quality that didn’t always get enough light to the edges of the picture.
Staying in Camera Raw, you can easily add this effect under the Effects tab. Start by opening the tab in the right-hand panel.
Then, slide the Vignette slider to the right to fade the image around the edges. You can add as much or little as you want; I have set mine at +50.
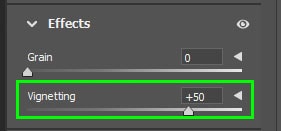
You can also use the Grain slider to add a grainy look to the image, but I have an even better way to add a scratchy old look in step 8. Here is how the image looks after adding the Vignette.
Step 7: Re-adjust The Settings And Close Camera Raw
After adding all the adjustments to the image, you may want to go back and change some of the settings. Once you have removed the color and added the sepia tone, you might want to re-adjust the highlights or shadows to alter the contrast in the image.
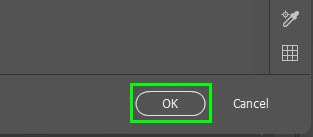
Go back through the settings and make any adjustments as needed. Then, once you’re happy with how the image looks, click OK at the bottom of the workspace.
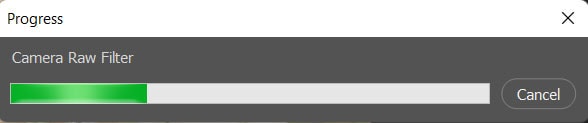
Photoshop will take a few moments to add the settings to the picture, so wait while the progress bar is visible.
Once Photoshop is done processing, your image will be opened in the editing workspace with the changes applied.

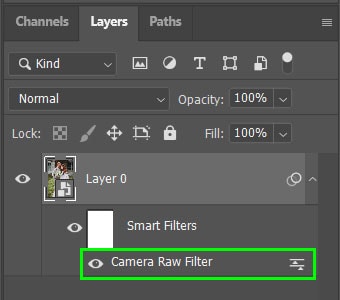
The layer in the Layers panel also now has a Camera Raw Filter attached to it. You can double-click on the filter layer to re-open Camera Raw at any time and re-adjust the settings.
Step 8: Add A Grain Overlay And Set The Blend Mode To Overlay
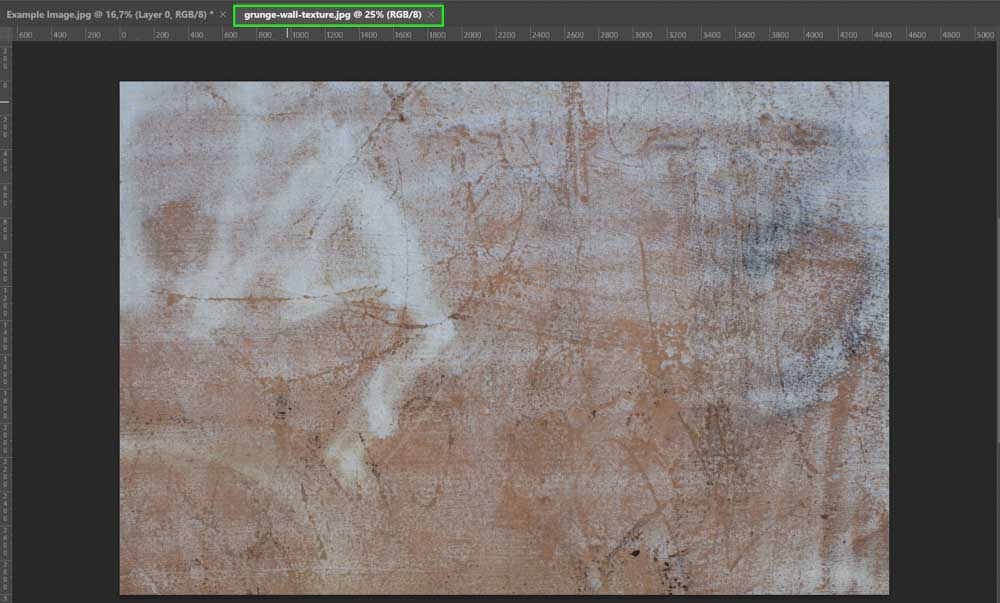
The final step adds a grainy and scratched effect to the image, which makes it look old and weathered. To complete this step, you can find any free texture online for your picture. I have chosen this Grunge Wall Texture from Freepik.com.
Once you have downloaded a texture image, open it in a new tab in Photoshop.
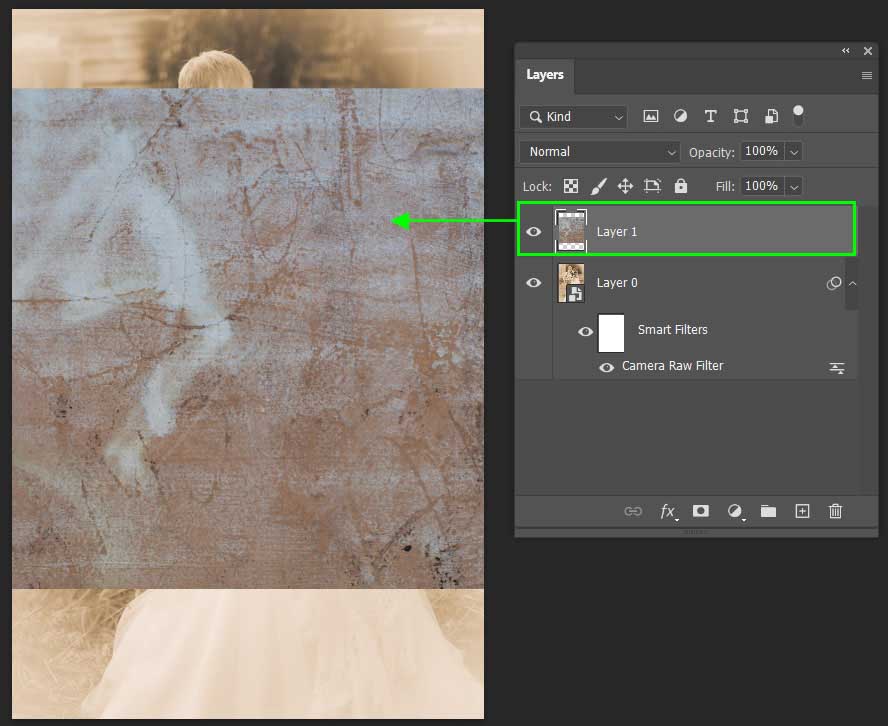
Then, click on the background layer, drag it across to your image tab, and place it on the canvas. The texture will be placed over the image, and a new layer will be added to the Layers panel.
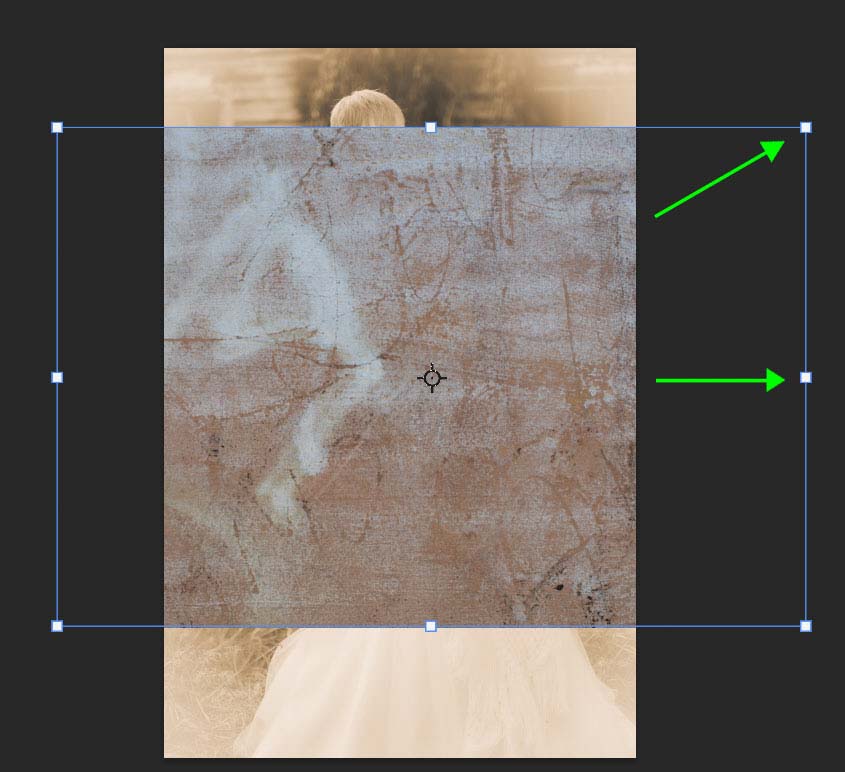
Now resize and move the texture so that it covers the whole image. Start by pressing Control + T (Win) or Command + T (Mac). Handles will appear around the texture layer.
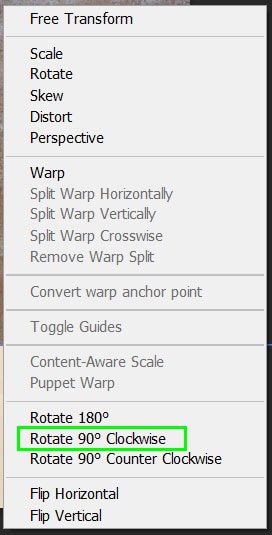
Right-click on the layer and select Rotate 90° Clockwise to change the layer’s orientation.
Then click and drag the anchor points to ensure the layer hides the image completely. Press Enter to confirm the changes.
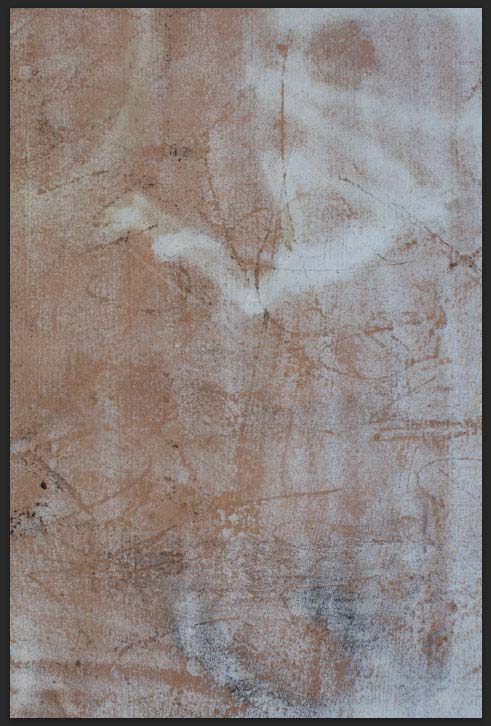
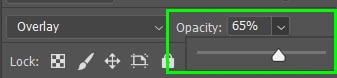
Next, change the Blend Mode of the texture layer by clicking on the mode drop-down menu. For the proper effect, choose either Screen or Overlay. In my case, the Overlay option produces the effect I’m going after.

If the effect is too harsh, adjust the Opacity using the slider at the top of the Layers panel.
Once you have adjusted the Opacity and chosen a suitable Blend Mode for your image, you will have an old photo effect on your picture.