

Autosaving your work prevents you from losing important files if your computer or Photoshop closes unexpectedly. The autosave feature is essential if you don’t want to re-do the last few hours of tedious edits you just lost because of an unexpected power outage. This article teaches you how to auto-save your work in Photoshop. You will also learn to locate auto-saved files in Photoshop and on your computer.
Is There Auto Save In Photoshop?
Photoshop has a function that automatically saves backup copies of your files at predetermined intervals. Enabling this feature can prevent files from being lost in situations like the one I mentioned above. You can lose your files permanently if you don’t use a backup method, like the auto-save function.
I recommend this feature if you constantly forget to save your files or if Photoshop or your computer system occasionally crashes. As you might know, the Photoshop system requirements need a lot of data, and certain computers sometimes can’t handle it.
When you enable the auto-save feature, Photoshop recovers the unsaved files. This allows you to access them the next time you open the app. You can also find these files on your computer since Photoshop stores them in a specific folder.
However, I advise you against using the auto-save method as your primary method of saving files. This is because when you manually save your files, you have more control over where and how your files are saved. For example, you can choose different locations to save files when you manually save them.
How To Set Up The Auto Save Setting In Photoshop
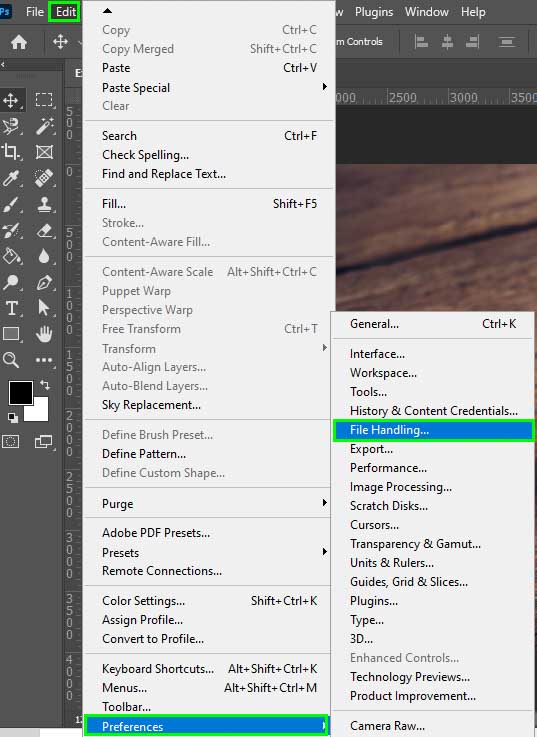
To enable autosave in Photoshop, go to Edit > Preferences > File Handling (Win) or Photoshop > Preferences > File Handling (Mac) and look for the “file handling” section. Here you can set the Automatic Recory Setting with intervals to auto-save every 5, 10, 15, 30, or 60 minutes.
Below is a more detailed breakdown of this process.
Once again, to locate the autosave setting, go to Edit > Preferences > File Handling (Win) or Photoshop > Preferences > File Handling (Mac).
In the File Handling preferences, you can modify how and when your files are saved.
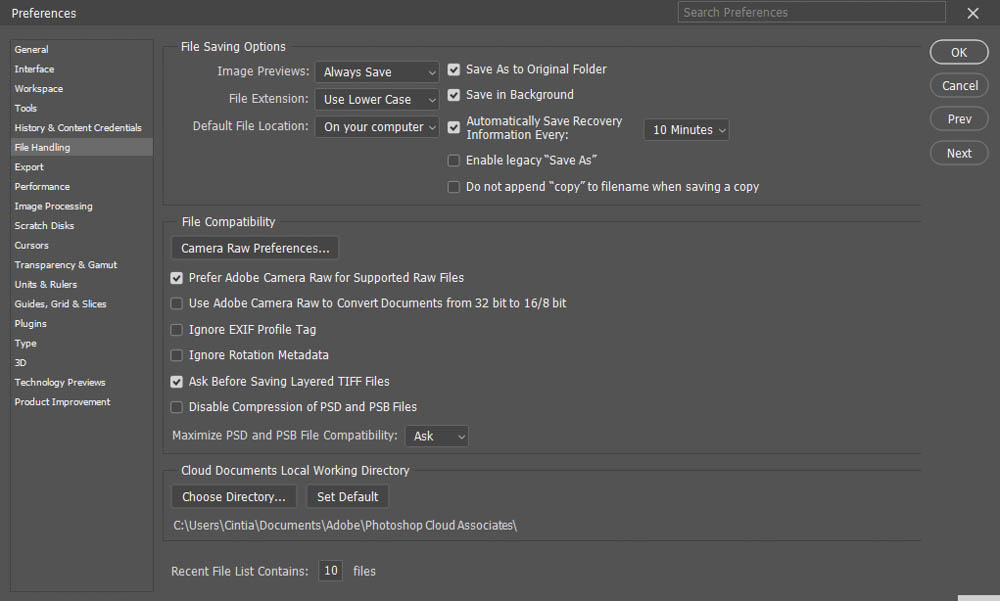
You can find the autosave setting on the right side of the File Saving Options. It is called Automatically Save Recovery Information Every:
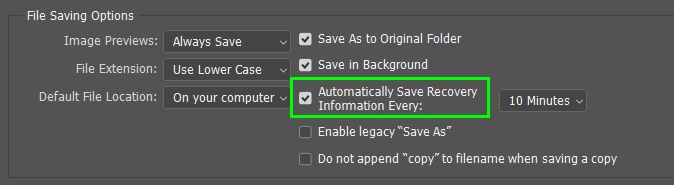
Mark this option to enable the autosave feature if it’s not marked yet.
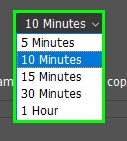
The time interval drop-down menu lets you choose how often files are saved. You can choose between saving files every 5, 10, 15, or 30 minutes. You can also set the recovery frequency to 1 hour.
After enabling the auto-save feature, you can adjust other File Saving Options settings to determine where and how your files are saved.
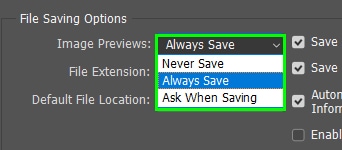
You can choose the frequency in which Photoshop saves previews in Image Preview. Previews allow you to identify better files saved on your computer. If you select the Always Save option, more storage space will be consumed, but nothing significant.
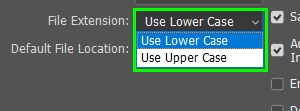
In File Extension, you can choose between using lower or uppercase letters in the file extension.
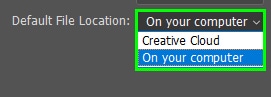
You can choose between saving your files in the Creative Cloud or On Your Computer in the Default File Location drop-down menu.
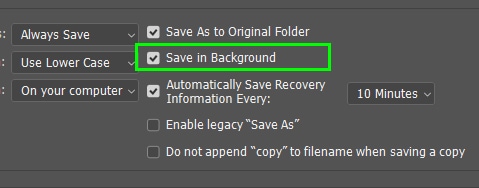
When checking the Save As to Original Folder, Photoshop will save the file copies in the same folder as their original versions.
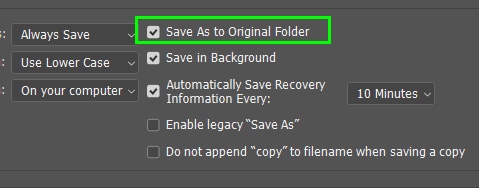
Enabling the Save in Background option allows you to continue work on a project, while Photoshop works on saving files in the background.
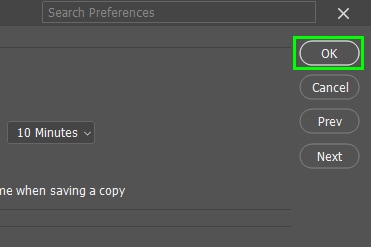
Click OK when you’re finished setting your preferences. The preferences are activated the next time you open Photoshop, so restart the program if you want to use the autosave feature immediately.
How To Access Auto Saved Projects
There are a few locations where you can find your auto-saved projects.
– The Original PSD File
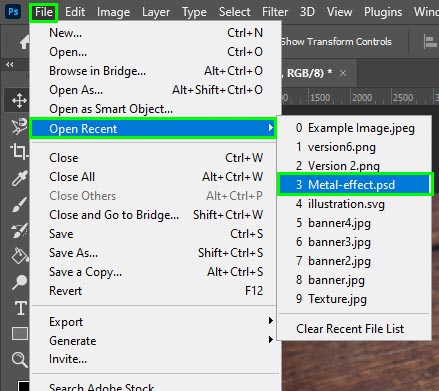
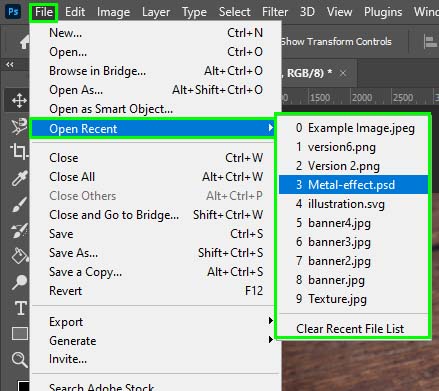
When you turn on the auto-save feature and create a PSD file, Photoshop saves the data in the PSD itself. You can access the saved PSD in File > Open Recent.
The PSD file has a .PSD extension.
– Your Recent Files In Photoshop
You can easily access your auto-saved projects using File > Open Recent. A list with the auto-saved files appears, and you can click any files to load them into Photoshop.
– The Auto Recover Folder
When Photoshop auto-saves files, they are stored on your computer in a specific Photoshop folder. To access the auto recover folder on Windows, use the following directory structure:
C:/Users/YourUsername/AppData/Roaming/AdobePhotoshop[version]/AutoRecover
Include the Photoshop version at the end of the Photoshop.
For example: C:/Users/Brendan/AppData/Roaming/AdobePhotoshopCS6/AutoRecover
To access the auto recover folder on Mac, use the following directory structure:
YourUsername/Library/ApplicationSupport/AdobePhotoshop XXXX/AutoRecover
Replace the XXXX with the Photoshop year.
For example: Brendan/Library/ApplicationSupport/AdobePhotoshop2022/AutoRecover
By enabling the auto-save feature, you can work in peace, knowing your files are safe from being lost.


