There are many ways to blur or pixelate a face in Photoshop. In this tutorial, you’re going to learn one of the easiest and most beginner-friendly ways to do so. The process is simple, and it is easily replicable for other parts of an image, not just a face. Here are the basics of how it’s done.
To blur a face in Photoshop, first convert to image layer into a smart object. Next, go to Filter > Blur > Gaussian Blur to apply a general blur as a smart filter. Clicking on the smart filter layer mask, invert it, then select the Brush Tool and paint white over the faces you wish to blur.
Now, these steps might sound a little complex, but I promise it’s super easy! Throughout this tutorial, you’ll learn how to blur faces in a non-destructive manner making it easy to go back and edit later on. Once you have blurring faces nailed down, we’ll move on to the next type of face-concealing, pixelation!
Without any further delay, let’s get started.
How To Blur A Face In Photoshop
In Photoshop, you can edit images in a destructive way and a non-destructive way. Destructive editing is when you make changes to a file directly. This overwrites the original data, and you cannot get back the original file.
Non-destructive editing, on the other hand, allows you to make changes to a file without overwriting the original. Therefore, if you want to go back to the original file, you can easily.
During this tutorial, only non-destructive editing will be done. So, if you make a mistake, don’t worry, you can always go back.
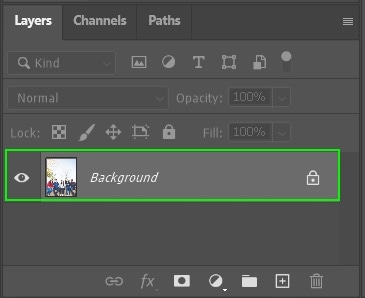
To get started, open your image in Photoshop, then go to the Layers panel. Now right-click on your layer and click Convert to Smart Object to turn the layer into a Smart Object.
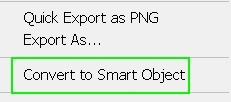
Now that you’ve converted your layer to a Smart Object, it’s time to blur it. Go to the Menu Bar at the top of the window and click Filter > Blur > Gaussian Blur.


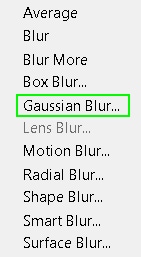
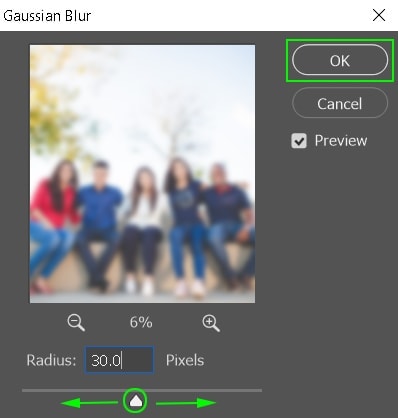
Next, a pop-up window will appear, which will allow you to determine the level of blur applied to your image. You’ll also see a preview of your image to view how the blur will look. The preview will be at 100% zoom by default. However, you can zoom out to see your photo in full to see how the blur will affect your entire image.
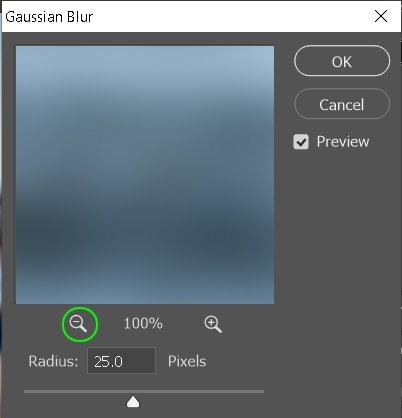
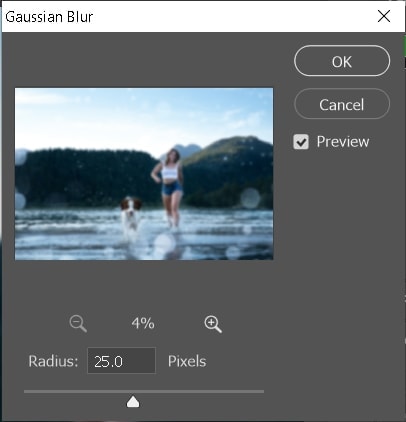
Now that you can see the image fully, adjust the slider to see the level of blur you want to apply. Once you’ve found a level you like, click OK to apply the Gaussian Blur effect to your image.
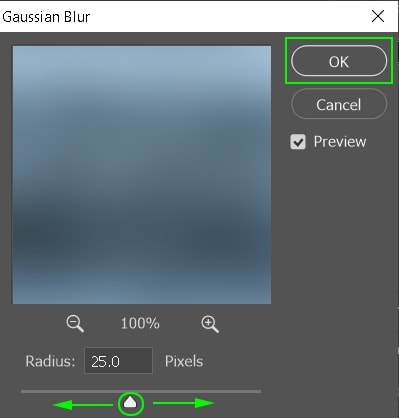
I chose a radius of 25 pixels to blur my image. Here’s how it looks:
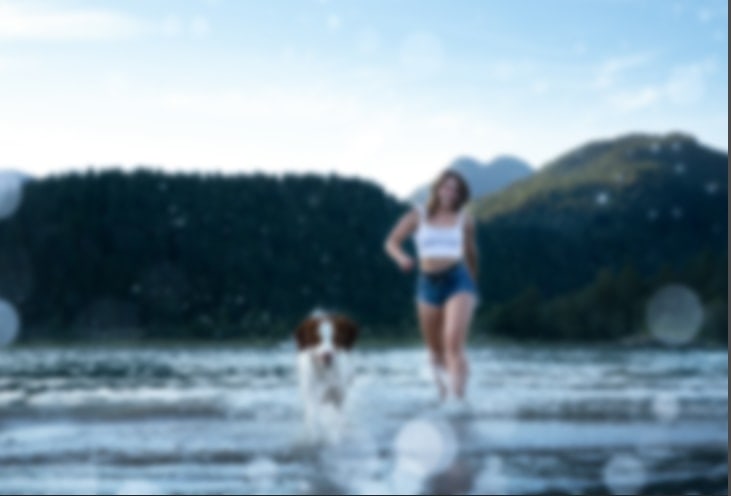
Now that the blur effect has been applied, it’s time to remove it from everywhere but the face. Go to the Layers panel and click the Smart Filter layer mask thumbnail.
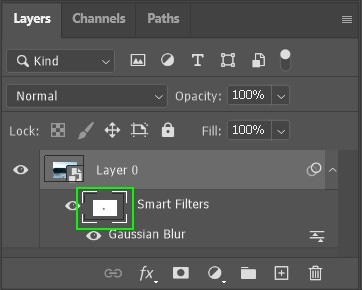
Afterward, select the Brush tool (B) from the toolbar. Then open the brush settings, and reduce the hardness to 0%. This will give you a soft brush effect, which will make the blur blend in better with the rest of the image.


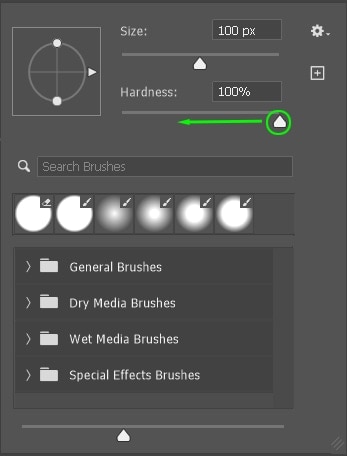
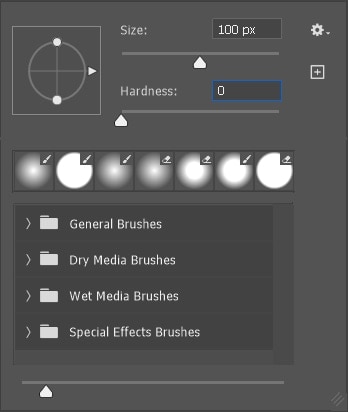
Since the Smart Filter is selected, you’ll notice that your foreground and background colors are black and white. The Smart Filter mask works exactly like a regular layer mask. Painting black allows you to hide parts of the image, while white allows you to reveal them. Set your foreground color to black, then begin painting everywhere on the picture except the face.

When you’re finished, you’ll notice that the Smart Filter layer mask is black everywhere except where the face is. The remaining white areas indicate that the blur is still visible in that one area.
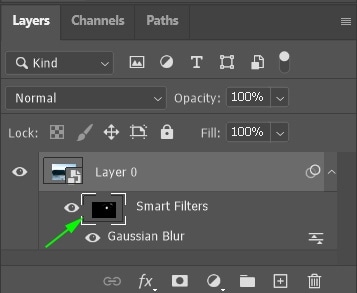
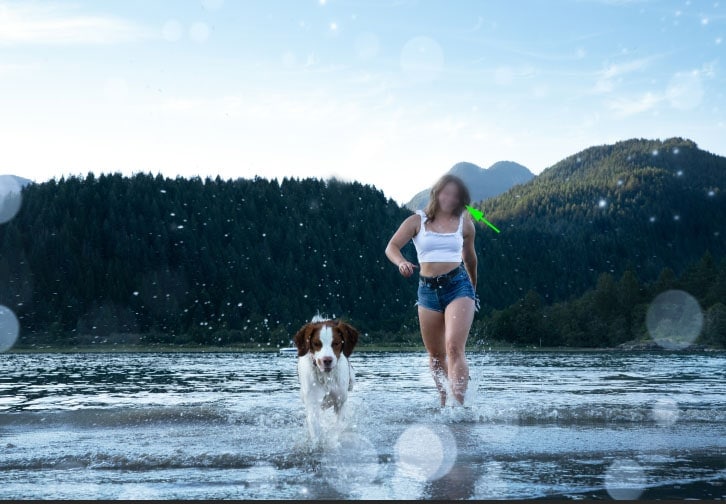
Everywhere on your image should be clear, except the face, which should remain blurred. So it’ll look like this:
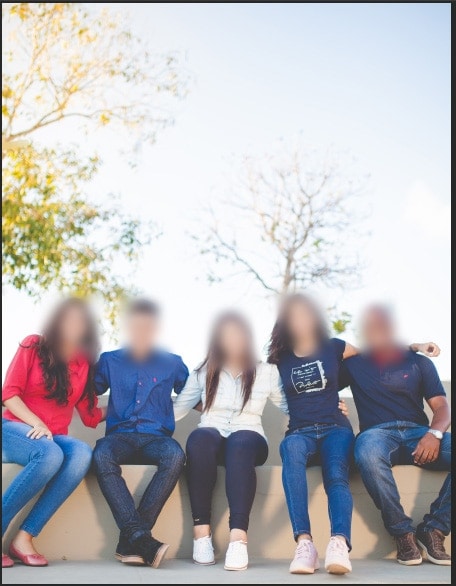
How To Blur Multiple Faces In Photoshop
Now that you know how to blur a face in Photoshop, you might be wondering what about blurring multiple faces. The process is similar and just as easy. Again, start by opening your image in Photoshop.

Next, go to the Layers panel, right-click on the layer and click Convert to Smart Object.


Afterward, go to the Menu bar, click Filter > Blur > Gaussian Blur.


Next, you’ll see the Gaussian Blur pop-up window, where you’ll be able to adjust the amount of blur you want to apply to your image. Once you’ve done this, click OK to apply the Gaussian Blur effect.
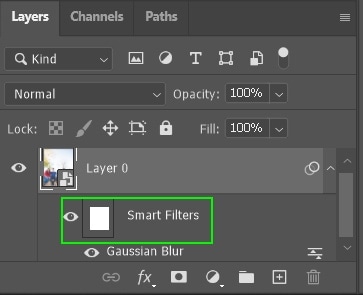
Now you’ll see your image has been blurred, and a Smart Filter has been applied to it.

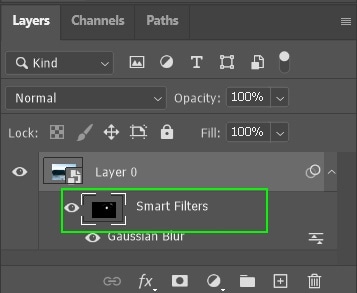
Now that your image is blurred, you need to remove the blur from everywhere except the faces. Start by clicking on the Smart Filter thumbnail, selecting the brush tool (B) from the toolbar, and choosing a soft brush.
With black as your foreground color, begin painting over the image to hide the blur effect everywhere except the faces.


You’ll see that the Smart Filter thumbnail has everywhere painted black except for the faces. And on your image, you’ll see that only the faces are blurred.
How To Pixelate A Face In Photoshop
To pixelate a face in Photoshop, select your image layer, select the Lasso Tool, and set the Lasso Selection Feather to 20PX. Then create a Lasso Selection around the facial features of your subject. Now go to Filter > Pixelate > Mosaic to apply a pixelation effect to the model’s face.
Start by opening your image in Photoshop. Then go to the Layers panel, right-click on the layer and select Convert to Smart Object to convert the layer to a Smart Object.

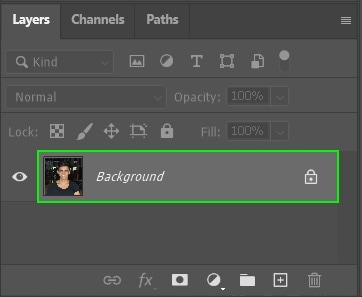

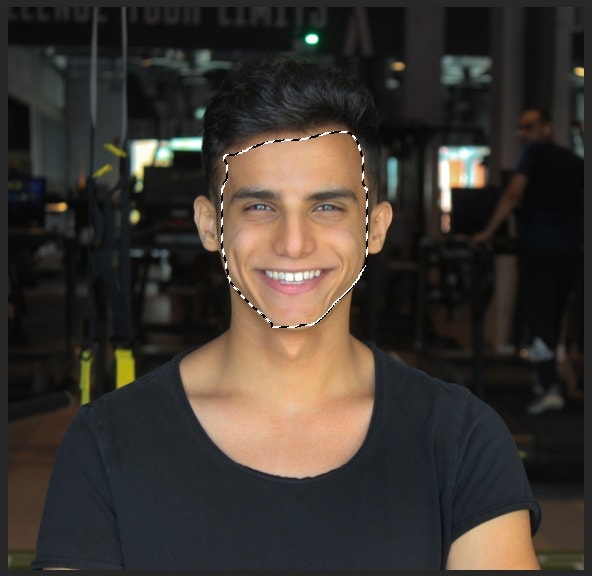
Once the layer has been converted to a Smart Object, select the Lasso Tool (L) from the toolbar. You’re going to use it to create a selection around the face of your subject. However, before you do that, you need to set the Lasso Tool’s feather to 20 px.
This will make the edges of the pixelated face softer and blend in better with the rest of the image. Once the feather has been adjusted, create a selection around your subject’s face. You can do this by clicking and dragging your cursor. The Lasso Tool will trace the movements of your cursor and turn it into an active selection.


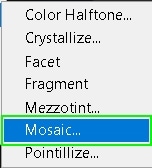
Next, go to the Menu bar and click Filter. From the dropdown menu, select Pixelate > Mosaic.


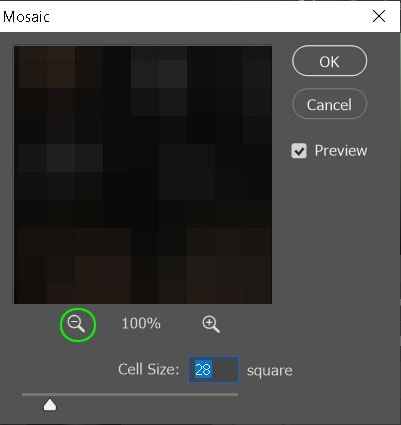
A pop window will appear with the Mosaic options and a preview of how the effect will look. The preview is 100% on default; however, that doesn’t allow you to see the image in its entirety. Zoom out until you can see the full image.
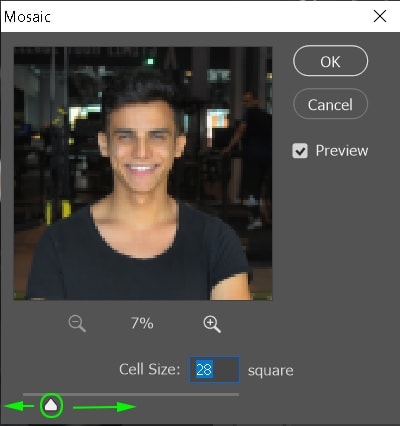
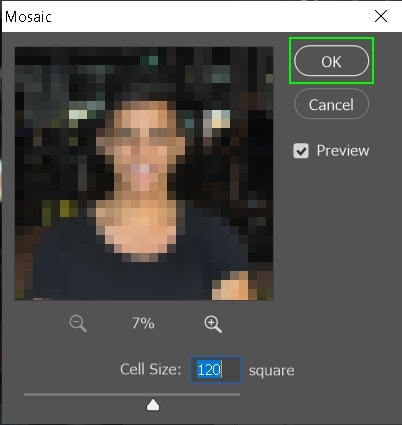
After you’ve zoomed out, adjust the Cell Size. This will determine how pixelated your image will be. As you can see from the preview shown, I used a cell size of 120. However, you can play around with the slider until you find a cell size that works for you. Once complete, click OK to apply the effect.
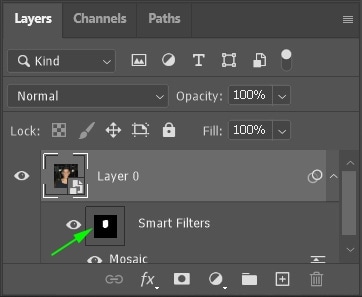
Looking at the Layers panel, you can see that a Smart filter was applied since you converted your layer to a Smart Object.
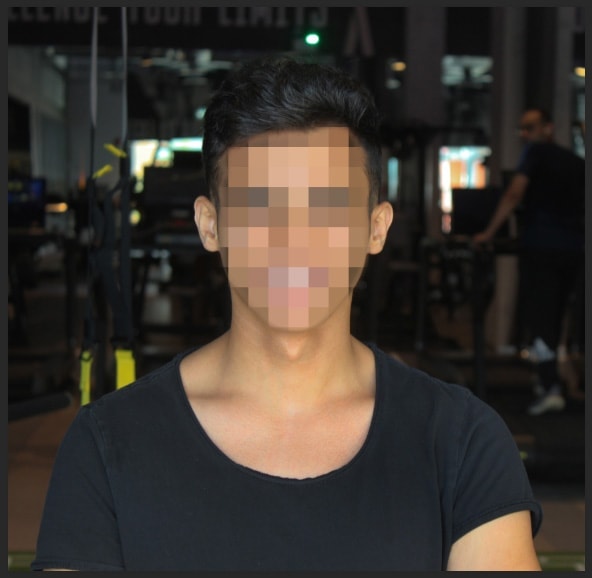
Here’s the before and after:
Before After
There you have it. You’ve learned how to blur a face, blur multiple faces and pixelate a face in Photoshop!
Happy Editing!

