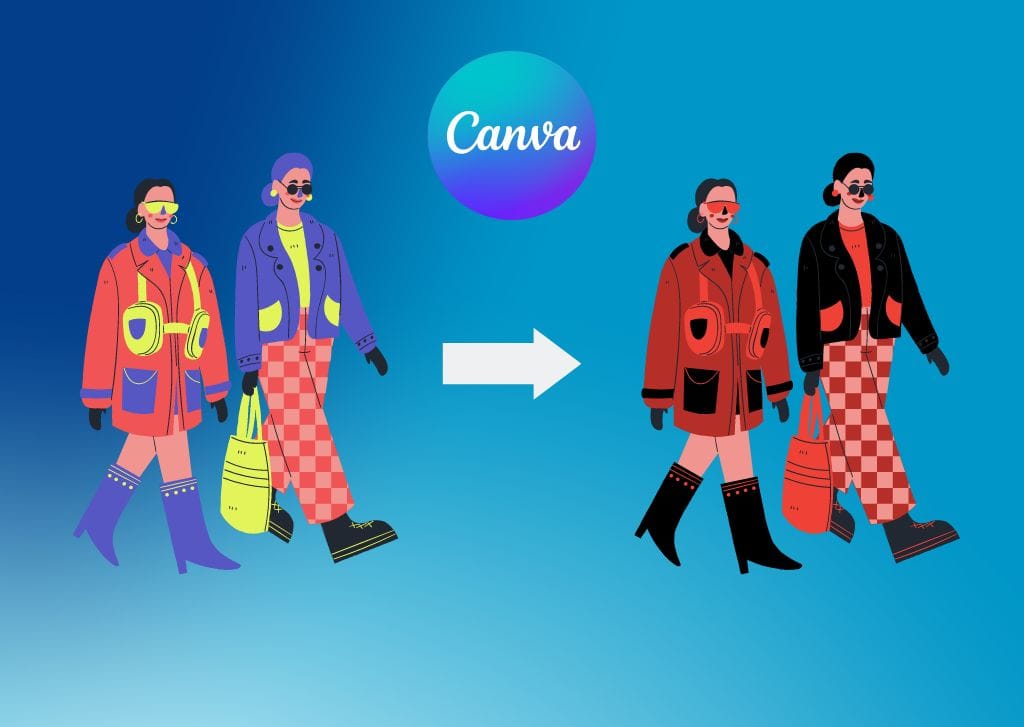

Whether you’re working with templates or a custom design, changing the colors of different elements is essential to making any Canva design look truly unique. Whether you need to change the colors in an image, templates, or even shapes and graphics, it’s all surprisingly easy in Canva.
So let’s take a look at exactly how it all works.
By the end of this tutorial, you will know how to change the color of anything you find or import in Canva. Even the elements where it seems impossible to change the color.
How To Change The Color Of Images In Canva
When it comes to changing the colors of elements in Canva, such as changing a logo color or an image, it can be a somewhat complex process. Follow this guide closely to make your life a little bit easier.
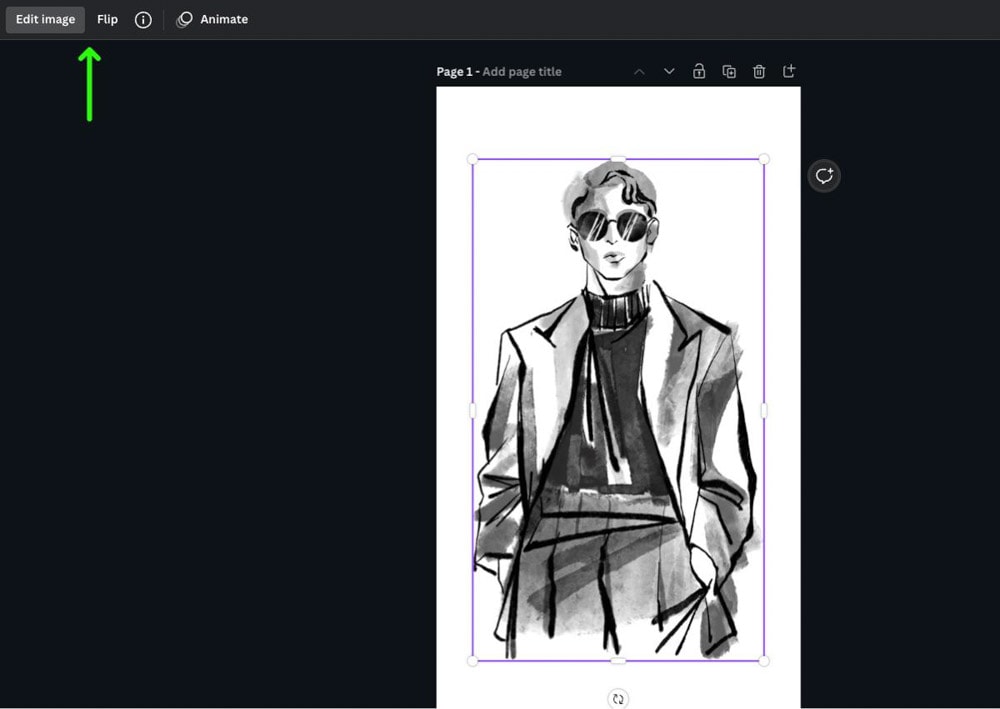
Step 1: Open The Adjustment Panel
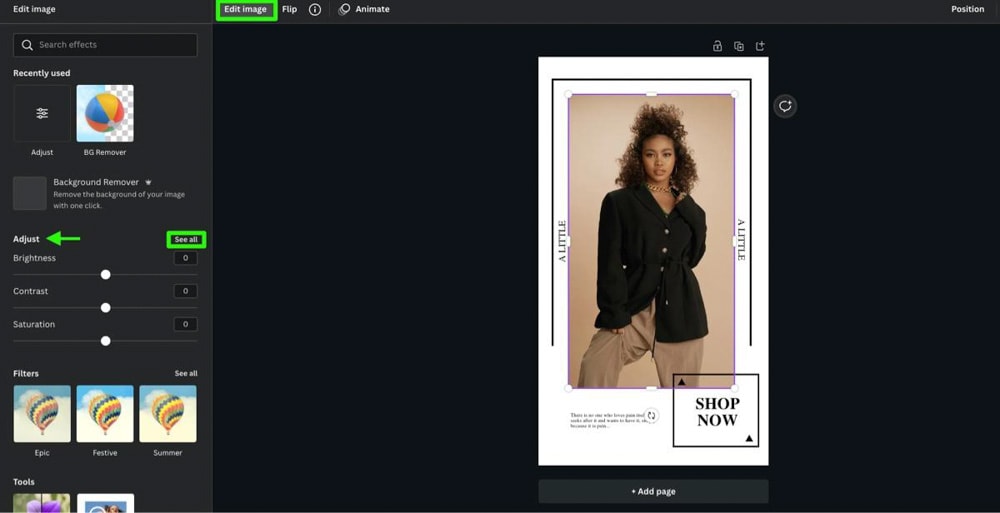
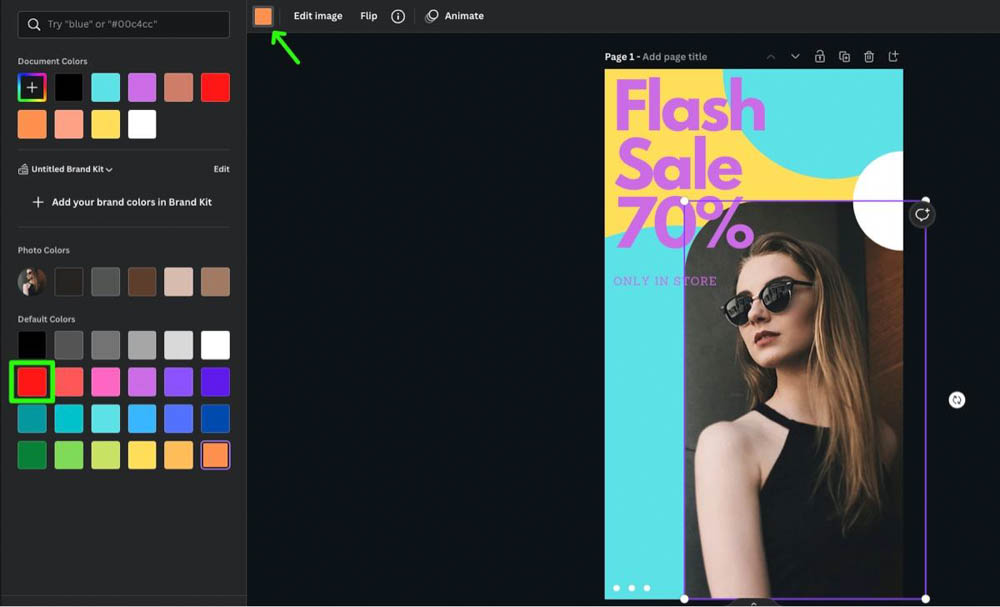
With your image selected, click on Edit Image toward the top left of the screen.
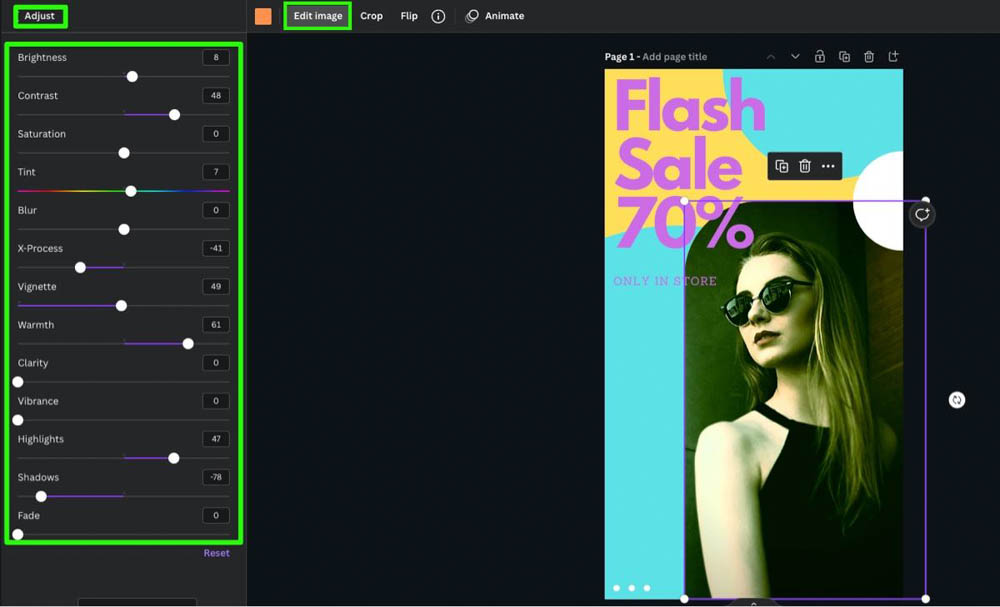
In the Adjust section, click on See All. This will open up all of the adjustment options available for your image.
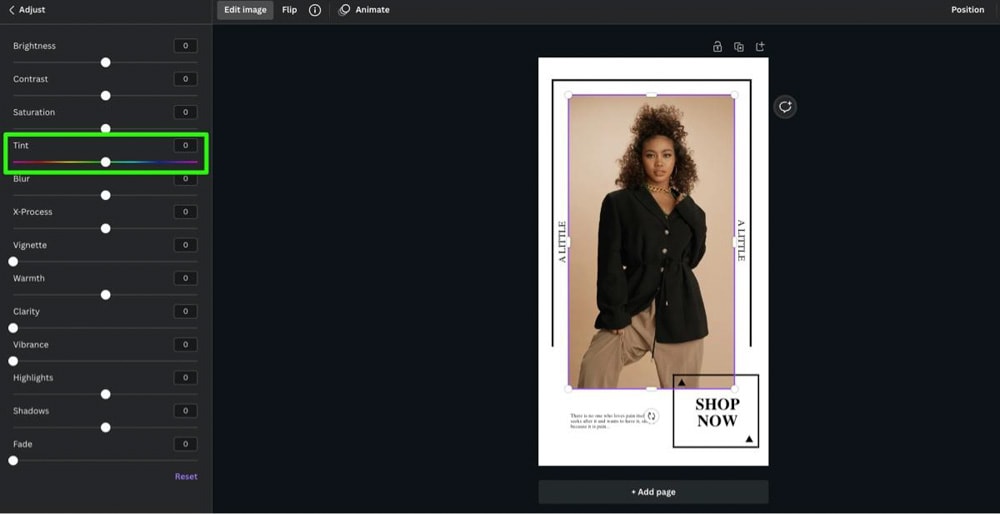
Step 2: Adjust The Tint And The X-Process
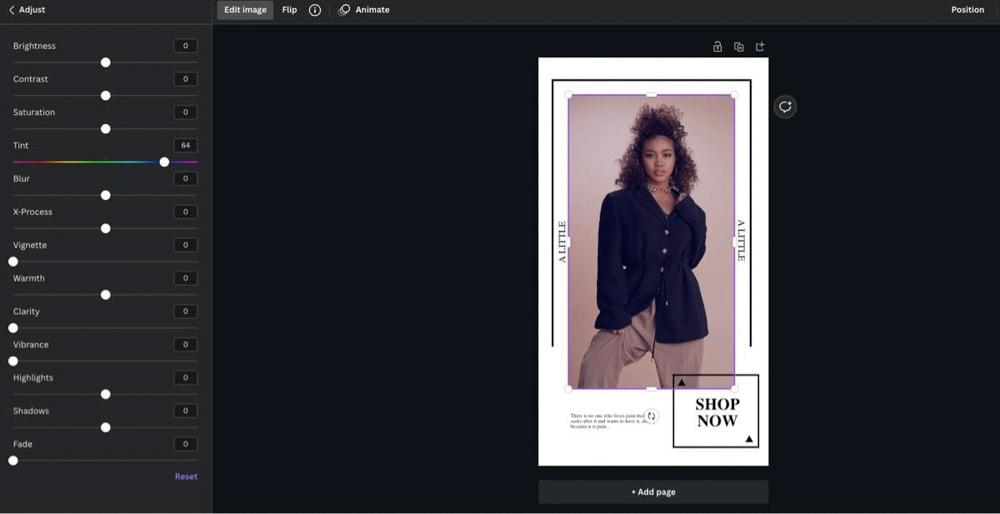
The first thing you should do when changing the color of an image in Canva is adjust the Tint slider.
Adjust the slider back and forth and see what you think looks the best. You may not see much of a change, but that’s where adjusting the other sliders comes in.
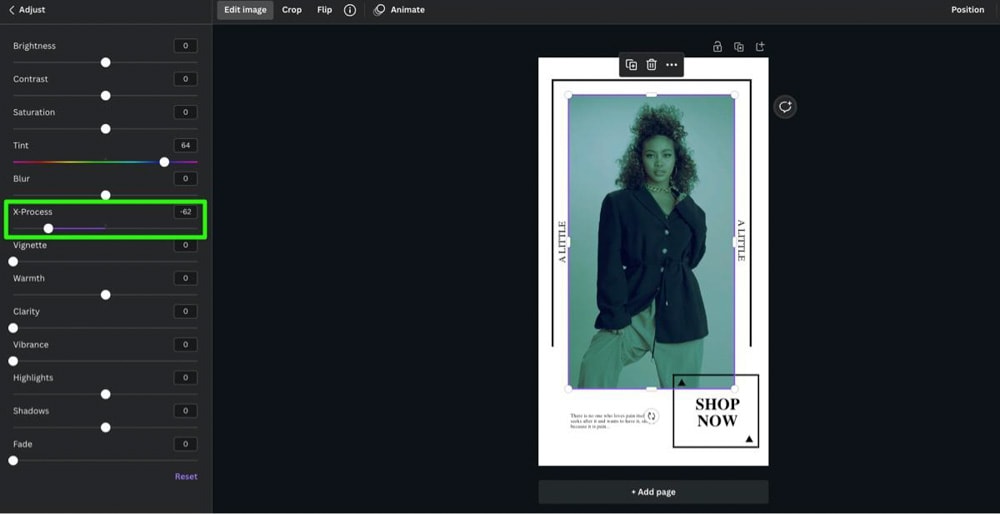
The second slider you should experiment with is the X-process slider.
This slider is a bit of a mystery as to what it does exactly. It’s one of the few sliders in Canva that’s not obvious what it does just by the name itself.
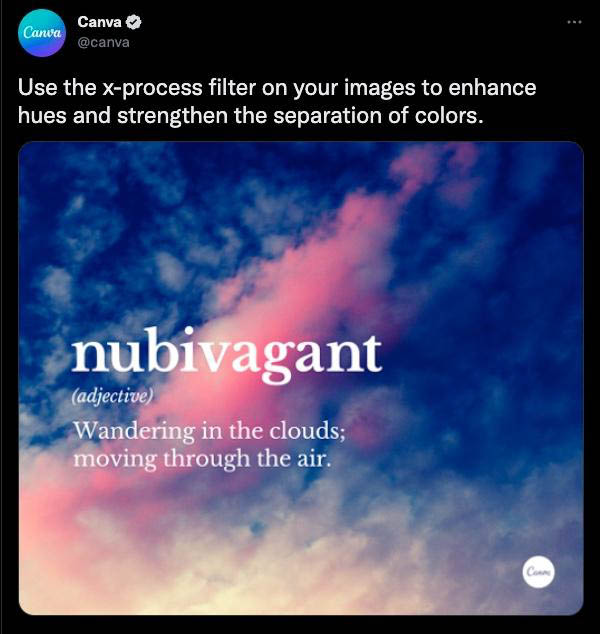
Canva’s official explanation is that the X-process will enhance the hues in your image and strengthen the colors’ separation.
Experiment with this slider and see what happens.
Step 3: Adjust The Other Sliders
As for the rest of the sliders in the Adjustment panel, it’s a free-for-all when it comes to the order you should adjust them.
You don’t need to adjust all of the other sliders. You can change one or two of them if you want. Or, you can adjust all of them if you wish. It’s up to you and what you want to do with your project.
Here are some of the most common sliders to adjust when changing the color of an image in Canva:
- Brightness – This setting can dim or brighten your colors.
- Contrast – Adjust this setting to make your brighter colors pop. The contrast will add a darker tone to the image’s shadows.
- Saturation – Move this slider to make the brightest colors grayer or more colorful.
- Blur – Pull this slider back to make your image sharper.
- Warmth – Use this slider to make the colors bright and inviting or cold and distant.
- Clarity – Adjust this slider to make the colors super clear or slightly “muddy.”
- Vibrance – Bring the images to life or dull them a bit using this slider.
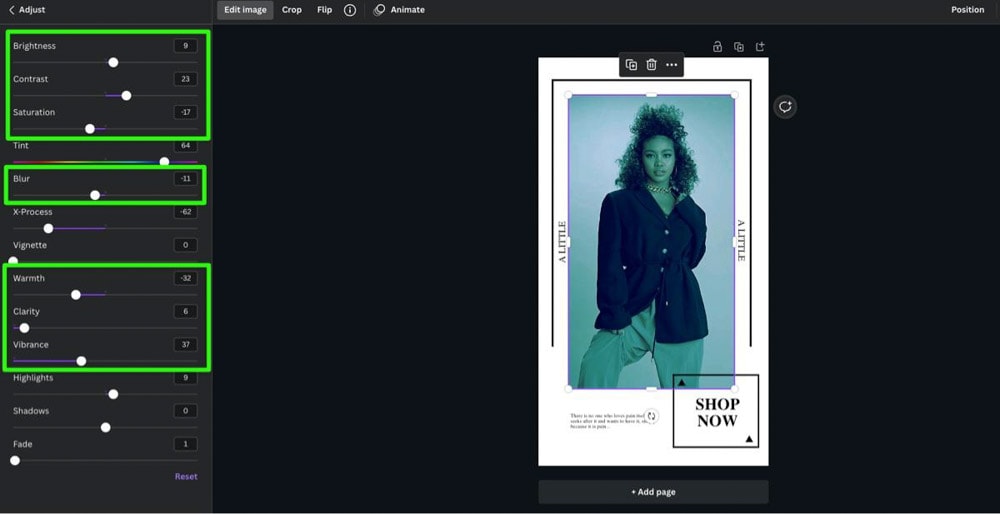
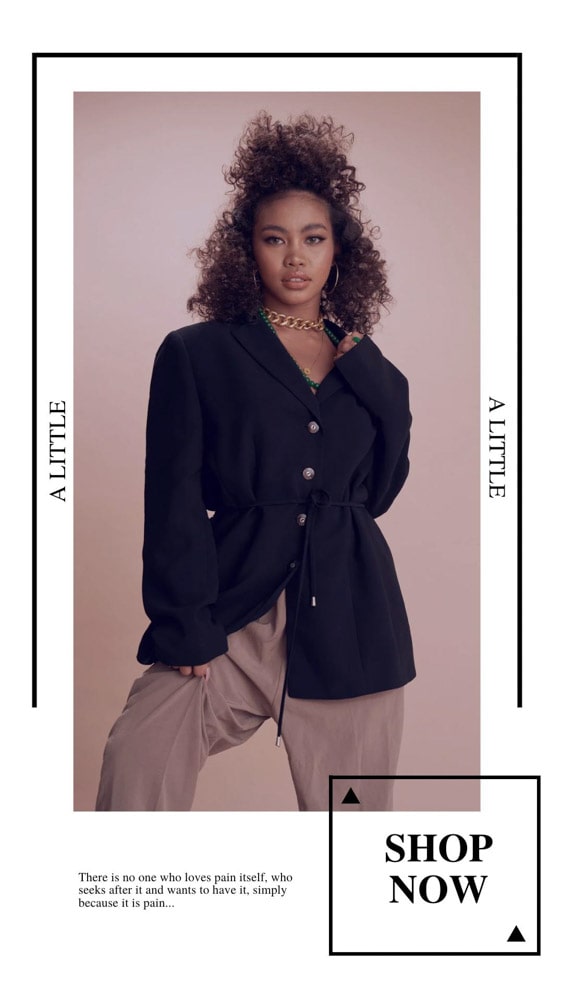
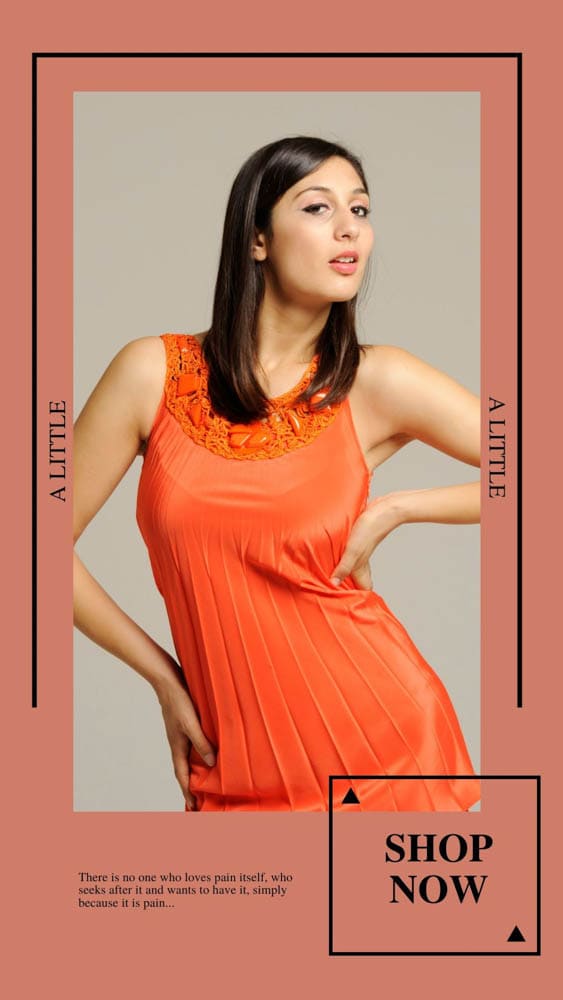
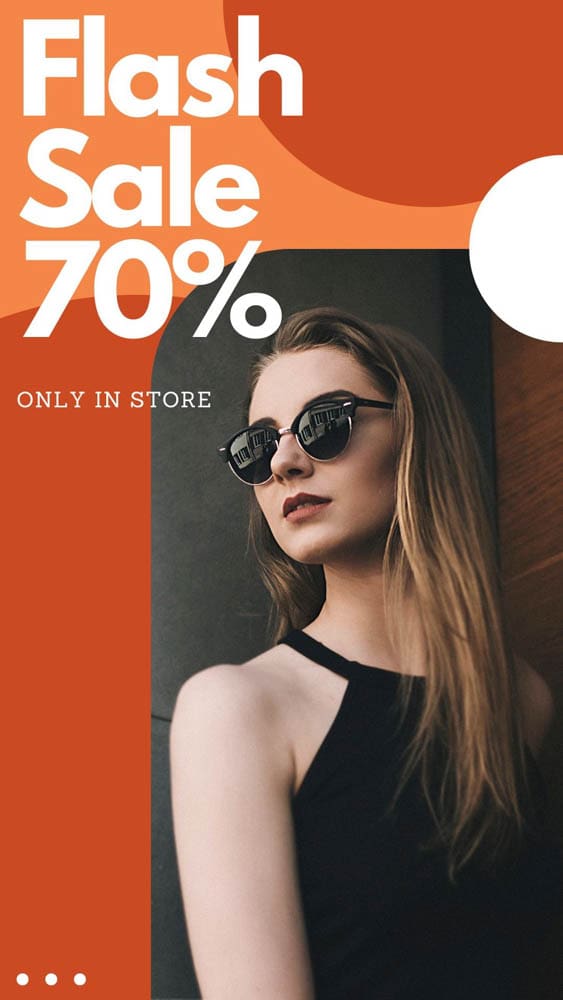
By the end of this process, the colors of your image will be completely different.
How To Use Duotone to Change The Color Of Your Image
An alternative way to change the colors of your image in Canva is the Duotone filter. Using this filter is faster than the previous method and more accurate when choosing the exact color you are looking for.
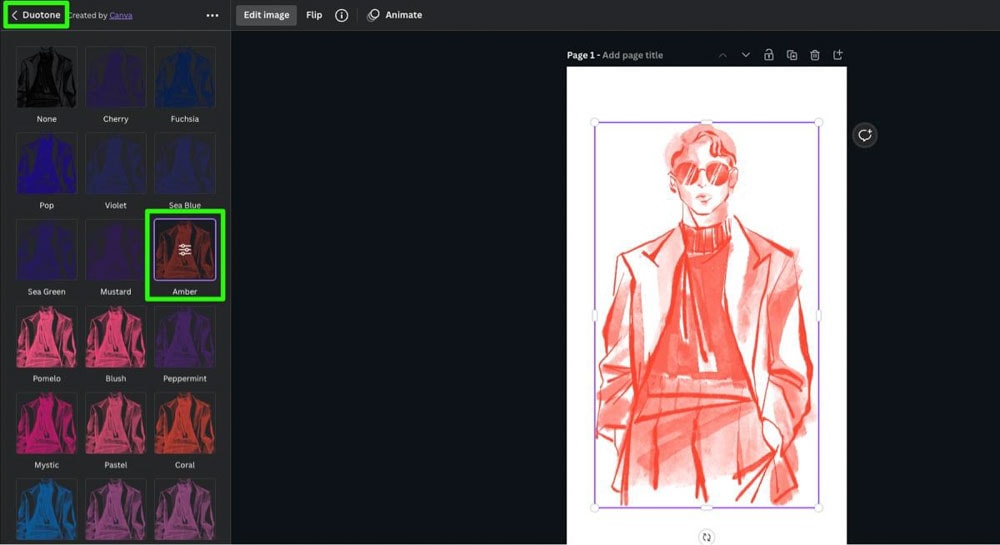
Step 1: Apply The Duotone Filter
First, select your image and then click on Edit Image.
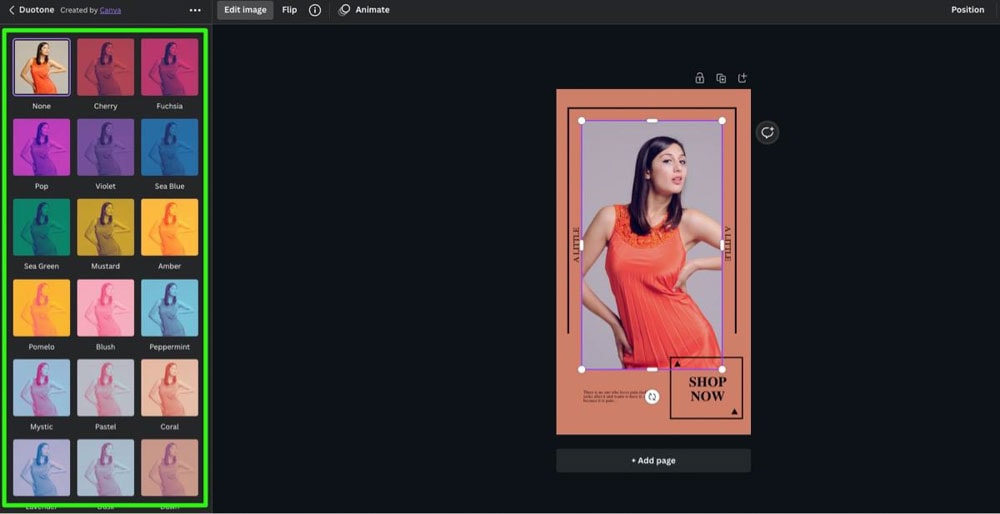
Scroll down the left side panel until you find the Duotone section. Then, click on See All.
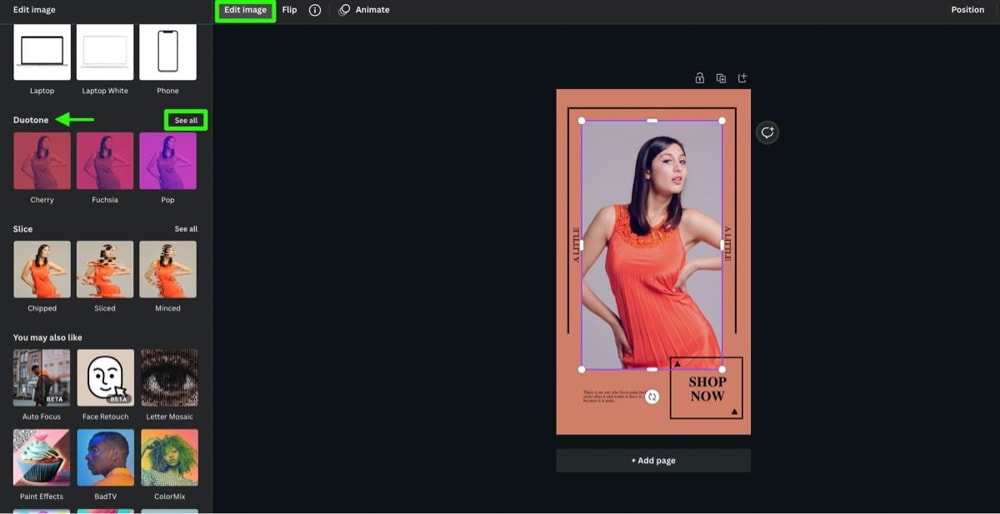
You will find around 20 premade duotone filters to apply to your image.
Step 2: Pick Your Duotone Color
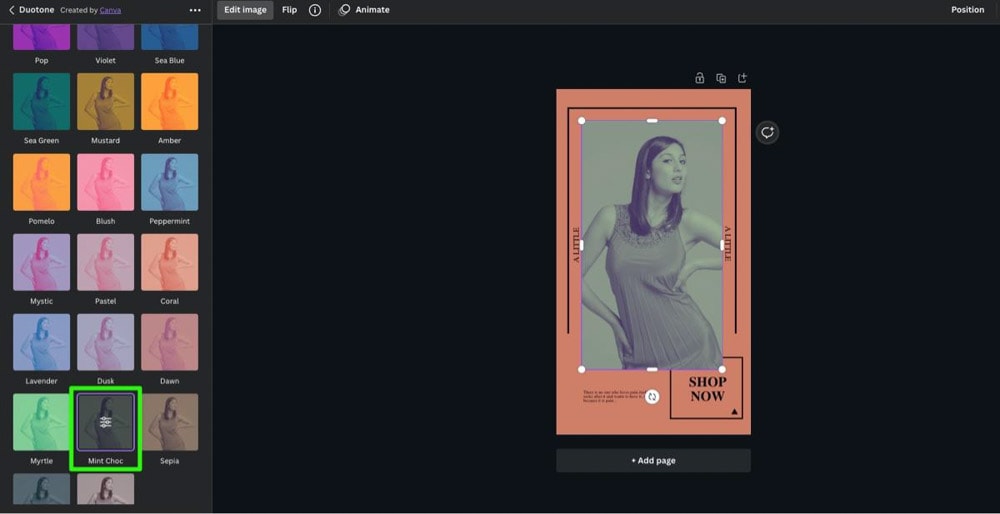
Once you’ve decided which duotone filter you wish to use, click on it to apply it to your image.
Step 3: Adjust The Duotone Settings
The colors in the duotone filter you choose don’t have to be your final colors. Click on the filter again to open up the Options Menu.
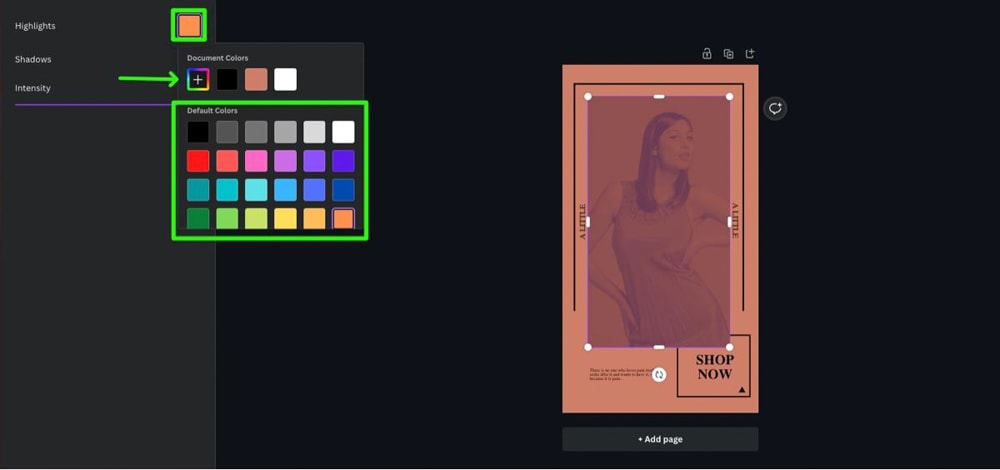
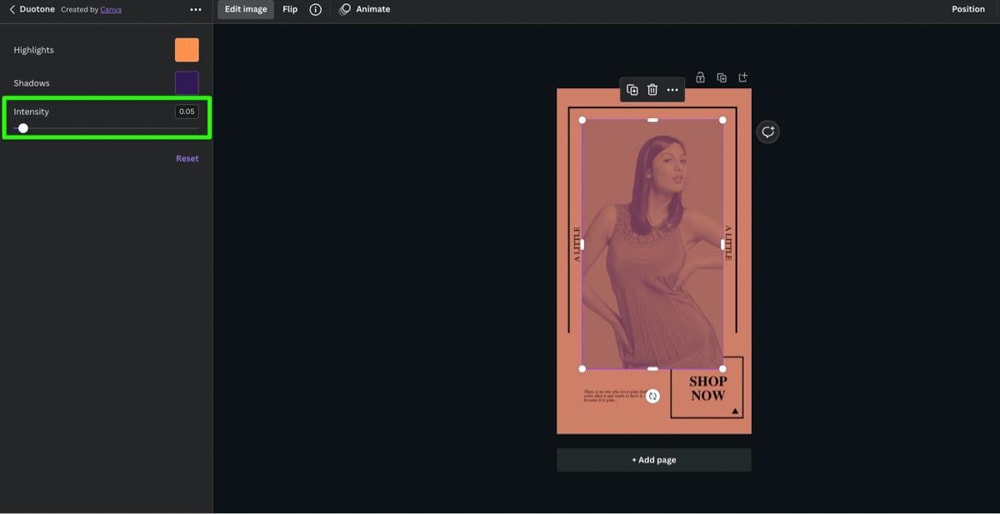
You can click on the color pickers for the Highlights and Shadows to choose the color scheme that you are looking for.
If you don’t see the color you’re looking for in the options that pop up, you can click on the Add A New Color button to find a more accurate color and tone.
After you pick your two colors, you can adjust the intensity of the duotone effect with the Intensity slider.
Step 4: Use The Adjustment Panel
After you make all of your adjustments for the duotone, you can now open up the Adjustment panel, as detailed in the previous segment.
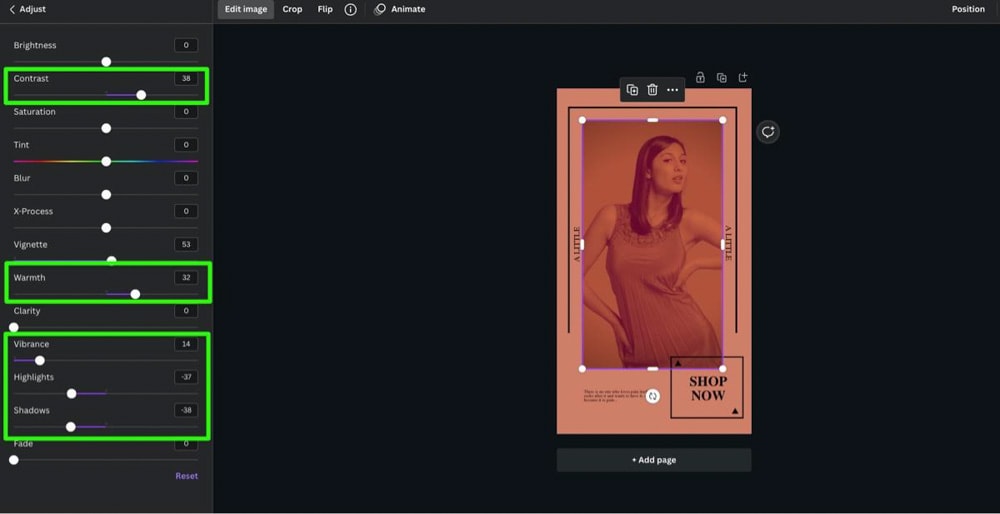
Since the colors have already been adjusted, focus more on the settings that will make them pop. Settings such as:
- Contrast
- Warmth
- Vibrance
- Highlights
- Shadows
How To Change The Color Of Elements In Canva
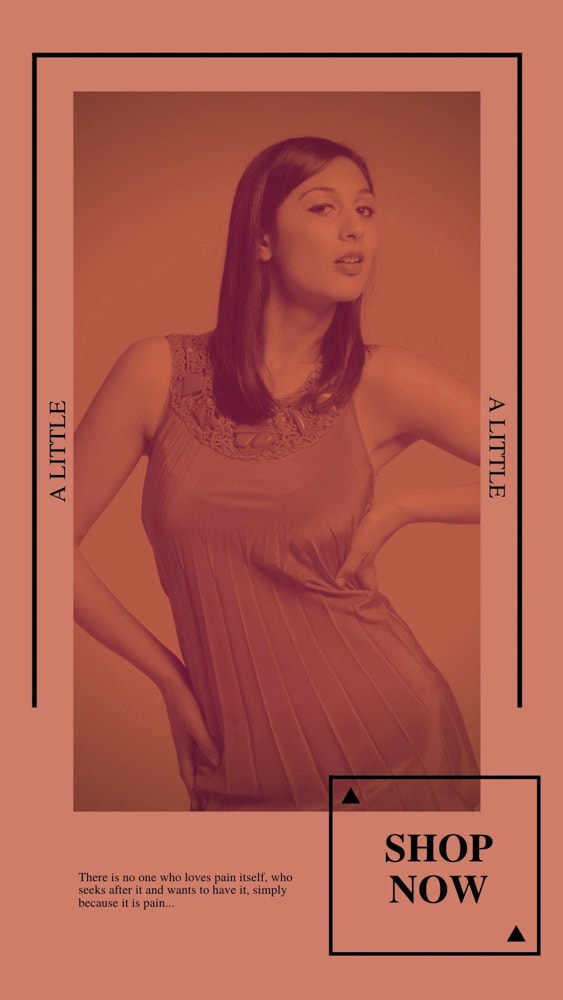
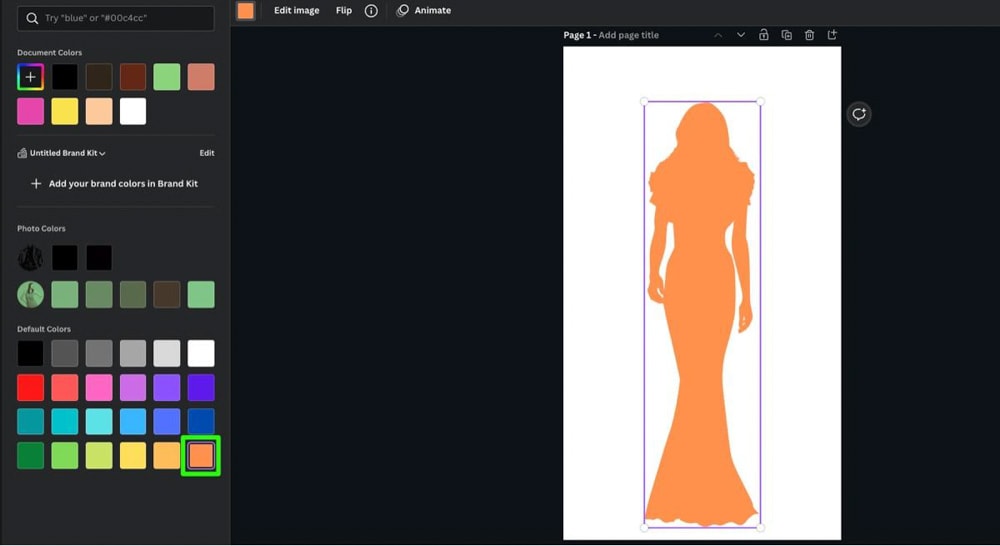
If you have used Canva for a reasonable amount of time, you’ve most likely used a basic shape layer in one of your designs.
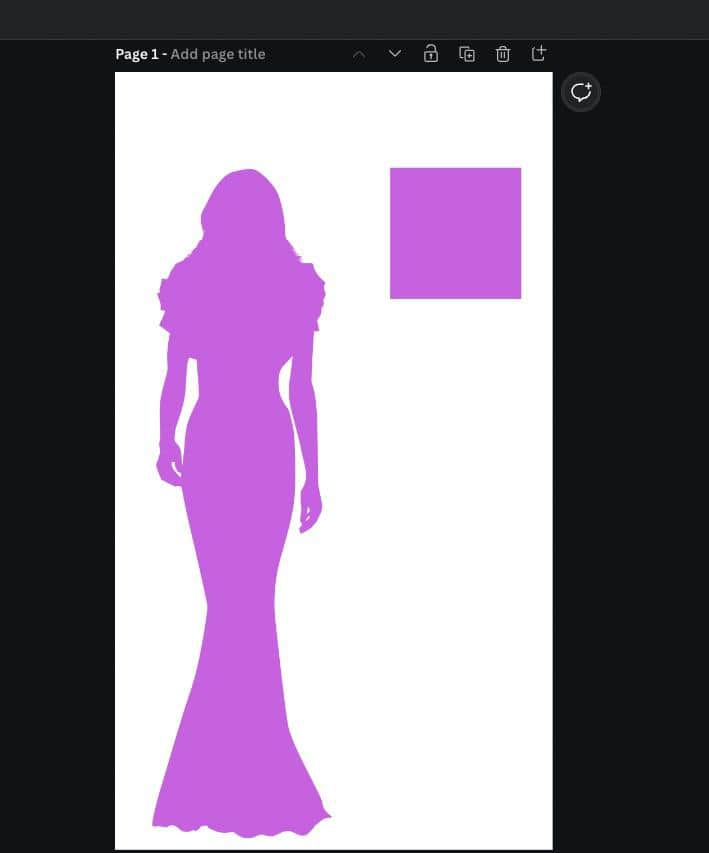
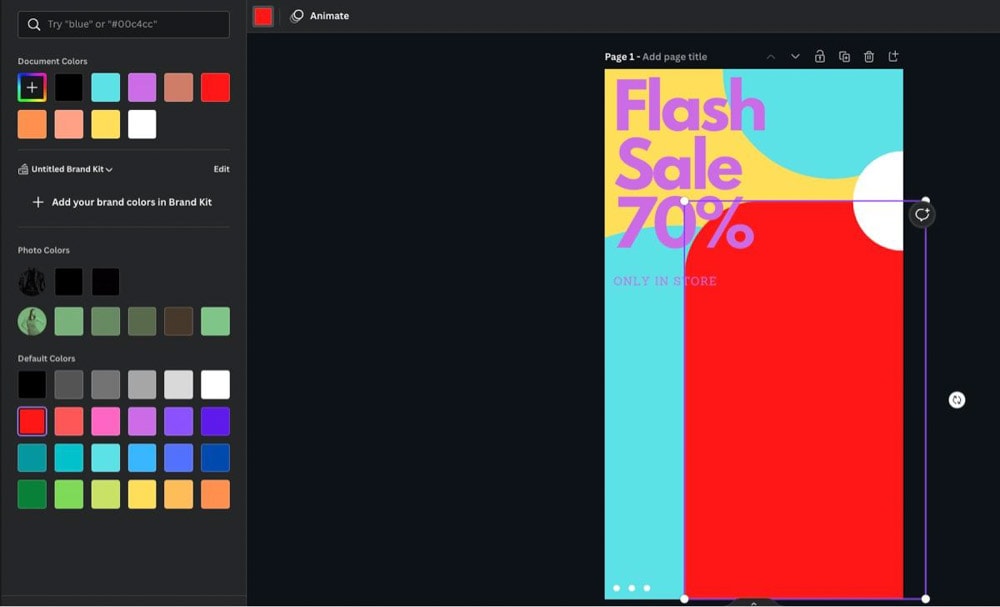
You can change the color of the basic shape by selecting it, then clicking on the color picker. You can change the color by clicking on any of the colors that pop up.
This basic concept is also possible with most elements in the Elements panel in Canva.
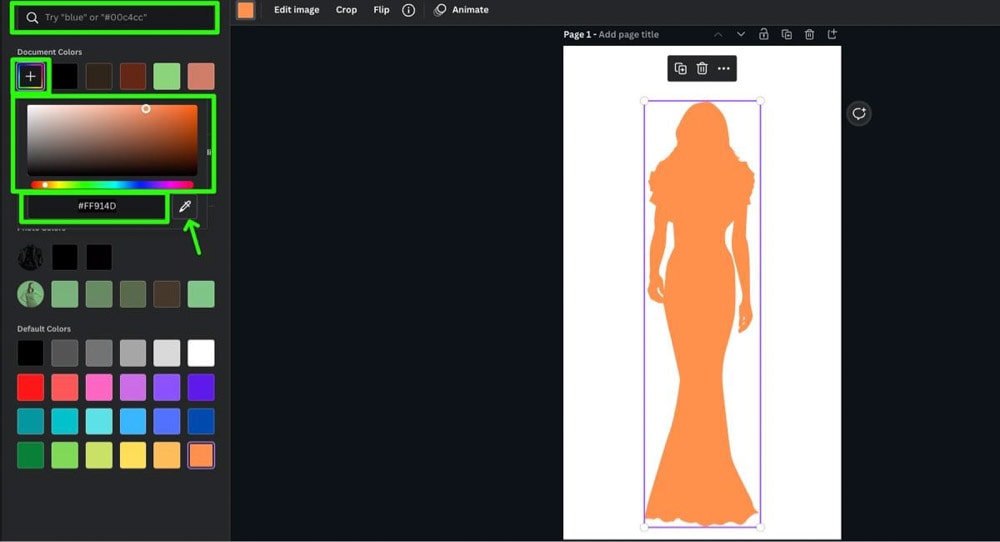
Simply select your element, click the Color Picker and pick your color.
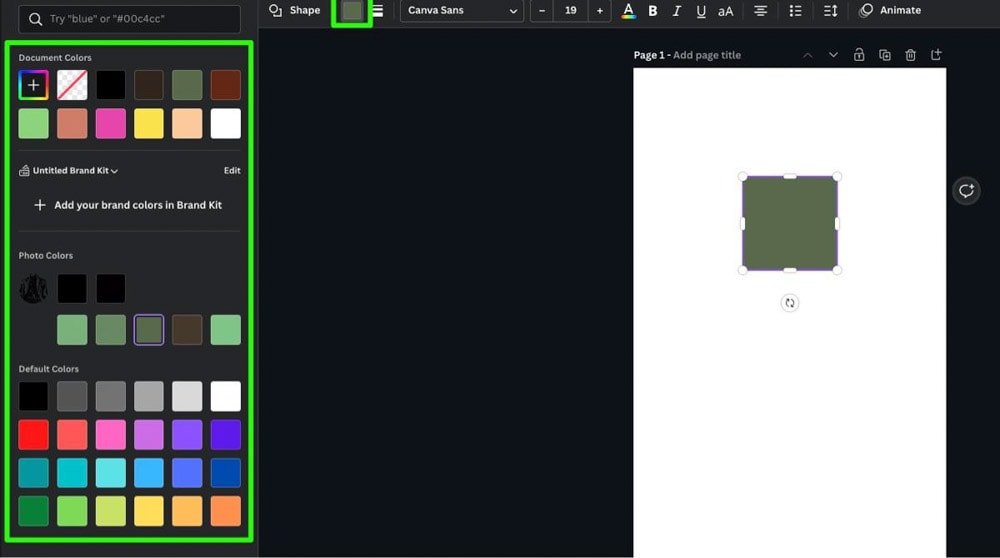
In the color panel, you have multiple ways to find the perfect color:
- You can find the perfect color with the search bar at the top of the color picker screen. Type in the name of the color you’re looking for, and it will pop up.
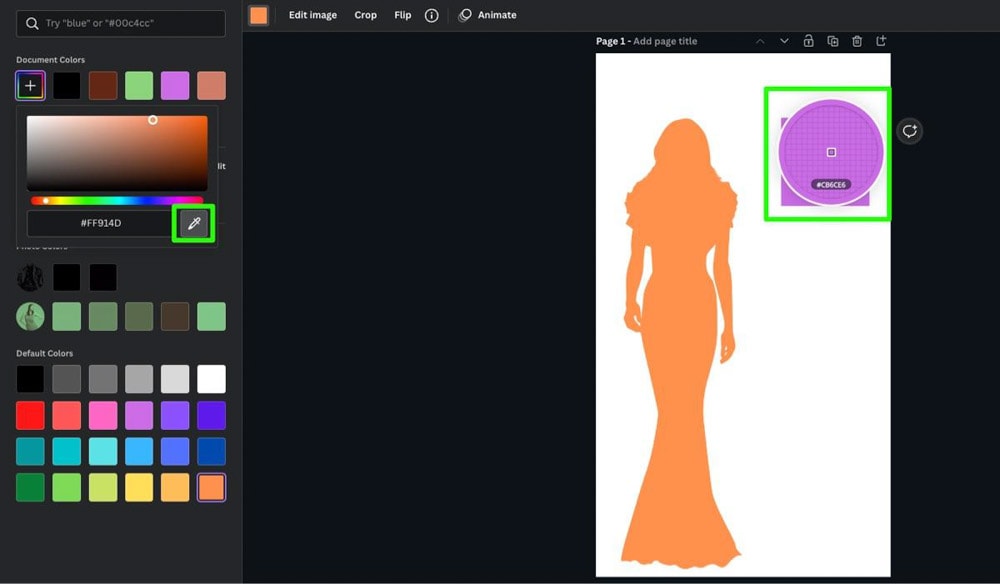
- If you’re looking for a more specific color and tone, click the Add A New Color button. This will open a color spectrum where you can choose the exact color you need.
- If you know the hex code of the color you need, you can input it in the Hex Code box.
- Finally, you can use the Eyedropper tool to change your element’s color to the color of another element or image in your design.
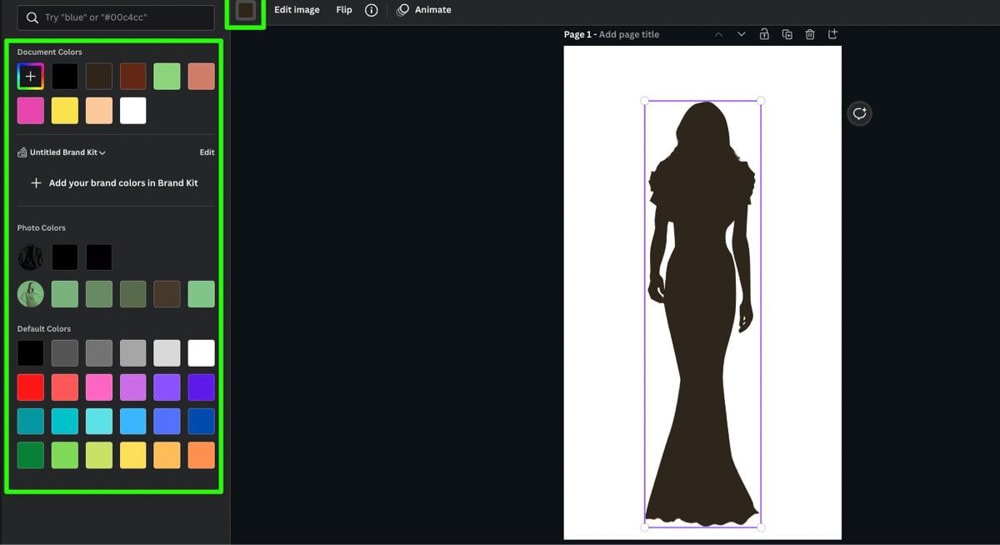
Using Multiple Color Pickers
While browsing through elements, you may come across some with multiple color pickers. The same basic concepts work when changing the color of an image with numerous color pickers.
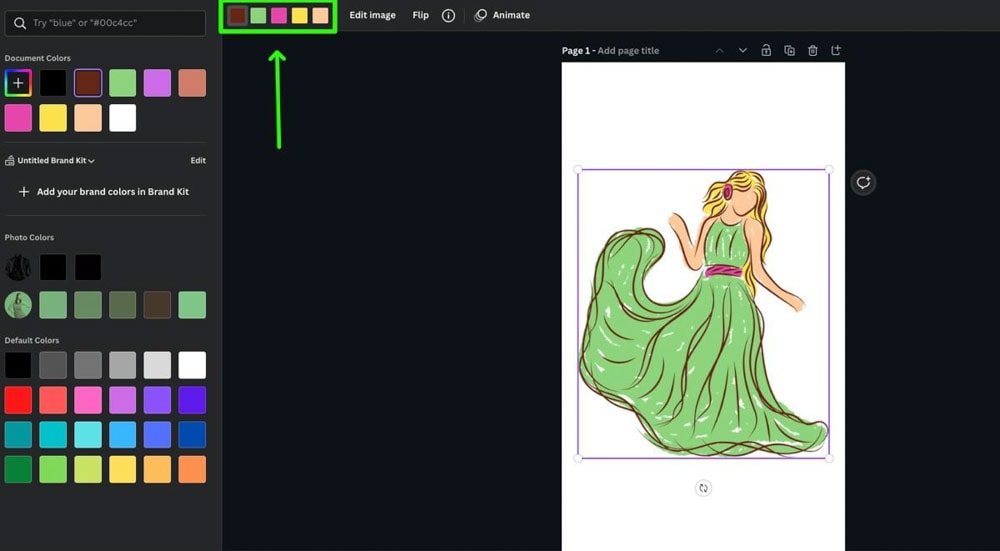
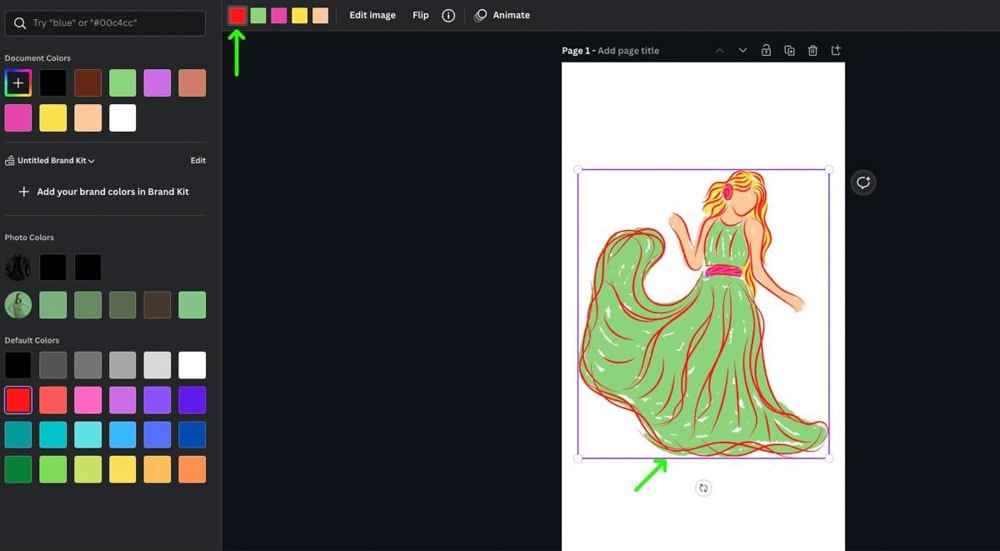
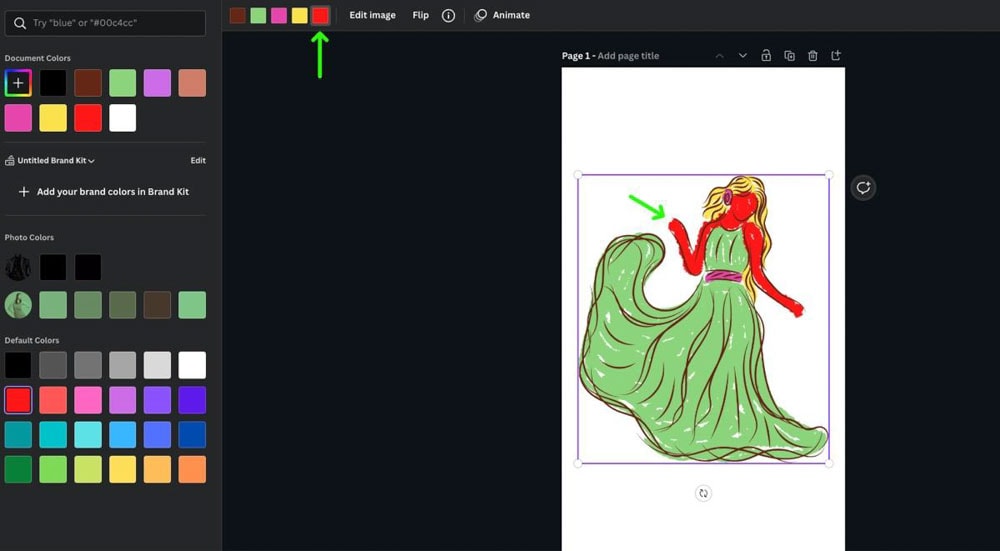
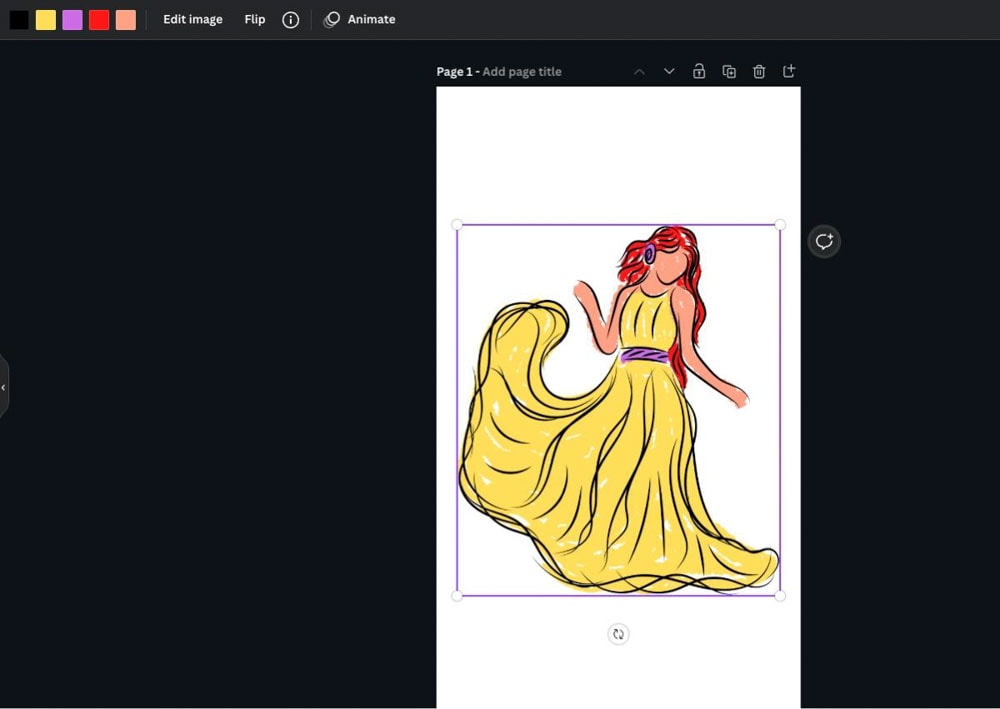
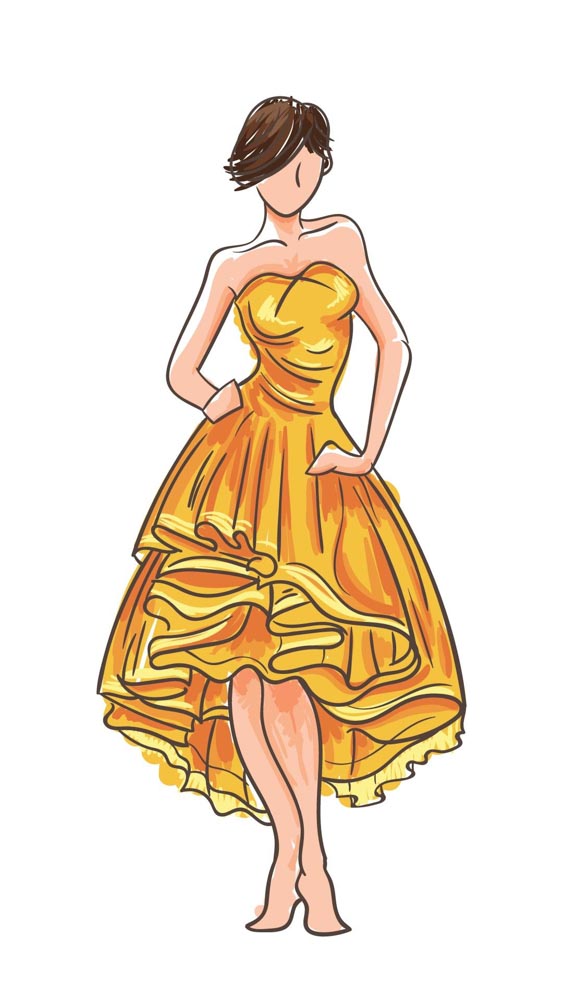
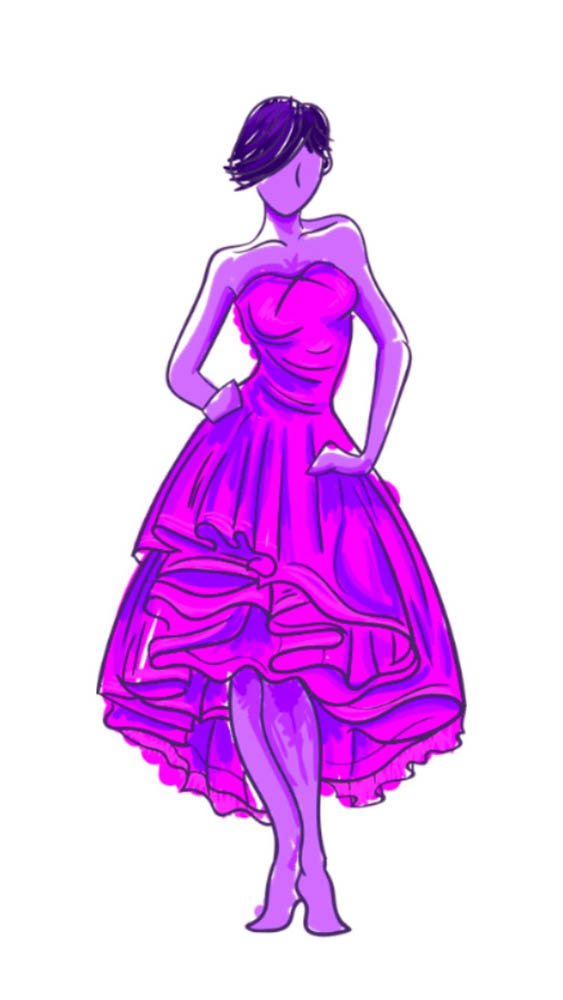
The biggest difference when dealing with an element, such as the example below, is figuring out which color picker is connected to which color in the element.
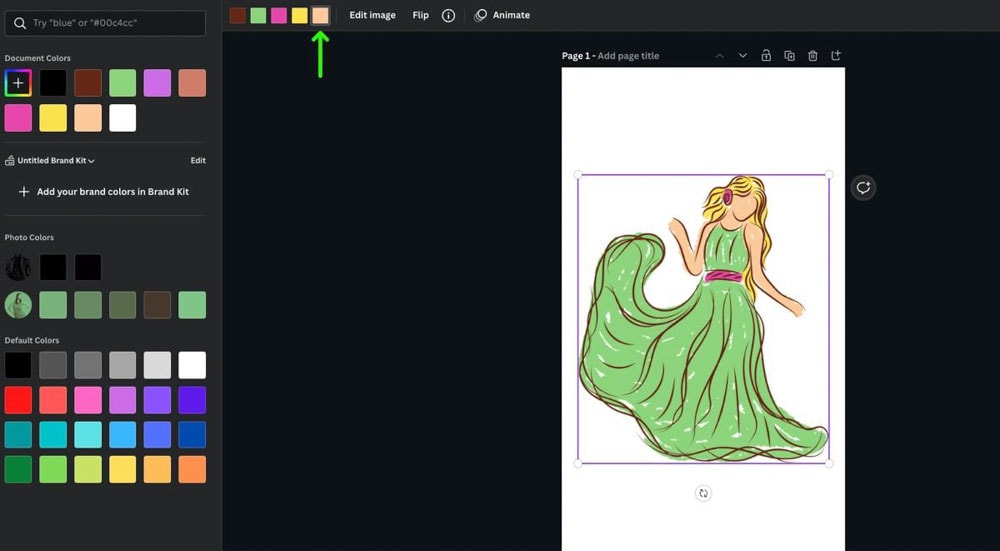
The only way to figure this out is to change the color of each color picker and see what part of the element changes. You can then undo the change by pressing Control + Z (Win) or Command + Z (Mac).
For the example below:
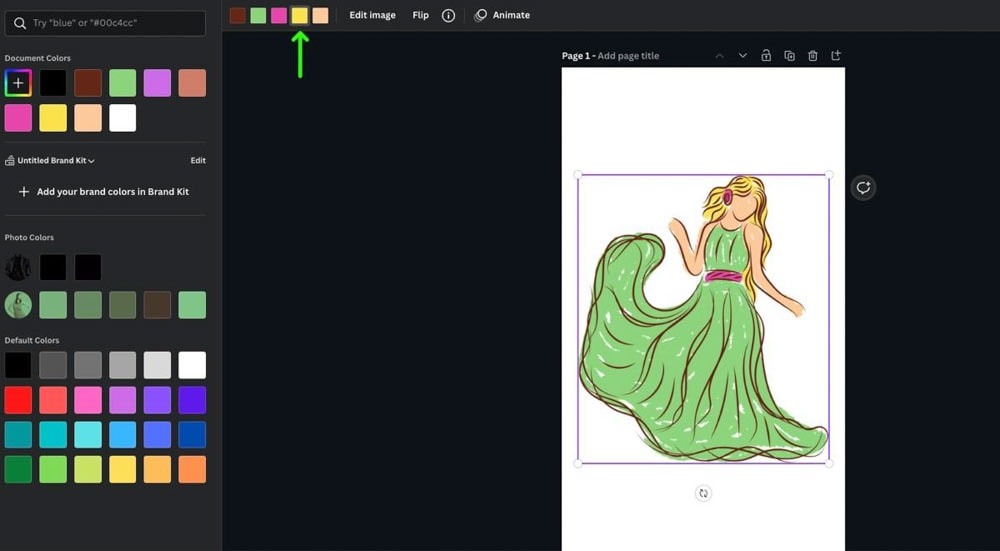
The first color picker controls the outline.

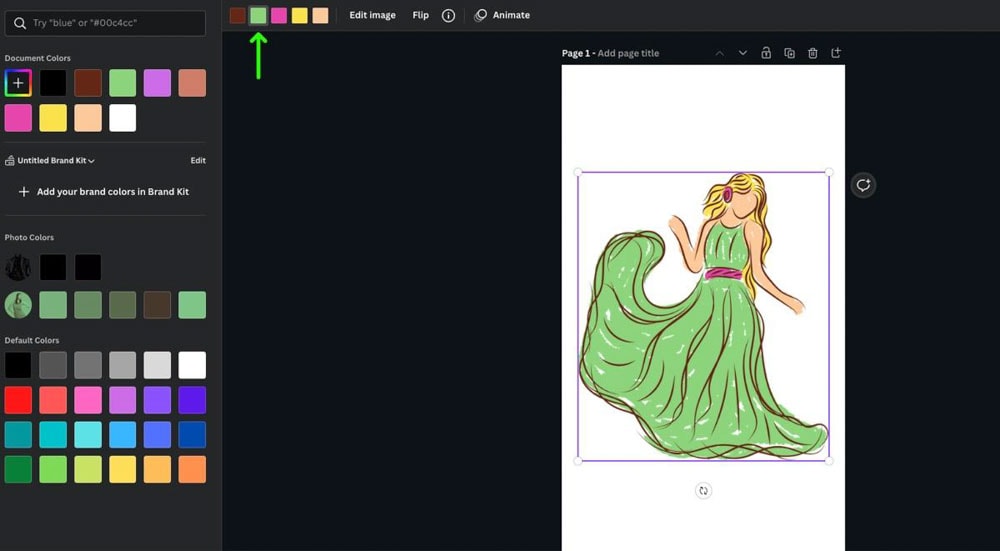
The second color picker controls the dress itself.

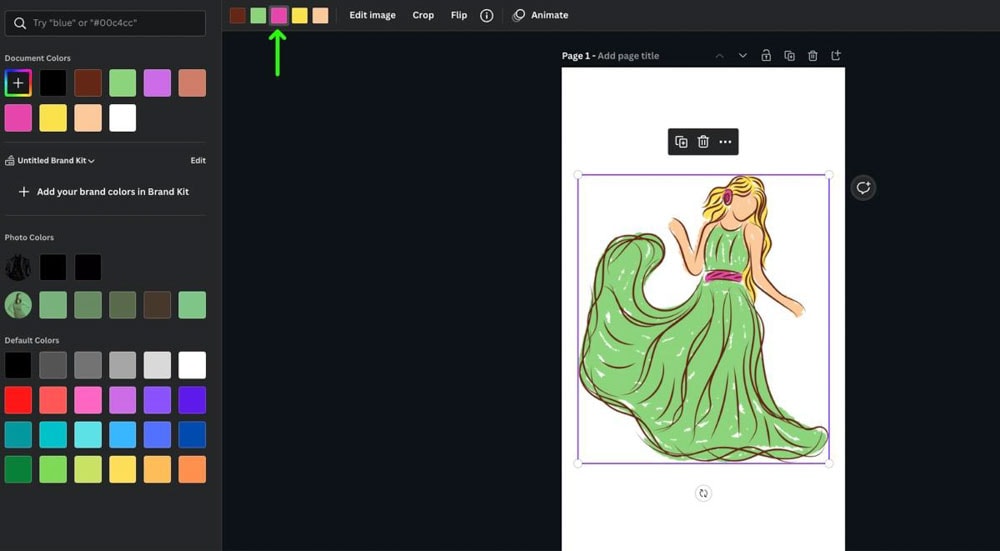
The third color picker controls the belt and the flower.
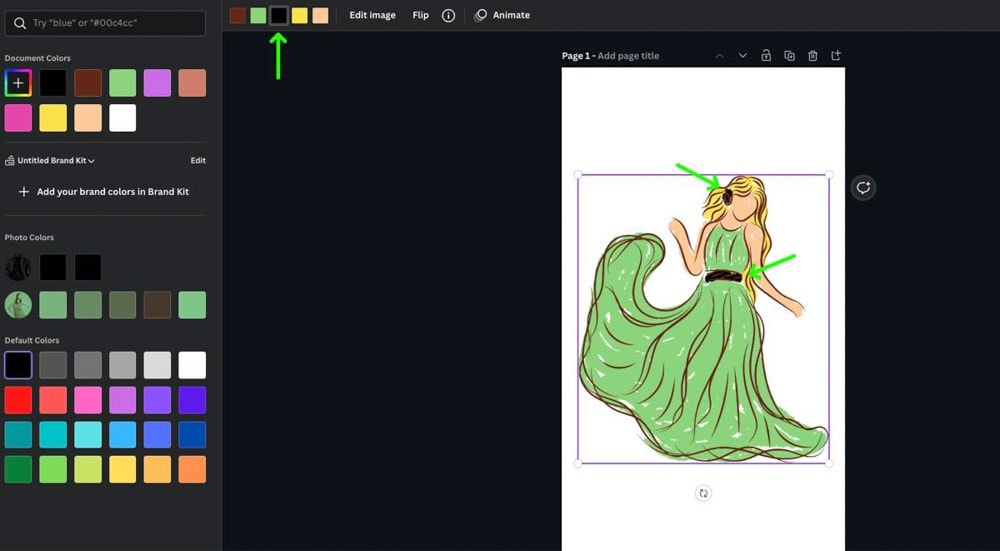
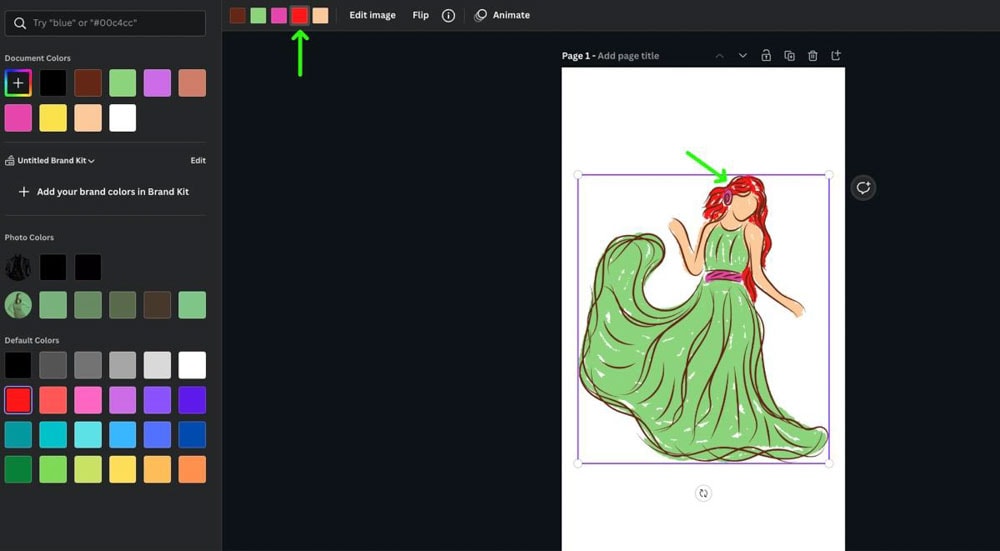
The fourth color picker controls the hair.
The last color picker controls the skin.
With enough practice, you can quickly change all of the colors of your element.
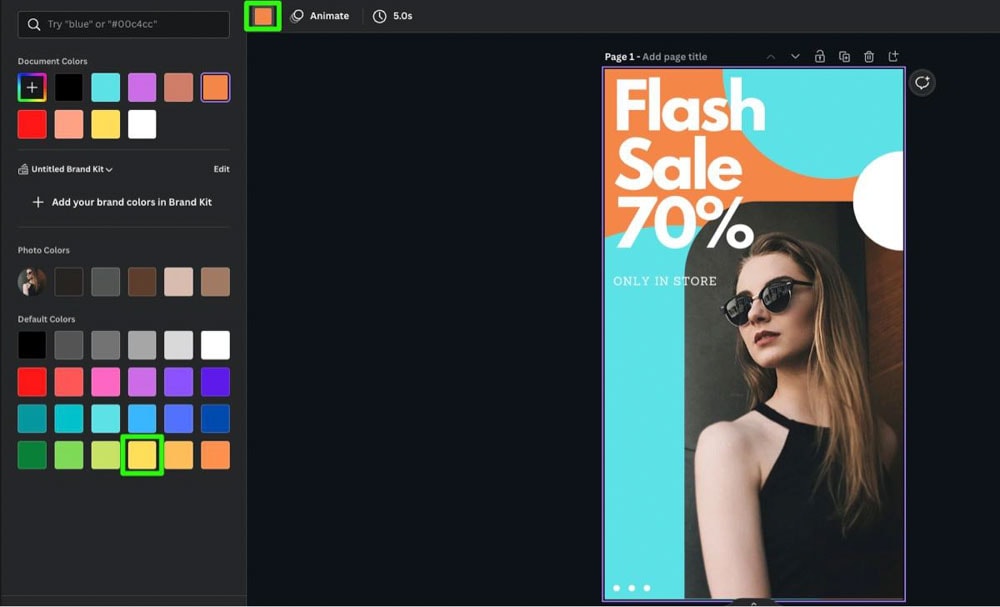
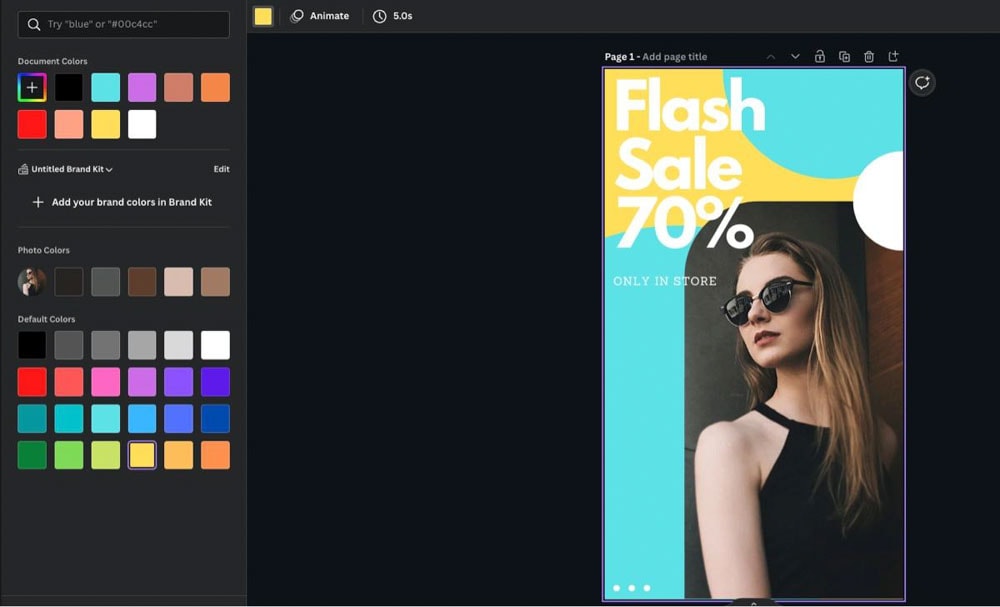
How To Change The Color Of Templates In Canva
If you’re trying to change the color of a template you find in Canva, you won’t be able to change the color of the entire template. You will have to change the color of each element separately.
You can change each element one at a time or select multiple elements by holding down the Shift Key as you select them.
The color picker will also reflect your multiple selections.
Select as many elements as you need to, then change the color like normal.

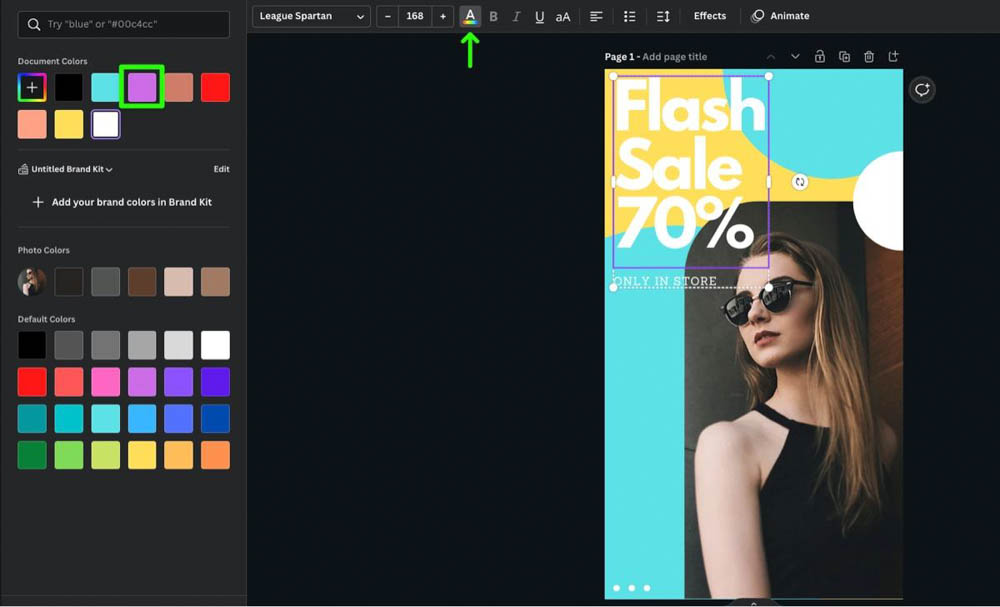
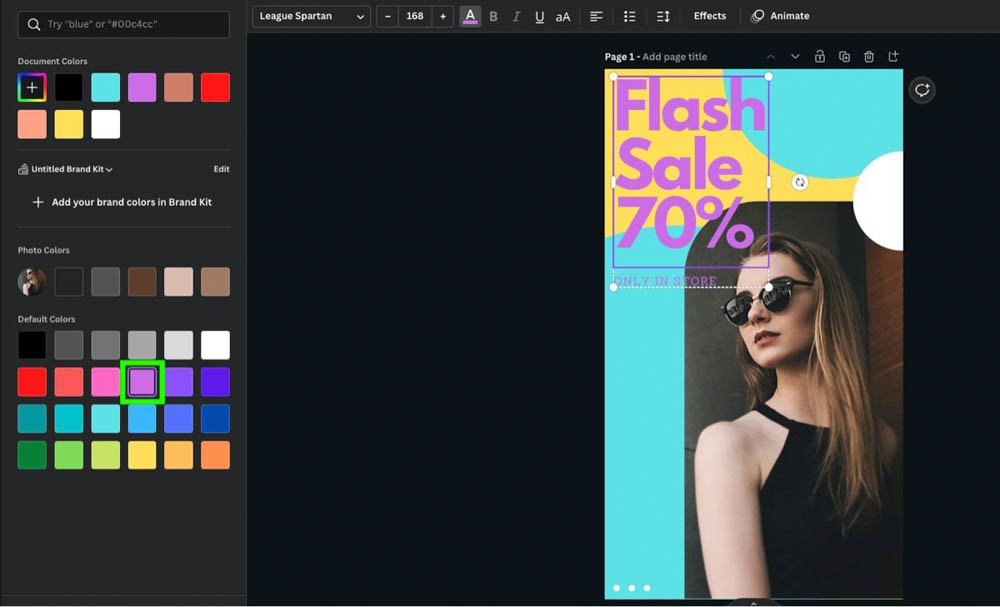
To change the color of any text you’ve added, whether it’s normal, curved, or vertical text, select the text, then click on the Text Color Picker. From there, you can choose a color as you usually would.
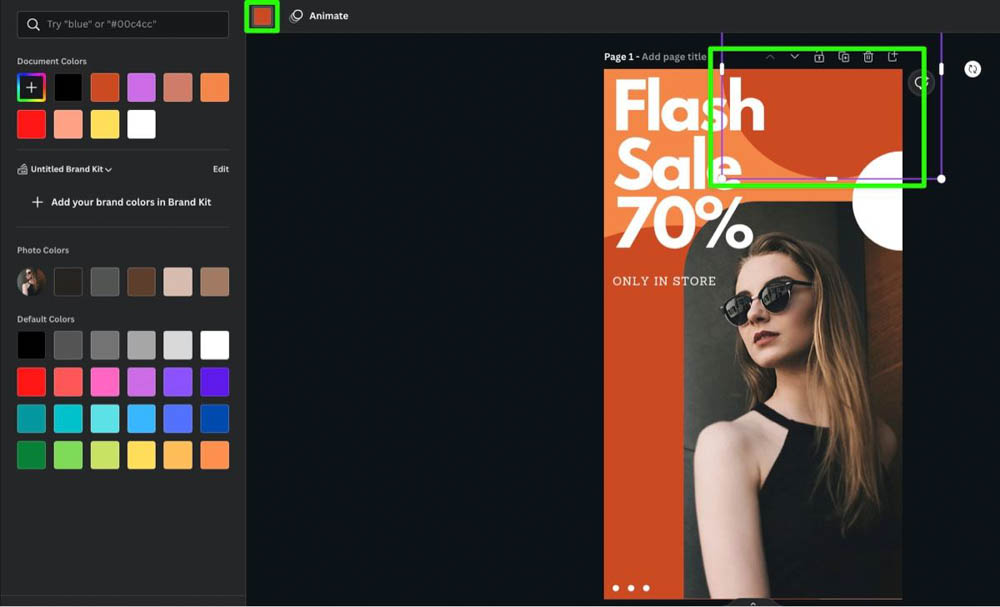
Sometimes when selecting an image, you may notice a color picker available, as if the image is just a regular element.
If you try to change the image’s color with this color picker, the entire image will be a solid color.
This is because some templates use frames and not just images. Using that Color Picker changes the color of the frame, not the image itself.
To change the colors of the image, select the image/frame, then click on Edit Image.
From there, you can edit the colors of the image as usual.
Why Can’t I Change The Color Of An Element In Canva?
Most elements in Canva will have a color picker, but some elements in Canva won’t. This often happens with images and animated files, but sometimes with graphics.

In these cases, you can treat the element like an image and use the Edit Image option to change the color.
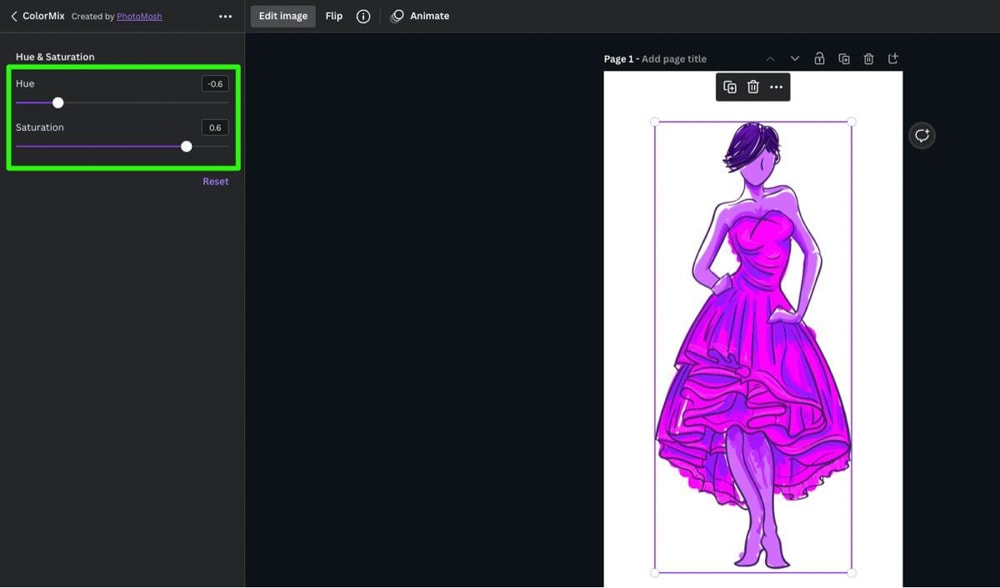
Another great way to quickly change the color of one of these elements is using the Color Mix filter.
You can find the Color Mix option by selecting your element, then clicking Edit Image. Scroll down until you find Color Mix. Click on See All.

You can now choose any of the Color Mix templates to change your element’s color. Click on your chosen template again, and you can adjust the Hue and the Saturation.

So although not quite as powerful as something like Photoshop for changing the colors in a photo, Canva still does a decent job and is super user-friendly. Now with these color-changing skills in your back pocket, you can take advantage of totally customized elements and templates in your future Canva designs!


