

If you need your Facebook profile to stand out from the crowd, one of the best ways to do so is to add an eye-catching Frame to your profile picture. Thankfully, it’s easy to create a Facebook frame in Canva.
Creating a frame for your Facebook profile picture differs today from a few years ago. This guide will walk you through how to navigate this new process and make the effect of a Facebook frame itself. By the end of this guide, you’ll know how to create, download, and upload your new profile picture to Facebook.
How To Make A Facebook Frame In Canva
There was a time when Facebook would allow you to create a separate frame from your profile photo. With the frame separate from the image, changing your profile picture and using the same frame was easier.
Unfortunately, Facebook does not allow you to do this anymore unless you create a frame for an approved organization.
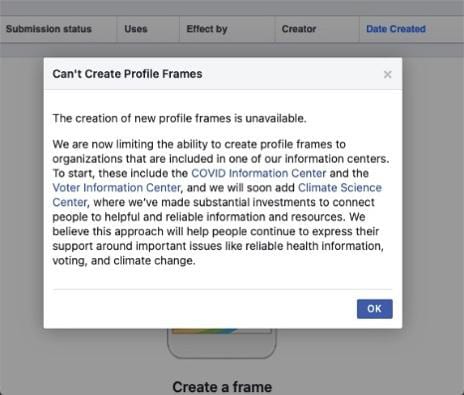
There has yet to be an official timetable for when or if Facebook will allow you to create an official frame for your profile picture again.
You can easily use Canva to create a Facebook profile picture with a frame built around it to get around this.
In the next thirteen steps, you’ll learn how to create a framed Facebook picture and quickly switch out your photos, much like a traditional Facebook frame.
Step 1: Set Up Your Canvas
Before making your Facebook profile frame, you must set up your canvas. Canva lets you do this in two ways: creating a canvas from scratch or using a Facebook frame template.
Creating A Brand New Canvas
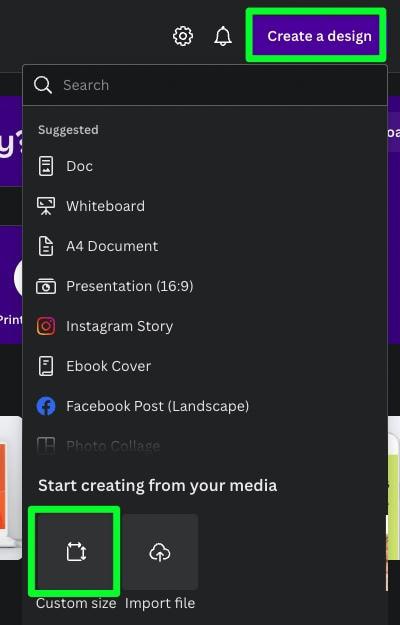
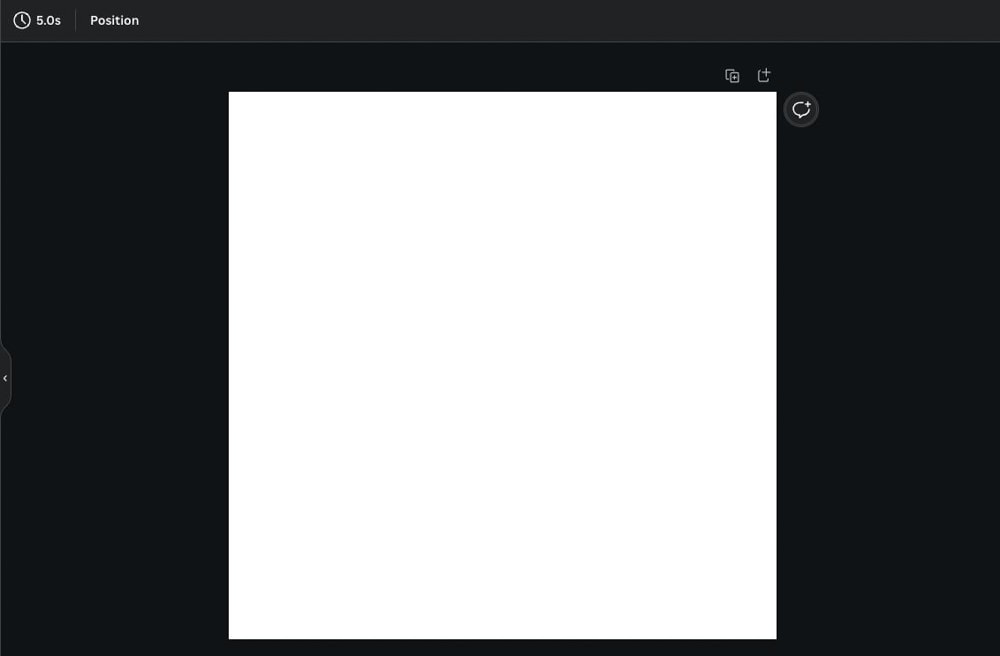
If you prefer to work with a blank canvas, first click on Create A Design, then select Custom Size.
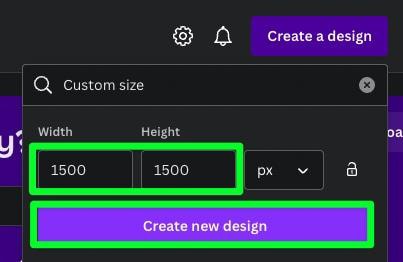
In the properties panel that pops up, enter 1500 in the Width box and 1500 in the Height box. Make sure px is selected as well.
When ready, click Create New Design.
A blank canvas will open in a new tab, perfect for your Facebook profile frame.
Using A Facebook Frame Template
If you don’t feel like inputting your own dimensions for the canvas, you can use a pre-made Facebook frame.
To start, search for “Facebook frame” on the Canva homepage. You’ll be presented with a long list of pre-made Facebook frame templates that you can choose from.

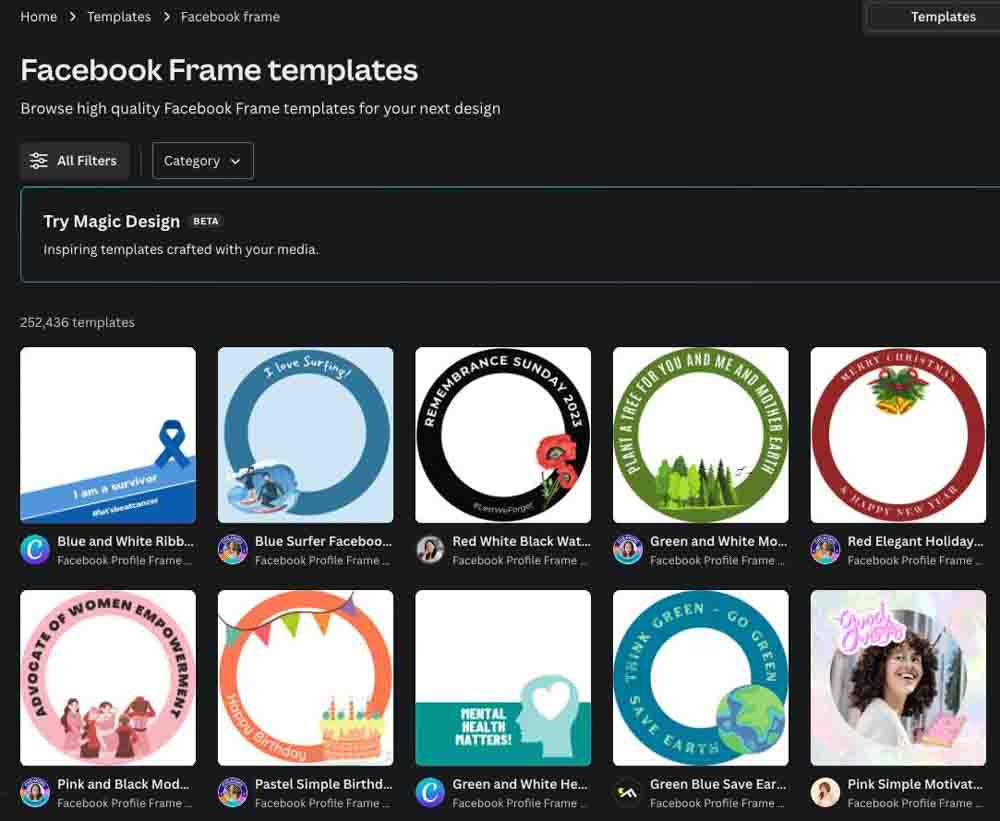
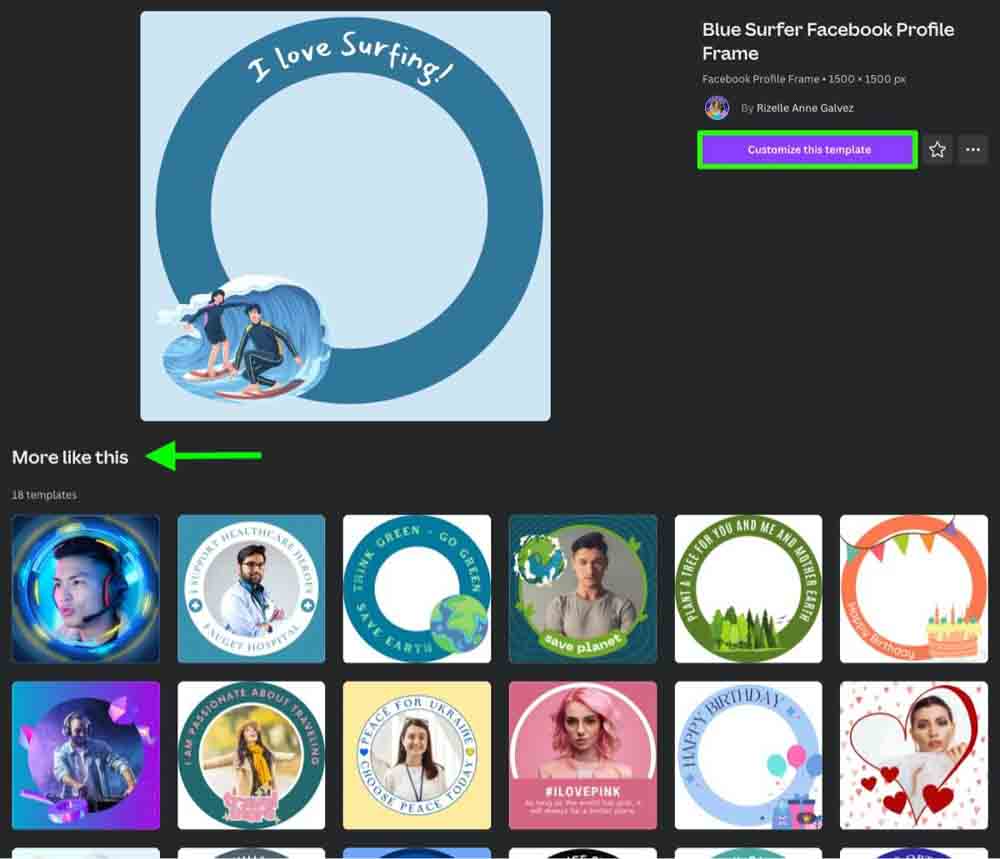
Once you find a template you want to use, click on it to see more information.
If you want to browse similar templates, scroll down the More Like This section below your chosen template. Remember to avoid any template with a gold crown in the corner unless you are a Canva Pro user.
When you’re ready, click Customize This Template, and your template will open in a separate tab.
Step 2: Delete Any Unwanted Elements
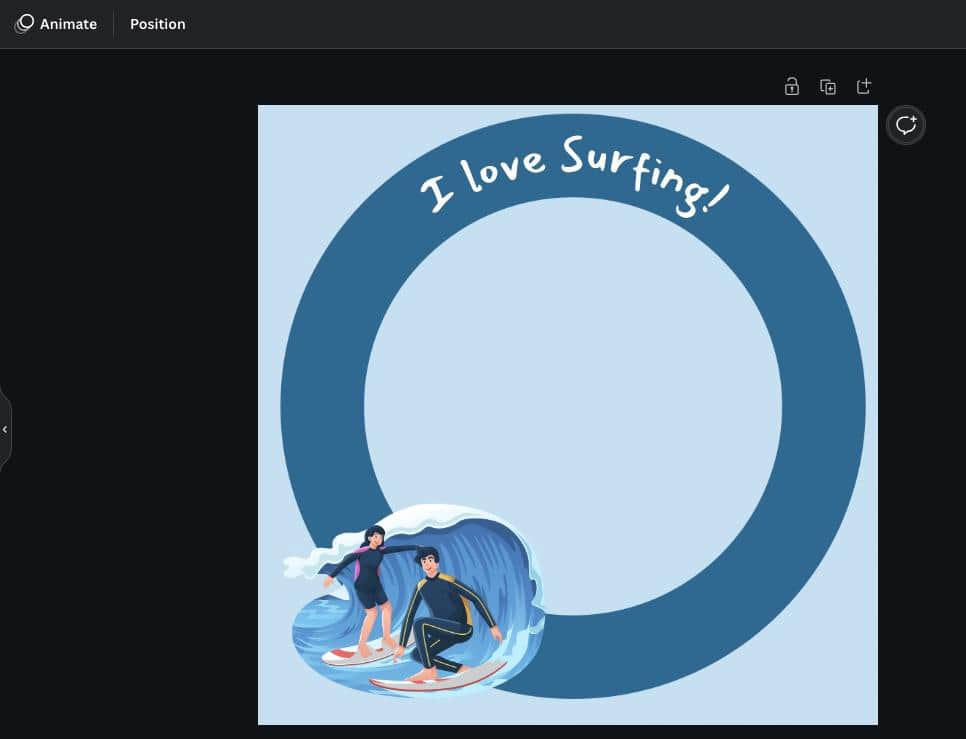
Chances are your chosen template will have elements that don’t fit the theme you’re going for.
To remove any unwanted elements from your template, select the element, then press Delete.
You can leave any text on the template alone for now. Editing text will be covered in the next step.
Step 3: Add Or Replace Text
To edit the text on your template, double-click the text, then type your message to replace the old one.
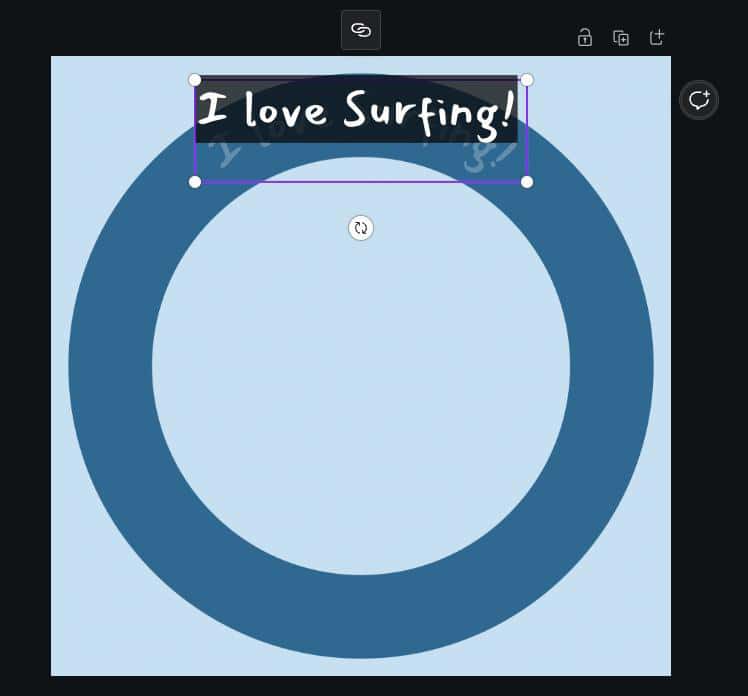


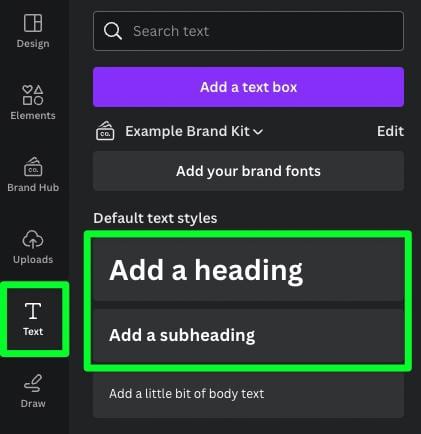
To add more text to your Facebook frame, click Text in the left side panel to open your text options. Your final picture will be small, so it’s a good idea to use a larger text size to make it easier to see.
Your two best options are Add A Heading or Add A Subheading. Click either one of these options to add a text box to your canvas.
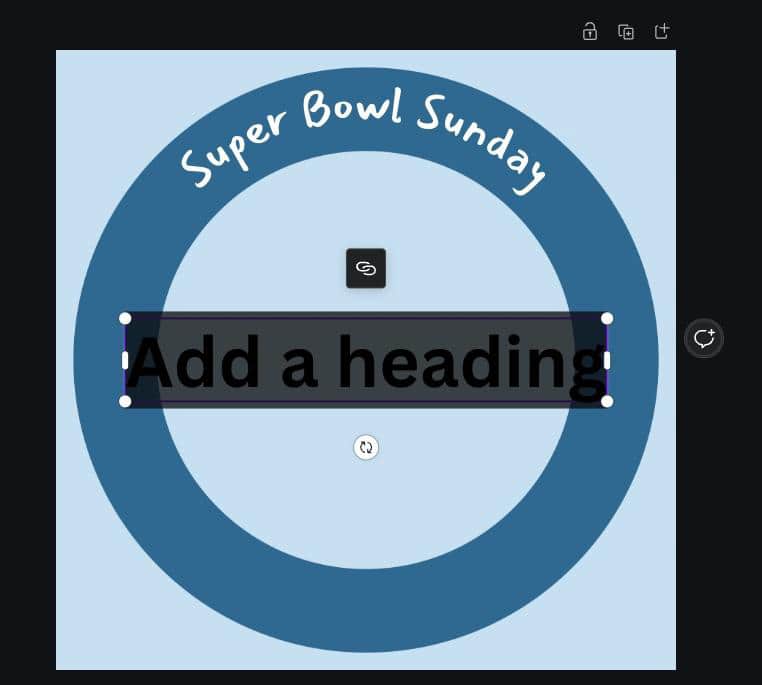
Once your new text box is on your canvas, you can then add your new text and place the text box where you need it.
Don’t worry too much about how the text looks so far. This will be covered in a future step.

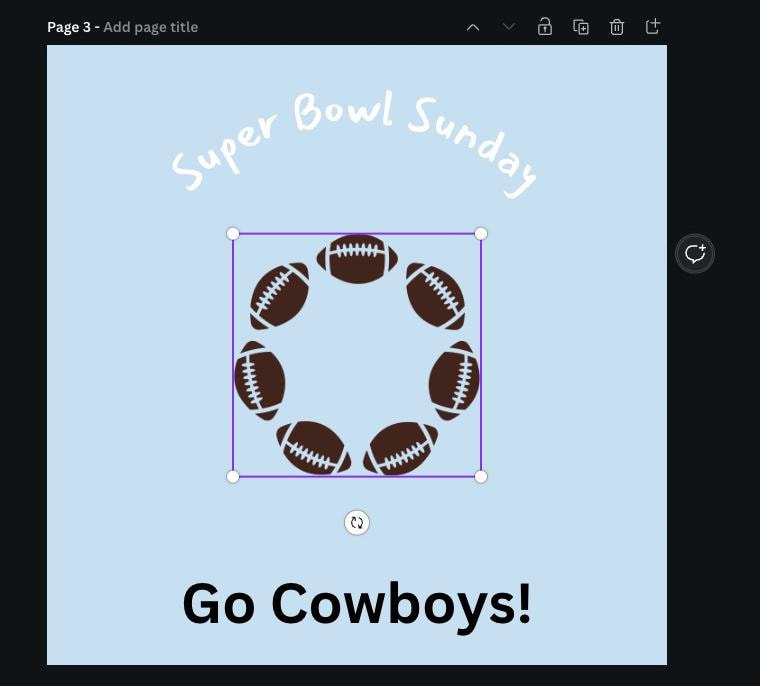
Step 4: Add The Elements That Fit Your Theme
To find elements that fit the theme you’re looking for, select Elements in the left side panel, then type the theme you’re looking for. Scroll down to the Graphics section, then click on See All.
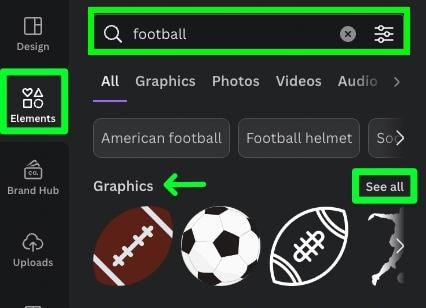
Clicking See All will present all of the graphics available in Canva for your theme.
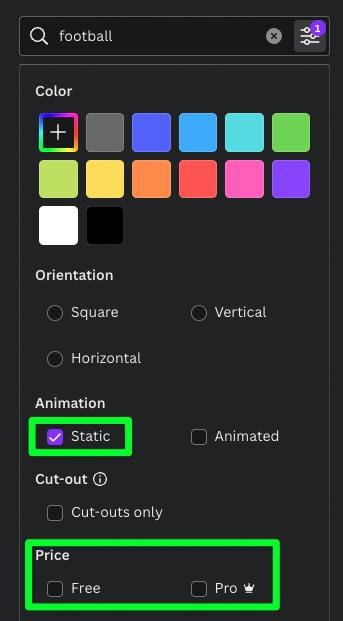
Not every graphic will fit your desired search. To help clear out some less desirable graphics, click the Options Icon to the right of the search bar.
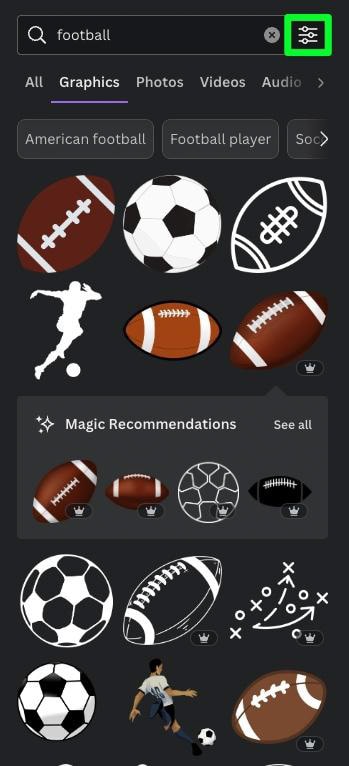
When the options open up, click the Static check box to avoid the animated graphics that won’t work with your current project.
Also, if you’re a free Canva user, click the Free check box. If you’re a paid user, you can leave this option alone or click on the Pro check box to only see graphics for pro members.
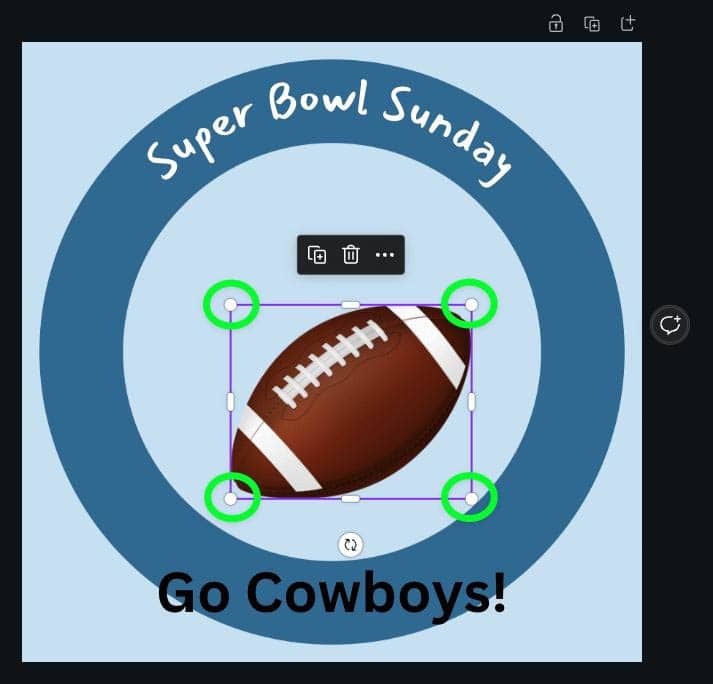
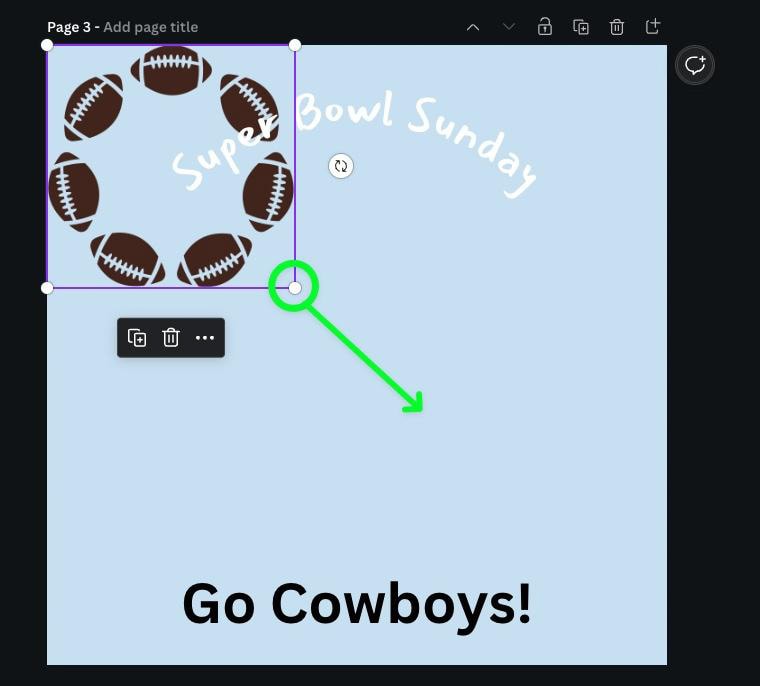
After adding a graphic to your canvas, you can resize it by selecting the graphic, then dragging one of the corner handles to shrink it.
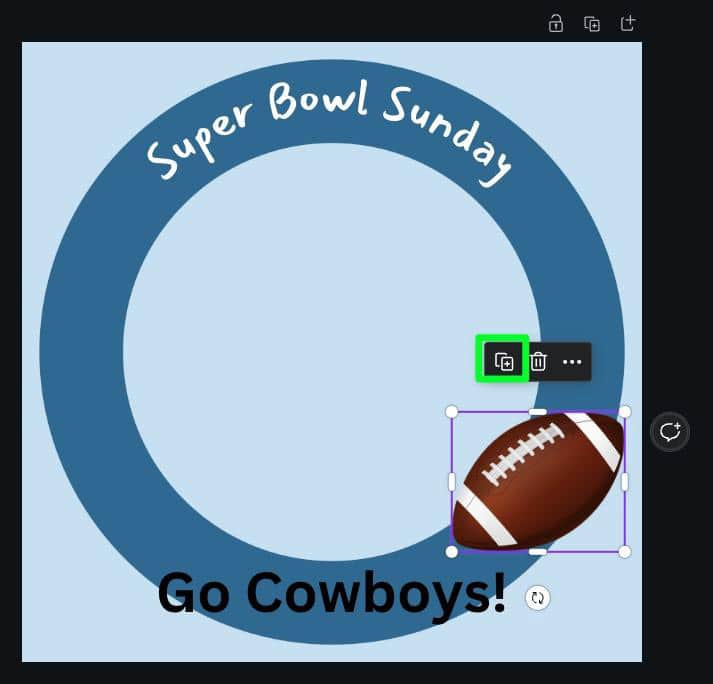
Once you place your first graphic where you need it, you can easily duplicate it by selecting the graphic, then clicking the Duplicate button in the Mini Options Bar.
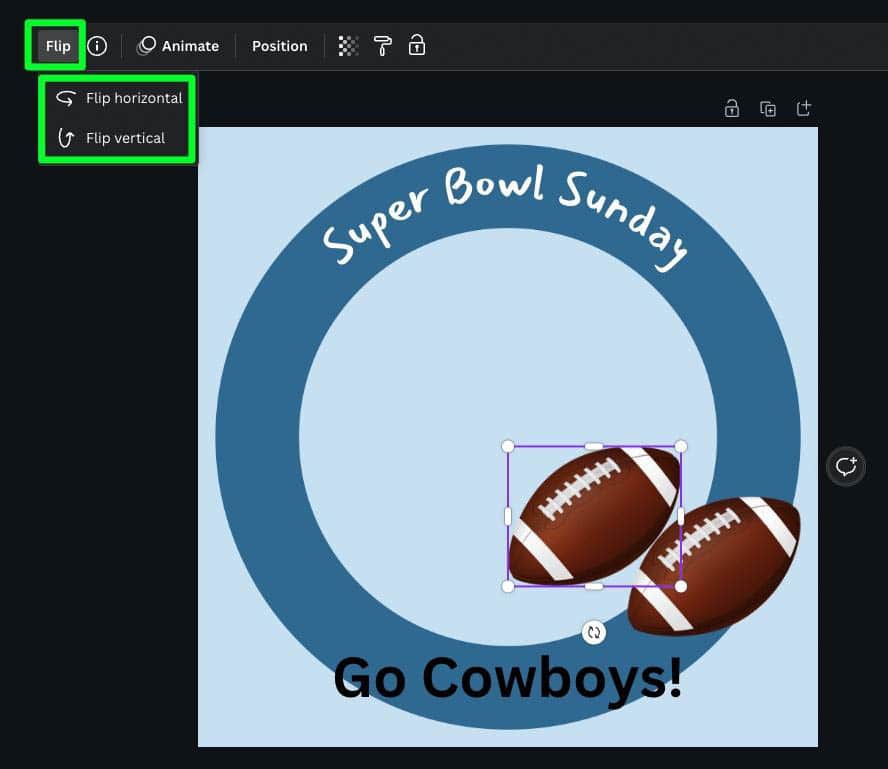
If you need to flip your duplicated graphic, you can do so by selecting the illustration, then clicking the Flip button in the Options Bar above the canvas, then choosing either Flip Horizontal or Flip Vertical.
You can then move your duplicated copy where you need it in your project.

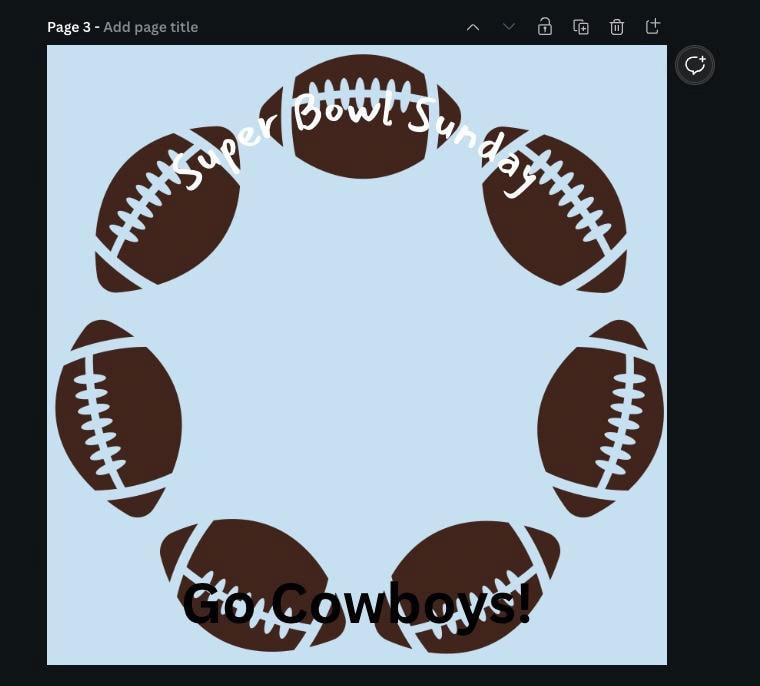
Repeat this process as many times as needed to add as many graphics to your frame as needed.

How To Search For A Prebuilt Frame
Your other option when adding graphics to your Facebook profile picture frame is to add a pre-built frame.
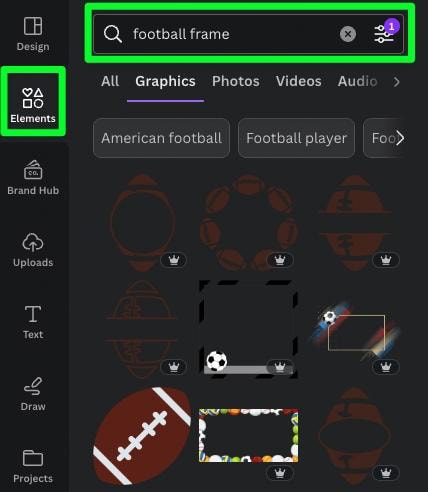
To find a pre-built frame that fits your theme, select Elements, then type your theme in the search bar, followed by “frame.”
You will be presented with larger graphics that will fit your entire canvas. Click the one that works the best for your project.
With your themed Facebook frame on your canvas, you can stretch it to fit your entire canvas. Line the graphic up in one of the corners of the canvas, then use the opposite corner handle to stretch the graphic across the canvas.
You likely won’t be able to use as many graphics and shapes when using a pre-built frame. Also, you may have to move your text around to make your design flow better.

After you set up your pre-built Facebook frame, you can still follow along with the rest of the steps as usual.
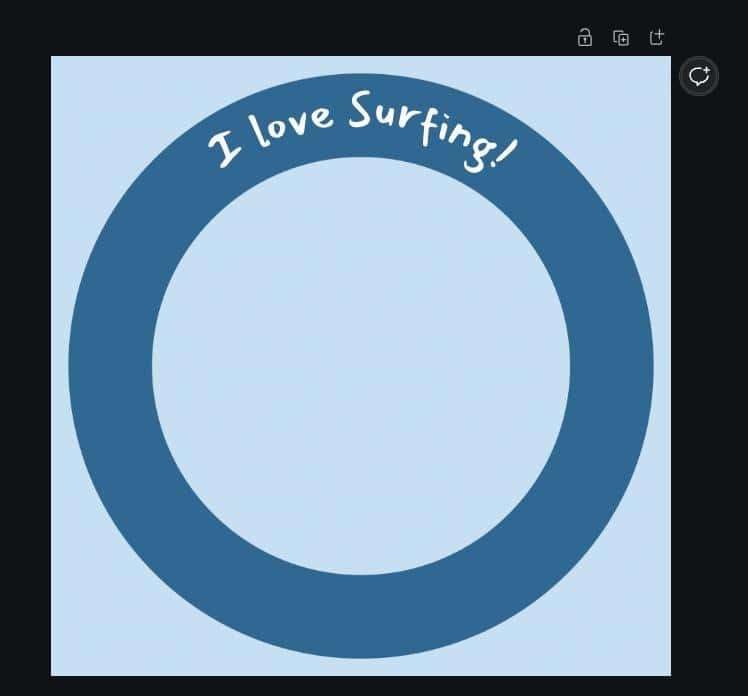
Step 5: Add A Photo Frame To The Canvas
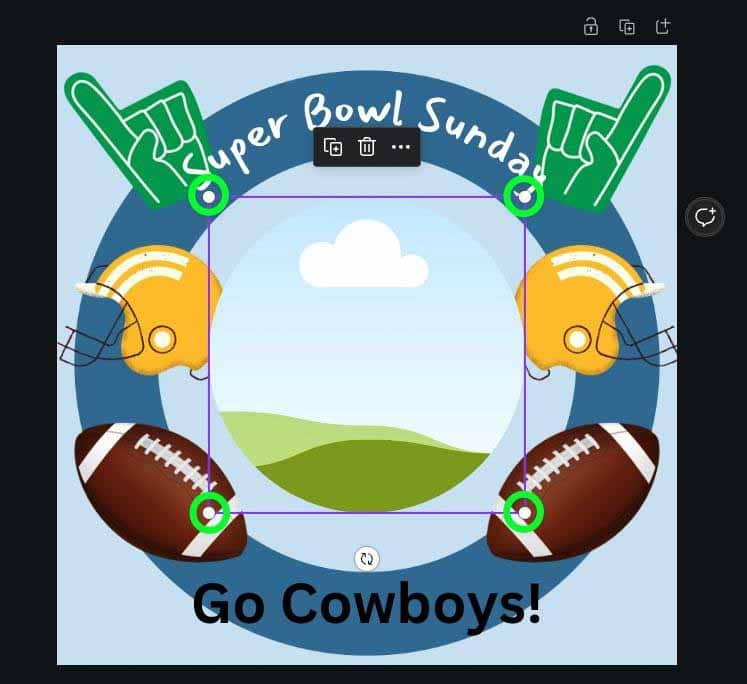
One of the most convenient elements in Canva is the Frames function. This is a different type of frame than the Facebook frame you’re creating now.
A Frame in Canva is an easy way to add an image to your project, often in a unique shape. Adding a Frame to your Facebook profile picture will make it easier to switch out the photo you want to use later.
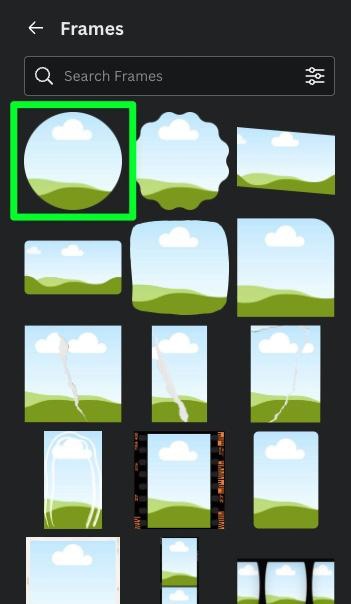
To add a Frame to your project, click Elements, then scroll down to the Frames section in the Side Panel. Select See All to browse all of your options.
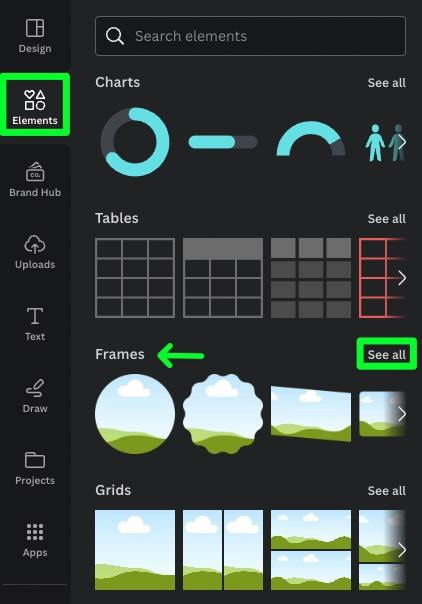
Click the Frame that works the best for your project to add it to your canvas.
With the Frame on your canvas, you can resize it easily by selecting it, then dragging the corner handles. Line the Frame up with the rest of your elements, but don’t send it backward. Make sure the Frame remains in the front for the next step.

Step 6: Add Your Image To The Frame
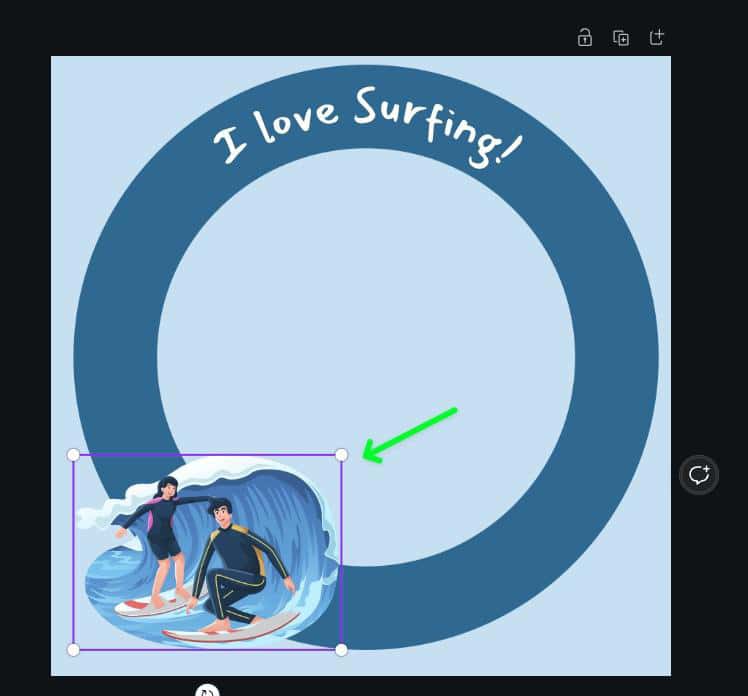
Now it’s time to turn the Frame you added into a photo. First, if you haven’t yet, you can upload your photo into Canva by clicking Uploads, then selecting Upload Files. You will be directed to find your image on your hard drive. The picture you uploaded will be found in the Uploads section.
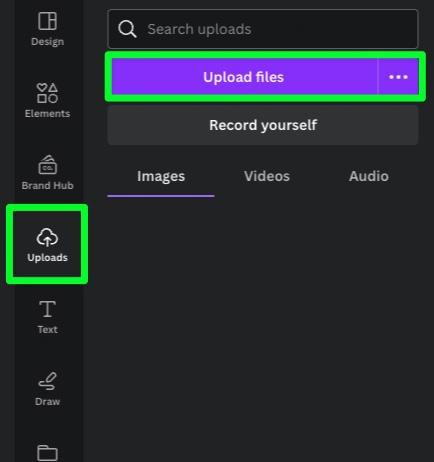
Once your image is uploaded, simply drag it from the Uploads section directly on top of the Frame itself.

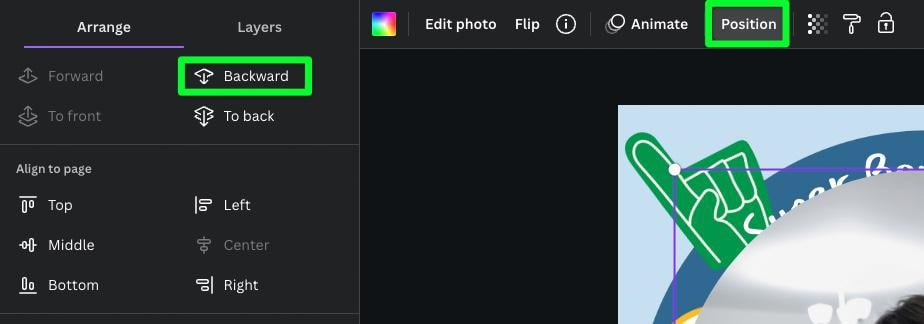
Step 7: Send Your Photo Backward
Now that you have your personal photo on the canvas, you must send the image behind the rest of the elements.
To do this, select the photo, then click the Position button in the Options Bar. In the Side Bar, click the Backward button as many times as needed to send the picture behind the elements that you want the photo to be behind.
Alternatively, you can select the photo, then press Control + [ (Win) or Command + [ (Mac) as many times as needed.

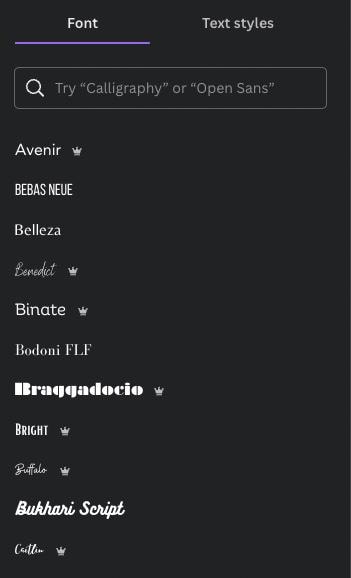
Step 8: Change The Font Of Your Text
Now that all your main elements are laid out, you can start perfecting them. To change the font of your text, select the text, then click the Font Drop-Down Menu above the canvas. In the Side Panel, you can choose from the list of fonts that pop up. You can also add more fonts to Canva.
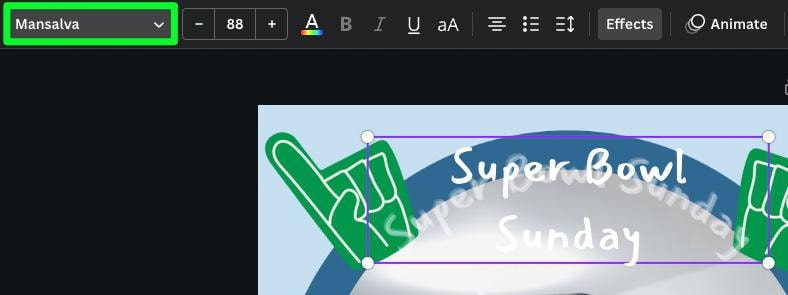

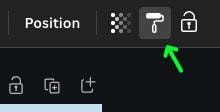
Once you change the font of one text block, you can quickly copy and paste the font and style of that text block to another. To do this, select the first text box, then click the Copy Style button above the canvas.
You’ll know that the style of the text has been copied when the paintbrush icon looks filled with paint.
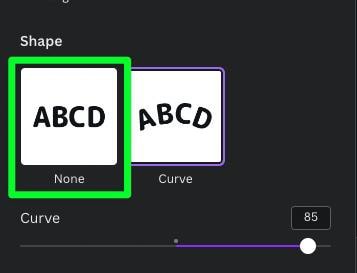
Once the style is copied, click once on the next text block. If the next text block appears curved, this will be fixed in the next step.


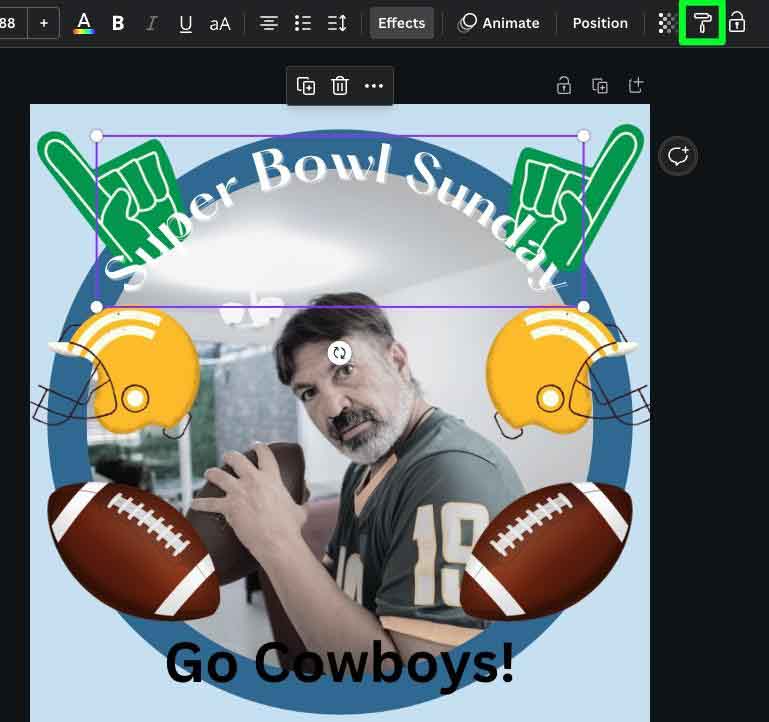
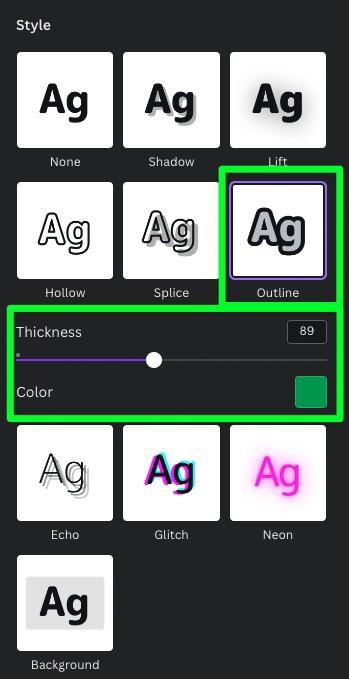
Step 9: Add Effects To Your Text
With so many different elements on your canvas, you may have to add effects to make the text pop off the elements better, such as adding a drop shadow.
To add an effect or adjust the current effect of your text, first select the text block, then click on Effects.
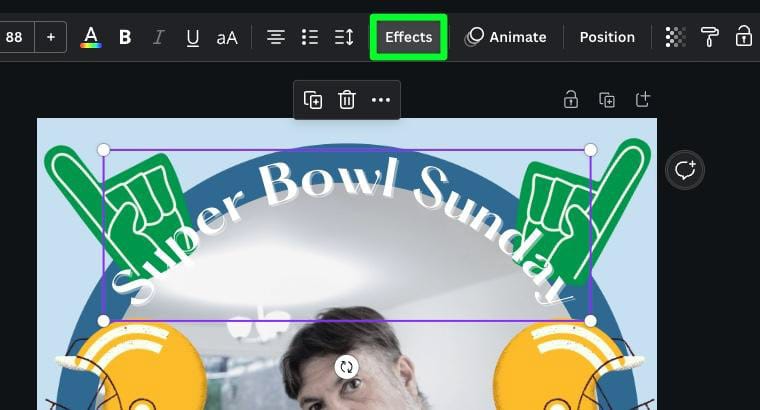
In the Side Panel, click on the effect you want to add. You can also use the options within the panel to adjust the effect.
If you need to remove the curve of your text, first select it, then click on None under the Shape section in the Side Panel.


Step 10: Change The Color Palette
To ensure your final image is consistent, you can select a color palette to ensure all the colors of your project match.
To do this, select the Design button, then scroll down to the Color Palettes section. Click See All to browse all of your options.
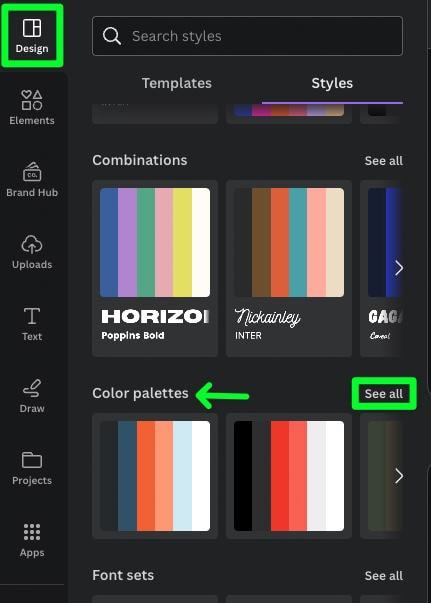
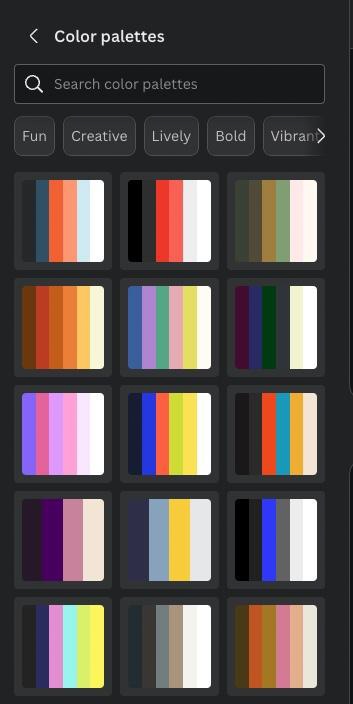
From here, you can click on as many of the color palettes as needed to find the perfect color scheme.

Step 11: Make Any Final Edits
Before downloading your project, double-check what you have so far and make any necessary edits. This includes moving any elements, adjusting colors, or editing text.

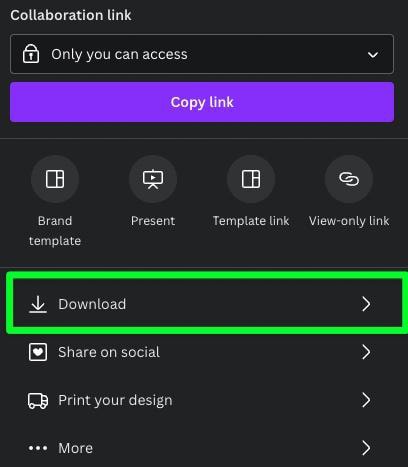
Step 12: Download Your Facebook Profile Picture
Once you’re ready to download your final picture, you can save and export it. To do this, click the big Share button in the top right corner of the screen. Then, in the menu that drops below, click Download.

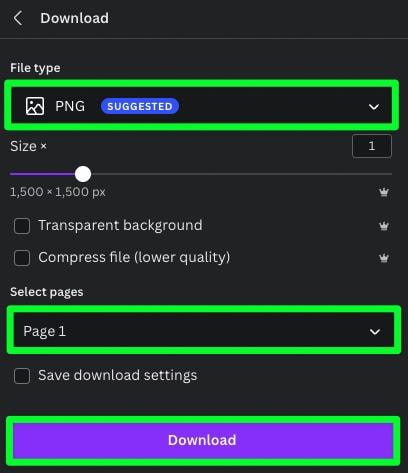
In the Download Options Menu, ensure that PNG is selected under File Type and that the correct page is selected under Select Pages.
When ready, click Download to download the image to your computer.
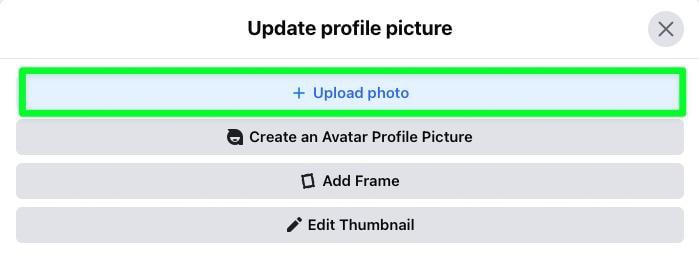
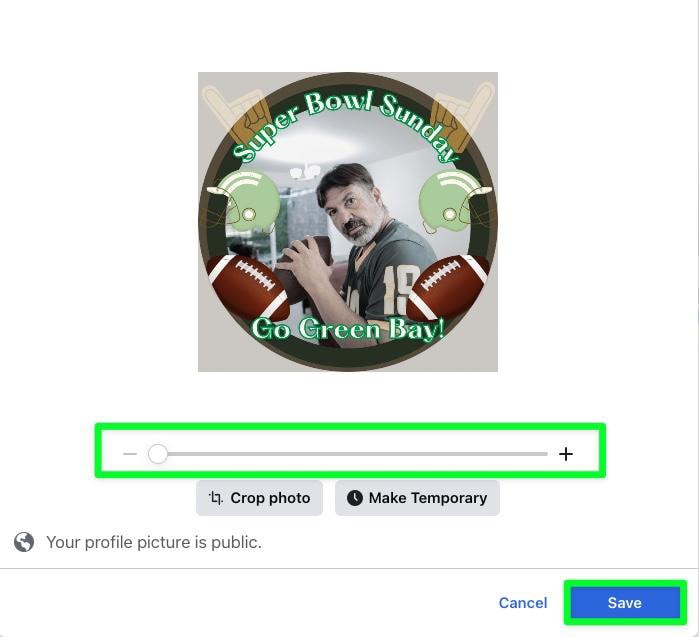
Step 13: Upload Your New Profile Picture To Facebook
After signing into your Facebook page, click the Photo icon in the corner of your profile picture. In the menu that pops up, click Upload Photo. Choose the image you just made from your hard drive.

Before finalizing your decision, you’ll have the opportunity to zoom into your image, but you shouldn’t have to.
When you’re ready, click Save to change your profile picture officially.

So although it’s not like the good old days when you could create a frame separate from your profile photo, this workaround still gets you a similar result, all inside of Canva!
Happy editing!
