

When editing photos, you may want to batch edit your images in Lightroom, then export a few over to Photoshop for more specialized edits, and then move them back to Lightroom to finish up and save the batch together. Luckily, it’s easy to export from Photoshop to Lightroom and back with this simple process.
To export a photo from Photoshop to Lightroom, go to File > Save A Copy in Photoshop. Save your image as a TIFF file and set the export location to a folder that is already imported in Lightroom. In Lightroom, click Import and select the folder that you exported the file to bring it into Lightroom.
Let’s get more in-depth with this technique!
How To Export Files From Lightroom To Photoshop
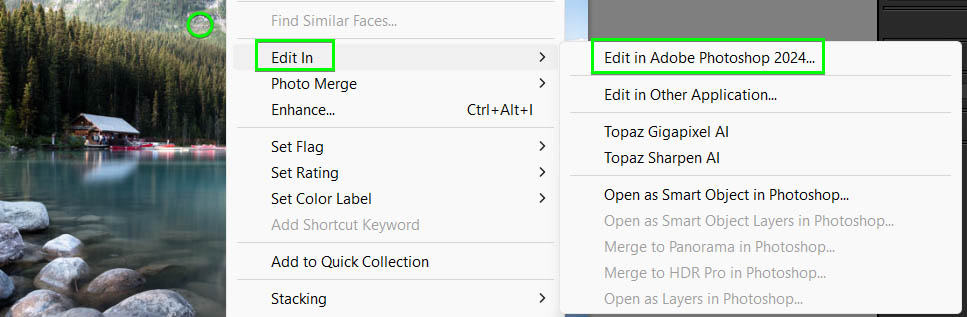
Step 1: Right-Click And Select “Edit In Photoshop”
Right-click on the image and then click Edit in Photoshop. You don’t need to have Photoshop open to work.
Note: You can use this same process in Lightroom CC to edit the image in Photoshop.
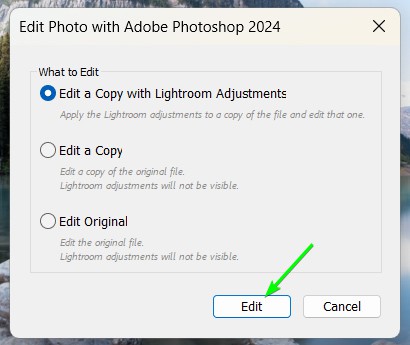
Step 2: Select “Edit A Copy With Lightroom Adjustments”
You will be asked how you want to edit the Lightroom file. You can either edit a copy with or without the Lightroom adjustments, or you can choose to edit the original. For consistency, I recommend you edit a copy with adjustments visible. Select an option and click Edit.
Note: You won’t find this option in Lightroom CC, follow the last section on how to export the file back into Lightroom from Photoshop, as the next step doesn’t apply.
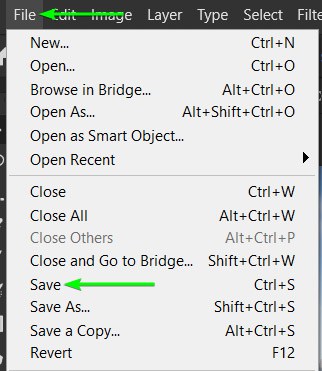
Step 3: Edit And Then Go To File > Save In Photoshop
Once you are done editing your image in Photoshop, you can quickly save it back to Lightroom by going to File > Save. This will save the changes on a copy of the Lightroom version.
How To Export From Photoshop To Lightroom Classic
Step 1: In Photoshop, Go To File > Save A Copy
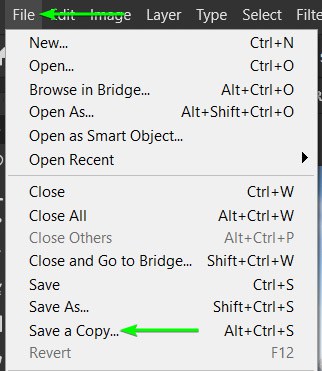
After you’ve finished working on your file in Photoshop, go to File > Save a copy, or press Alt + Control + S (Win) or Alt + Command + S (Mac).
Step 2: Select TIFF Or PSD Format To Preserve Layers
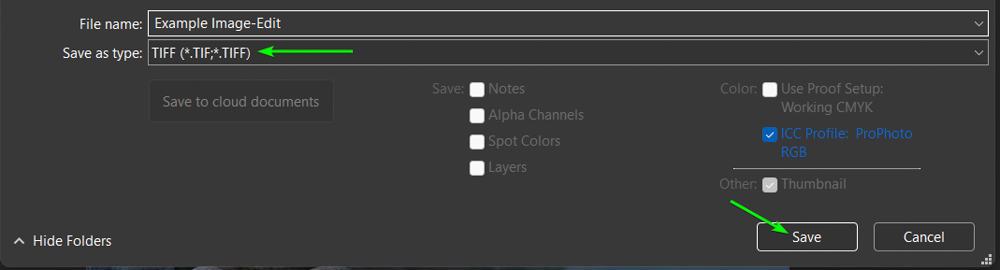
When you’re exporting your file from Photoshop, save it in a designated folder that you’re already using in Lightroom. This way, it’s easier to find the photo you need to import into Lightroom to continue your editing.
Additionally, while you can save your photo in any format, it’s good to save it in the TIFF or PSD format. This is because these formats retain the most photo information. Select the Format drop-down menu and select TIFF or PSD. Then, click Save.
Step 3: Check The TIFF Settings And Click OK
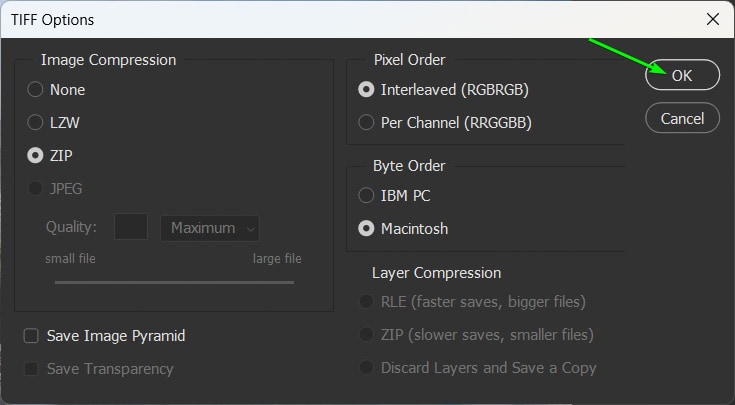
You will then see a few TIFF settings that you can adjust. Generally, you can leave these as they are and click OK.
Step 4: Open Lightroom And Synchronize The Folder
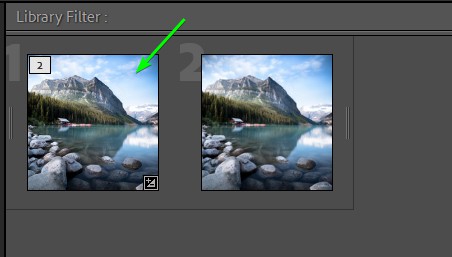
If you saved the image in the original folder that was already imported to Lightroom, when you re-open the program, you will see the edited image stacked next to your original Lightroom edit. However, if you don’t see it, you can synchronize the folder to update the imported contents.
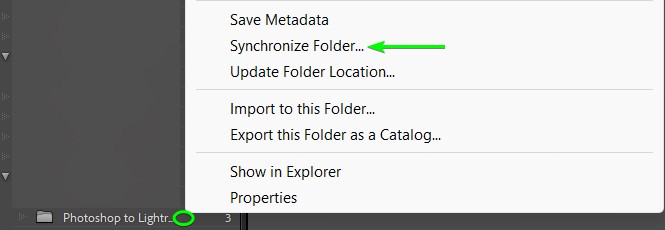
To do this, right-click on the folder and select Synchronize Folder. You will now see the Photoshop edit in the folder.
How To Export From Photoshop To Lightroom CC
When exporting an image from Photoshop back into Lightroom, the process is slightly different in Lightroom CC. Follow the same steps to edit the image in Photoshop or use the shortcut Control + Shift + E (Win) or Command + Shift + E (Mac).
Once you have edited the image in Photoshop, go to File > Save or use the shortcut Control + S (Win) or Command + S (Mac).
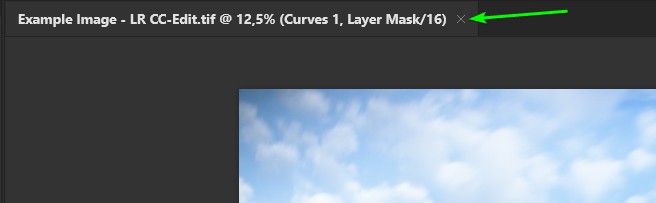
Once you have saved the image, close the document tab by pressing the X next to the name in the document tab. This step is important to ensure the saved edit opens up back in Lightroom.
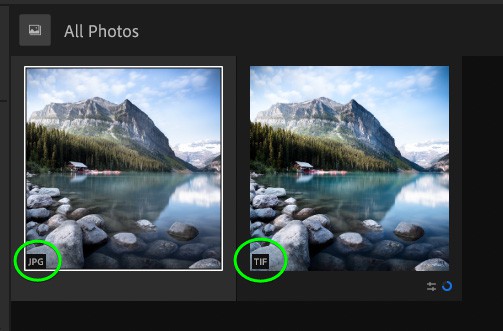
You can now re-open Lightroom and you will find the edited image stacked with the original. You will notice the original is a JPG and the edited version is a TIFF. The TIFF ensures that you will be able to edit the layers if you want to re-open the file in Photoshop again.
As you can see, exporting from Photoshop to Lightroom is a quick and easy process. And you can also open Lightroom files in Photoshop with ease too. Both apps work great together, which allows you to spend less time bouncing between the two and more time bringing your visions to life. To help you get a better understanding of the uses of each program and when to use them, see exactly why you should use Photoshop or Lightroom!
Happy Editing!
