

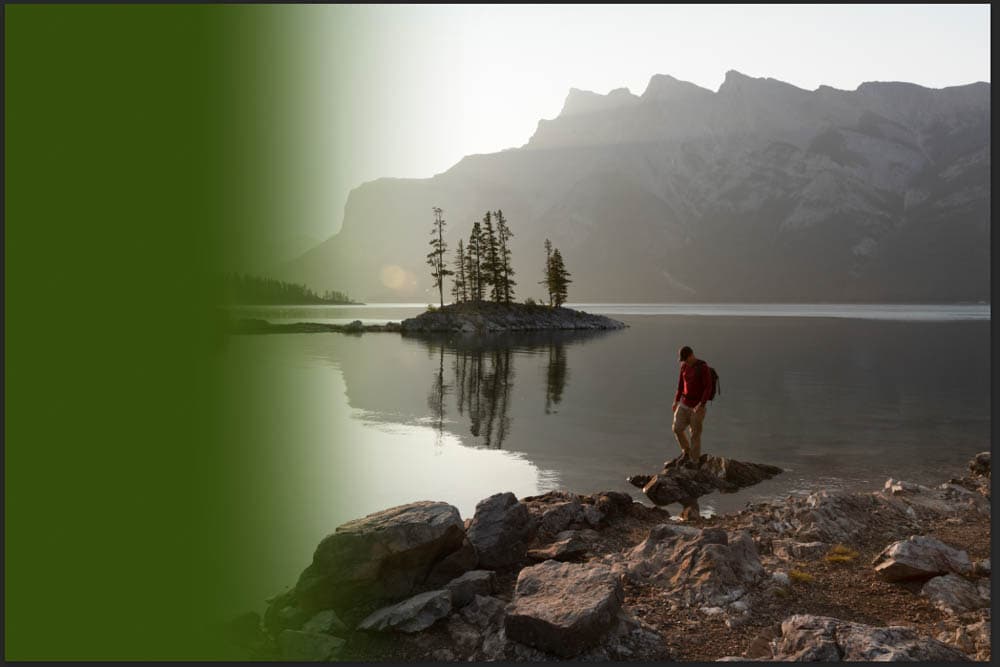
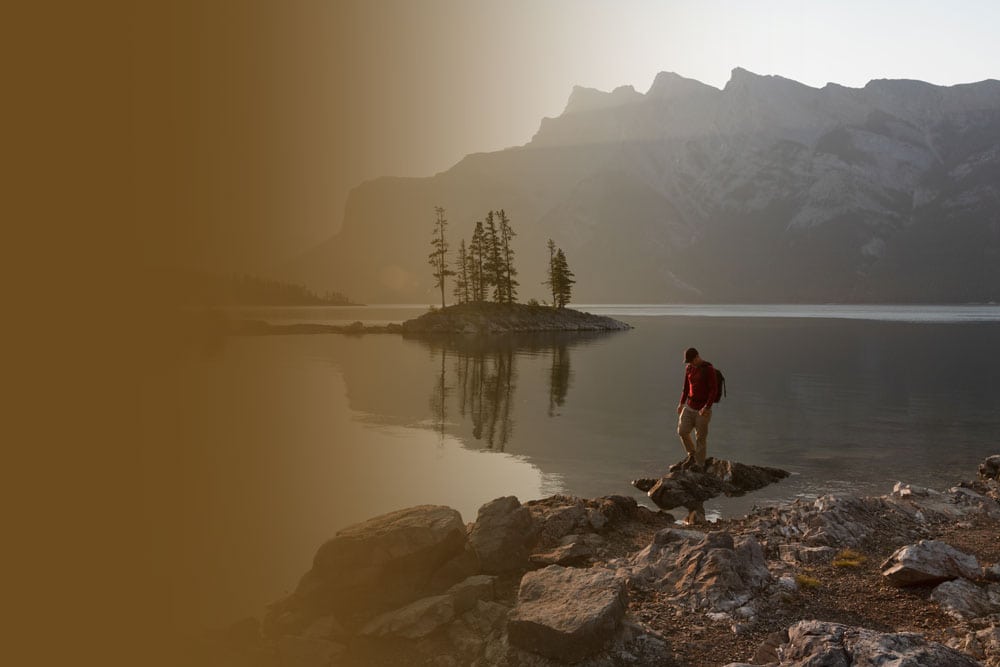
Knowing how to fade an image into a background in Photoshop will elevate your editing skills by creating dynamic images. Whether you want the photo to fade into a solid color, a transparent background, or another image, you can do it in a few easy steps.
To fade an image into a background in Photoshop, add a layer mask to your image layer, then select the Gradient Tool. In the Gradient Editor, choose the Foreground To Transparent gradient and set your foreground color to black. With the layer mask selected, click and drag to fade the image into the background.
The Gradient Tool in Photoshop is the simplest way to create a colored gradient where two or more colors bleed into one another. Using the tool, you can also create a color to transparent gradient. However, that isn’t all you can do with the tool. You can also work your magic on images and layer masks, as you’ll learn more in-depth below.
How To Fade An Image Into A Colored Background
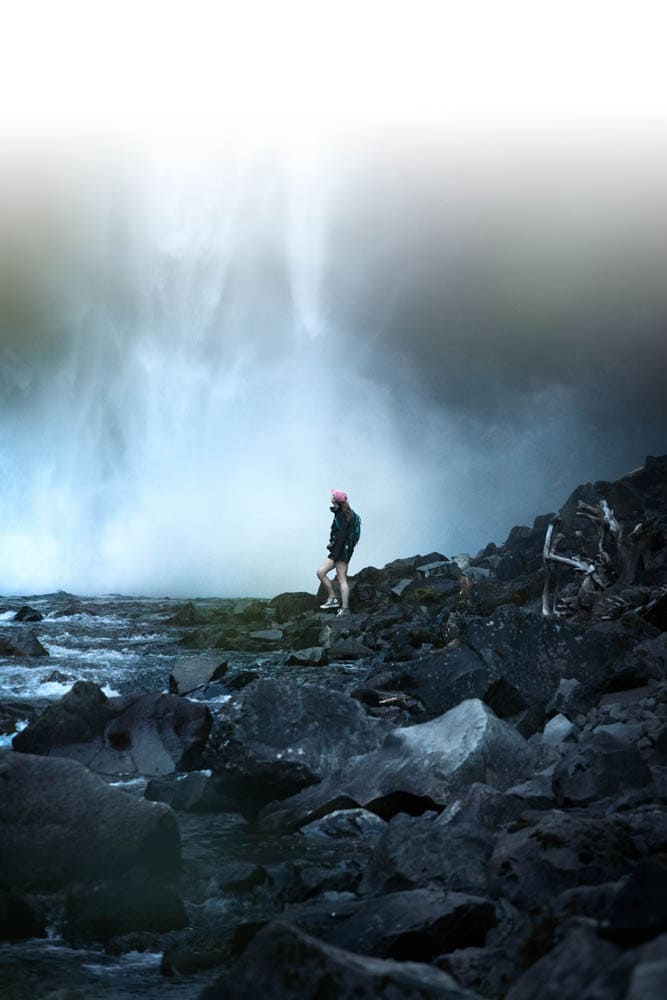
If your goal is to fade an image into a colored background, you need to add the color as a solid layer and use a transparent gradient to fade it out, revealing the picture below it.
Step 1: Add A Solid Color Fill Layer
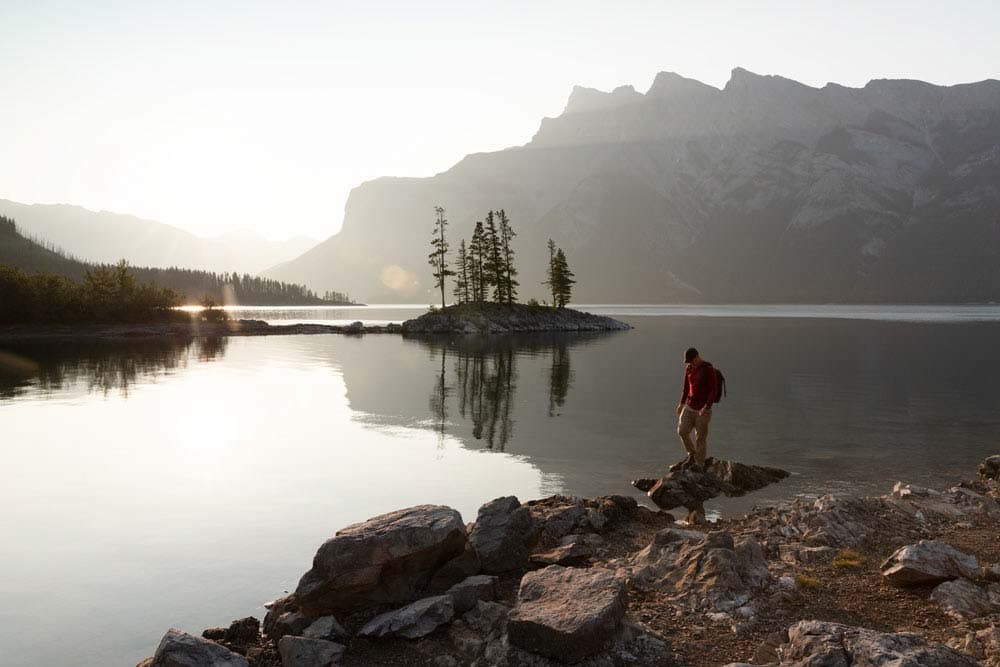
Once you have opened your image in Photoshop, add a solid color fill layer. This layer will be the background color which the image fades into. By adding the layer, you can easily change the color at any stage during editing.
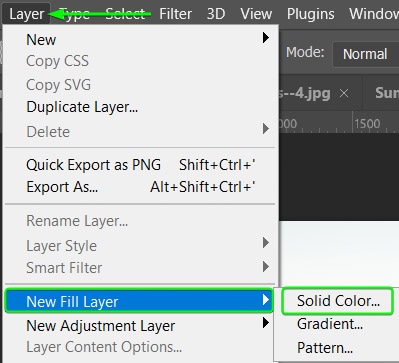
To add the Solid Color Fill Layer, go to Layer > New Fill Layer > Solid Color.
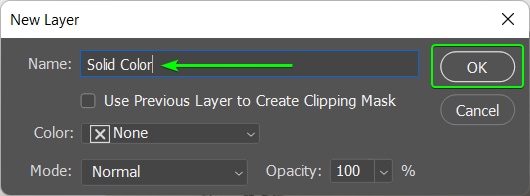
In the New Layer dialogue box, name the layer if you’d like and click OK.
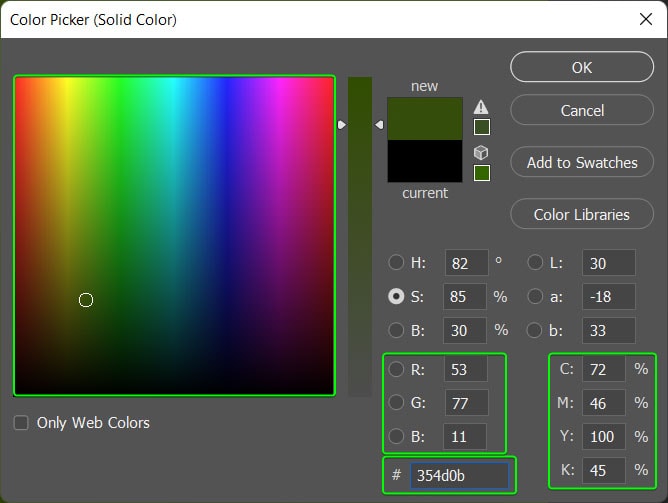
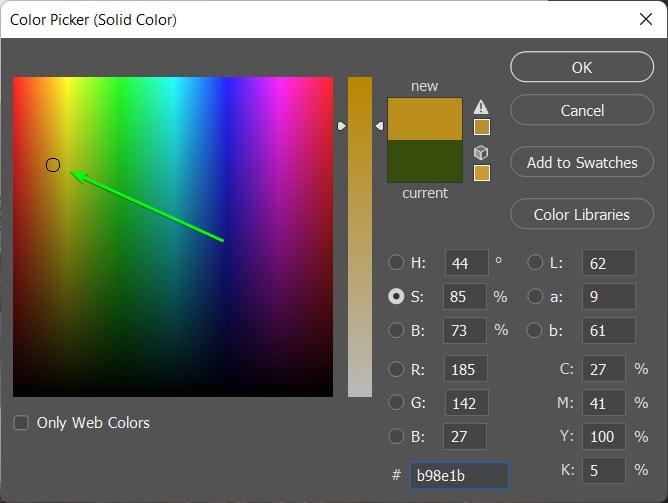
Choose the color you want from the Color Picker box that automatically opens. You can select a color from the box, add a HEX code or choose the exact RGB values and CMYK percentages. Click OK when you have your color.
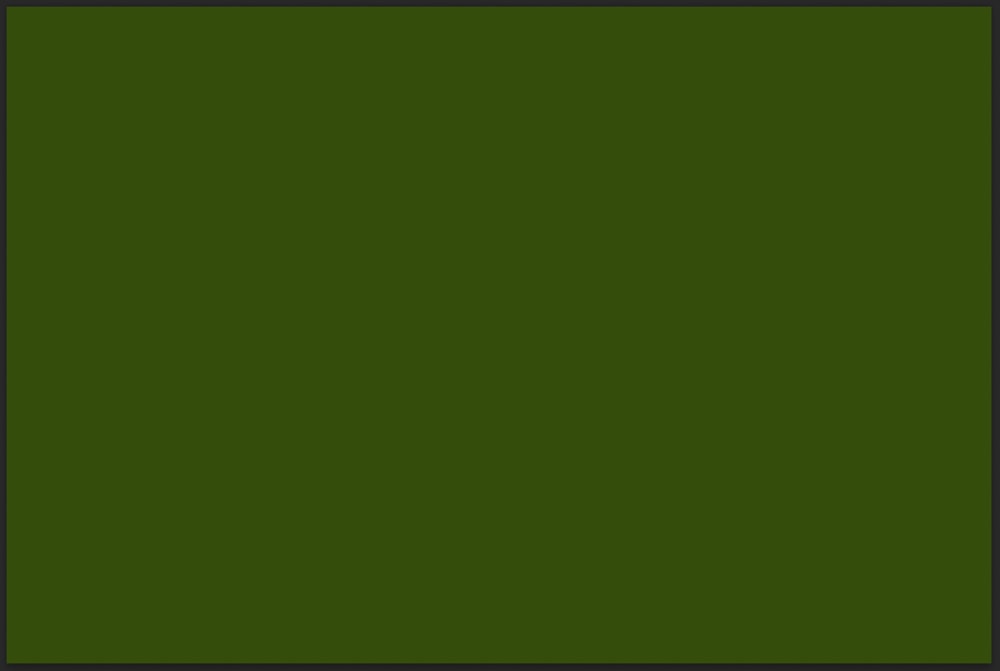
The solid color layer now covers your image.
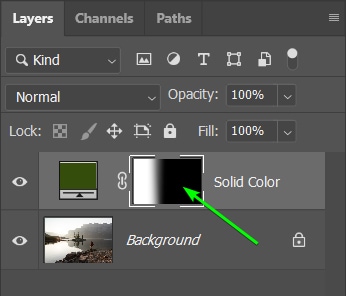
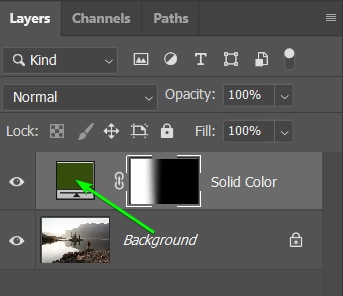
Step 2: Select The Layer Mask On The Solid Color Layer
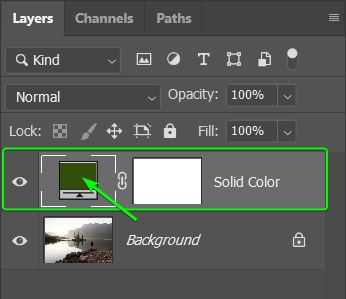
Once the fill layer is added, you will notice a new layer is added above your image layer. You can double-click on the color thumbnail to re-open the Color Picker and select a new color at any stage of the process.
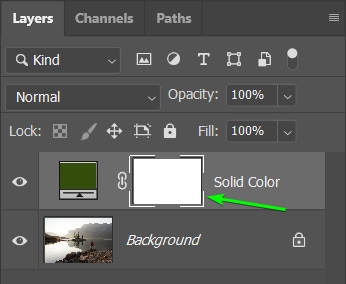
The Solid Color layer also automatically contains a layer mask indicated by a white block. The white in this block shows that everything on the solid color layer is revealed. My goal is to add black to this mask to hide parts of the color layer and, as a result, show the image layer below.
Select the layer mask by clicking on it before moving to the next step. There is a white border around the layer mask when it is selected.
Step 3: Select The Gradient Tool And Adjust The Settings
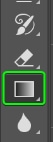
Once the layer mask is selected, activate the Gradient Tool by selecting it from the Toolbar or pressing G.
When the Gradient Tool is active, the settings appear in the Options bar. You need to change a few settings to ensure you create a transparent gradient across your image.

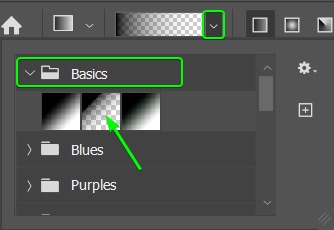
First, you need to choose a suitable gradient preset. Open the preset drop-down menu by clicking on the arrow and selecting the Foreground to Transparent option under the Basics tab.
Next, select the Linear Gradient icon to ensure the fade is added from side to side.

You should be able to leave the rest of the settings as the default, but ensure they are as follows:
- Mode set to Normal
- Opacity at 100%
- Reverse unchecked
- Dither and Transparency checked
- Method set to Perceptual

Step 4: Set The Foreground Color To Black
You should always set the foreground color to black or white when working with layer masks. White reveals the adjustments on the layer, while black hides them. Since the layer mask is completely white, to begin with, the entire layer is visible.
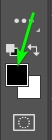
To add the gradient and reveal the image layer below, you need to set the foreground color to black to hide parts of the color layer.
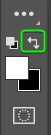
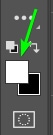
To switch from white to black or vice versa, click on the double arrow to change the color. You want the top block to be black.
Step 5: Create The Gradient By Clicking And Dragging The Gradient Line
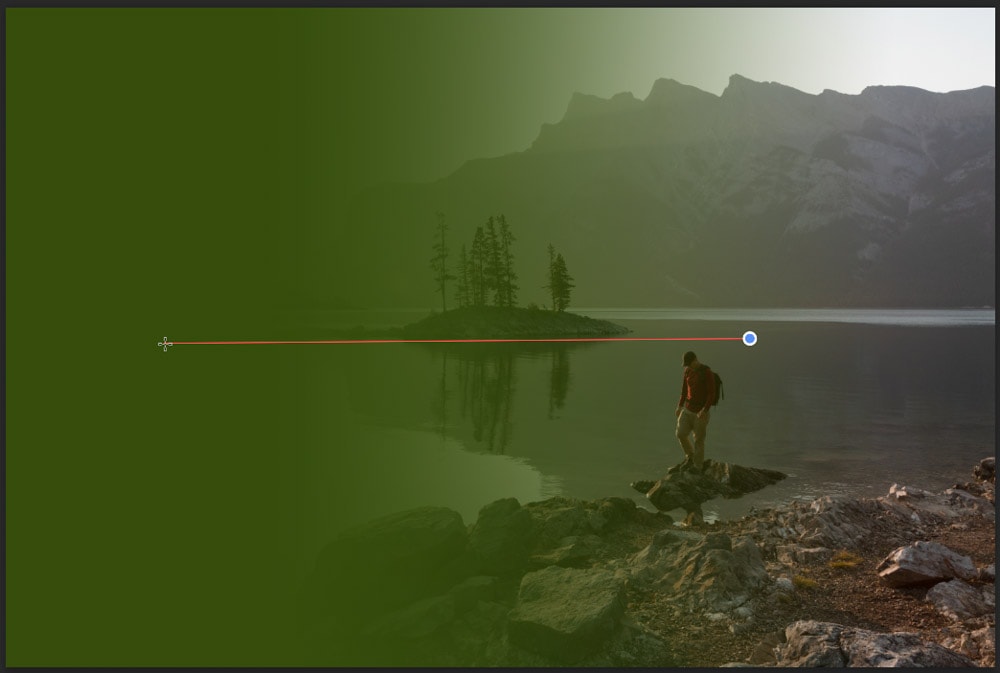
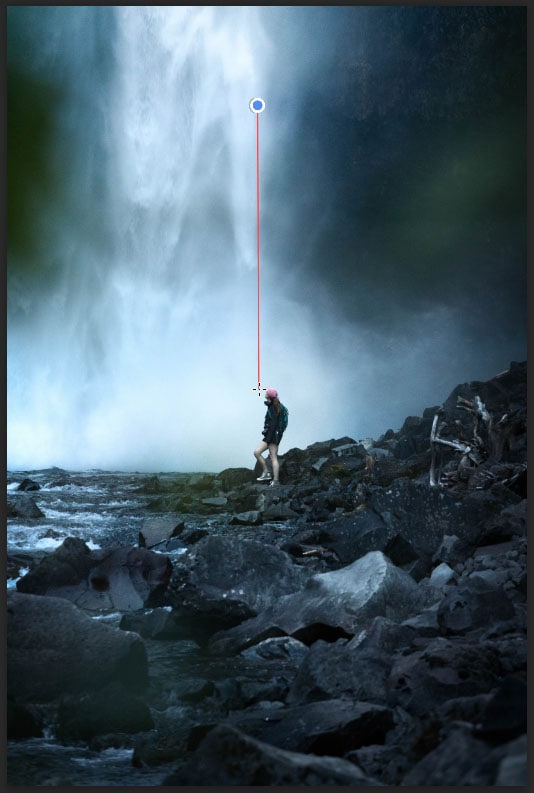
You can now add your gradient to the solid fill layer. To do this, click on an area of the image and drag the mouse left or right across the canvas. A gradient line appears and shows you where the gradient will start and end. The blue and white circle is the start, and the target icon is the end of the line.
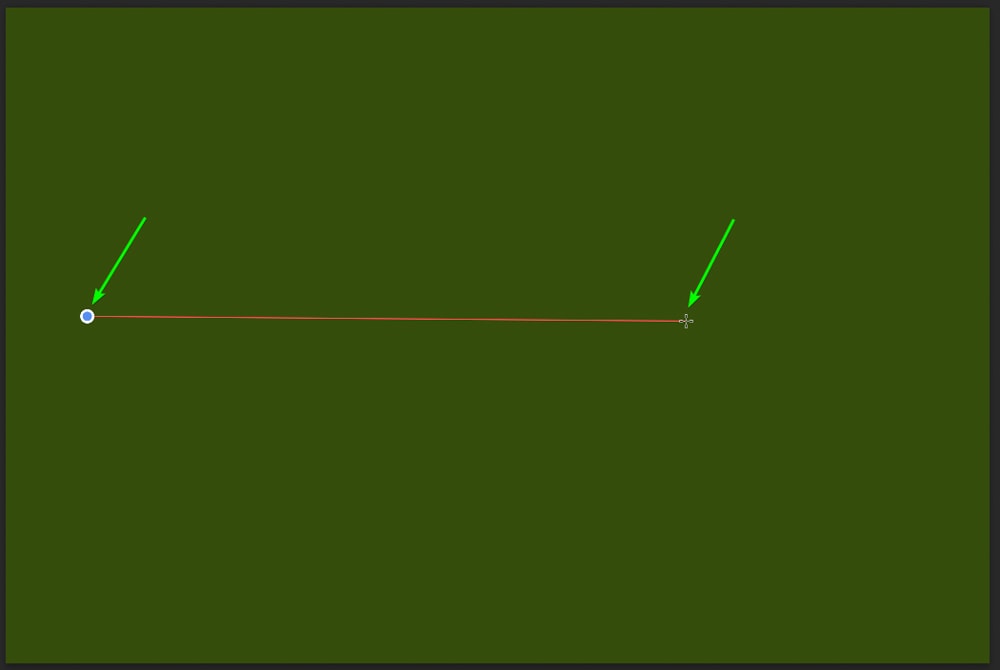
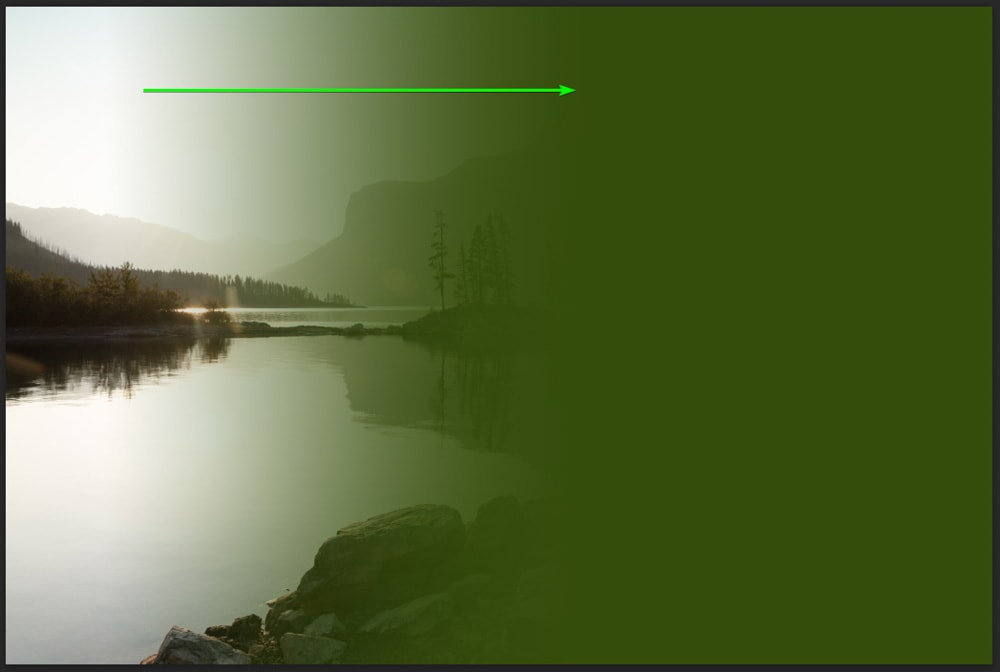
Black is added to the layer mask from the starting point, meaning that the start of the gradient shows the image and fades into the color at the end.
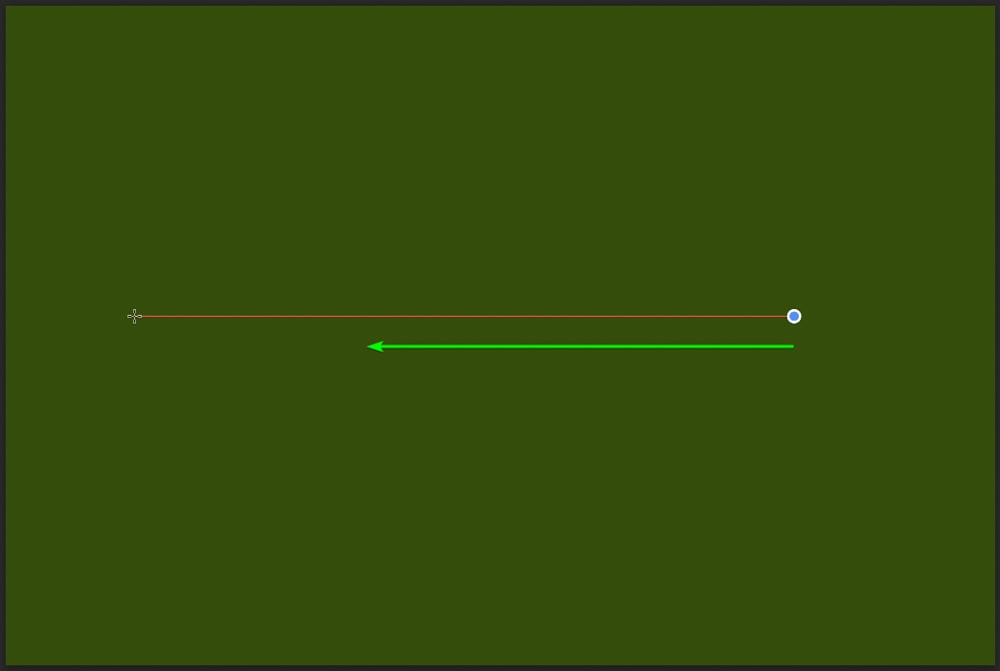
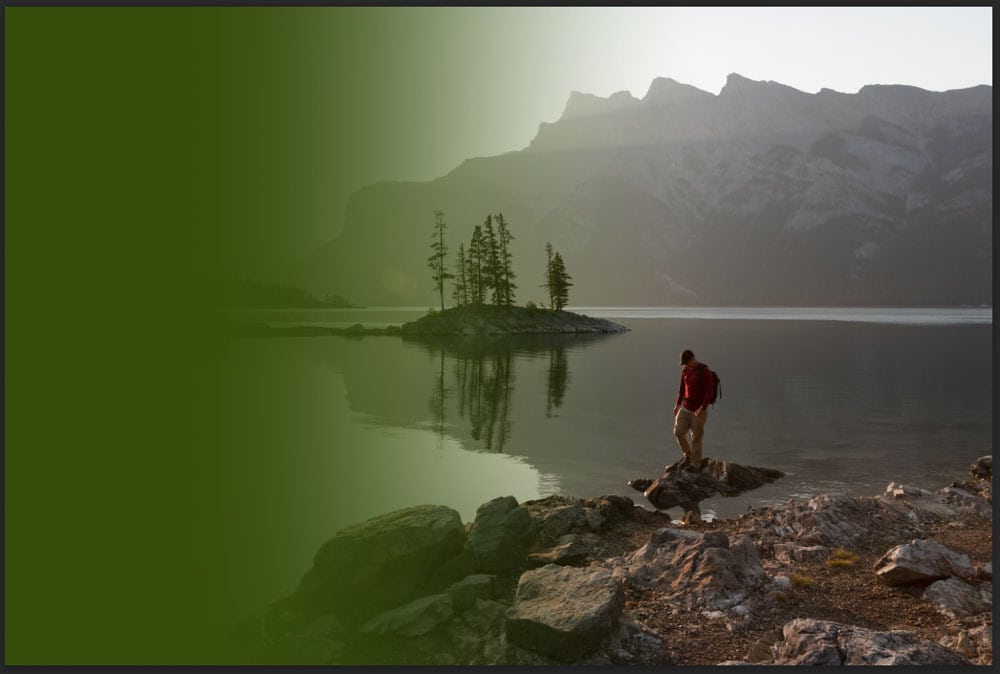
Since I want the gradient to go the other way and reveal the other half of my image, I can press Control + Z (Win) or Command + Z (Mac) to undo the gradient. Then I can start the gradient from the righthand side this time.
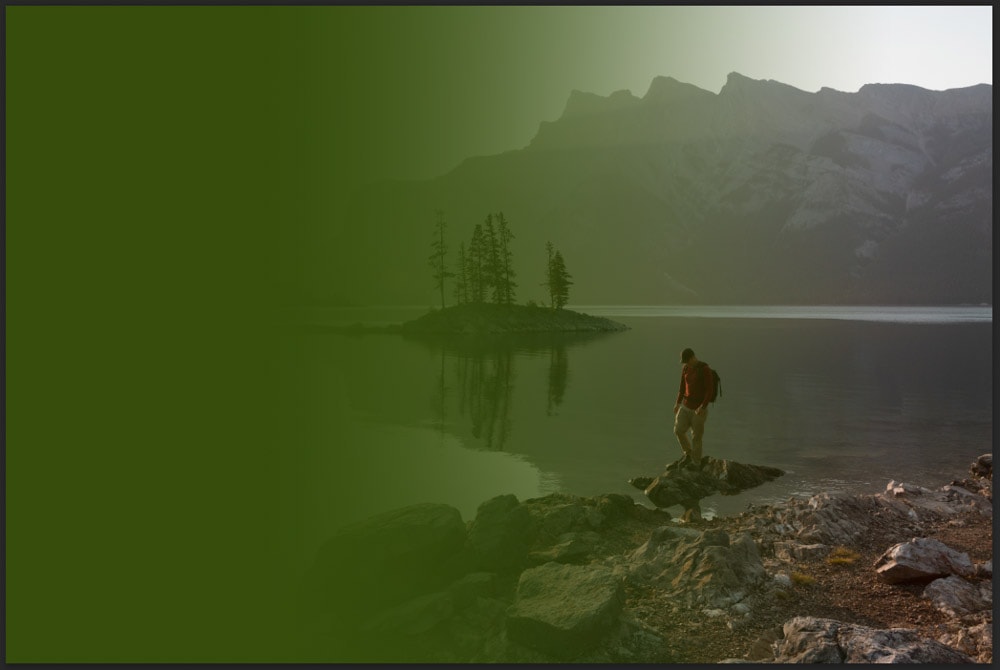
Now, the right side of the image is visible, fading into the color on the left. Draw long gradient lines if you want to fade the color gradually, and draw shorter lines for a harsher gradient.
If you aren’t happy with the fading of the image, you can use the undo command mentioned above and try again. You can also click and drag to create a new gradient, and the color will adjust.
You can drag new gradients as many times as you’d like to get the correct gradient.
If your gradient shows too much of the image, you can add more color by switching the foreground to white.
Then, click and drag the opposite way to bring more color in.

You will also notice the layer mask thumbnail in the Layers panel changing as you add the gradients.
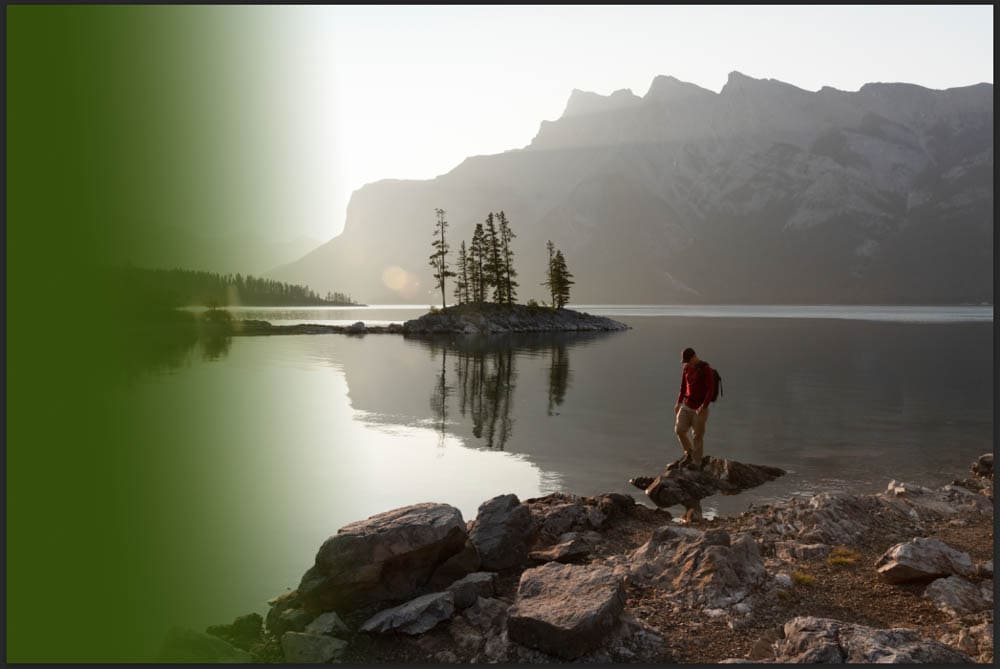
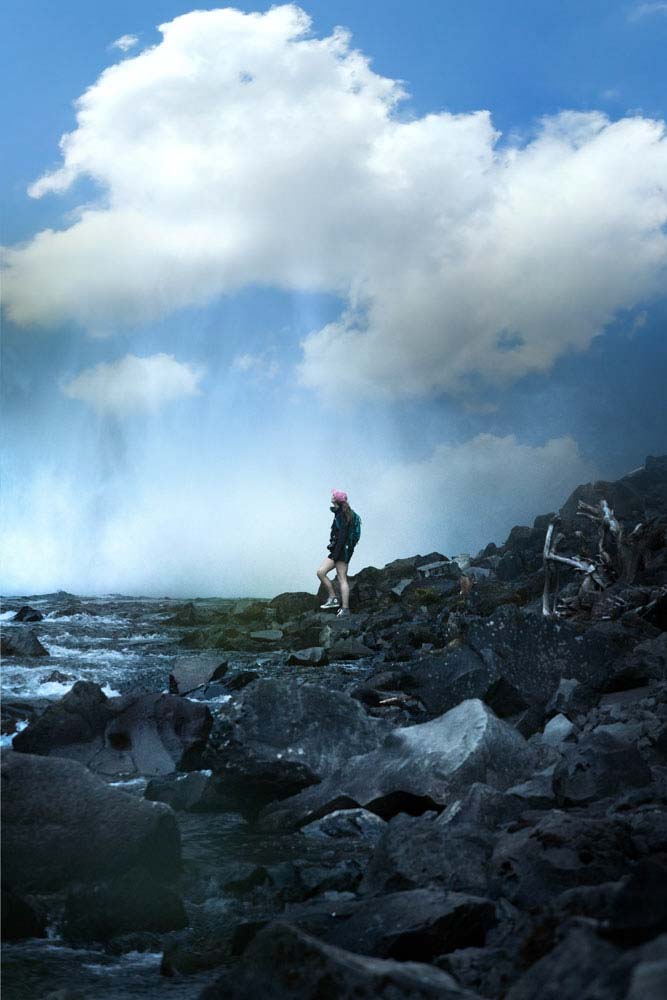
If you don’t like the color once the gradient is added, you can change it by double-clicking on the color thumbnail and choosing a new color from the Color Picker.
Then, keep playing around with the gradient until your photo fades into the background color as you’d like it.
How To Fade An Image Into Transparency In Photoshop
You can also add a gradient that fades your picture into a transparent background. This method is helpful if you’d like to save the photo as a PNG with the image fading to transparency. You can also use this method to add another background to the image while fading it in.
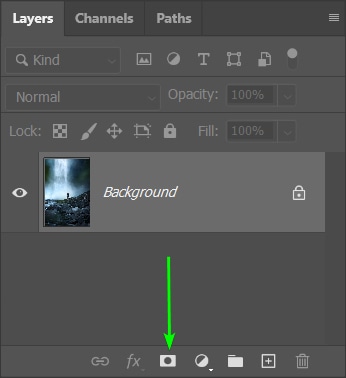
This method is similar to the previous process, although you don’t need the solid color layer. Start by opening your image and adding a Layer mask to the image layer by clicking on the Add Layer Mask icon at the bottom of the Layers panel.
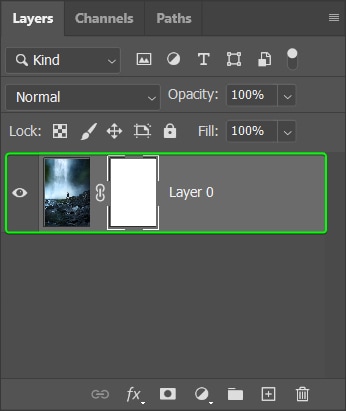
Adding a layer mask unlocks the background layer and changes the name to Layer 0.
Select the Gradient Tool (G) and set the foreground color to black.
Set the same settings as the previous example. Then, click and drag to create a gradient on the image.
Half of the image is now transparent, shown by the checkered blocks. You can also see the changes on the layer mask thumbnail.
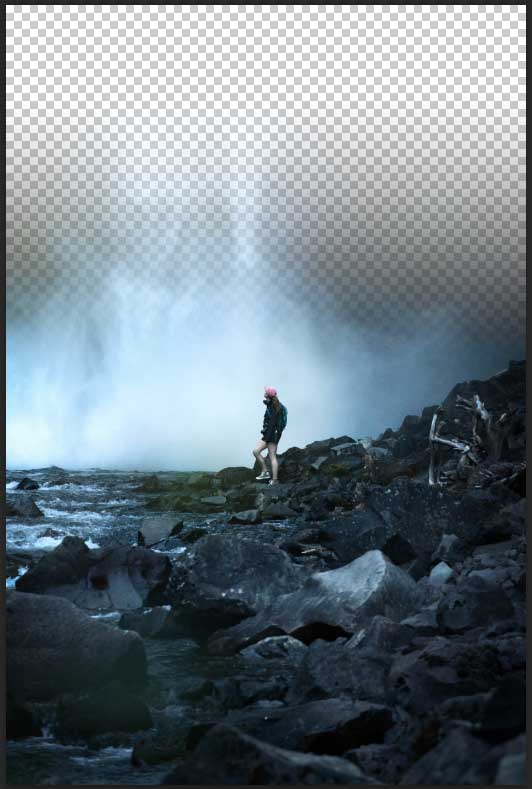

You can now export the image as a PNG for a faded, transparent background.
You can add another image below the layer and create a fading gradient in the opposite direction to blend two images.

You can use this method to edit photos creatively, such as blending two faces into one image.
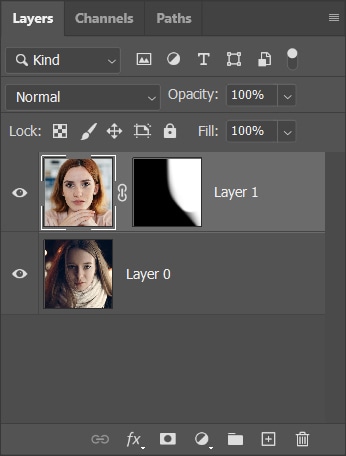
Play around with the gradient, adding more gradient lines in different angles to blend the images as you’d like.


To help get the most out of this effect, learning the ins and outs of the Gradient Tool will go a long way. I share everything you need to know to use gradients in Photoshop here to help you learn more.
