

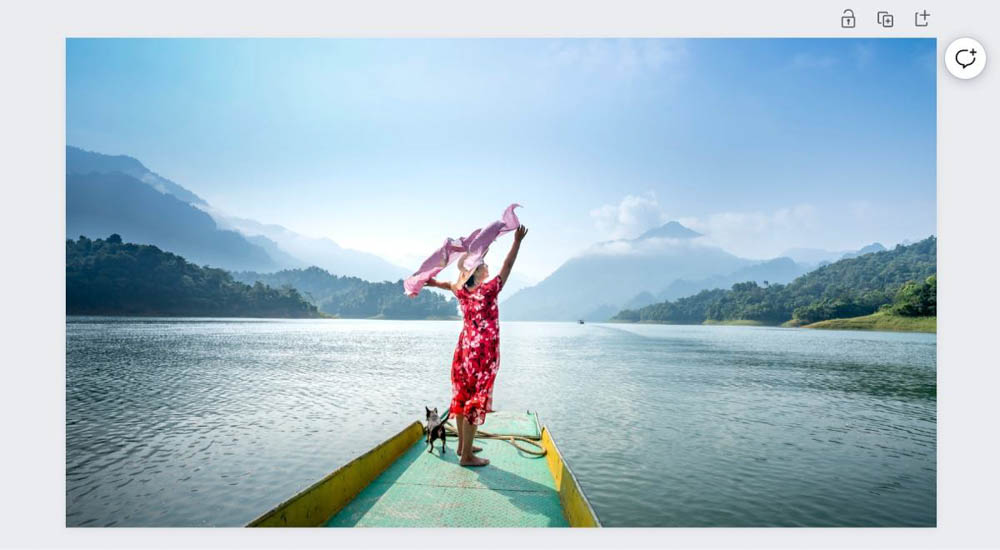
A creative way to make any image stand out is to fade its edges. Pulling something like this off would normally require complicated graphic design software like Photoshop, but today, I’ll show you how to fade your photo’s edges with Canva!
You won’t have as many options with Canva as you would with something like Photoshop. Tools such as layer masks and filters would make a task like fading the edges of a photo a breeze. However, that doesn’t mean that doing this in Canva will be difficult, it’s actually pretty easy!
Let’s take a look at two ways to fade the edges of a photo in Canva and how you can fade one picture into another.
How To Fade The Edges Of A Photo In Canva
There are two options to fade the edges of an image: you can fade the edges of a photo using gradients and by using Canva’s Blur app. Both options work great, and the best choice depends on your personal preference.
Option 1: Fading Using Gradients
Canva has a ton of pre-made gradients you can use in your projects. If set up correctly, those pre-made gradients can give off the effect of blurring the edges of your photo.
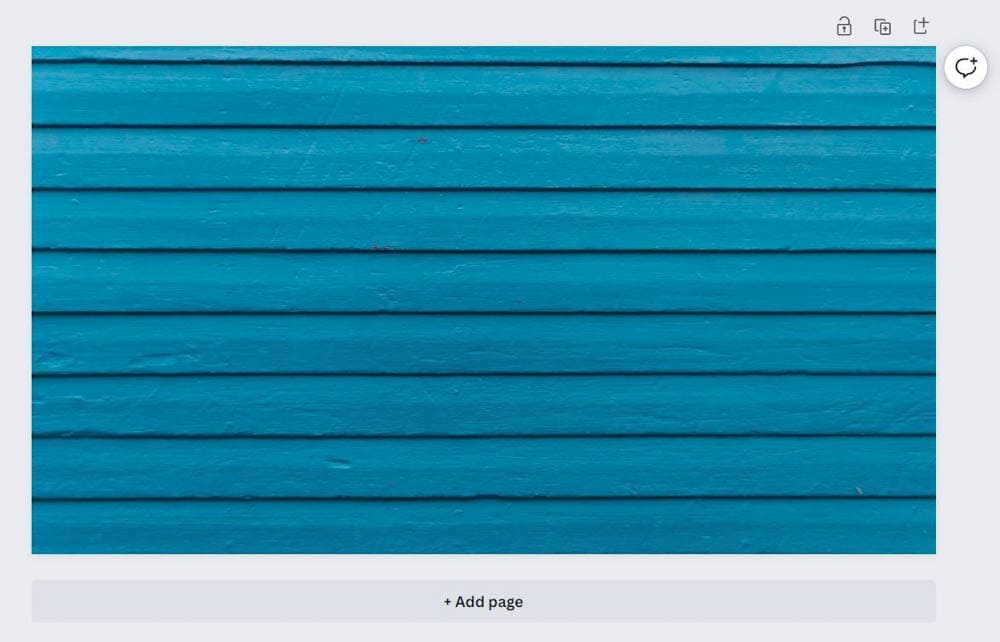
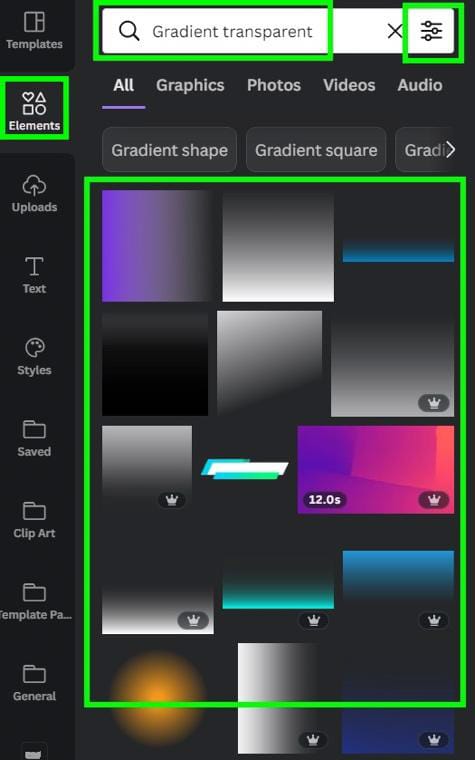
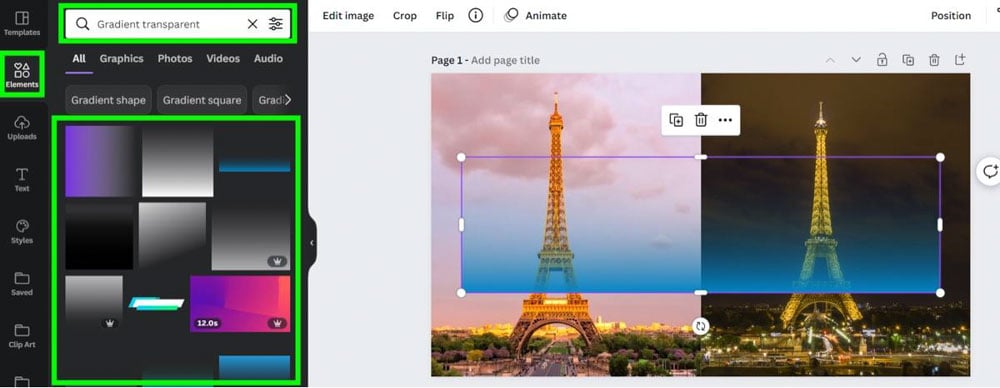
With your image already on your canvas, click on the Elements Tab. The type of gradient we need to make this effect work is a gradient with a solid color on one end and transparent on the other.
In the Search Bar, type Gradient Transparent. Hundreds of different gradients will pop up.
To make your search easier, click the Options Button on the right side of the Search Bar.
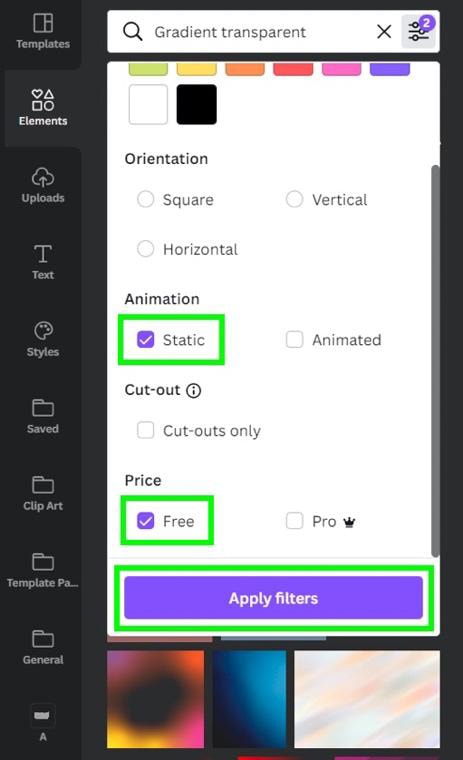
Under Animation, check on Static. Under Price, check on Free. You can leave this section alone if you have a Canva Pro membership.
Click on the gradient that best suits your needs, and it will be added to your canvas.
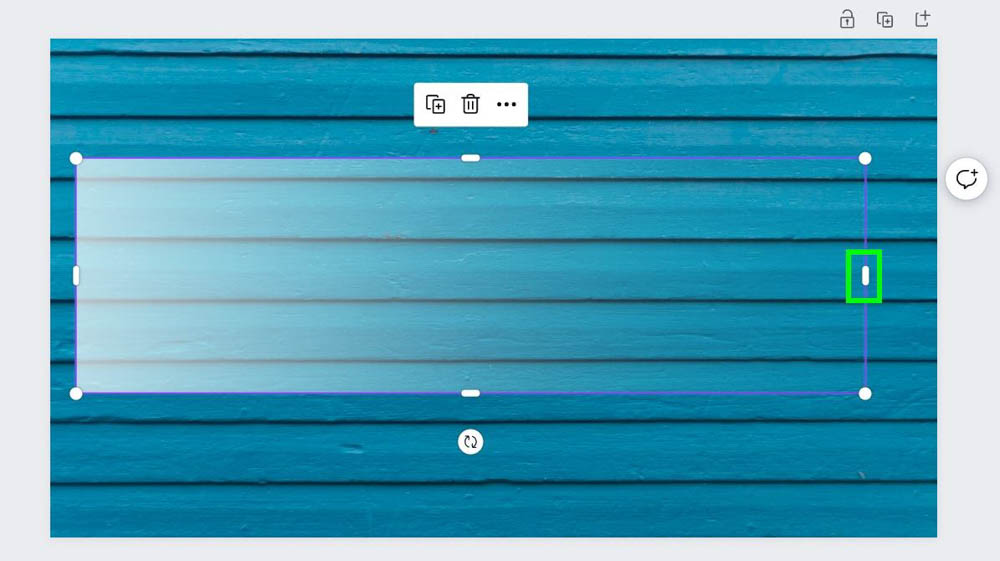
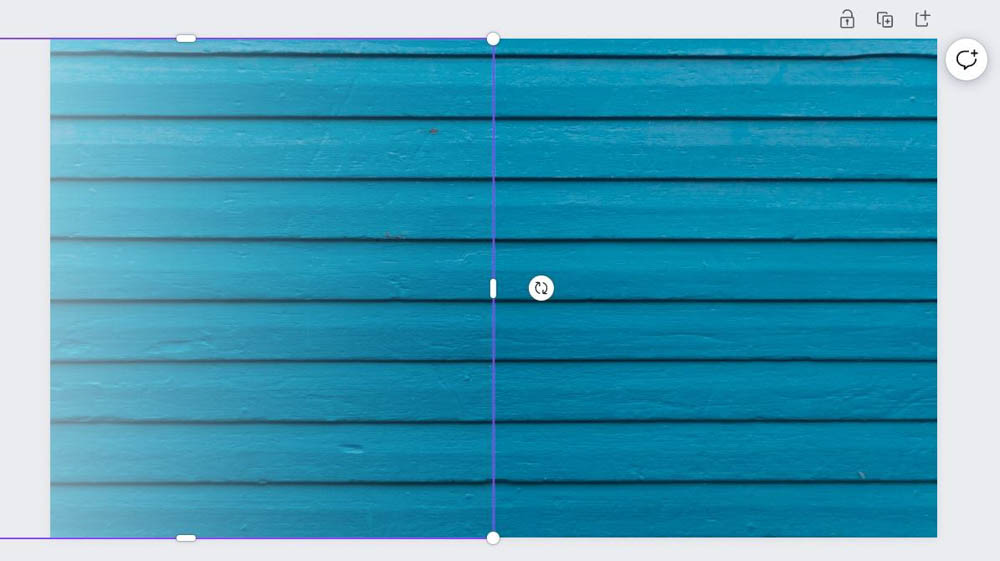
You now need to decide how much of the solid color you want to be showing. To do this, use the Side Handles of the bounding box to stretch out either side of the gradient.
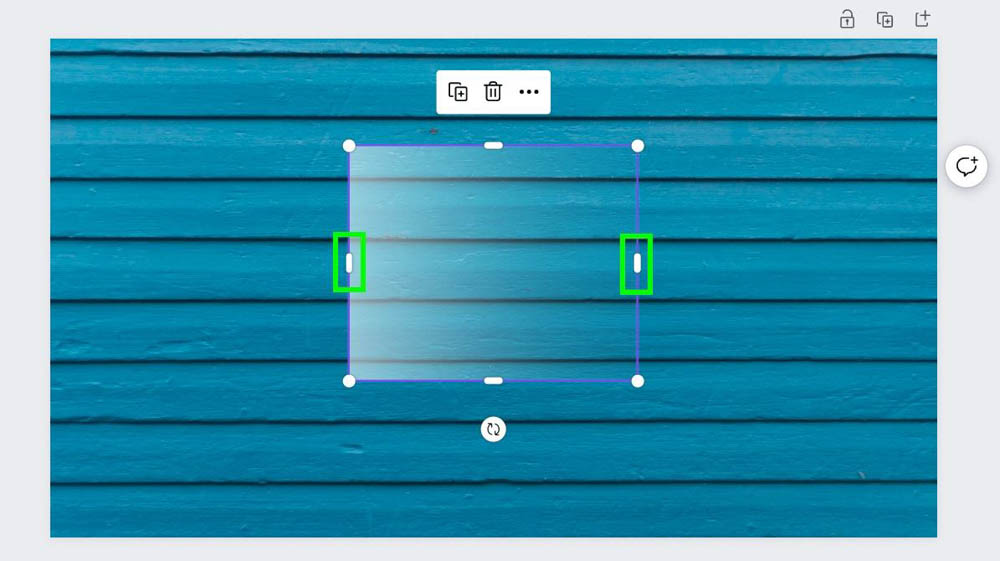
Extending the side with the solid color will add more color to your gradient.
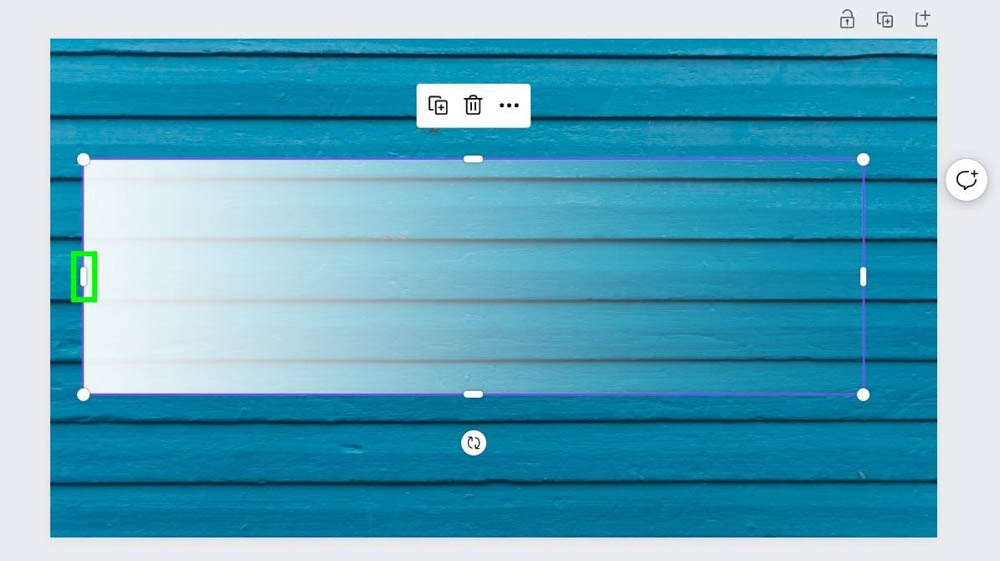
Extending the side with the transparency will add more transparency to the gradient and subtract from the color.
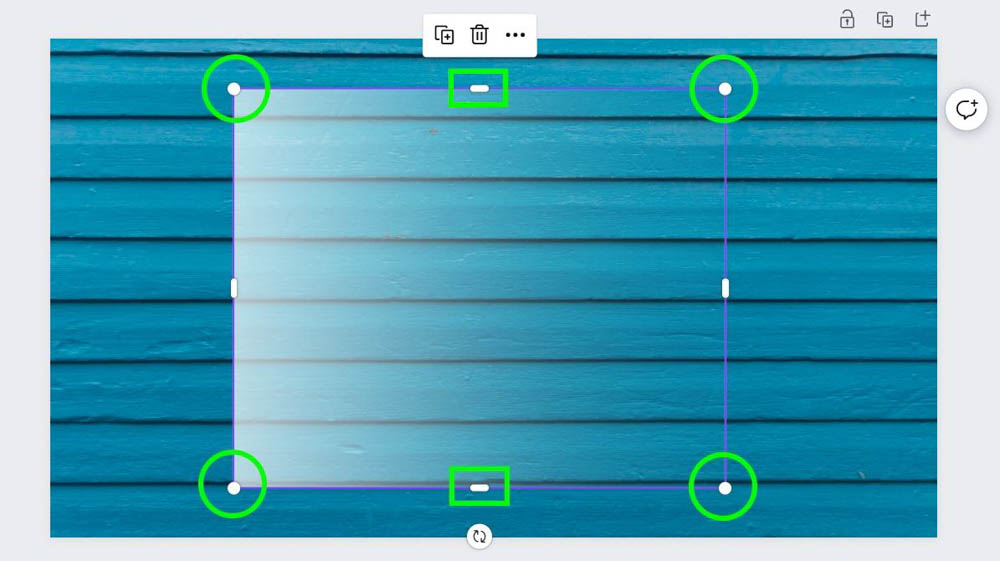
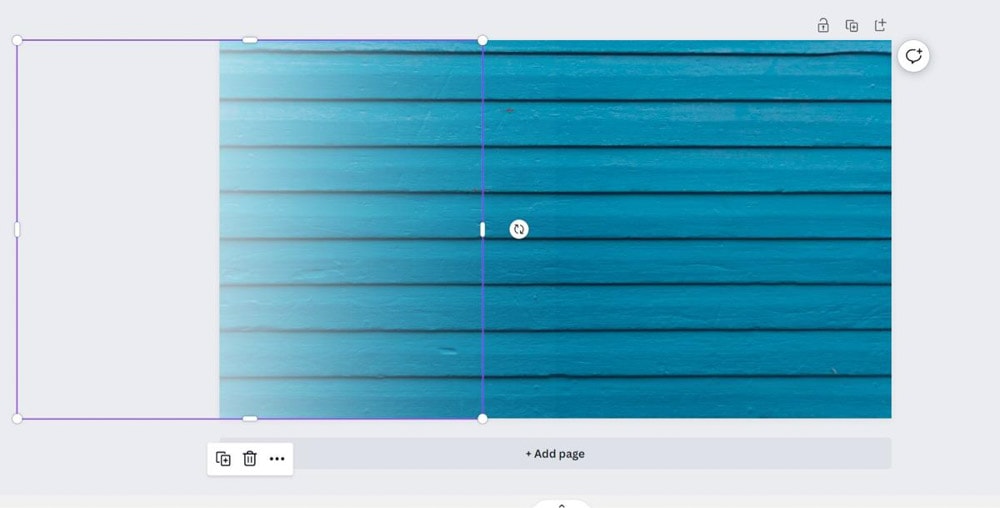
Once you decide how much color you want in your gradient, it’s time to stretch the gradient out and line it up to where it needs to be. Use the Corner Handles to make the gradient bigger. Use the Top and Bottom Handles to crop it as you need to.
Then, move your gradient into place.
Now that your gradient is in place, you need to make the gradient effect thicker to sell the effect. To do this, select the Gradient to reveal the Mini Options Bar. Click on the Duplicate Button to copy and paste a copy of your gradient on the canvas.
You can also do this by pressing Control + C, then Control + V (Win) or Command + C, then Command + V (Mac).

The copy will not be placed directly on the original when you make your duplication. You’ll need to move the new copy into place.
Line the new copy up with the original gradient.
Keep duplicating and lining up new copies to create a stack of gradients. The more copies you stack on top of each other, the heavier the color will be on the edge. It can take 8 to 15 copies to get the effect you’re going for.
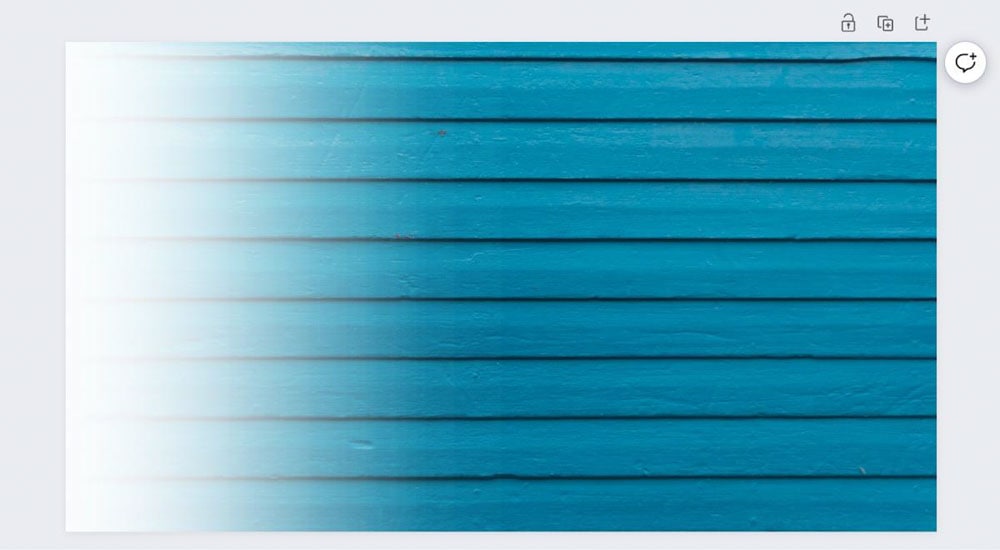
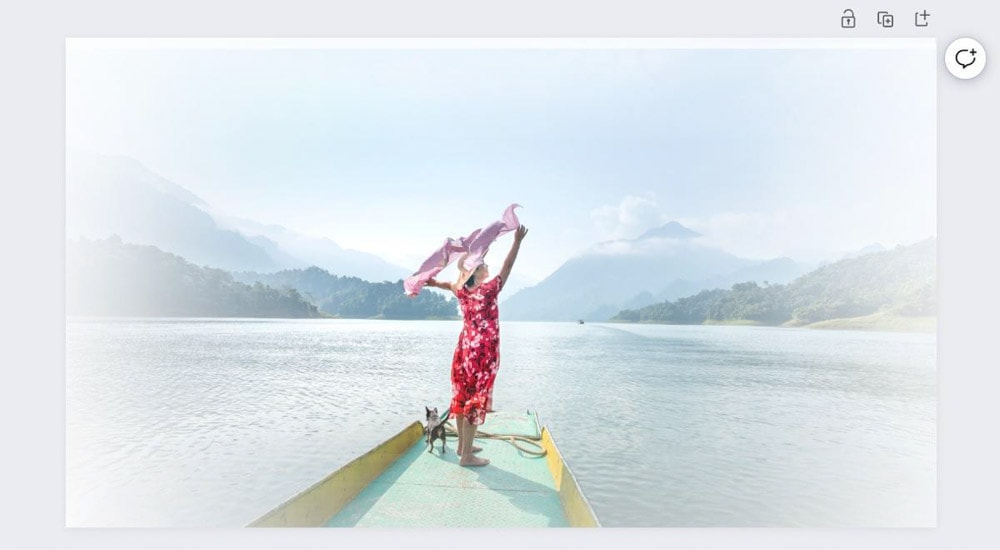
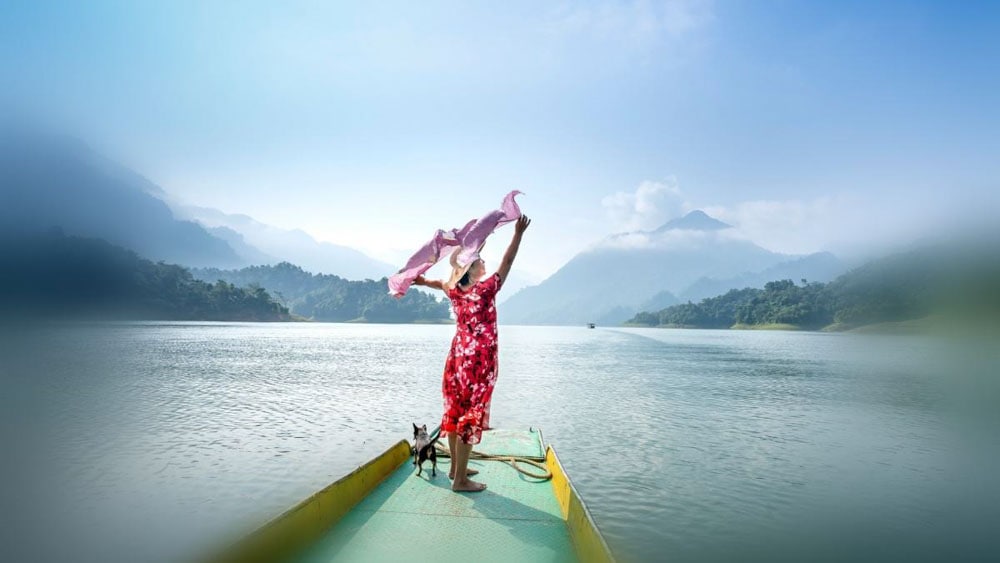
If you want to fade the edges of your entire photo, repeat the same process for each of the other edges of the image.
You can add gradients to any photo to fade the edges.
Option 2: Fading Using Blurred Edges
The other way you can blur the edges of a photo is with Canva’s Blur app. Blurring the edges of your image with the Blur app can be quicker than the first method and give your photo a cool-looking feel.
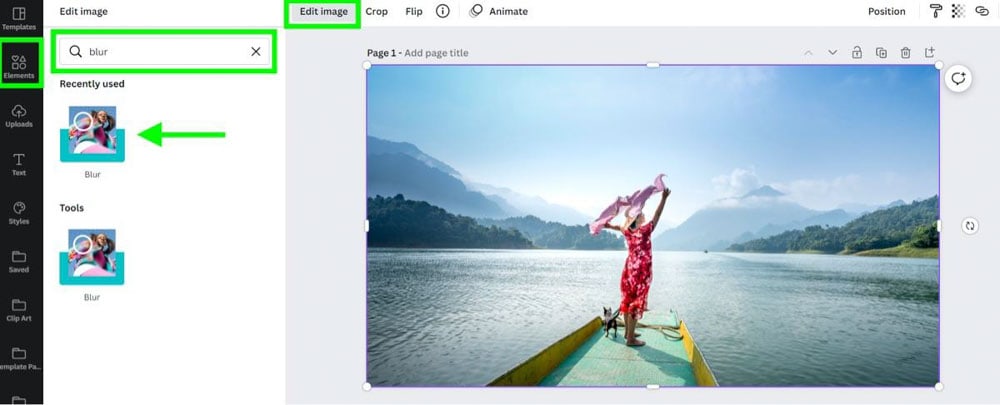
To start, click on the Elements Tab, then type “blur” in the Search Bar. The Blur app will pop up in the search results. This is the quickest way to find the Blur app.
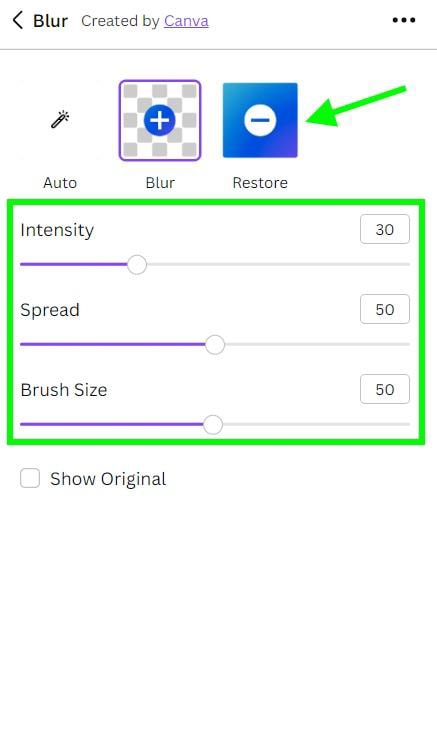
Click on the app to open it, then click on the Blur button.
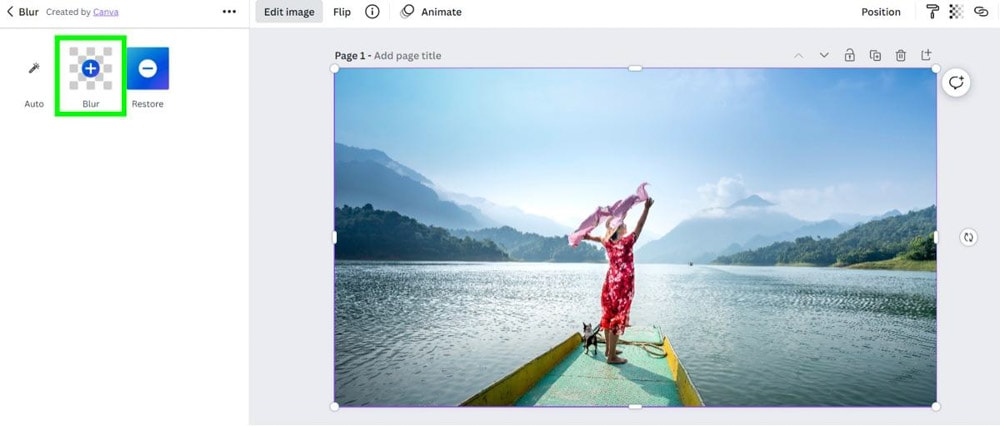
With the Blur app open, you will have three options you can adjust. Also, you can use the Restore button to undo any areas you didn’t mean to blur.
There are two main ways you can do this when using the Blur app to fade out the edges of your photo. You can use a strong blur or a more subtle one.
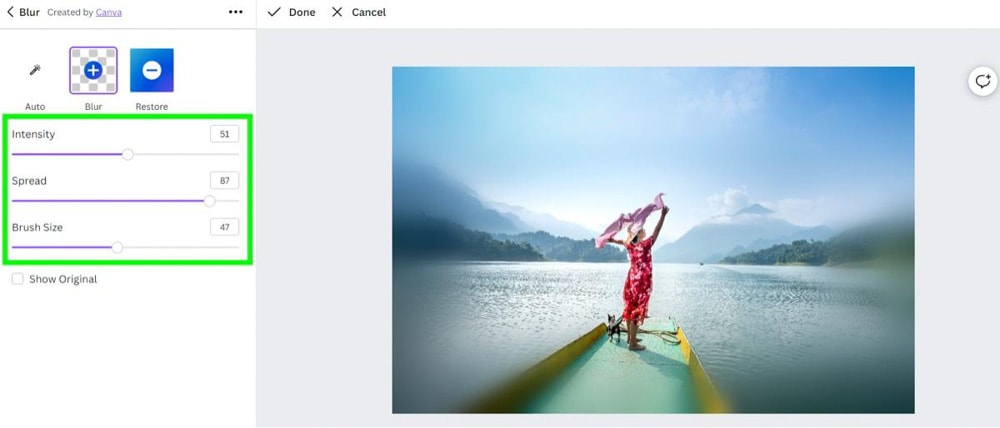
Strong Blur
A strong blur is excellent when you want your end user to notice the effect immediately. To achieve this, use these settings:
- Intensity – You don’t want your blur to be too strong, but the blur needs to be strong enough to be noticed immediately. Adjust the Intensity Slider between 45 and 60.
- Spread – For a strong blur, you want to ensure your spread is around 90 to reduce the transparency of the blur.
- Brush Size – Adjusting the brush size depends on how much of the edge of your photo you want to be blurred.
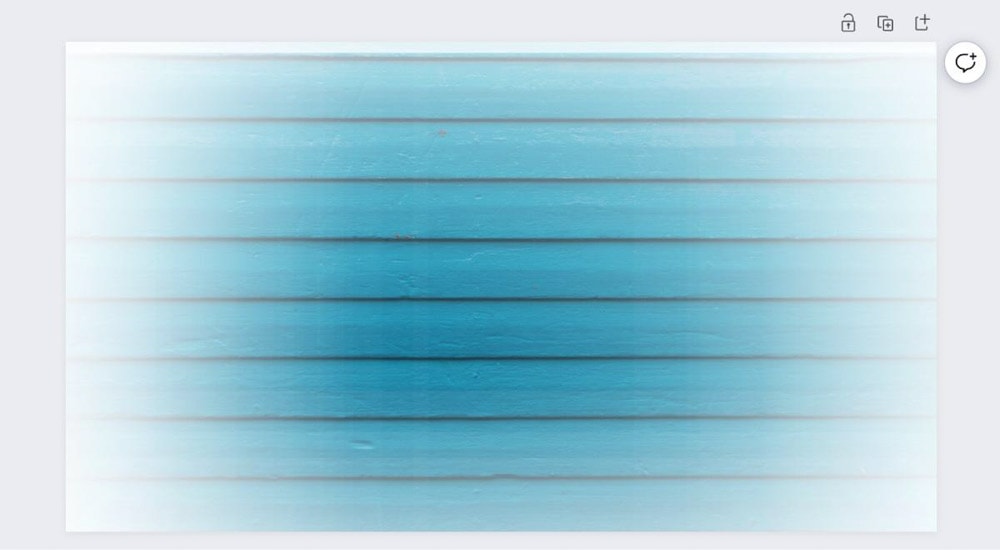
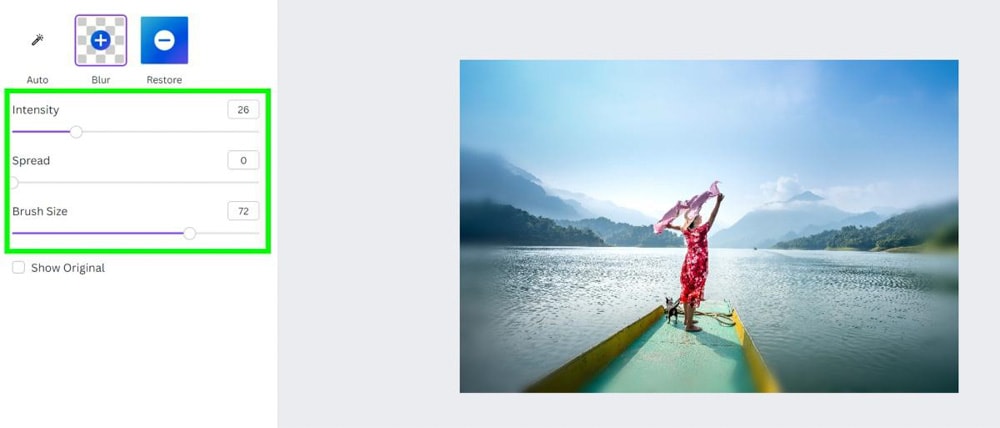
Subtle Blur
A slight blur is great when you want to add something extra to your image but not overwhelm the end user. To pull this off, use these settings:
- Intensity – For a more subtle blur effect, keep the Intensity at around 25.
- Spread – You won’t need any spread for a subtle blur. Set the spread at 0.
- Brush Size – Adjust the Brush Size to the size of how much blur you want for the edges of your photo.

How To Fade Two Images Together In Canva
Another cool effect when blurring edges in Canva is using the effect to fade two images together. Doing this involves using more pre-made gradients.
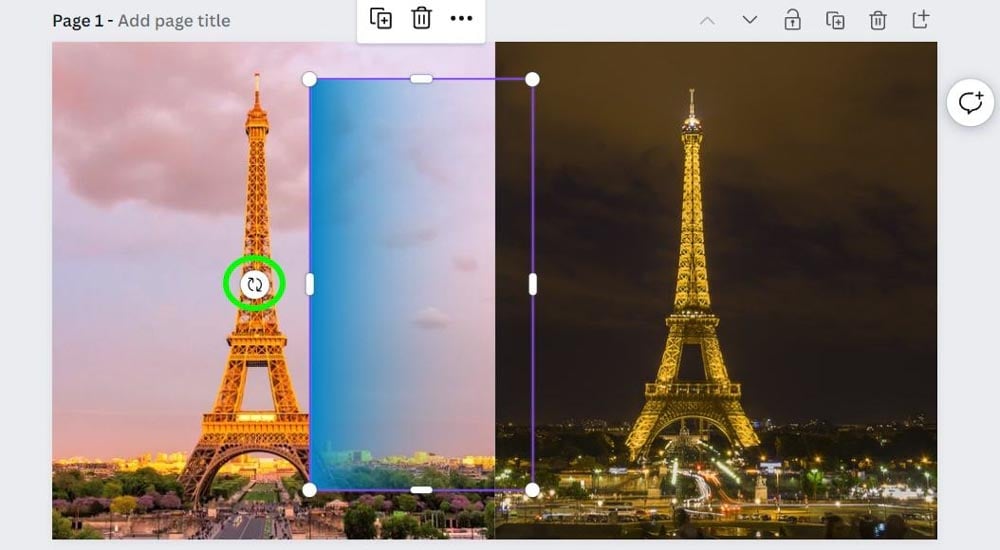
To start, line up your pictures next to each other so that the edges of each photo are touching.

To start, click on the Elements Tab. Then, type in “gradient transparent” to find a list of gradients to choose from. Click on the one you wish to use to add it to your canvas.
Position the gradient on the edge of either one of the photos. Line the color part of the gradient against the edge of the photo.
You can use the Rotate Button on the gradient if you need to.
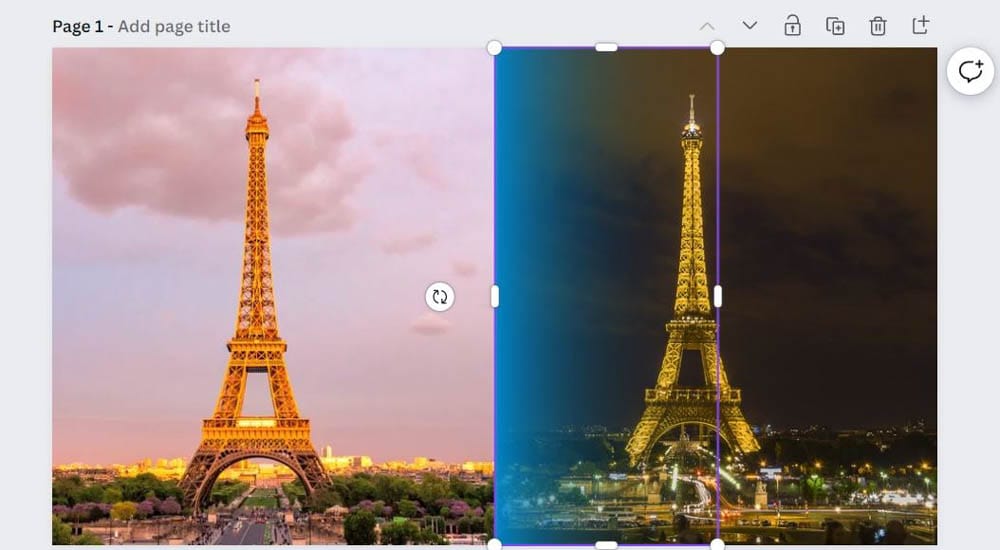
With your first gradient lined up correctly, you must do the same thing on the other side. To make this easier, click on the first gradient and then click on the duplicate button to make a copy and paste a copy on your canvas.
Use the Rotate Button to flip the gradient around and line it up behind the first gradient.

If things look good to you, then great! You’re done!
If you want the gradient to be a bit thicker, duplicate each gradient, then line them up with the original gradients on the canvas.
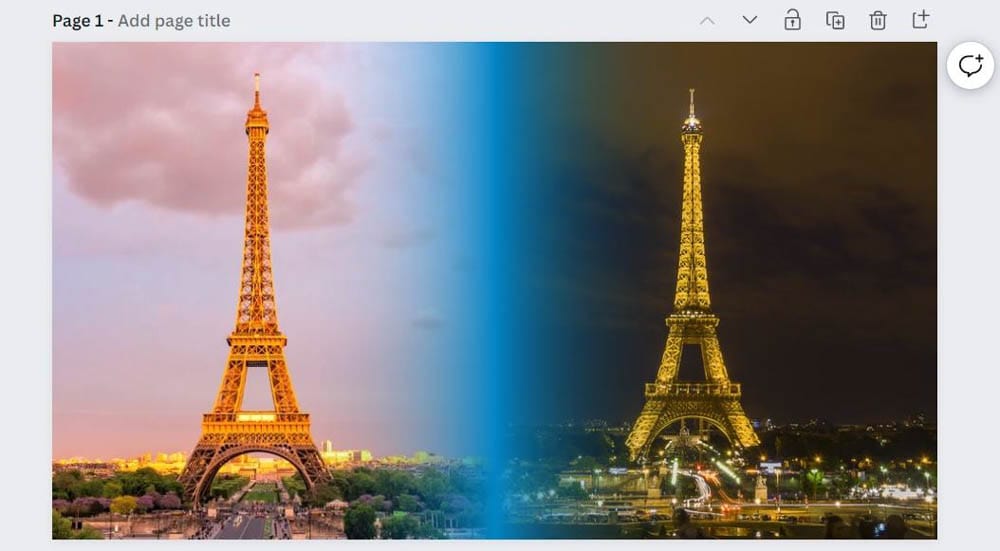
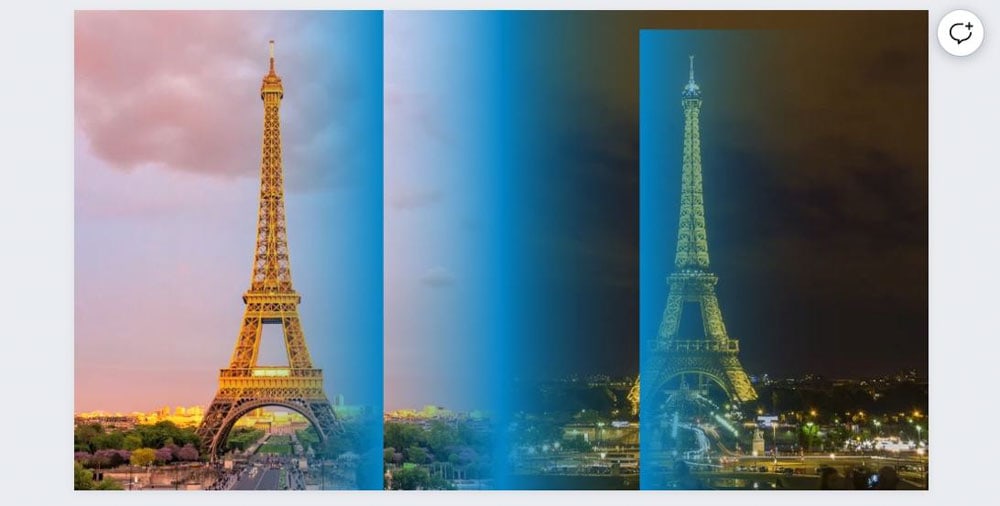
You should now have two photos that fade together into one.

- 100+ million premium stock photos, videos, audio, and graphics
- 610,000+ premium and free templates with new designs added daily
- Up to 100 Brand Kits to establish your brand's identity online
- Remove image backgrounds instantly with Background Remover
- Resize designs without quality loss with Magic Resize
- Schedule social media content to 8 platforms
- 1TB of cloud storage
- 24/7 customer support
