
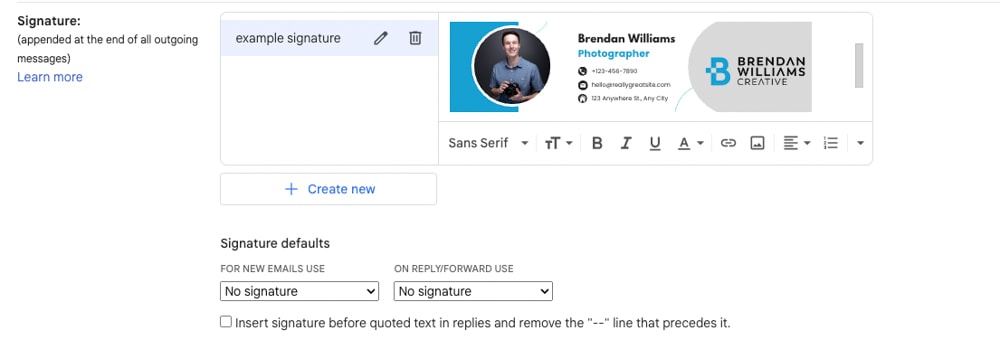
Creating an eye-catching email signature for your business emails is one of the best ways to showcase your professionalism and ensure that every email you send looks polished. Luckily, it’s easy to make an email signature in Canva.
Creating your signature with Canva is an easy and efficient way to add a bit of flair, personality, and professionalism to your emails without spending a fortune on a designer.
In this post, I’ll guide you through picking your template, changing all the text, photos, and logos, and customizing your signature’s look. Finally, the most important part, I’ll explain how to export your signature correctly.
What Size Should An Email Signature Be In Canva?
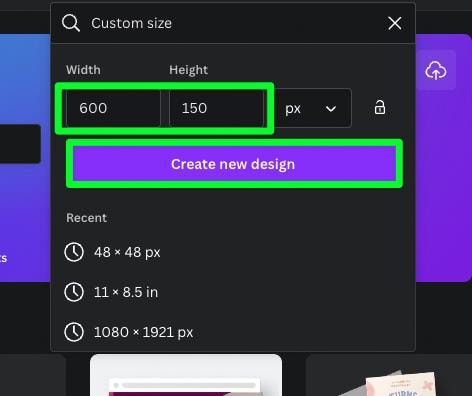
If you want to create an email signature from scratch, the ideal size is between 400 to 600 pixels wide and 150 to 200 pixels high. It depends on whether you want your final image to be long and skinny or short and stocky.
If you aim for a longer image, go with 600 x 150 pixels. If you want a shorter picture, go with 400 x 200 pixels.
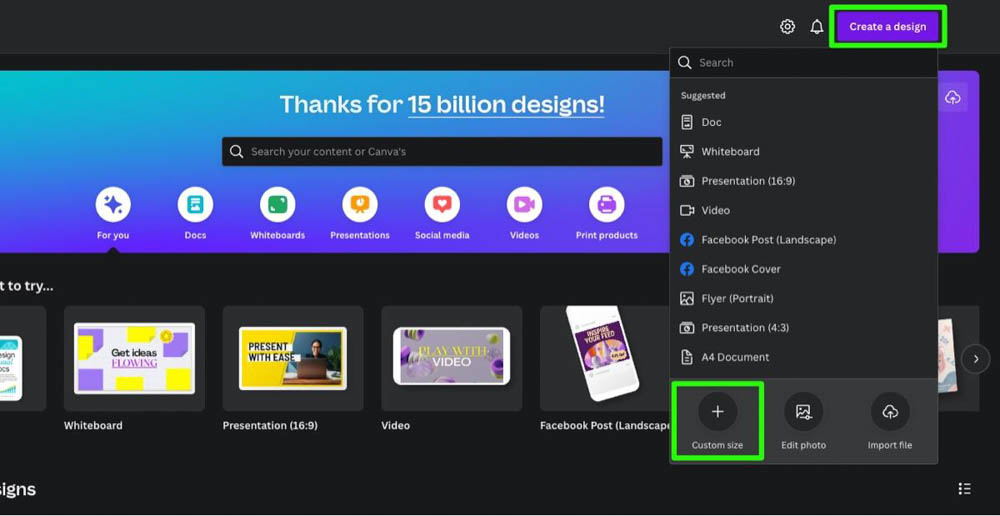
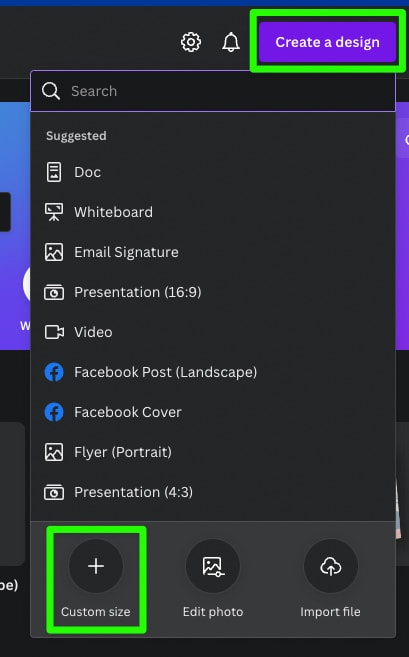
To create an email signature from scratch with Canva, click the Create A Design button in the top right corner of the home page. Then, click Custom Size.
When prompted, input your Width and Height in their respective boxes. Then, click Create New Design.
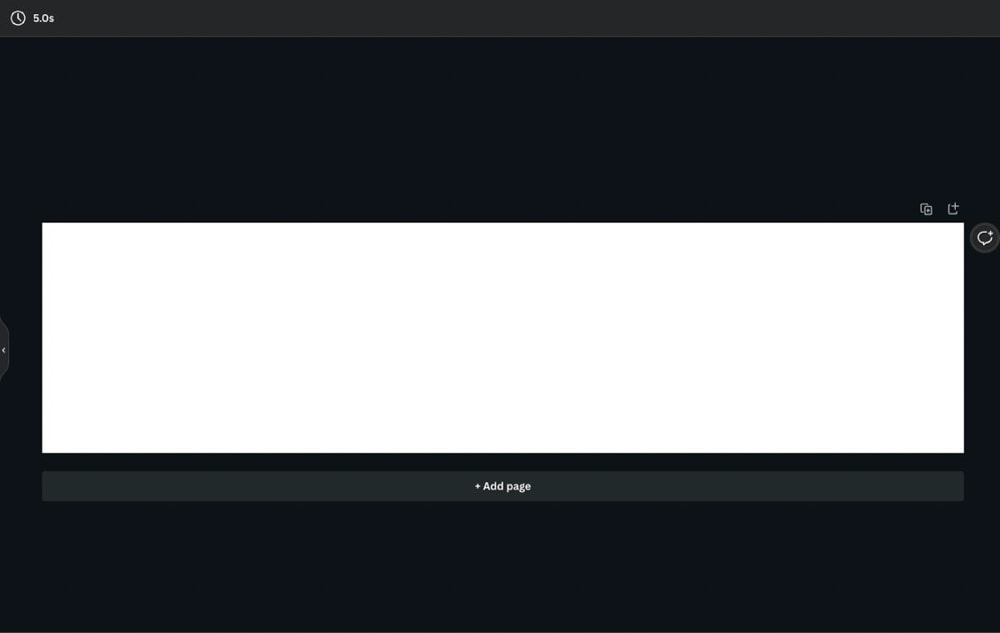
A blank canvas will open in a new tab at your exact dimensions.
If you don’t have enough room for your photos, logos, or other elements, go back to the home page and adjust the number of pixels for the height or width. An extra 25 to 50 pixels should do the trick.
How To Make An Email Signature In Canva
Using a blank canvas is fine, but if you want to create your email signature quickly, I suggest you use an email signature template.
The following guide will cover the entire process of creating a professional-looking email signature, from picking out your template to adding photos and elements to exporting your final image.
Step 1: Choose An Email Signature Template
To find the perfect template, go to the Canva Homepage, and search for email signature.

Over a thousand different email signature templates pop up. Many of them look similar, but there are subtle differences.
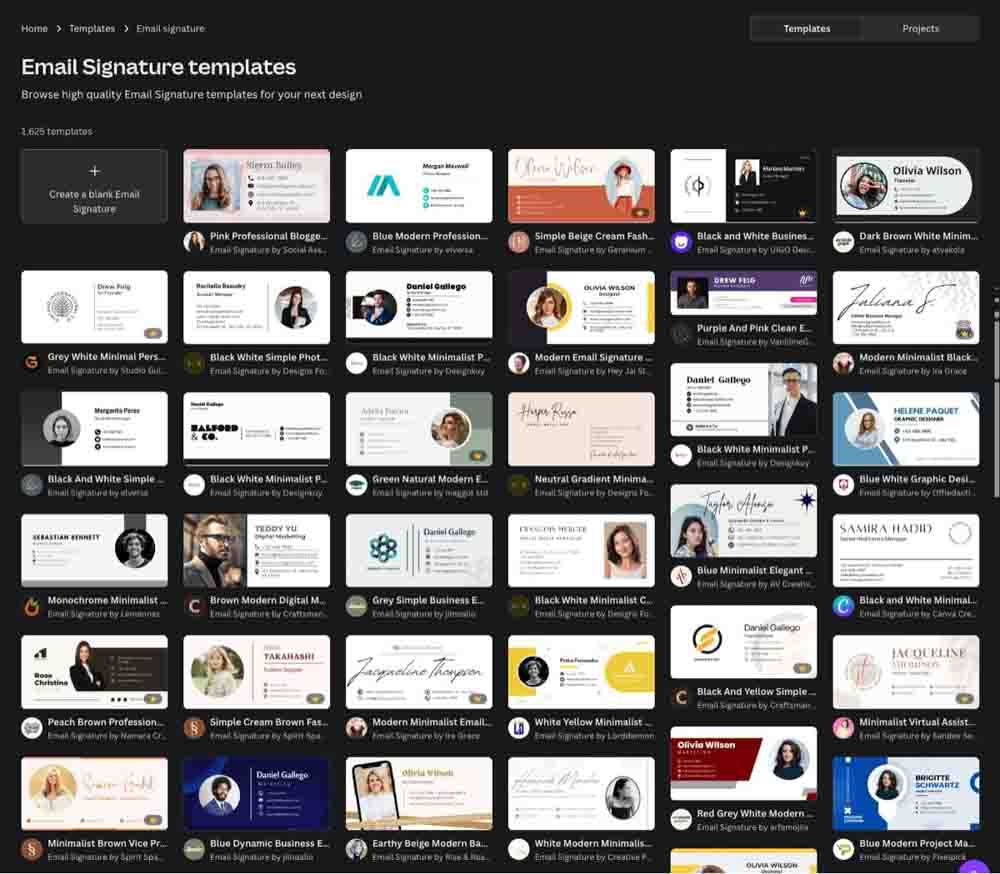
Once you’ve spotted the best-looking template with your style, click on it. You’ll see a quick preview of the template pop-up. Click Customize This Template to confirm.

Your template will now open up in a separate tab.

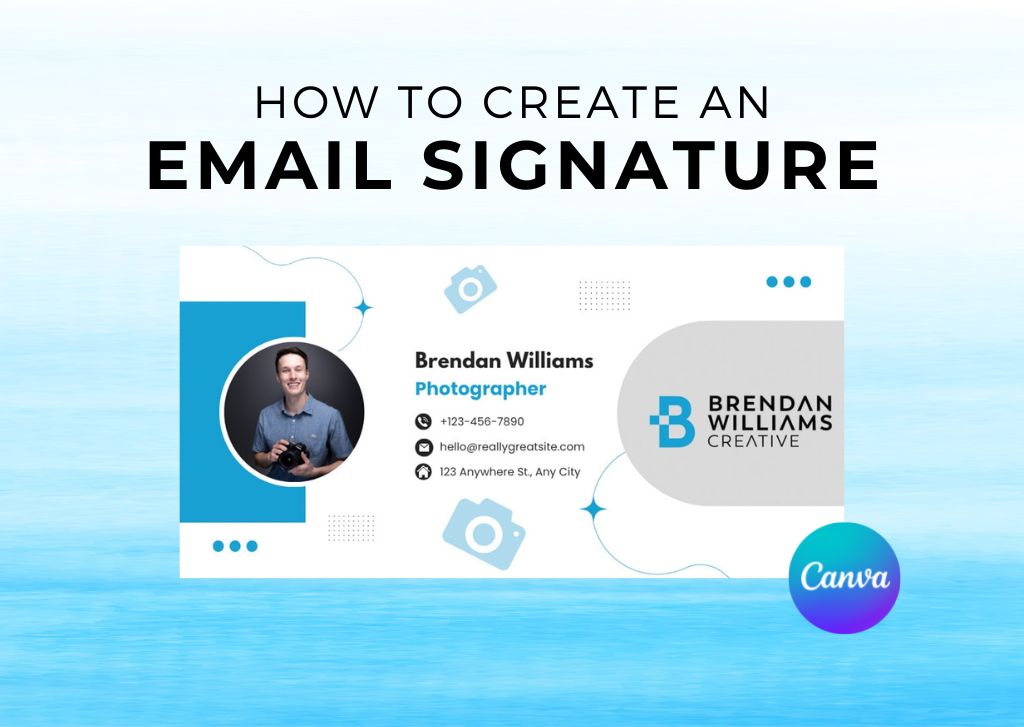
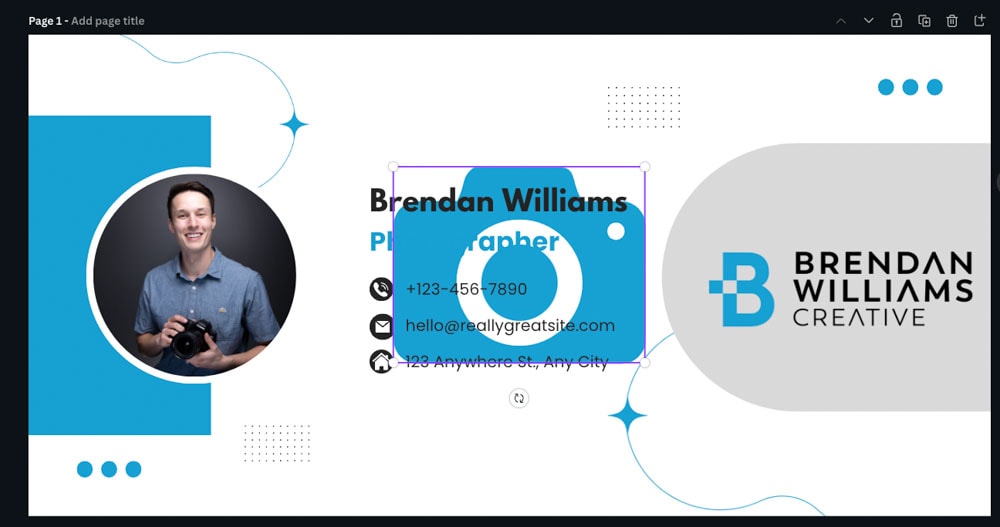
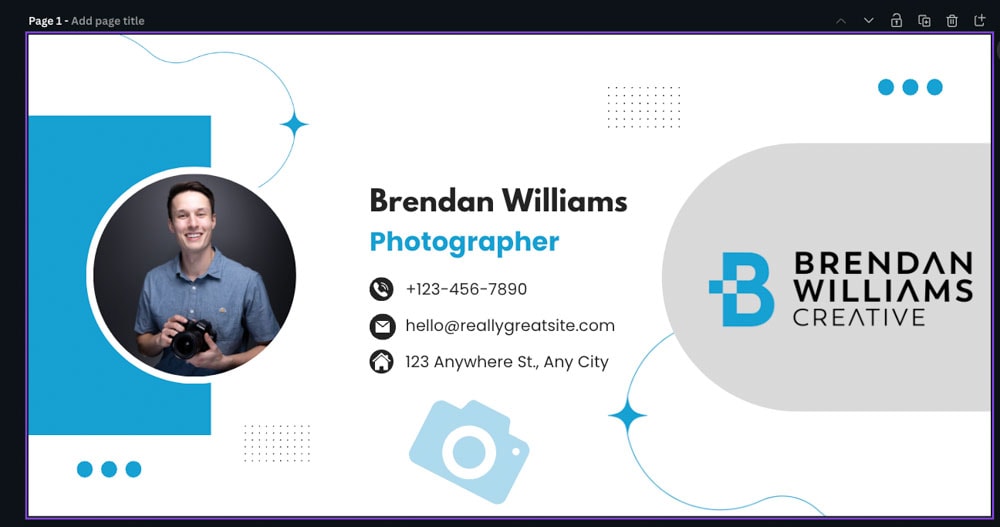
Step 2: Add Your Name And Other Personal Details
The most important element in your email signature is your name.
To add your name to your email signature, double-click the placeholder name, then add your own.

You can also add other details about yourself, including phone numbers, emails, addresses, etc. These details are all optional.
Step 3: Add Your Photo
The first thing you need to know about the photo on your template is that it’s a Photo Frame. If you click on the image and press Delete, you will see the frame itself.


This frame makes adding your photo to the template easier.
To add your photo to Canva, drag the image you want to use from another window into Canva.

Then, drag that image into the frame. The image should adjust itself perfectly. If not, you can double-click on the image and adjust it from there.
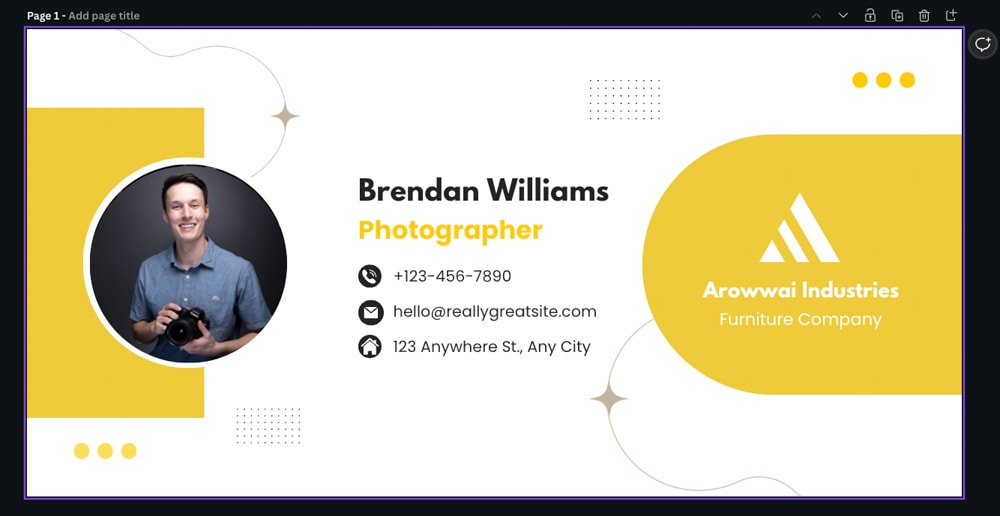
Step 4: Add Your Logo
If you have a logo for your company, now is a good time to add that as well.
First, locate the template logo and select it. Press Delete to remove it.

Now, drag your logo into Canva and place it where the template logo was. It may not look quite right at first, but it will look better once you customize your email signature more.

Step 5: Customize The Look Of Your Email Signature
Now it’s time to make this template feel like your own.
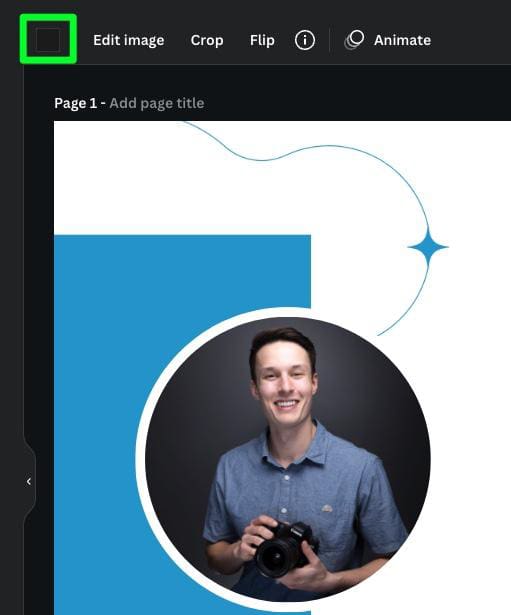
To start, you can change the color of your elements by selecting the element, then click the Color Picker button. You can then choose whatever color you’d like from the side panel.
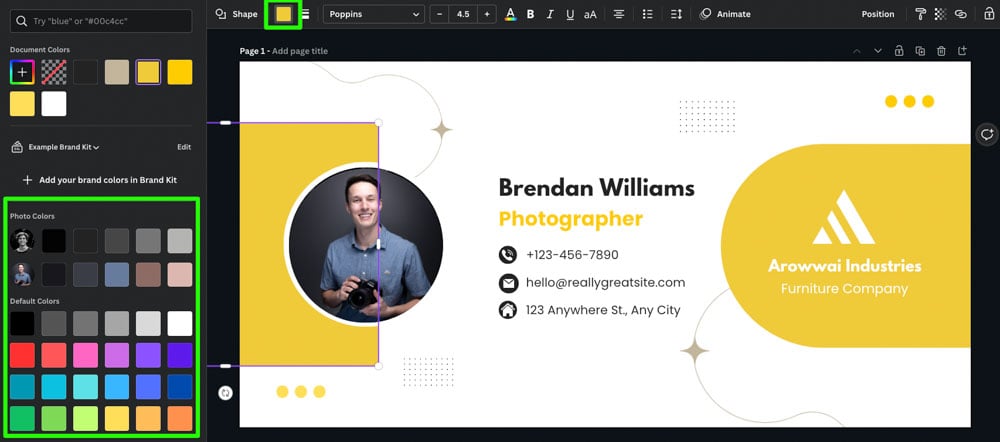
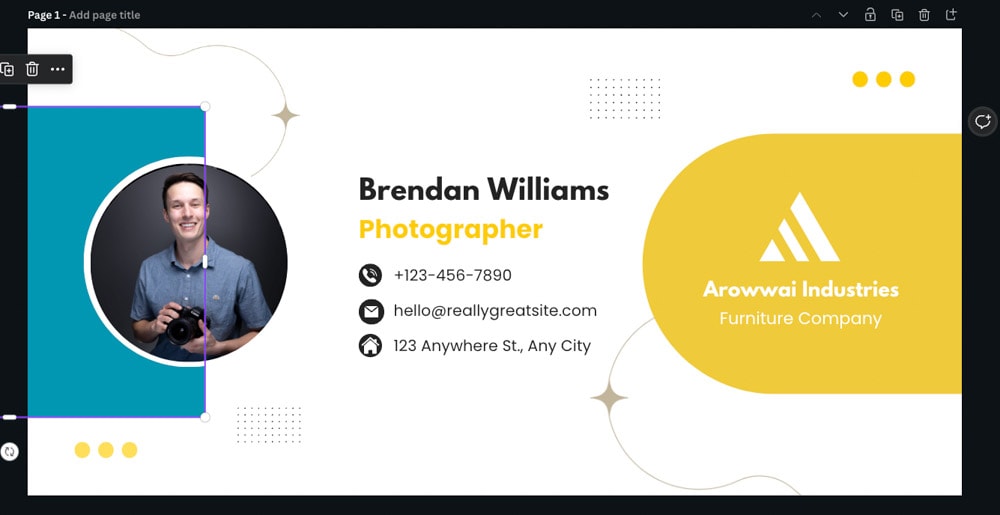
Repeat this process for all the elements in your template.
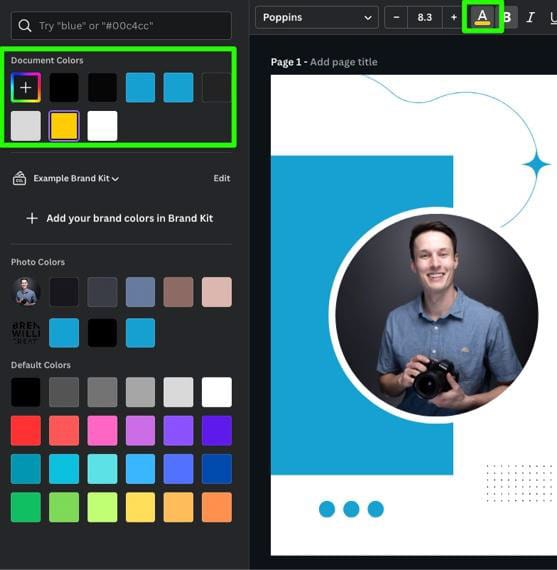
To change the color of your text, select it, then click the Text Color button. You can use the Document Colors section in the side panel to find a color you’ve already used. This will make sure everything matches.
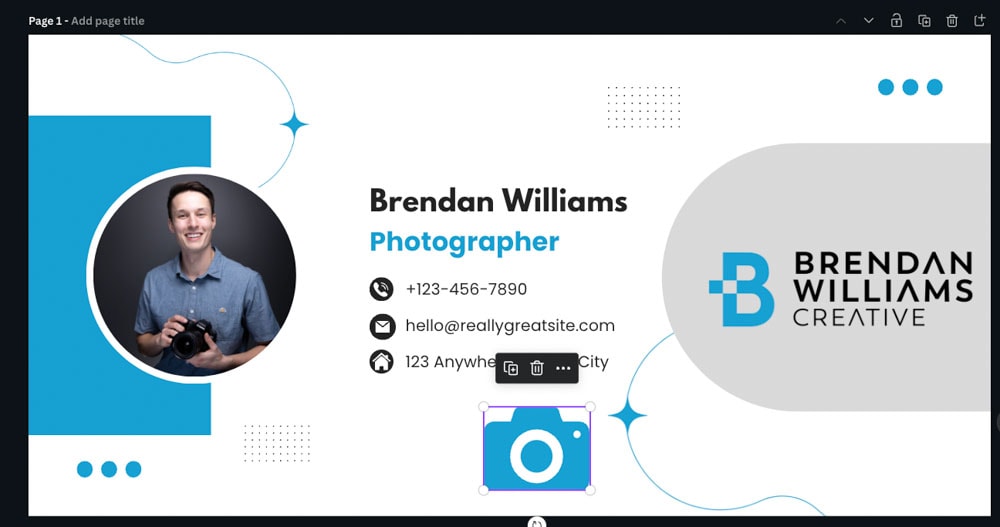
To make your email signature your own, you can add a few elements to represent yourself.
To start, click on Elements, then search for your theme in the search bar. In the Graphics section, click See All to browse all your options.
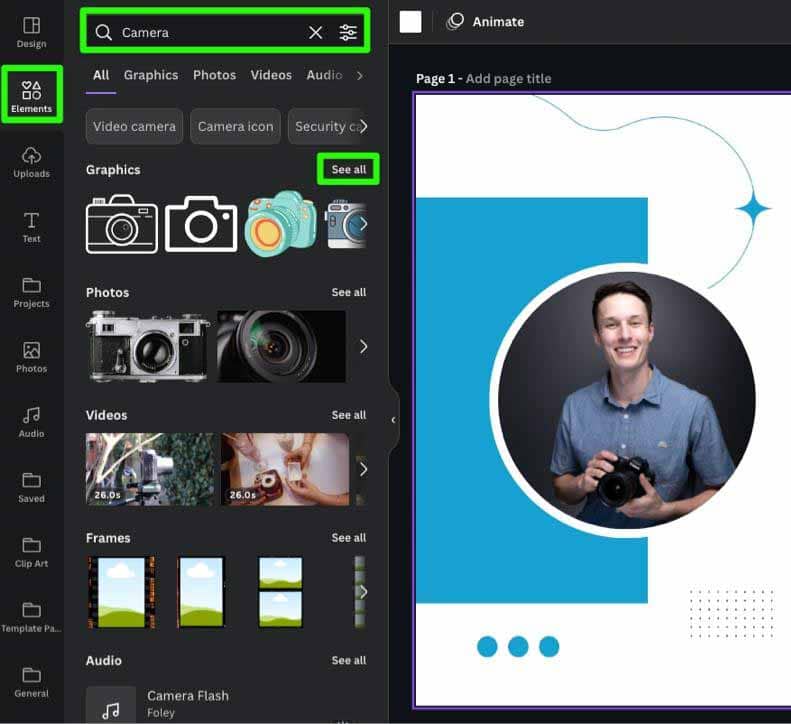
Once you find an element that works, click it to add it to your canvas.
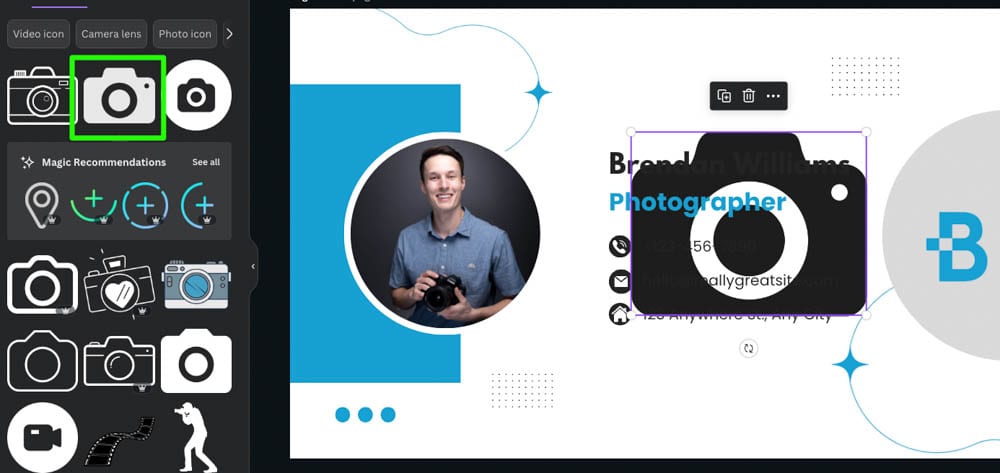
You can change the element’s color to fit the rest of your template with the Color Picker and resize the element with the corner handles.
You can use the Rotate button to tilt your element.
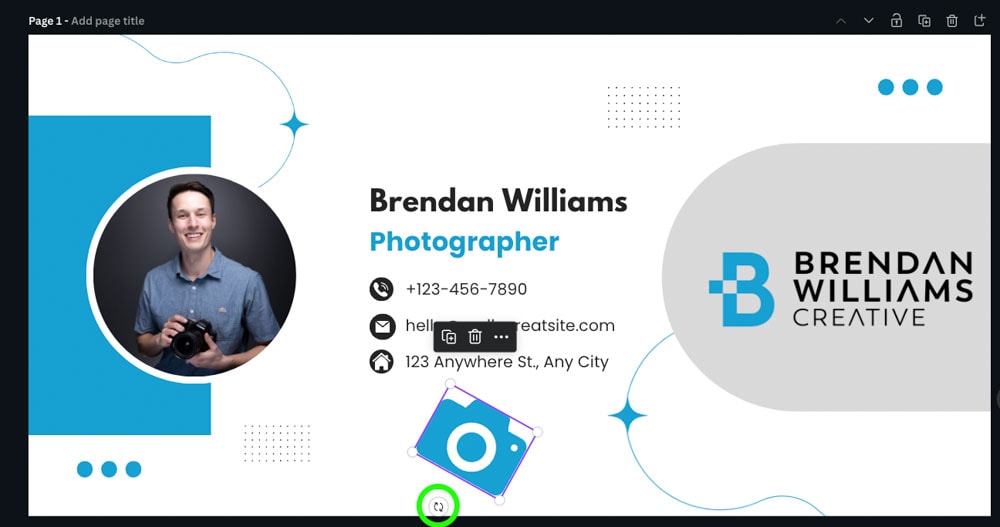
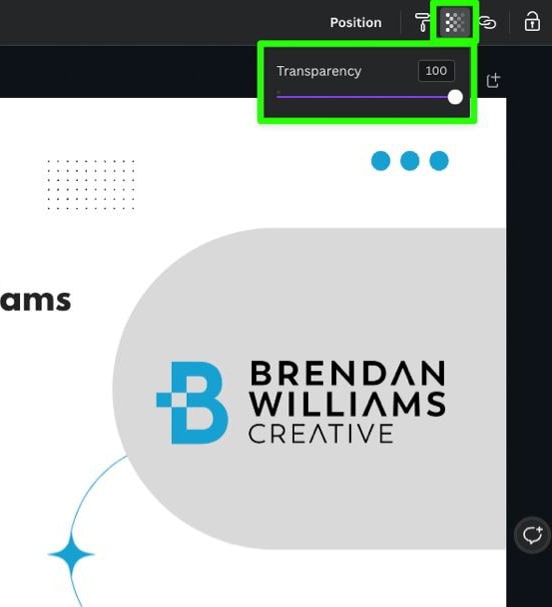
To blend the element into your design, click the Transparency button and use the slider until your graphic looks more like it’s part of the background.
If you want to add another of the same element, first select it, then click the Duplicate button in the mini options bar.
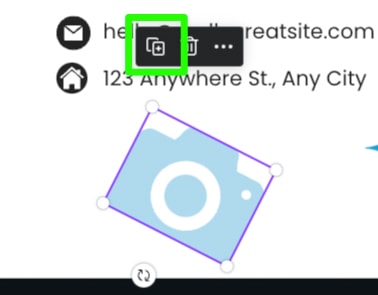
You can then resize, rotate, and move the duplicated element where you want it.

Step 6: Export Your Email Signature
Once you’re satisfied with your design, it’s time to export it.
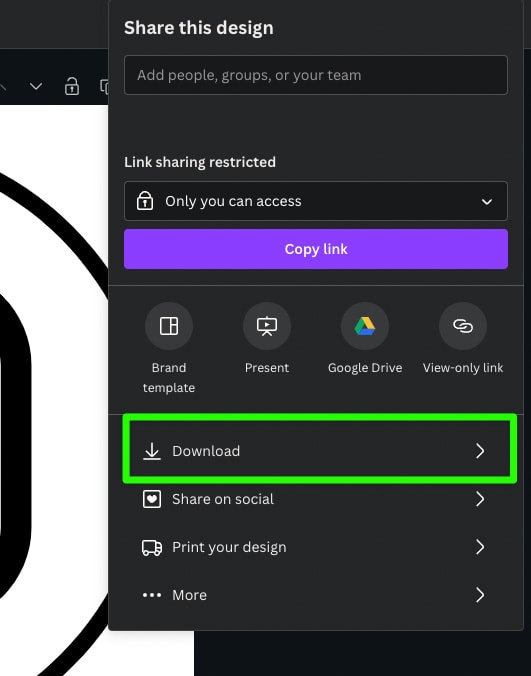
To do so, click the Share Button at the top right corner of the screen. Then, click Download.

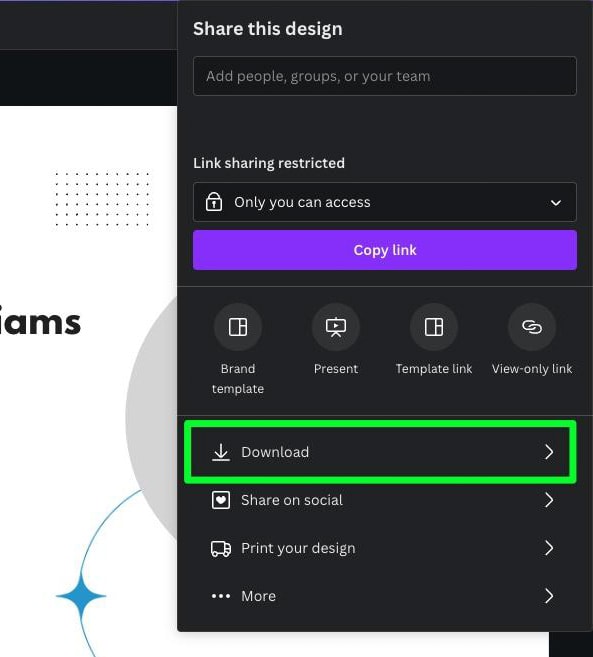
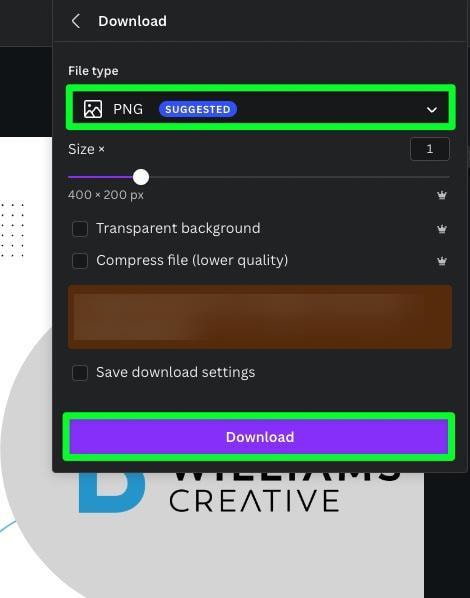
When it comes to the File Type, choose PNG to keep the quality of the signature high while keeping the file size small. Click Download to export your design to your hard drive.
Step 7: In A New Document, Create Your Social Link Images
To make it easier for someone to visit your social media, you can add clickable PNGs under your email signature.
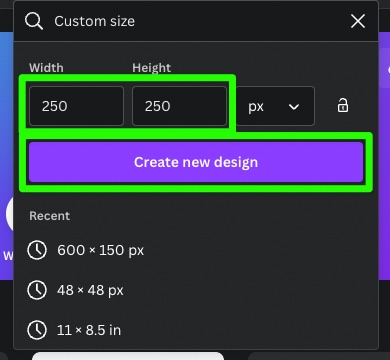
First, create a new document from the Canva homepage by selecting Create A Design. Then, click Custom Size.
Next, add 250 in both the Width and Height boxes. Then, click Create A New Design.
A blank canvas will pop up in a separate tab.

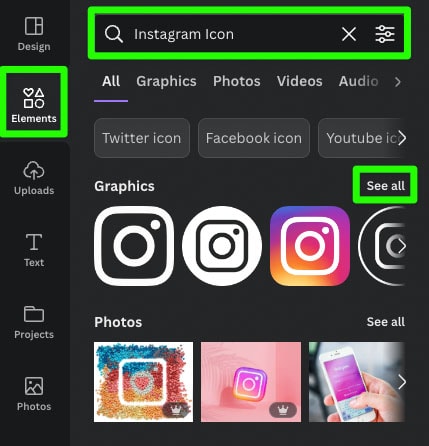
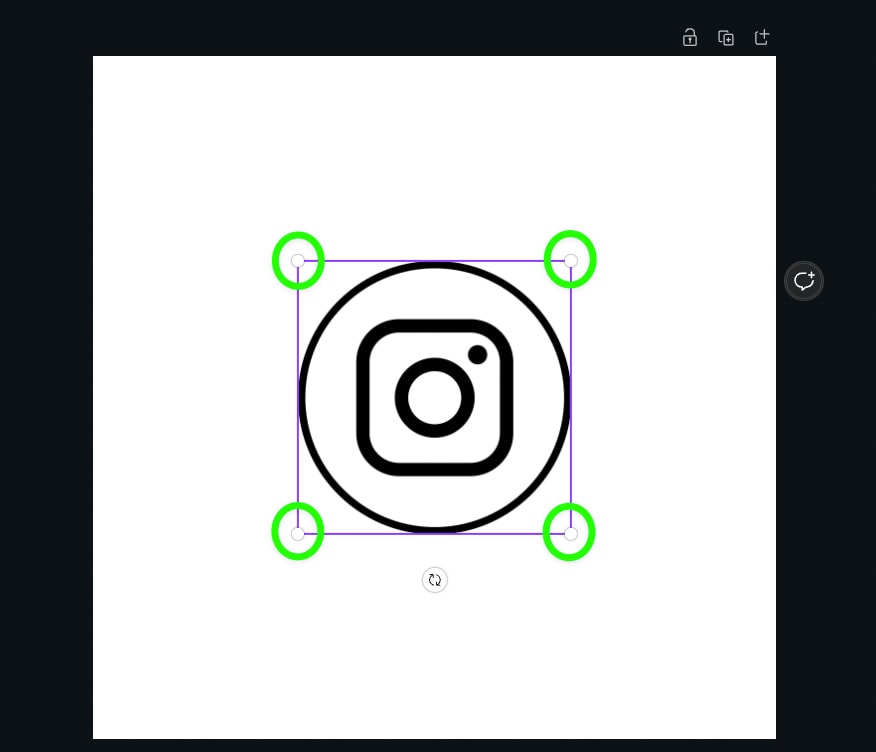
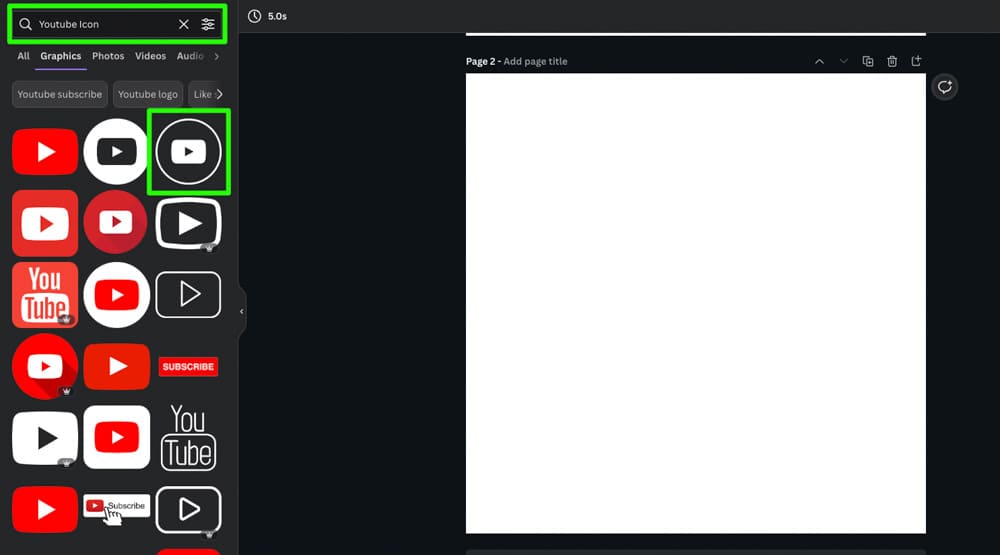
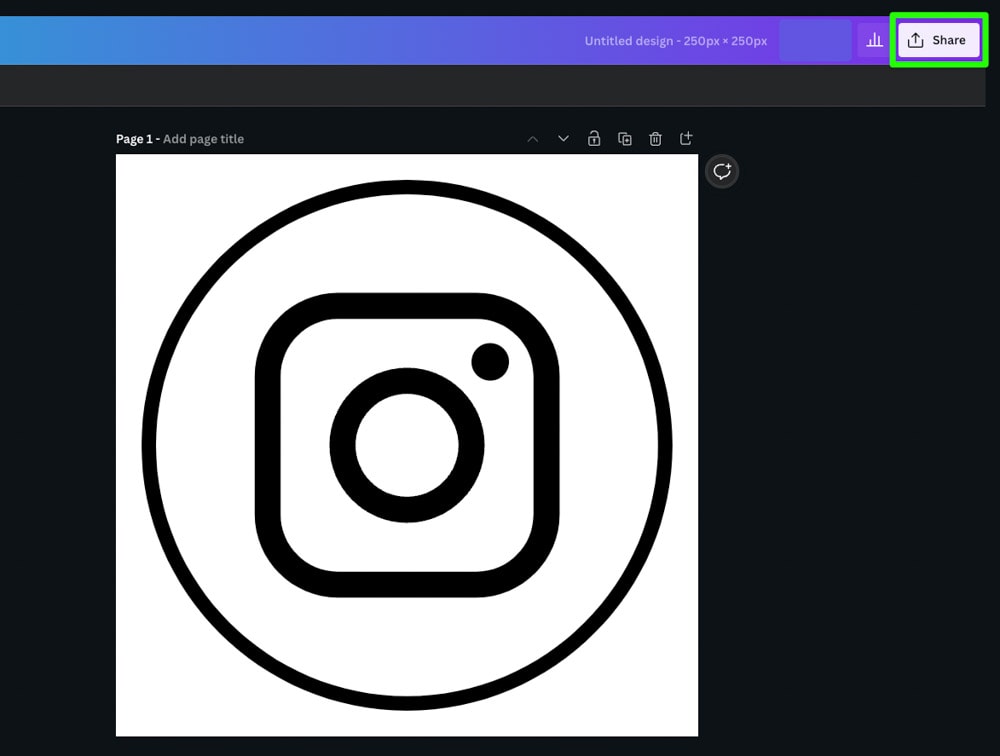
Next, you must fill your empty Canvas with a social media icon. To find one of these icons, go to Elements and search for the icon you need.
In the Graphics section, click See All to find your choices.
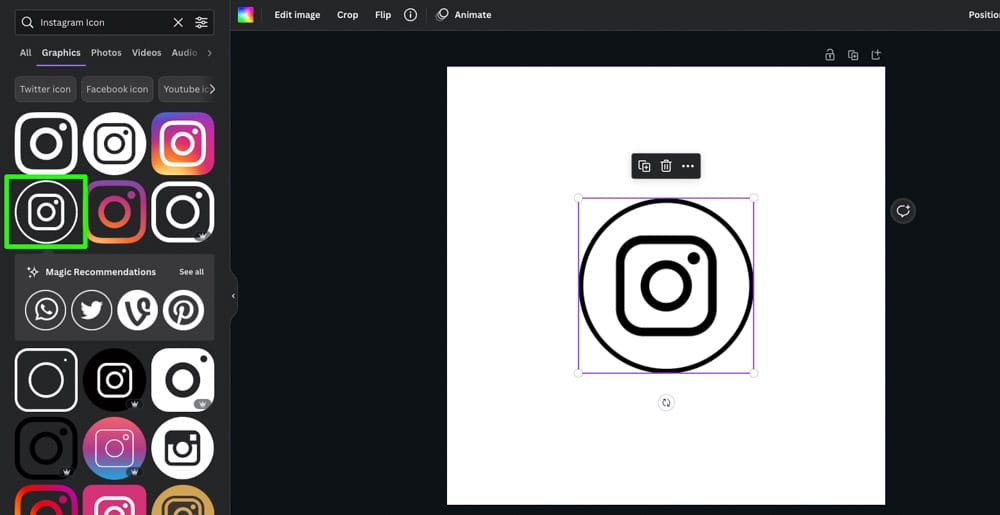
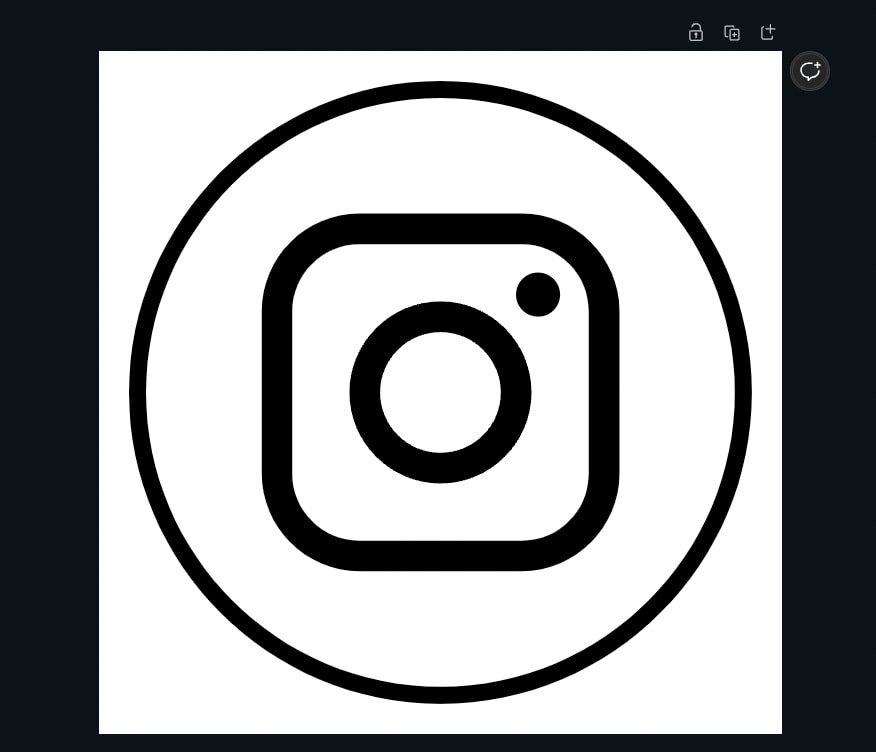
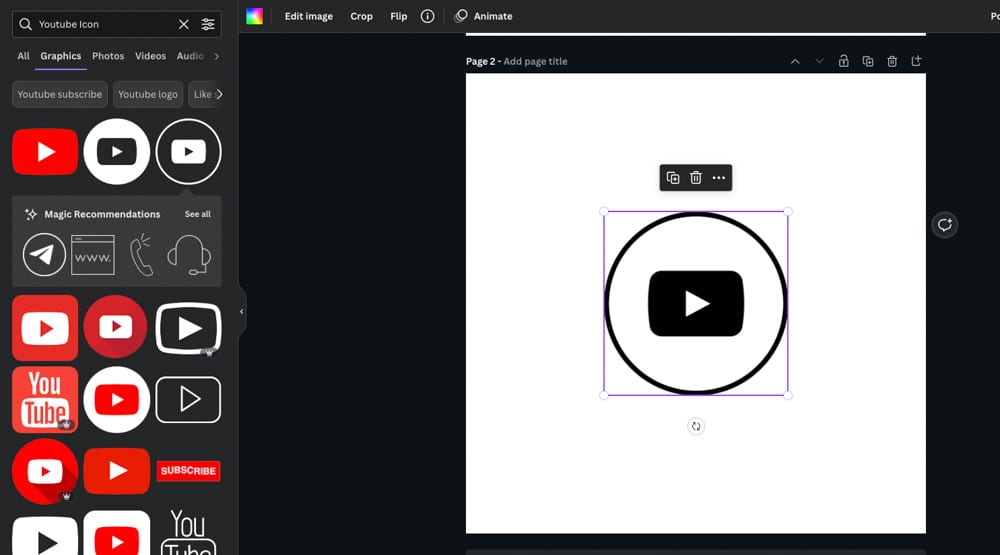
When you find the icon that works the best, click it to add it to your design. Use the corner handles to resize the icon to fill the entire canvas.
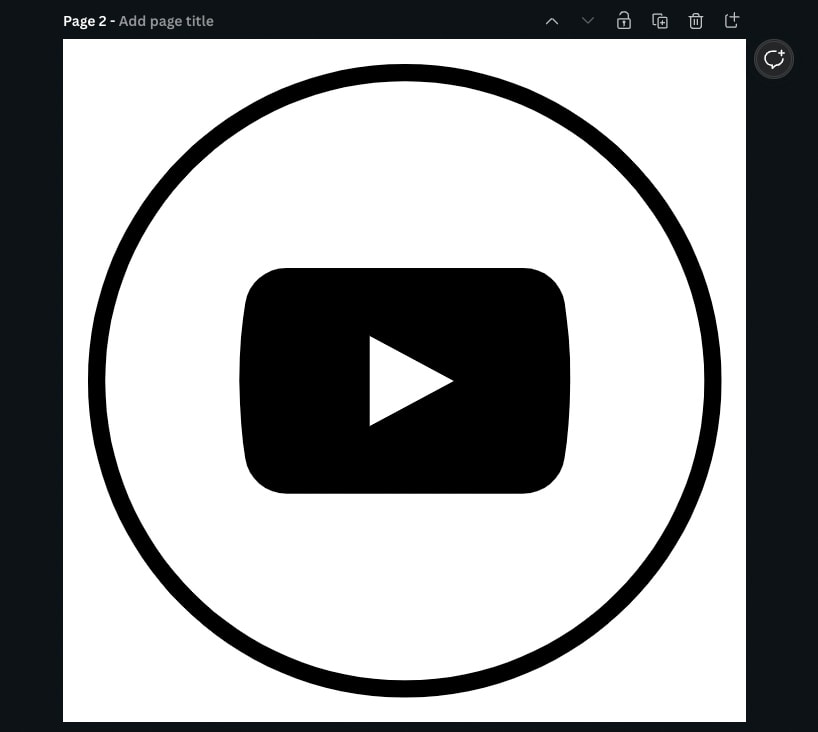
Once your first icon is ready to go, you can create another one by clicking the Add Page button above the canvas. This will add a blank page below your current one.

In the Side Panel, search for the next social media icon you need. Try to find an icon that matches your first icon as best as possible.
Resize your new icon to fill the entire canvas. Repeat this process for as many social media links as you’d like.
Step 8: Export Your Social Media Icons
Now that your social media designs are complete, you just need to export them.
First, click the Share button in the top right corner, then click Download.
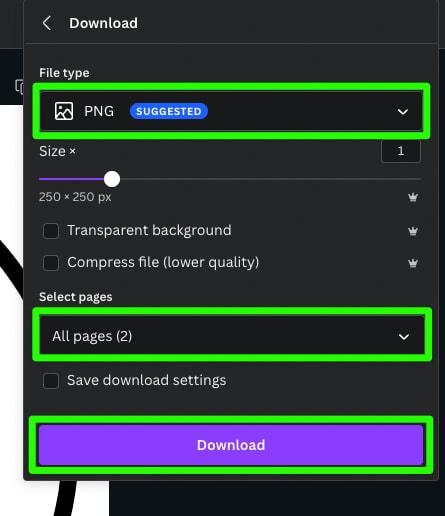
Make sure PNG is selected in the options menu if you want high-quality images. You can choose JPEG if you need to save room and don’t mind lower quality.
Also, make sure All Pages is selected under Select Pages.
Click Download when ready. When prompted to choose a location to save your designs, choose where you saved your email signature. This will save you time when uploading these images in the next step.
Step 9: Add Your Email Signature To Your Email
Every email service is different when it comes to adding your signature. Setting everything up could be a hassle, but remember that you only have to go through the process once.
Click here if you have a Gmail account.
Click here if you have an Outlook account.
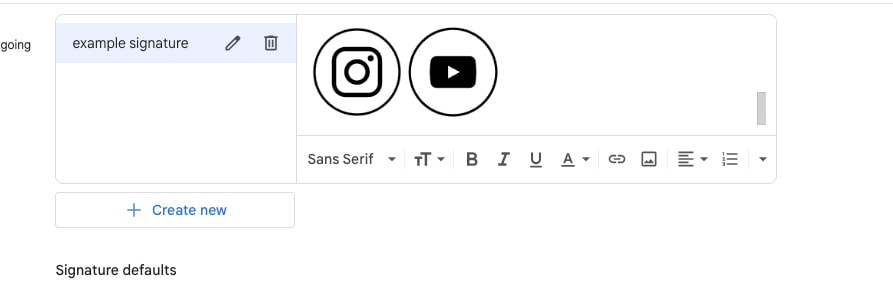
As for setting up the social media images with your email Signature, let me explain using Gmail:
Following the steps in the link above, upload the email signature graphic in the signature section.
Then, click the Add Photo button again, and add your first social media graphic. Make sure your cursor is below the email signature graphic.
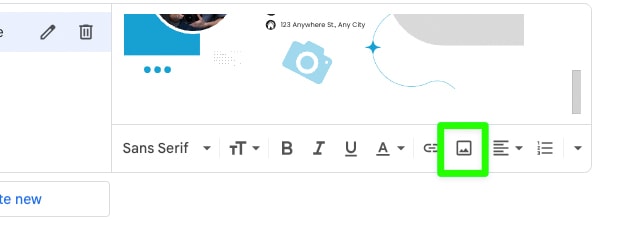
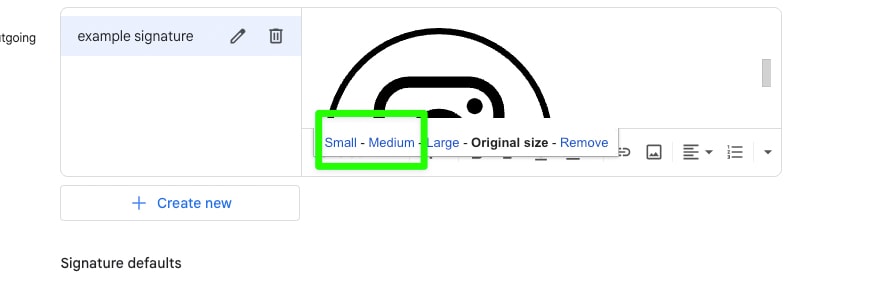
When you add your picture, it may be larger than you’d like. If that’s the case, click on it to see your options, then choose either small or medium.

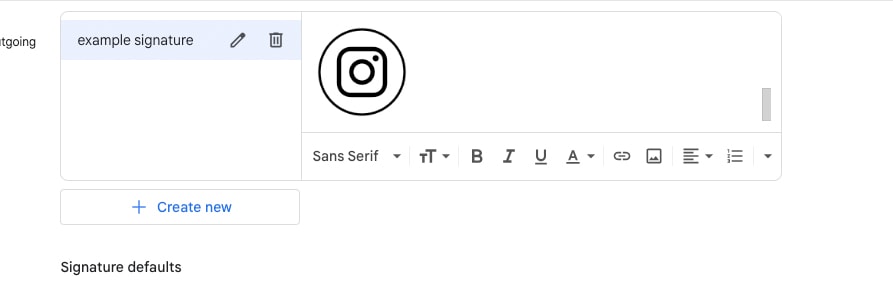
Repeat this same process with each one of your social media graphics.
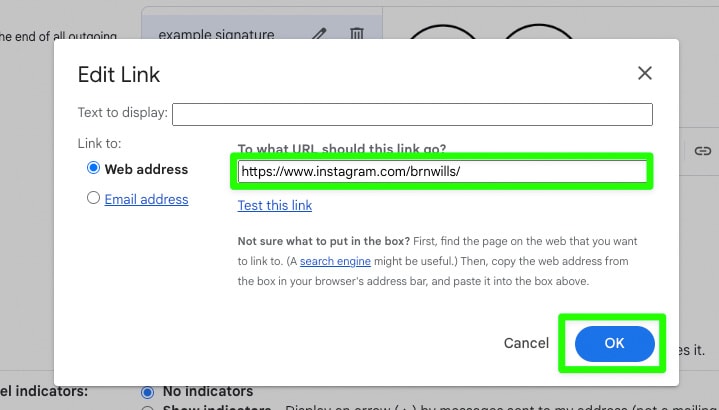
Once you have all your graphics laid out, you can hyperlink each one by selecting it, then click the Link button.

When prompted, ensure Web Address is checked and enter your URL in the To What URL Should This Link Go box. Click OK when finished.
You now have a great-looking email signature to keep your emails professional and promote your brand.