
Knowing how to add photos to Canva helps you customize your designs and create stunning graphics.
In this post, you’ll learn how to drag and drop your images into any design, replace pictures in a template with your own, and place your photo into one of the many available shapes that Canva provides.
How To Add Photos To Canva
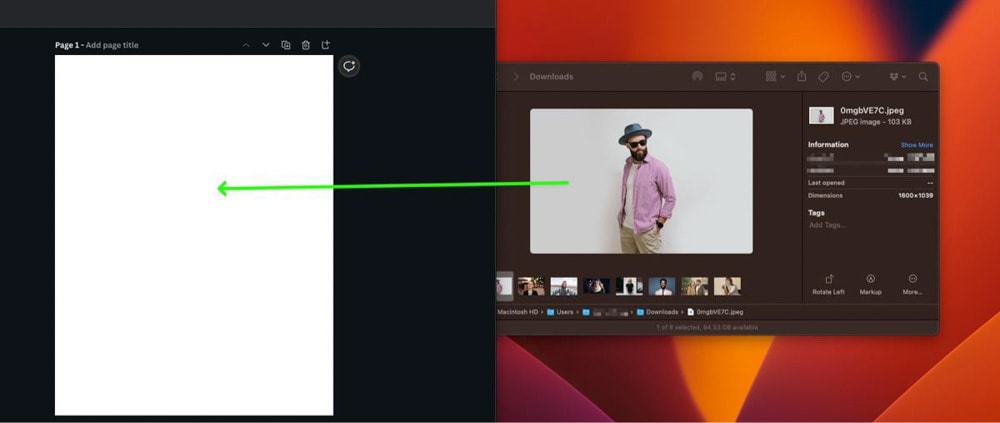
Step 1: Drag An Image From Your Device Onto The Canva Document
To drag and drop an image into Canva, first set up Canva on one side of the screen, then set up the folder with your pictures in a separate window beside it. Then, click and drag the image you want uploaded onto the canvas in the Canva window.
To upload multiple files, you can hold down Control (Win) or Command (Mac) and click on all the photos you need before dragging them into Canva. Alternatively, you can hold down Shift, click on your first image, then click on the last photo you need to select a batch.
You will be limited to only uploading 100 photos at a time if you are a free Canva user. If you are a Canva Pro user, there is no limit to the number of images you can upload at once.
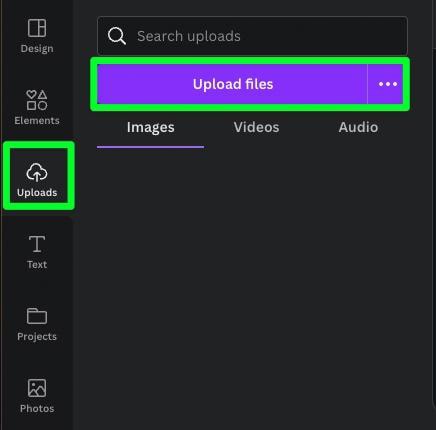
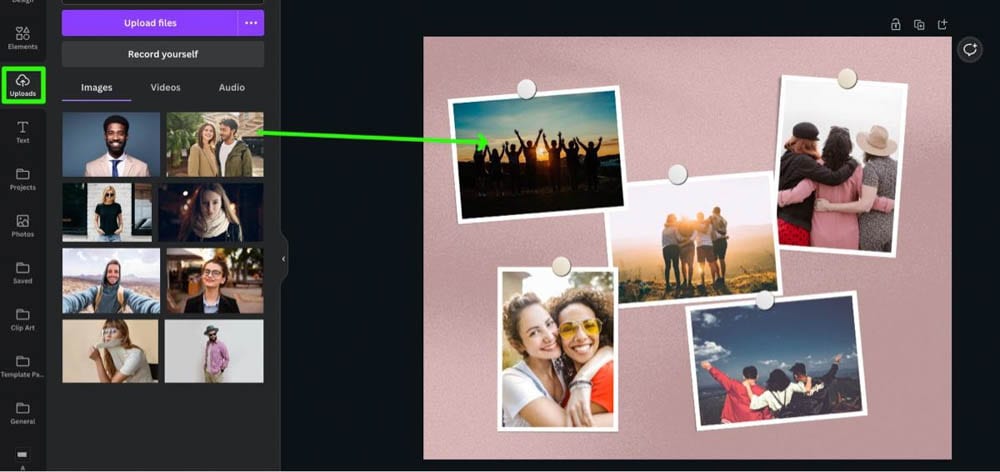
Step 2: Click On The Uploads Tab And Select Upload Files
If you don’t feel like setting up your windows beforehand, you can add your images to Canva by clicking the Uploads tab and then the Upload Files button.
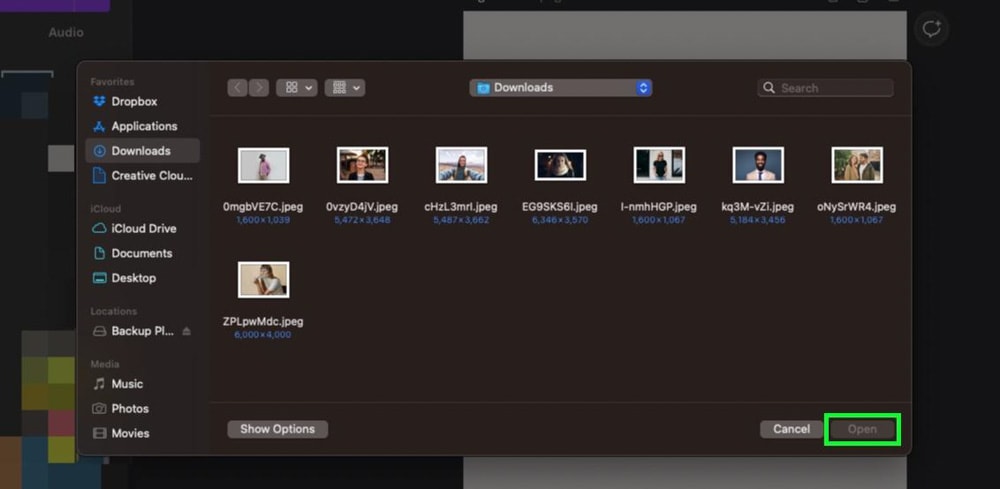
You will be prompted to search through your hard drive in a separate window. From here, navigate to the image you wish to add to your Canva account, then click Open. You can also select multiple images using the Upload Files button.
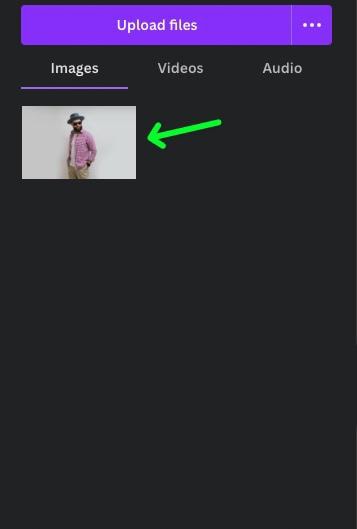
You can find the image you added in the Uploads tab.
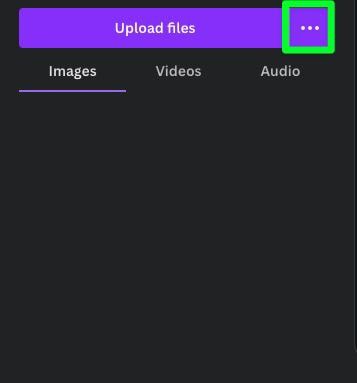
Next to the Upload Files button are Three Dots. Click on these three dots to bring down a separate upload menu. In this menu, you’ll be able to upload images from your Google Drive, Dropbox, Instagram, or Google Photos accounts.
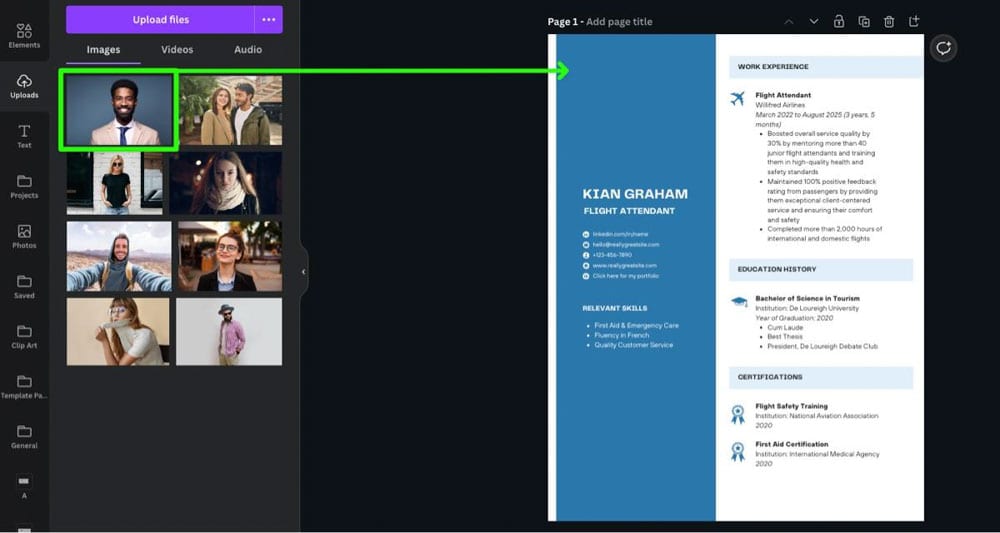
Step 3: Drag The Image From The Uploads Tab Onto The Canvas
There are two ways you can add your photo to your design. You can click the picture to add it, or you can physically drag the image where you want it on your Canvas.
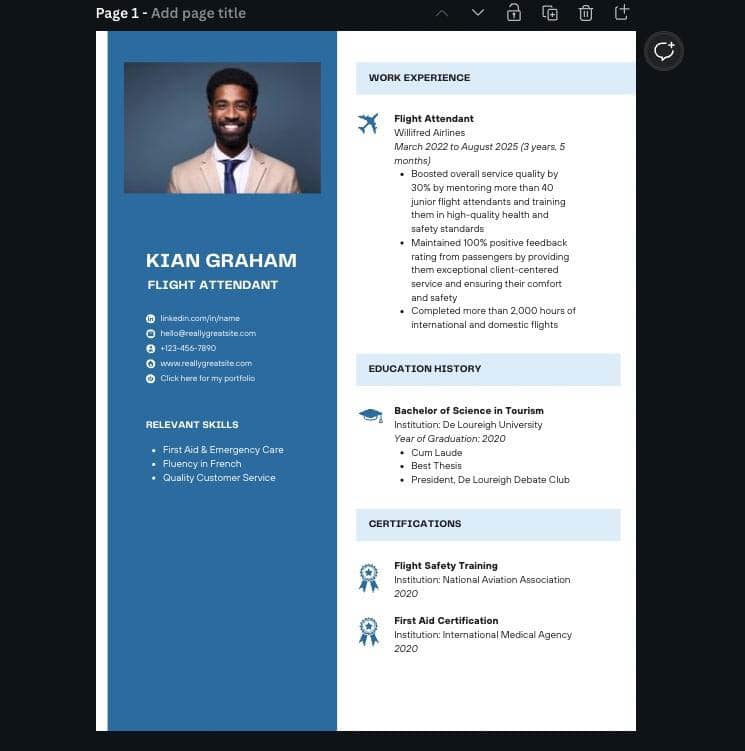
If you add the photo by clicking it, Canva will add it to the middle of the canvas. From there, you can resize the image and move it where you need it.
If you are using Canva Templates, you can replace the existing images with your own.
Click on the Uploads tab to see all the images you’ve uploaded. To replace a photo on your template with one of your own, drag the image from the side panel on top of the image on the template. The new image will fit perfectly in the space on your template.
Another feature you can find in Canva is Frames. Frames come in various shapes and will crop your image to fit.
Why Won’t Canva Let You Upload Certain Photos?
A glitch in Canva or poor internet connectivity may cause an uploading error. However, often, your photo won’t upload based on its file type.
Canva will allow you to upload four different file types:
- JPG
- PNG
- SVG
- GIF
A folder in Canva can only contain up to 200 items if you’re a free Canva user. If you’re a Canva Pro user, you can upload up to 1000 items in each folder.


