

There’s nothing worse than spending time on a design only to realize that you need your design in a different orientation. The good news is it’s easy to learn how to rotate a page in Canva.
Unfortunately, the feature mentioned in the first section is only accessible to Canva Pro users, but I’ll show you a workaround to rotate pages as a Canva Free user at the end of this post.


How To Rotate A Page In Canva Pro
Step 1: Click The Resize & Magic Switch Button
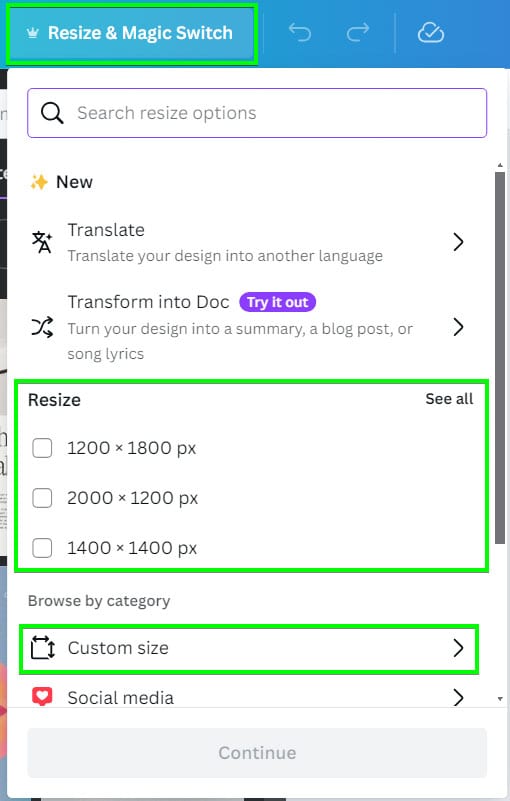
To start this process, click the Resize and Magic Switch button in the top left corner of your screen. You need to have a Canva Pro account to access this feature. Then, you can either use the Resize section to select a preset size to change the page to, or you can select Custom Size.
Step 2: Switch The Width And The Height Of The Design
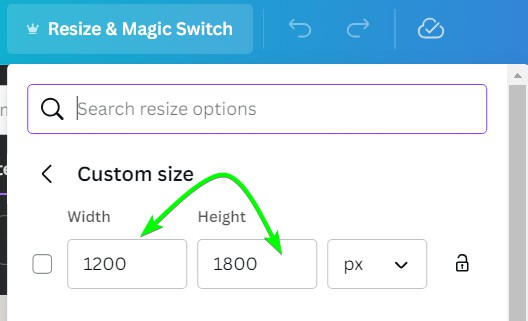
To orientate your canvas correctly, you need to swap the Width and Height of your design. Doing this will “flip” the canvas to how you need it and change the orientation.
Inside the Custom Size Panel, you will see the current dimensions of your project. From here, switch the Width number and the Height number around to flip the orientation of the page.
Step 3: Select Copy & Resize
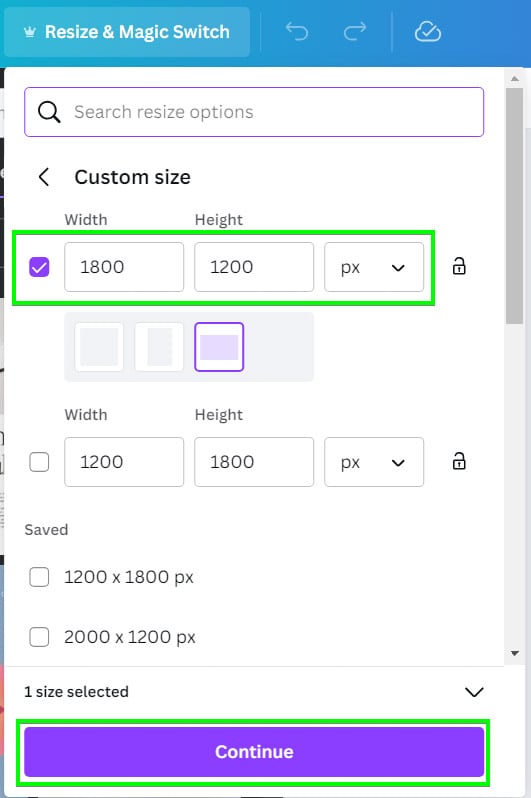
Now that the dimensions have been flipped, you can resize the document. First, click on Continue at the bottom of the panel. Then, you have two resize options once you see the preview.
- Copy & Resize – This option will duplicate your document in a separate tab and then resize it. This option is great for retaining your original document to use as a reference.
- Resize – This option will resize your original document. Doing this will replace your original document. I don’t recommend this option for rotating your canvas, as you will no longer have the original design if you want to go back.
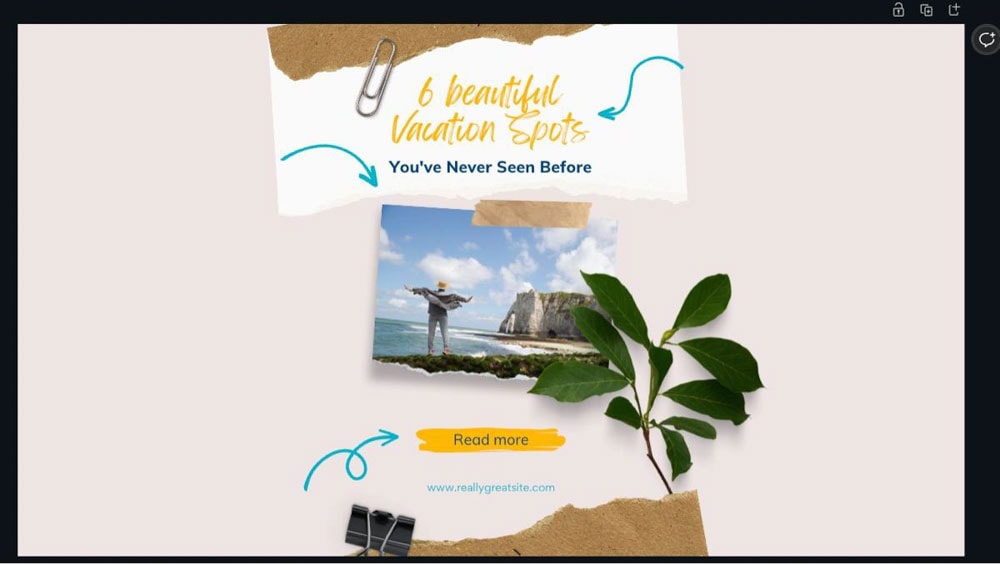
Once you select an option, the page will rotate, but in most cases, you will be left with a canvas with a ton of space on the left and right or top and bottom of the image.
Step 4: Reconstruct The Page To Fit The New Dimensions
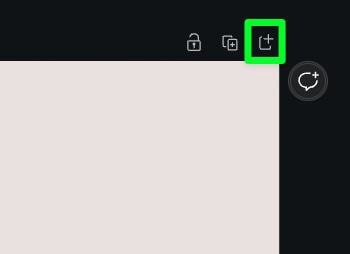
The next few steps involve moving around all of your elements. To make this easier, add a new page below your design by clicking the Add New Page button above the canvas.
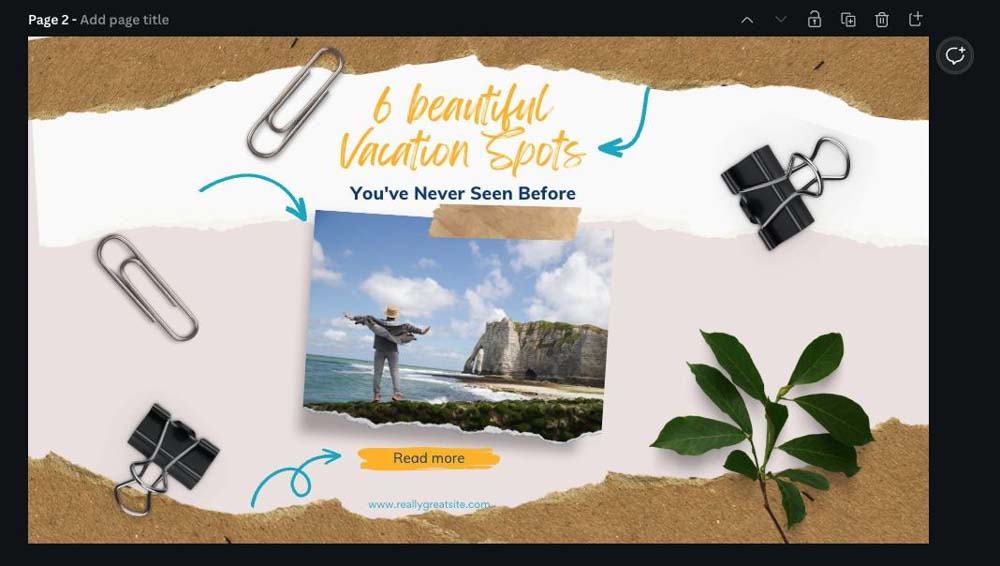
Then, drag and drop all the elements from your first page to the second page of the design. Use your original design as a reference. You can crop or resize images if needed or add new photos to Canva to fill up space.
Once you have the basic layout of your elements in place, you might notice areas of blank space. To keep your design aesthetically pleasing, duplicate one of the nearby elements and fill the space with it. You can also add a text box to add more elements to the page.
A quick warning when it comes to moving around images: If you used a frame in your design or chose a template that features a photo frame, and you want to move the layout of the images, you must detach each image from the frame to place the pictures in a new composition on your canvas.
To do this, right-click on one of the images, then choose Detach Image from the sub-menu. You can now move the images around your new design. Use the rest of the elements in your original design to fill out the design.
How To Rotate A Page In Canva Free
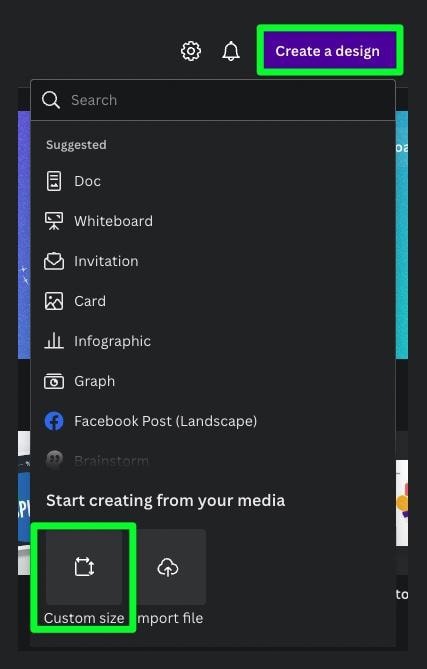
Rotating a page in Canva Free is possible, but a different method is used. You will need to copy the elements to a new design with the correct dimensions. To do this, click Create A Design on the Canva Homepage. Then, select Custom Size at the bottom of the menu.
Note: I compare all the differences between the pro and free versions of Canva here if you’d like to learn more.
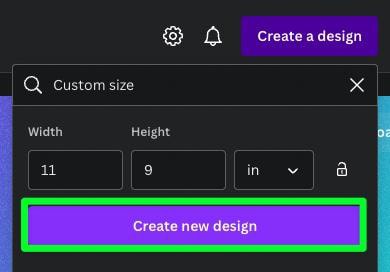
First, ensure the correct unit is represented in the drop-down menu to the right of the measurement boxes. Next, insert the opposite Width and Height values of your original design. Then, click Create New Design to open the canvas in a new tab.
From here, you can copy all the elements from the original design by selecting them all and pressing Control + C (Win) or Command + C (Mac). Then, paste them onto the new canvas using Control + V (Win) or Command + V (Mac) and reorder them into the new design. It’s a bit more work, but is definitely still possible.
So, although it’s always best to get your page orientation right when you first create a design, it is possible to rotate any page in Canva. Just remember to choose the Copy & Resize option if you are a Canva Pro user so you don’t lose your work from the original project!


