

Frames are a great way to give your project some professional-looking flair and decorate it to make it visually appealing. A frame can make all the difference in making your work stand out. Luckily, it’s easy to learn how to use frames in Canva.
In this guide, I’ll go over how to find the exact frame you need, how to resize and add it to your Canva design, plus how to add multiple frames to one project. Let’s get started!
How To Use Frames In Canva
Step 1: Drag The Frame From The Side Panel Onto Your Canvas
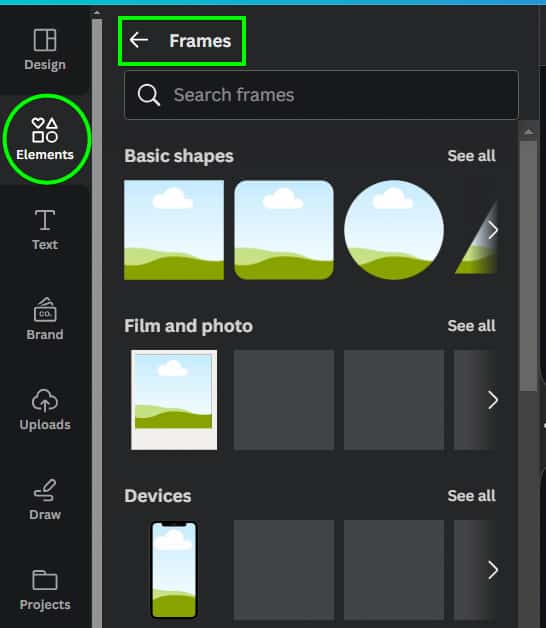
First, select the Elements tab, scroll down until you see Frames, and click on See All. You can then use the search function or browse through the frames to find one that suits your project.
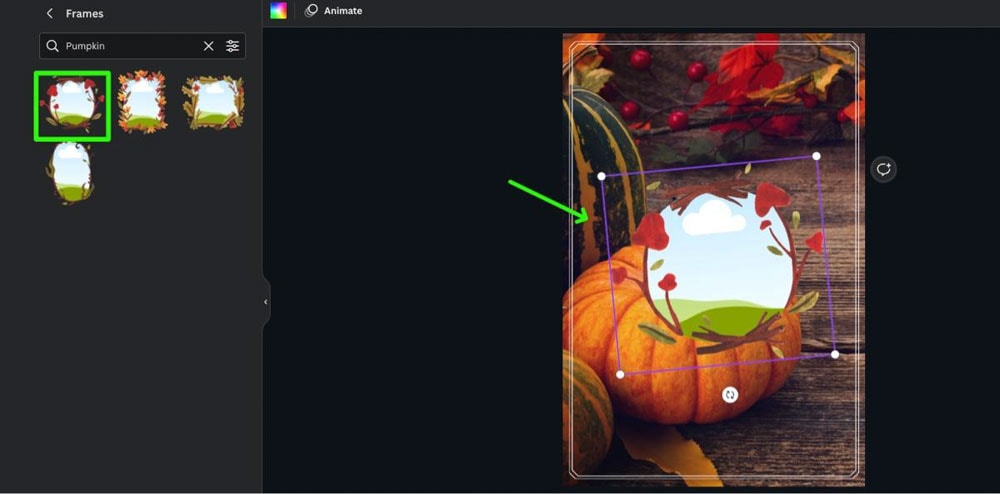
Next, drag the frame from the Side Panel to your Canvas or simply click on it to add it to your design. Clicking on a frame will add it to the middle of the canvas.
Step 2: Resize The Frame Using The Control Handles
First, click the frame to reveal the corner handles. Then, drag one of the four corners until the frame is your desired size.
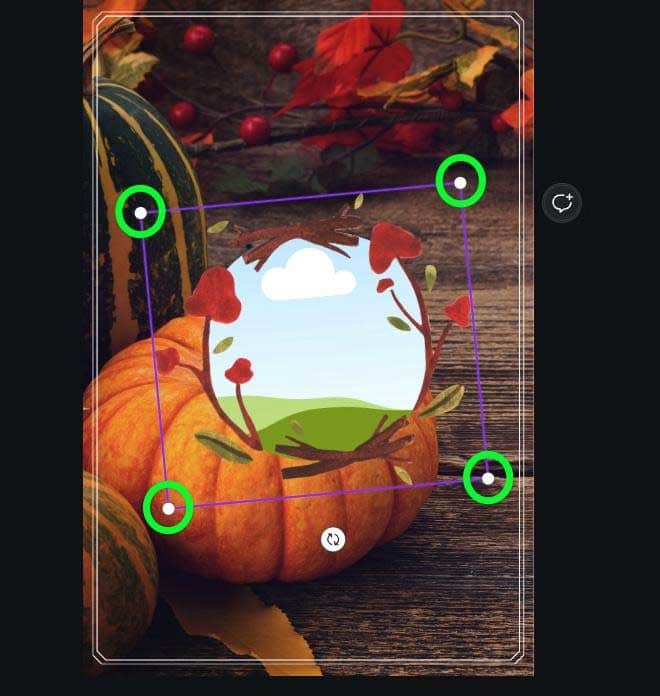
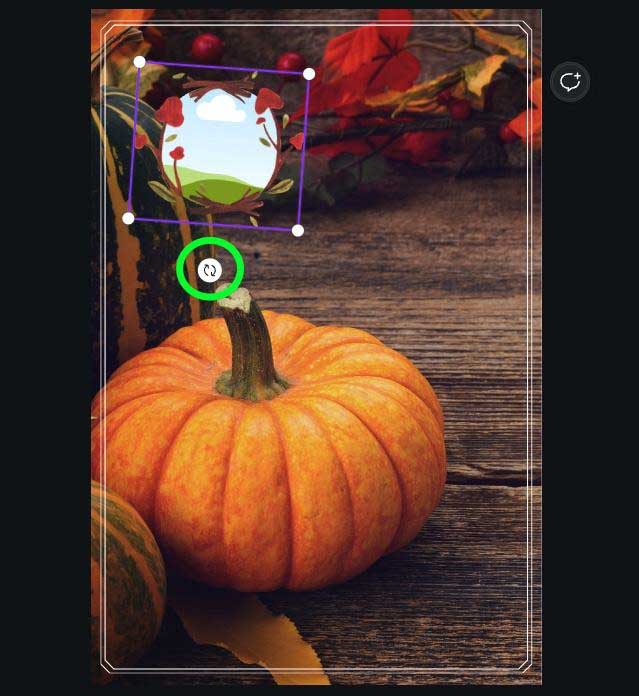
You can also rotate the frame with the Rotate button below the frame.
Step 3: Drag An Image Over The Frame To Add It
If you have a personal photo to use, you can add photos to Canva by clicking the Uploads tab and then selecting Upload Files. To find an image on Canva, click the Elements tab, find the Photos section, and click See All. You can now browse or search for specific images.
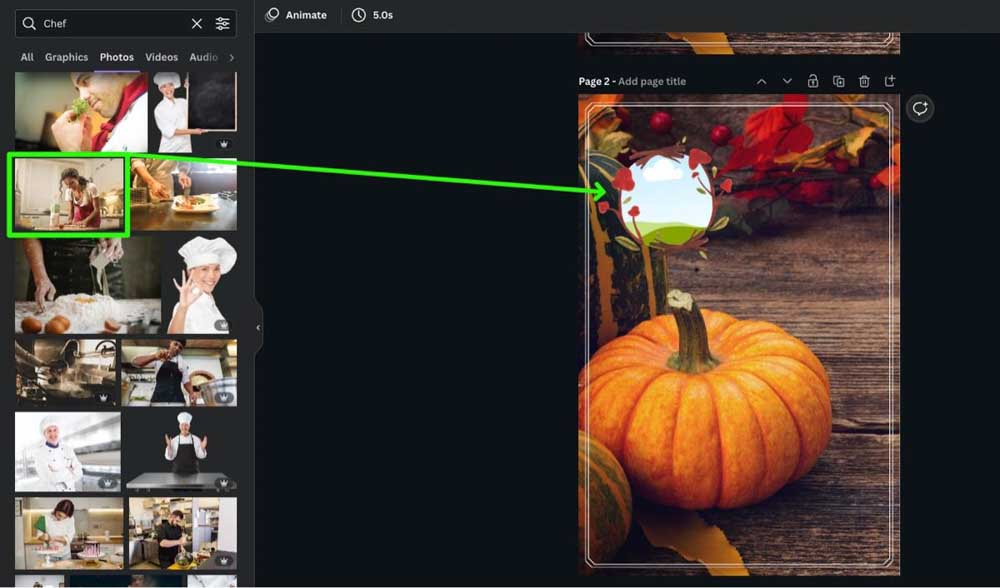
Once you’ve found an image you want to use, drag it directly from the Side Panel into the frame itself. The image will resize itself to fit within the frame.
Step 4: Reposition Or Resize The Image Inside The Frame By Double-Clicking On The Image
Sometimes, when you drag your image into a frame, the picture doesn’t quite line up how you need it. When that happens, double-click the image itself to see the entire image. Then, drag the image to line it up to where you need it within the frame.
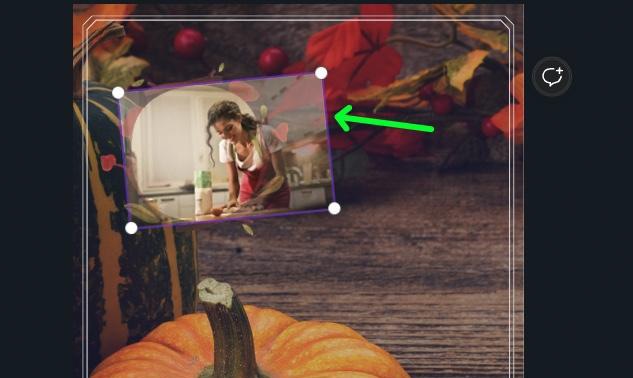
Once the image is where it needs to be, click anywhere on the canvas to confirm its placement.

You can still edit your image like any other image with your image in the frame. For example, you can add a filter to the image to help match the tone of the design. You can also flip the image by clicking the Flip button and selecting Flip Horizontal or Flip Vertical.
How To Use Frames In Canva Mobile
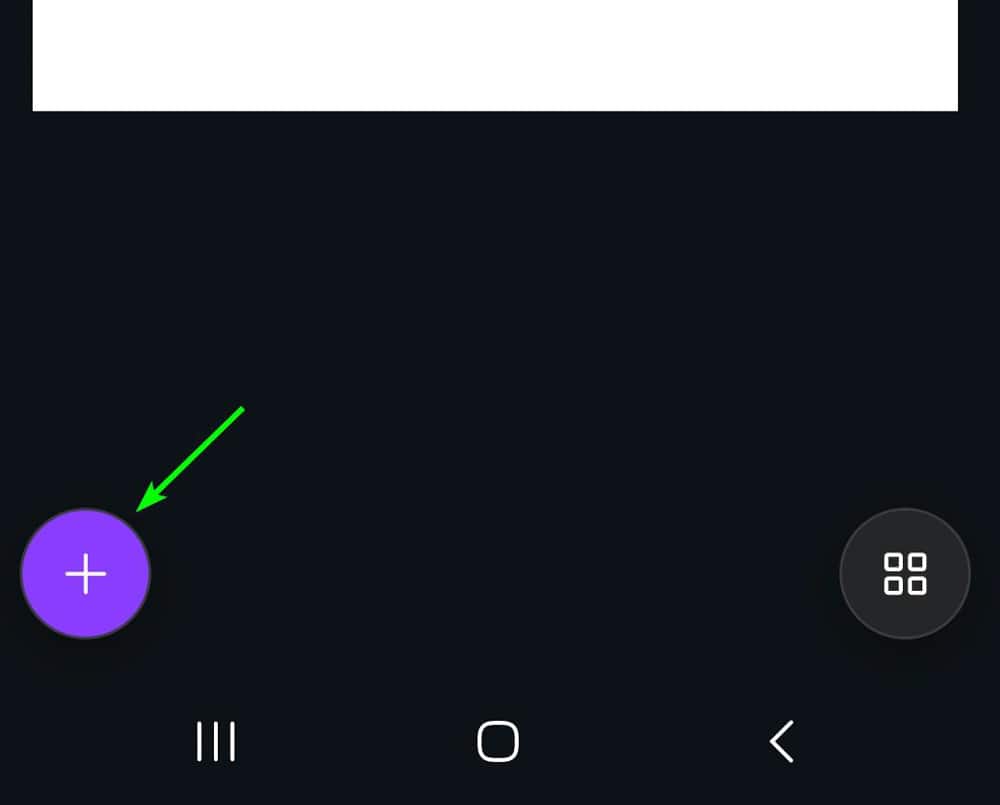
The process is relatively similar in Canva Mobile. With your design open, click on the Plus icon to open the options.
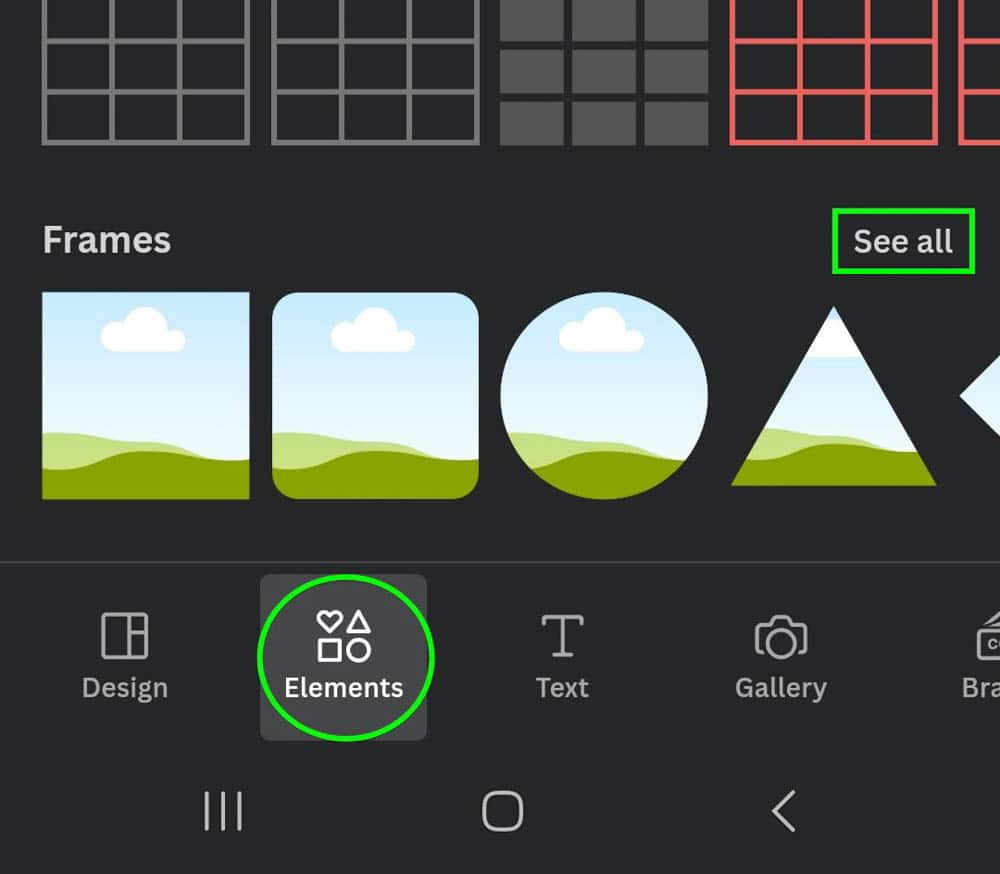
Then, open the Elements tab, scroll down until you find the Frames section, and click on See All to browse the available frames.
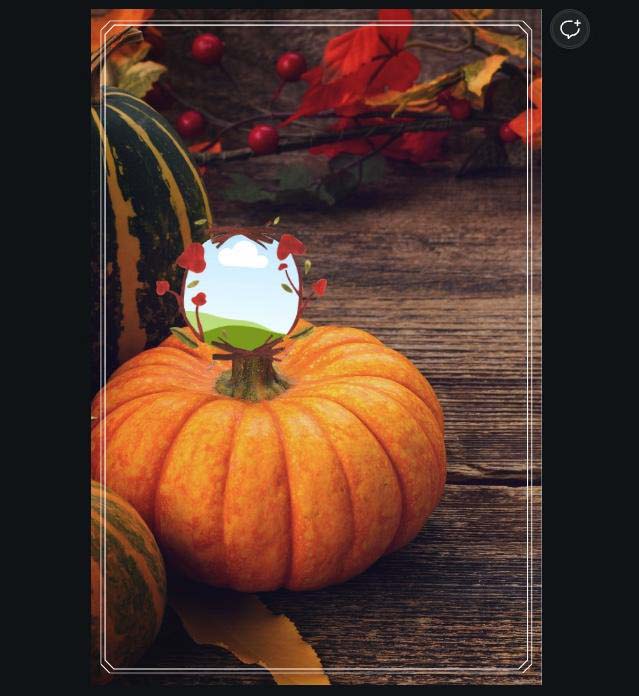
When you find a frame you like, tap on it to add it to the canvas. To add an image, click on the Plus icon again, and this time go to Gallery to select your own image or open Elements and then scroll to find Photos. Tap on a picture to add it to the canvas.
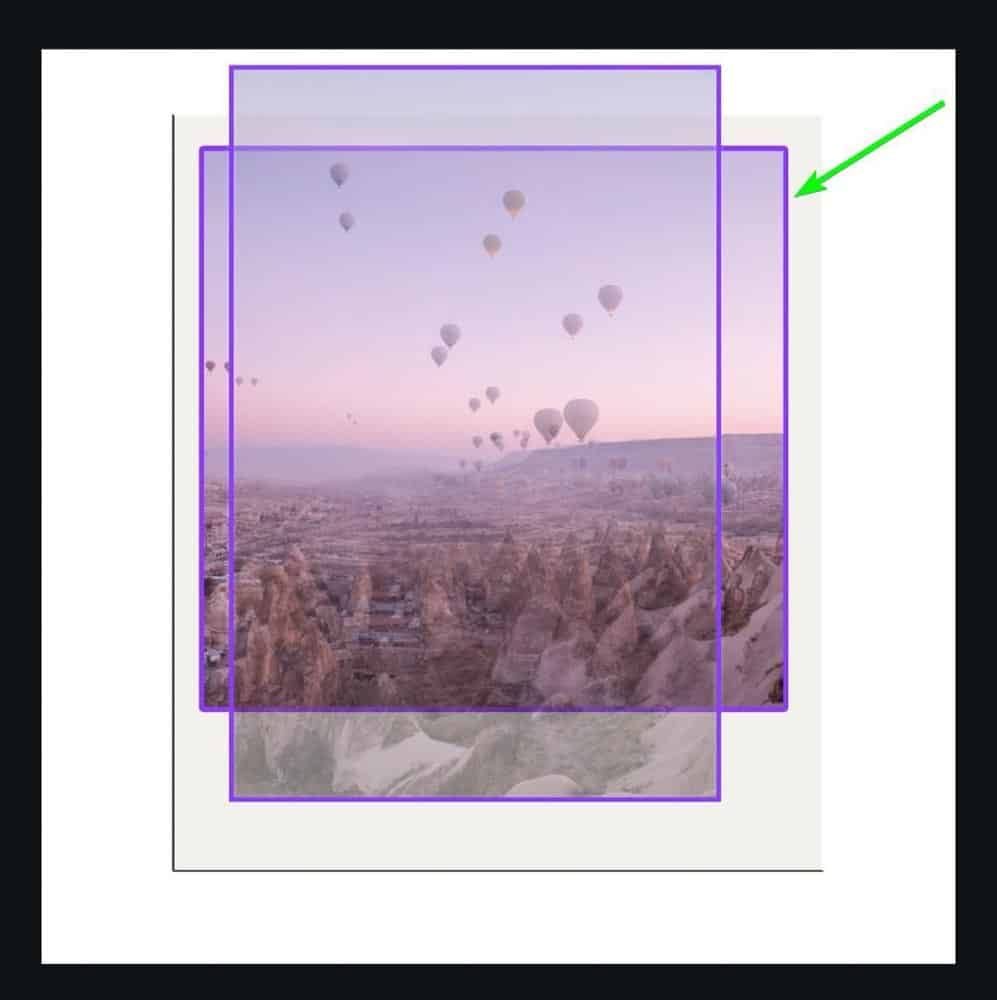
Then tap and hold the image and drag it over the frame until purple lines appear inside the frame. Let go to insert the picture into the frame. You can double-tap on the image to adjust the size and position inside the frame.
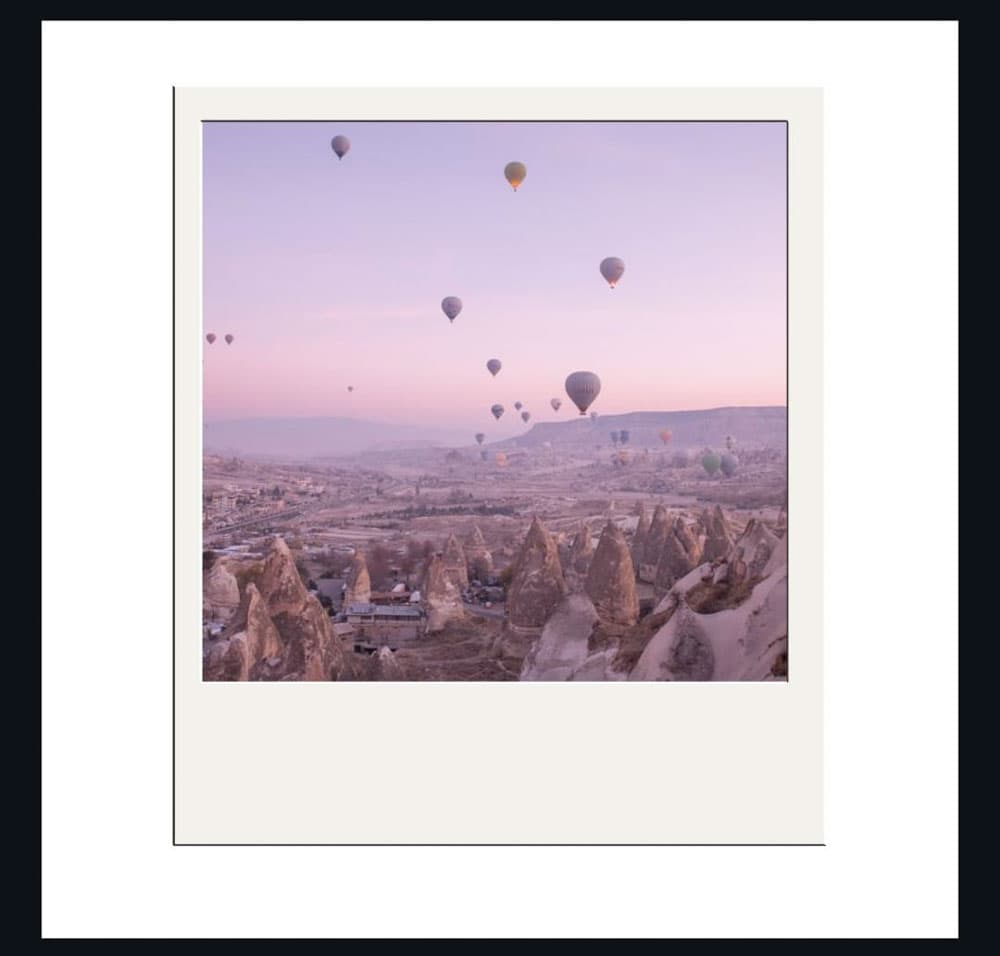
Frames are by far the easiest way to creatively place images inside a Canva design and take most of the guesswork out of cropping your images, too. Just add a frame, drag and drop your image, and you’re ready for action!
Happy Editing 🙂
