

With Canva quickly becoming the most used graphic design software, it’s only natural for designers to want to edit PSD files in the program. The convenience of creating a design in Photoshop and then editing each individual layer in Canva on a phone for example is too good to resist. The question is, is it even possible to open a Photoshop file in Canva? Or is it possible to open a Canva design in Photoshop? Yes, but with the help of another program.
Canva cannot import or export PSD files. However, there is a workaround to exporting PSD files from Canva. To do this, export your Canva design as PDF Print. Then import that file to Photopea.com and go to File > Save As PSD. Now your Canva design will be a PSD file.
Having the ability to edit individual layers is a staple for all graphic designers, from beginners to veterans alike. I will show you how you can take a multi-layered design made in Canva and open it up in Photoshop. We’re going to go over how to make sure your layers are working properly when they are open in Photoshop and what to do if they are not.
Can You Edit A PSD File In Canva?
This is the big question. Is it possible to open a Photoshop file inside Canva?
No. No, it is not.
A PSD file is the native file format for the most used and most famous graphic design software, Adobe Photoshop. A PSD not only preserves image quality but preserves each layer for independent editing.
Let’s see what happens when I drag this PSD into Canva.
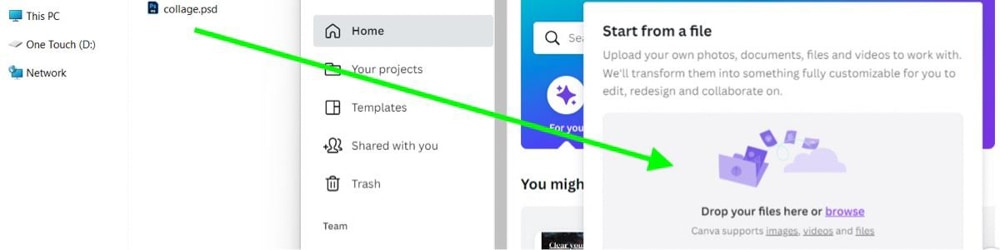
Canva will warn you that it can’t recognize the PSD format. Canva can recognize 13 different formats and PSD is not one of them.

How To Turn A Canva Design Into A PSD File
So, you can’t open a PSD in Canva, but you can turn a design made in Canva into a PSD file. It’s a workaround that can still be convenient for your workflow. This involves a free third program called Photopea.
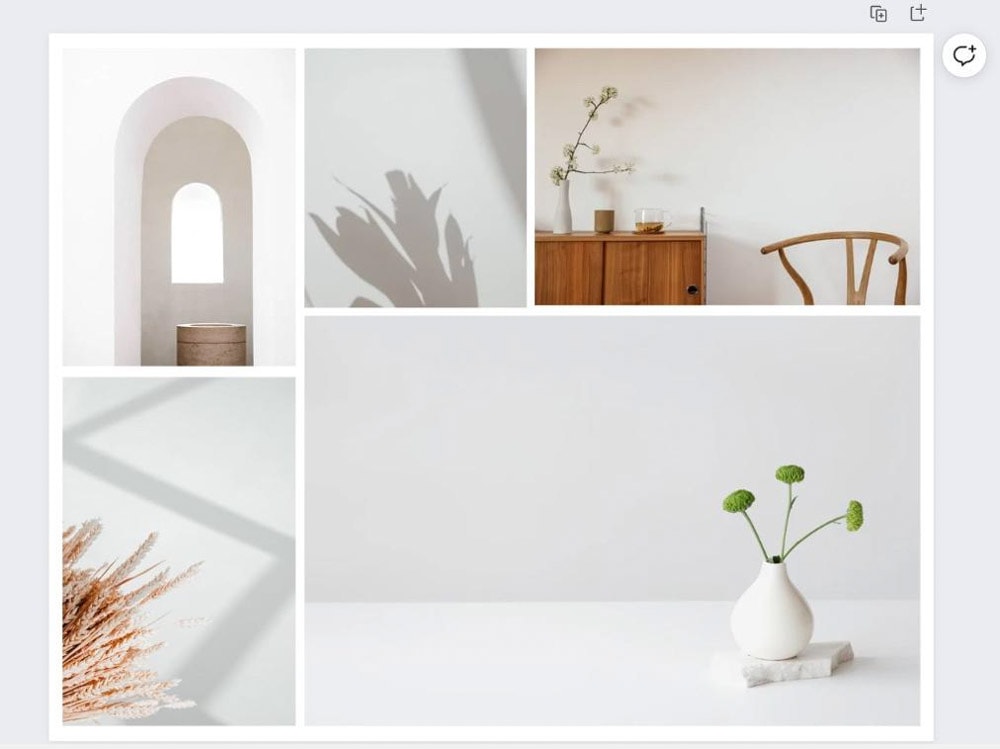
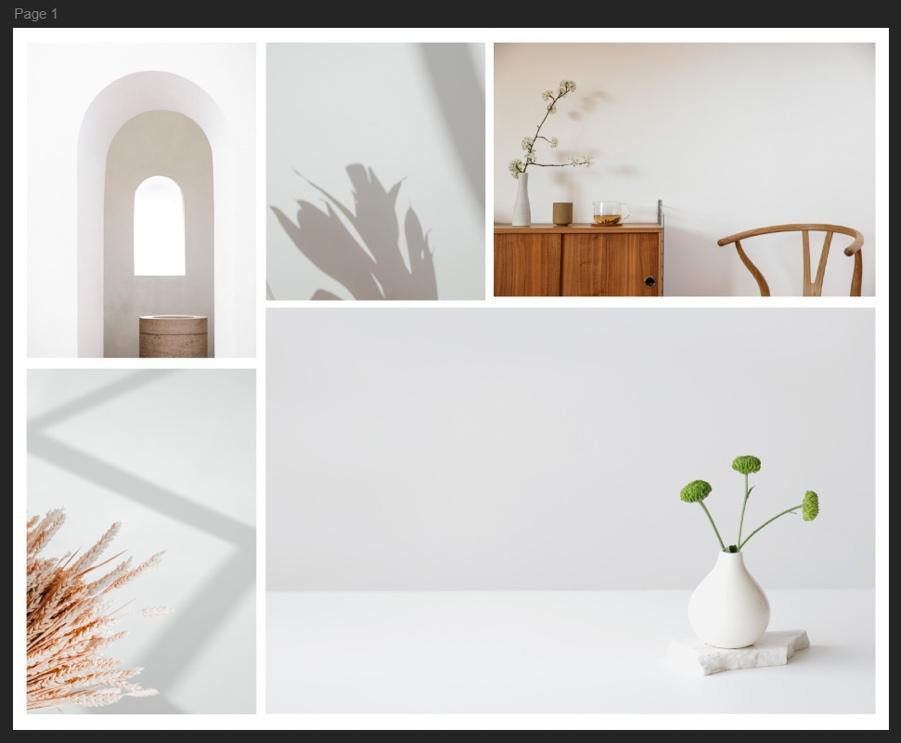
Here’s the design I’m going with. Make sure that your design is ready to go before moving on.
Step 1: Download Your Design
Once your design is ready to go, click on the Share button in the upper right corner. When the Options menu opens, click on Download.
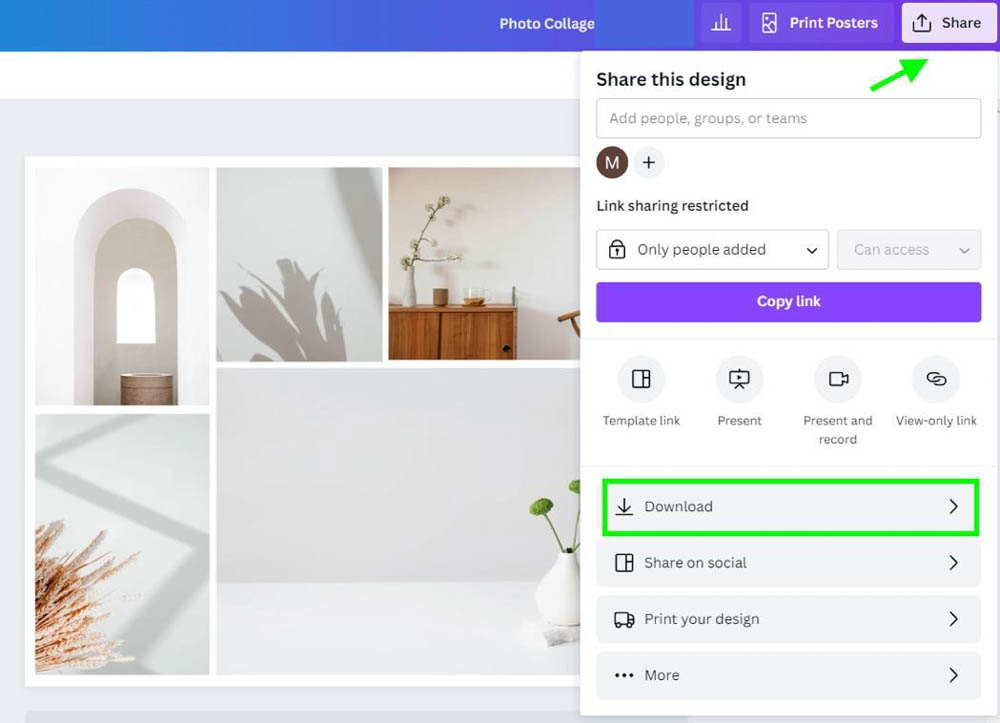
When you click on Download, Canva will suggest you download your design in PNG format. DO NOT DOWNLOAD IN PNG FORMAT. This format will collapse all your layers, not allowing you to edit any of the layers individually.
The layers in your design will also collapse if you download your design as a JPG or SVG. MP4 and GIF formats are for video, so avoid them as well. You also want to avoid PDF Standard, as this option will have a lower quality.
The option you want to select is PDF Print.
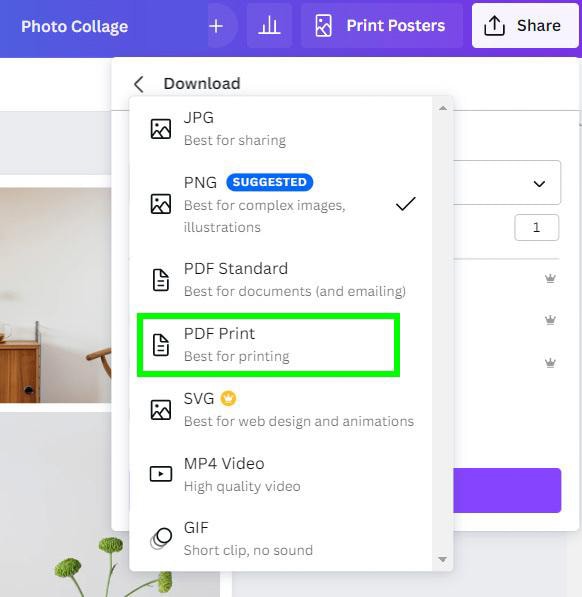
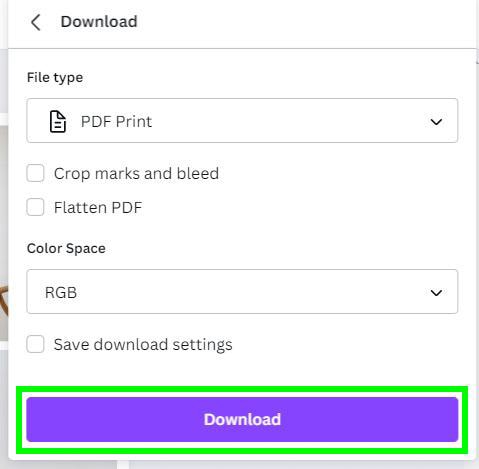
When you click on PDF Print, an Option screen will pop up. You don’t need to mess with any of these settings. The setting you want to make sure not to touch at all is Flatten PDF. Clicking this would defeat the purpose of trying to turn a Canva design into a PSD by turning your design into a flat image.
Just don’t touch any of the settings and click Download.
Step 2: Open Your Design in Photopea
Go to Photopea.com to use their free service to convert your Canva File to a PSD.
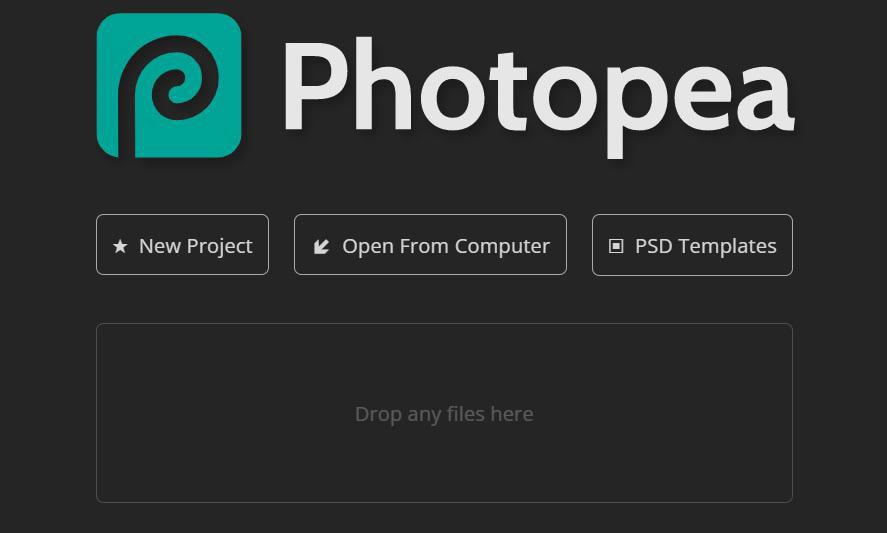
There are two main ways to open your design in Photopea quickly.
Drag And Drop
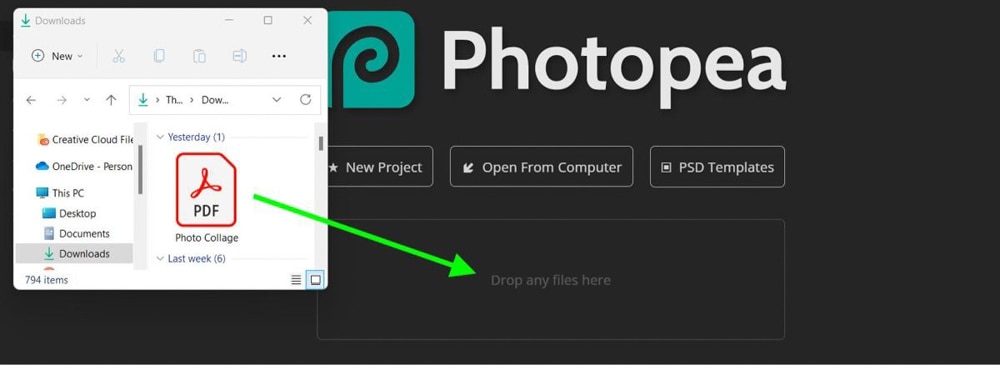
If your design is in your download bar after downloading it from Canva, you can simply drag your design into the area marked Drop Any Files Here.
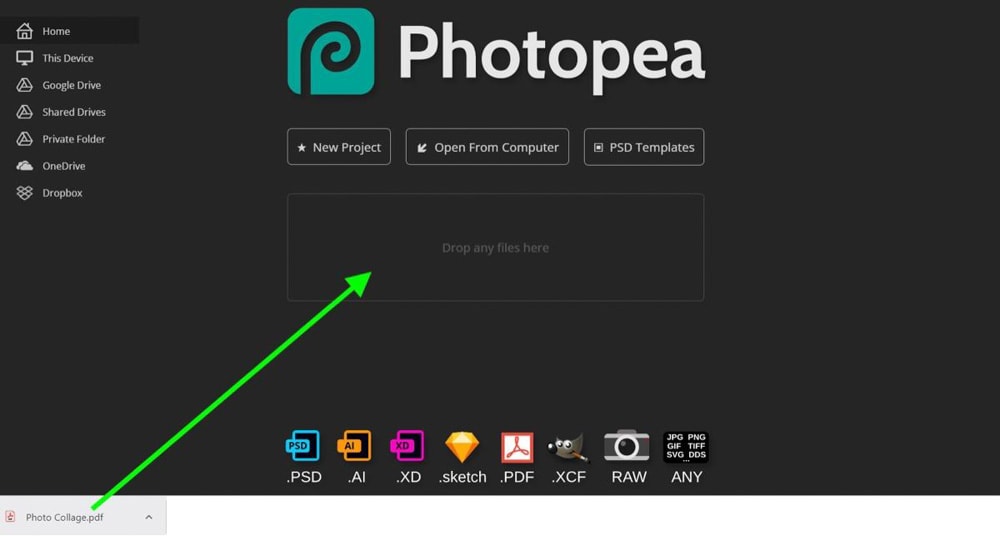
If your design is not in your download bar, you can open a new window, locate your downloaded design, and drag and drop it into the area marked Drop Any Files Here.
Open From Computer
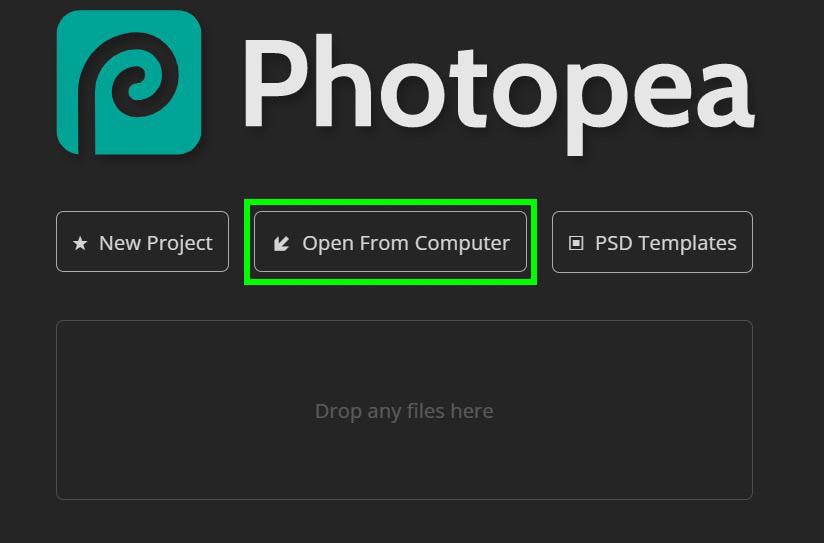
The second quickest way to upload your design is by opening your design from Photopea itself.
First, on the Photopea Homepage, click on Open From Computer.
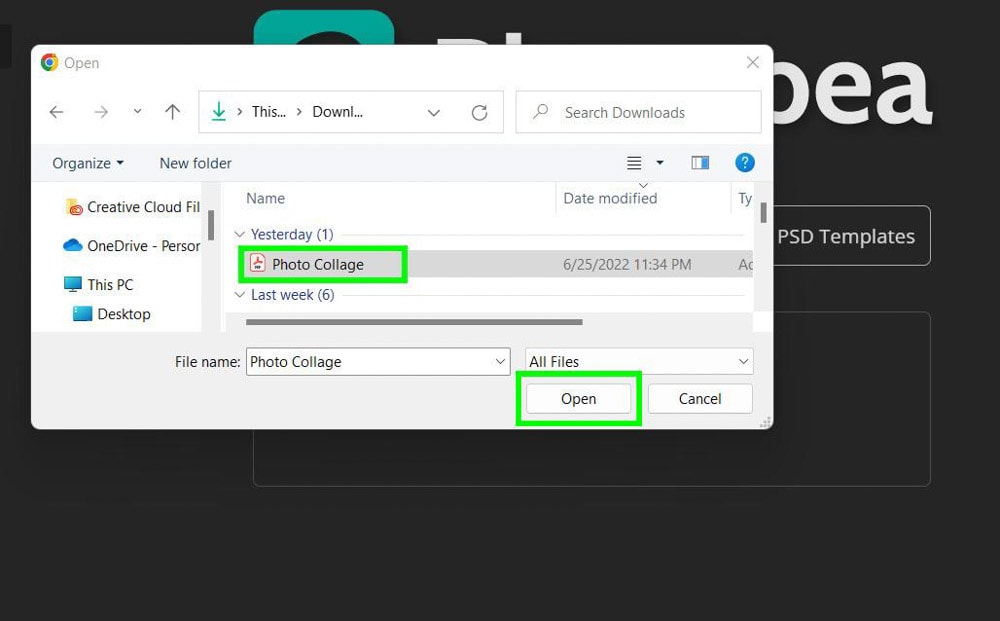
Then, locate the file you wish to upload, select it, and click on Open.
Step 3: Check Your Layers
Now that your design is open in Photopea, we need to make sure that all of the layers are separate and working correctly. Sometimes the process of transferring a PDF to Photopea will compress a few layers, so it’s always best to double-check.
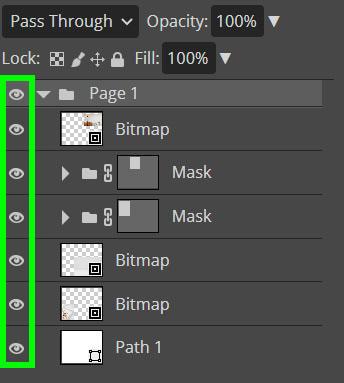
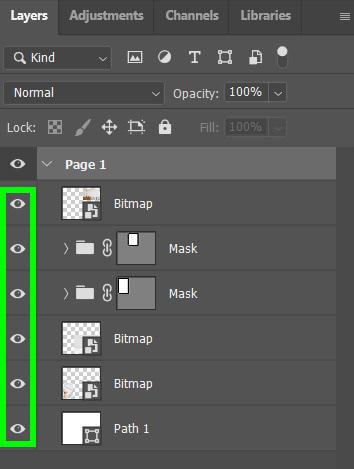
With your design now open, take notice of the Layers Panel.
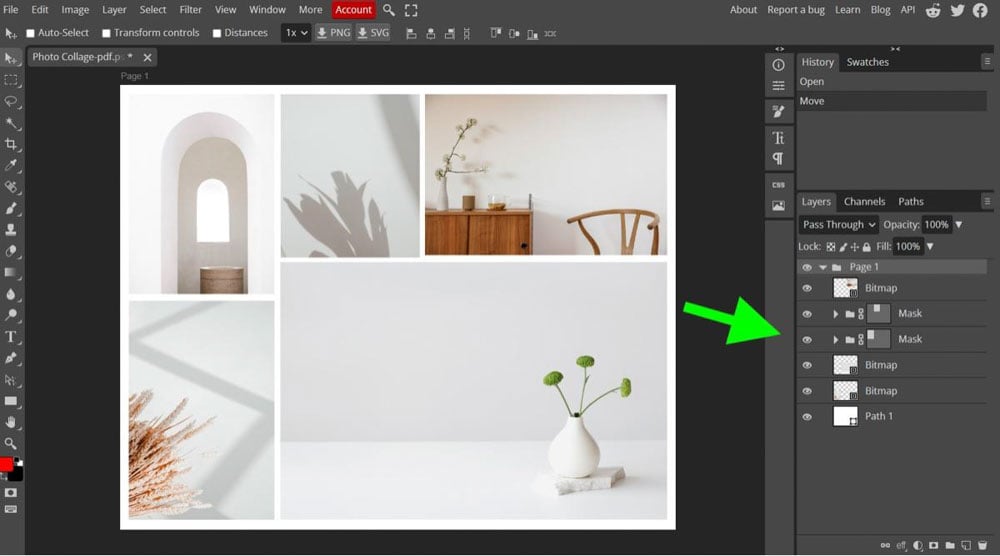
Next to each layer is an Eye icon. This icon tells you that the layer is currently visible.
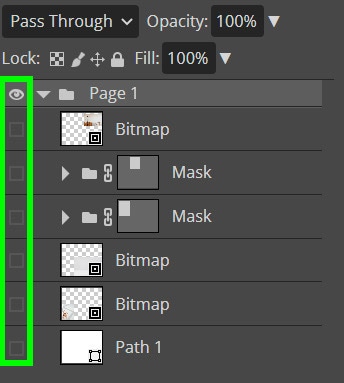
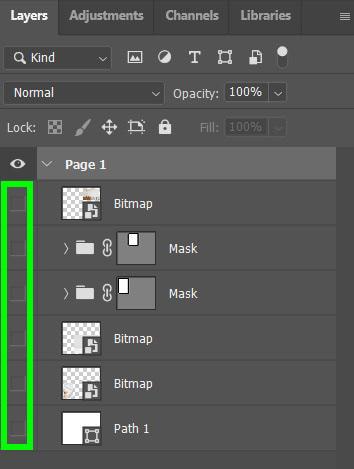
Now, click on every Eye icon in the Layers panel. Each layer should now be turned off, and you should have a blank canvas.
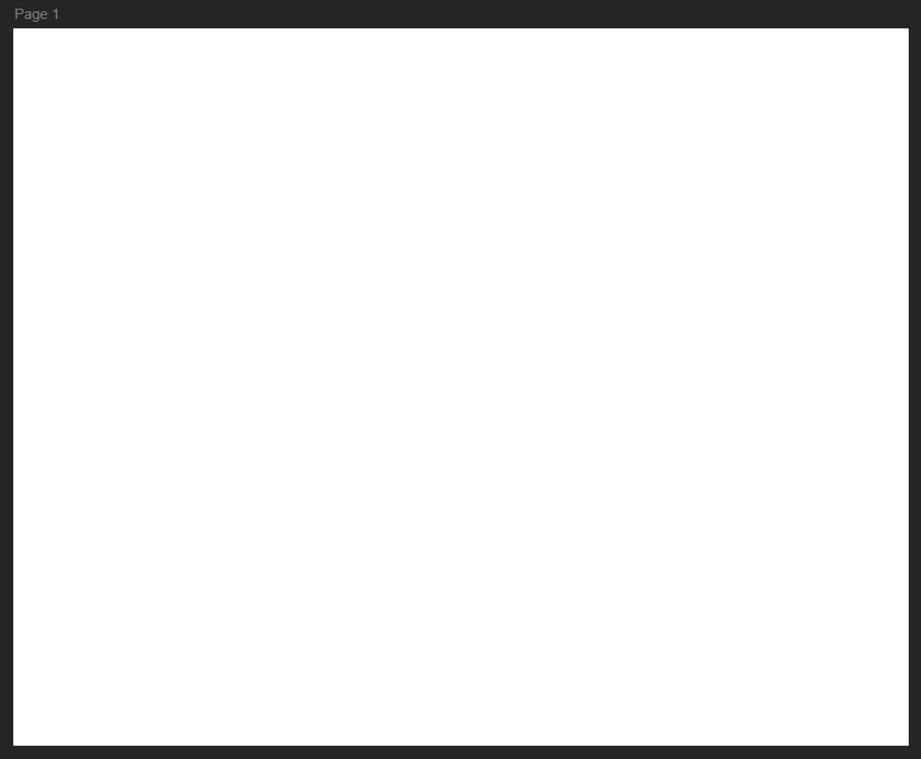
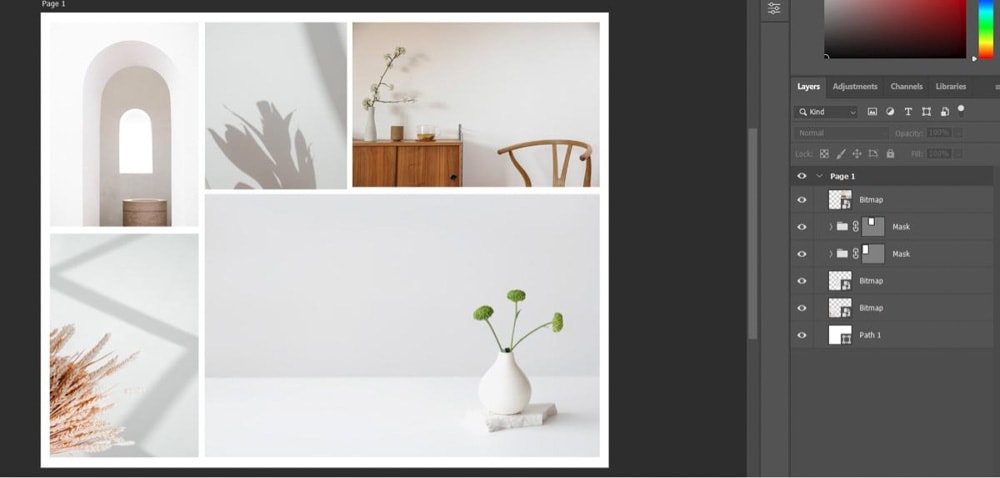
Once you see a blank canvas, you know that all your layers are working properly. Next, click the box next to each layer to make the layer visible again. You know if the layer is now visible if the Eye icon pops back up.
Your design should now be fully intact on your canvas.
If at any point one of your layers is still visible when you turn off all your layers, it means that one or more of your layers have been compressed by Canva by accident. To fix this, you will need to start over at step 1 and download your design from Canva again.
Step 4: Export To PSD From Photopea
Now that your design is ready to go, we need to save this document as a PSD.
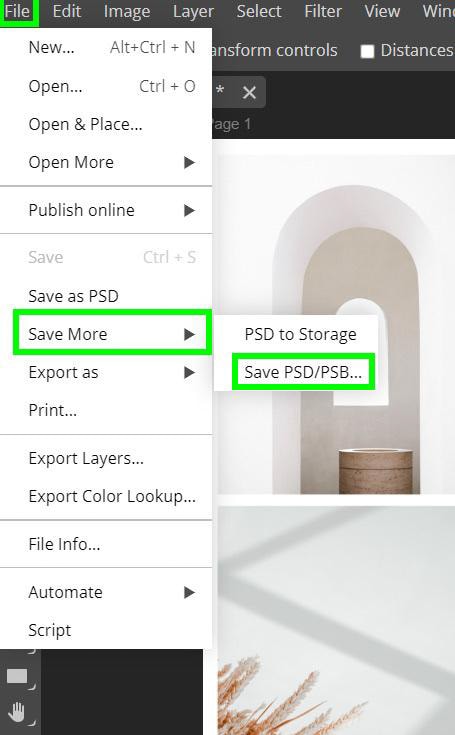
Go to File > Save More > Save PSD/PSB.
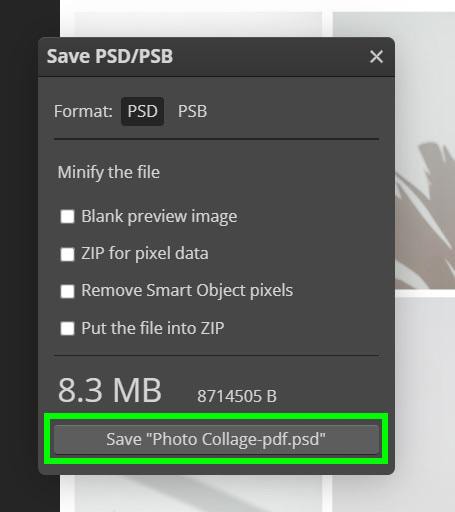
An Options menu will pop up, but you really don’t need to mess with any of the settings. Simply hit Save.
Step 5: Open Your PSD File In Photoshop
Locate the PSD that you just saved on your computer and open it in Photoshop.
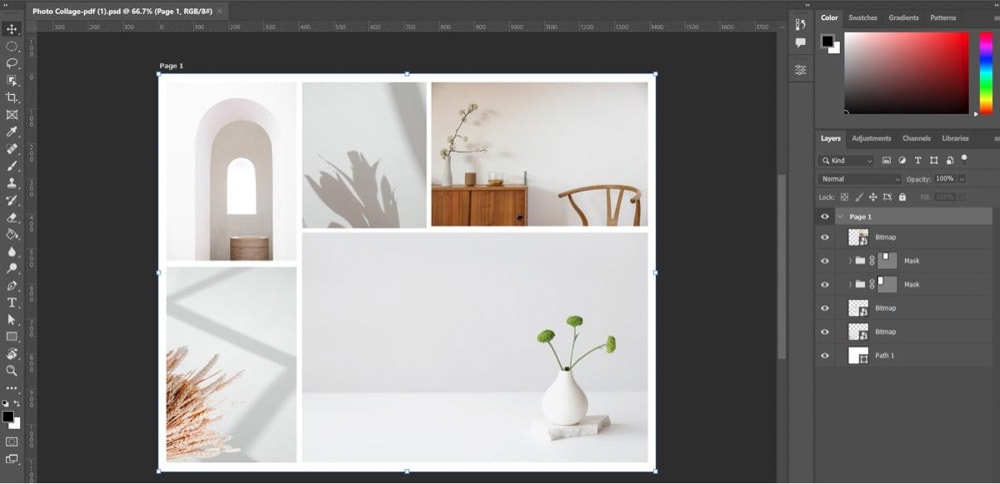
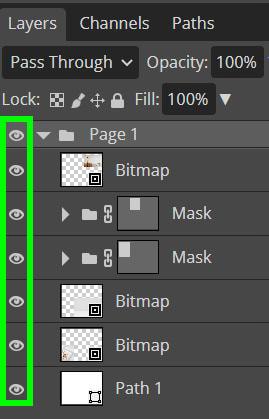
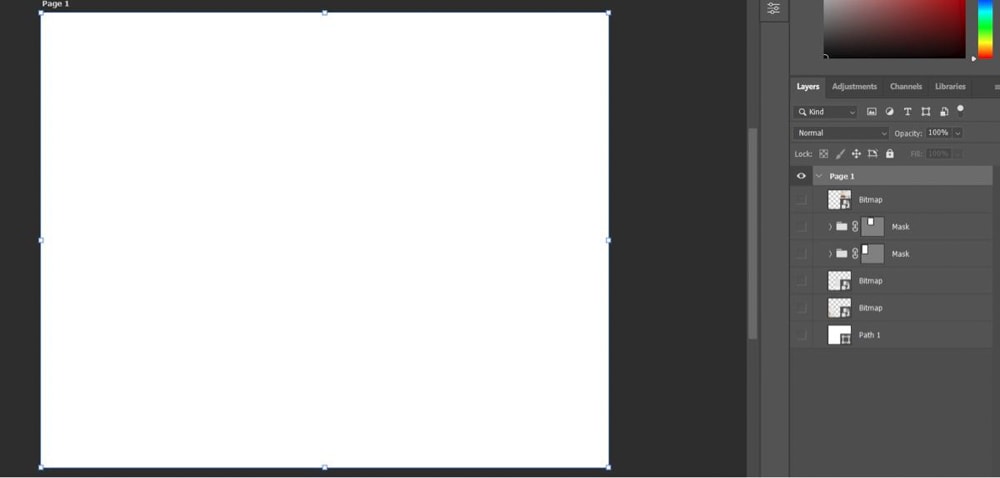
In the Layers panel turn off all your layers by clicking the Eye icon next to each layer.
After each layer is turned off, your canvas will be blank. A blank canvas means that all the layers are working properly.
Make sure to turn all your layers back on by clicking the boxes next to each layer.
That’s it! You can now edit your Canva designs in Photoshop.
- 100+ million premium stock photos, videos, audio, and graphics
- 610,000+ premium and free templates with new designs added daily
- Up to 100 Brand Kits to establish your brand's identity online
- Remove image backgrounds instantly with Background Remover
- Resize designs without quality loss with Magic Resize
- Schedule social media content to 8 platforms
- 1TB of cloud storage
- 24/7 customer support
