

Engaging your followers on social media as quickly as possible is so important. You only have one chance to make a first impression, which is why creating a stunning Instagram Story is so important. Not only can you make an Instagram story in Canva, but you can also post it to Instagram right from the mobile app!
Canva is graphic design software that’s getting more popular every day. People are starting to realize how powerful Canva can be for Instagram Stories. With so many people creating designs on their own, you will need to step up your game to keep up with the pack.
In this tutorial, you’ll learn how to take basic Instagram story templates and turn them into eye-catching designs bound to get people to click or reply.
Be sure to use Canva Mobile to follow along, as you will share your designs to your Instagram account right from the app.
Step 1: Create A New Instagram Story Design
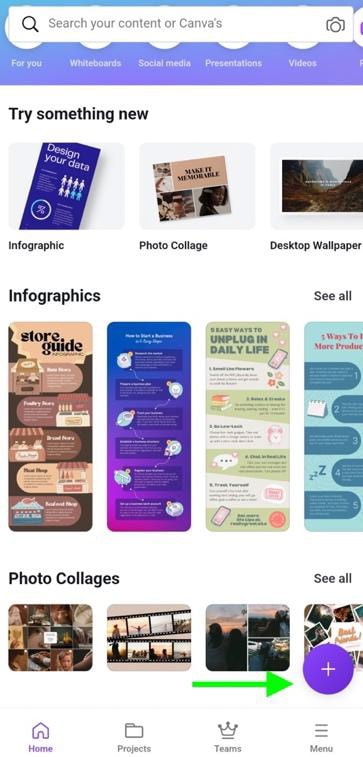
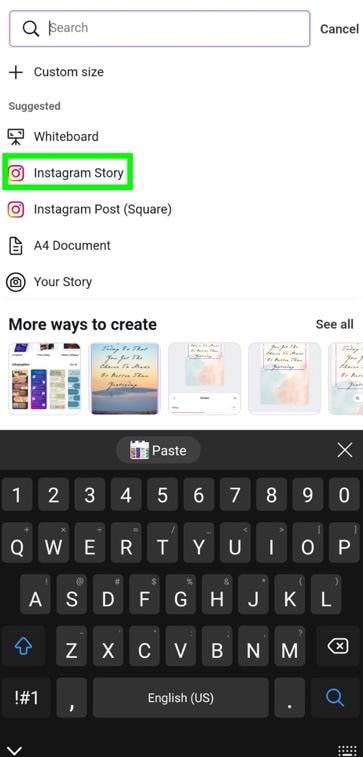
The last thing you want to do when creating an Instagram story on Canva Mobile is to worry if your design is the correct size or not. To make things easy for you, tap the Plus button on the main screen and choose Instagram Story from the size choices.
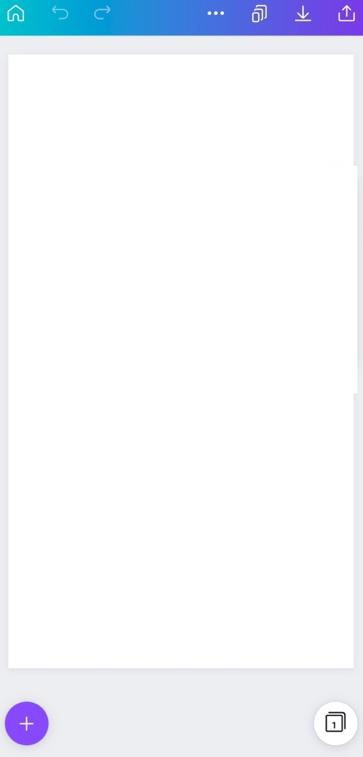
This will open up an empty canvas the exact size of an Instagram Story.
Step 2: Find An Instagram Story Template
You need to pick out a few good Instagram Templates, so you don’t have to create them from scratch.
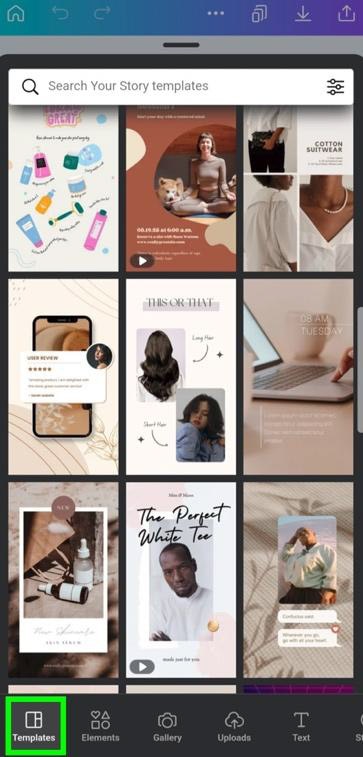
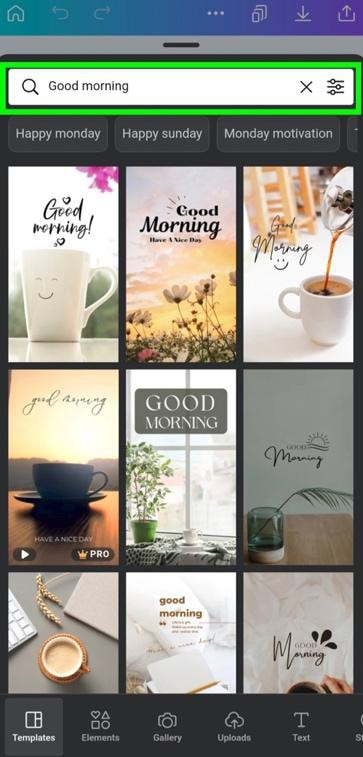
To find Instagram Templates, open the Main Panel with the Plus button and tap on the Templates tab. You can choose from the templates presented, but to make things even easier, you can type the theme of your project in the search bar and find a template that is more likely to fit your needs.
If you’re not a Canva Pro user, skip all the templates with ” PRO ” to avoid any potential issues later on.
Step 3: Change The Background
One of the first things you’ll want to do is change the backgrounds of your templates. Canva has plenty of images for you to use. You just need to know where to find them.
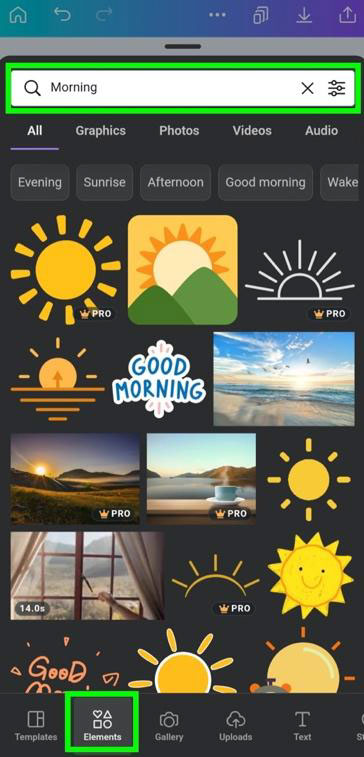
To find them, open the Main Panel and tap on the Elements Tab. Type in the theme of your project in the search bar. You will see thousands of graphics and photos you can use for your Instagram story. Of course, you can also upload your own images too.
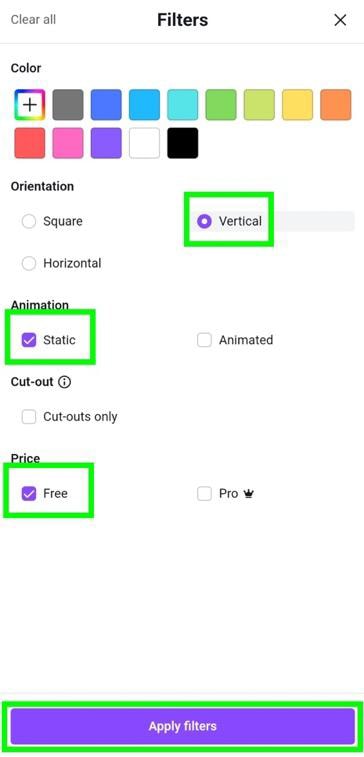
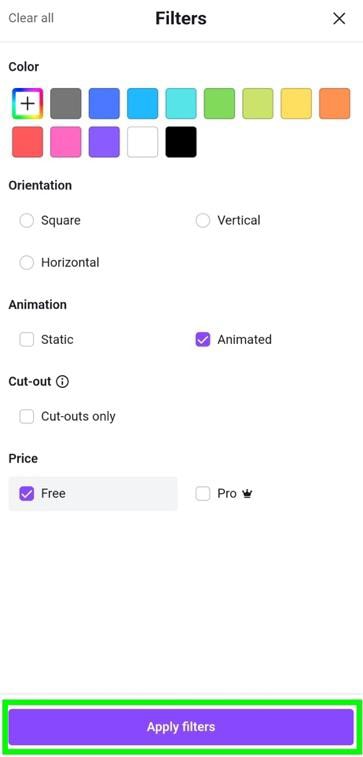
If you’re not a Canva Pro user, only search for free templates. To do this, tap the Options button in the search bar, then tap on Free under the Price section. Also, to make things easier, tap on Static under Animation. That way, you won’t have to worry about animated graphics.
For Instagram stories, it is helpful for you to click the Vertical option to make sure your choices are limited to only vertical images. This is optional, but I’ll show you how to use vertical and horizontal images as a background.
Tap Apply Filters to make your selections final.
Tap on the element of your choice to add it to your canvas.
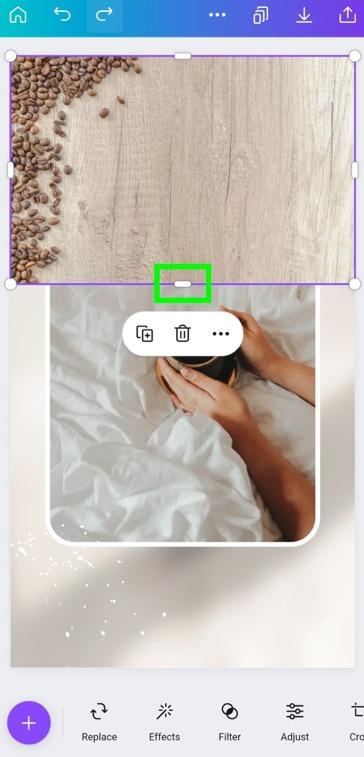
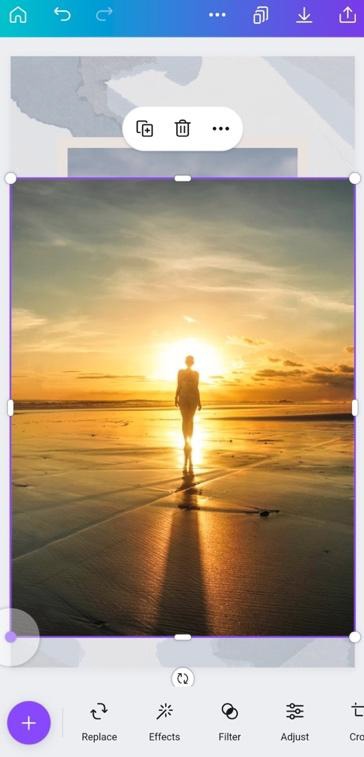
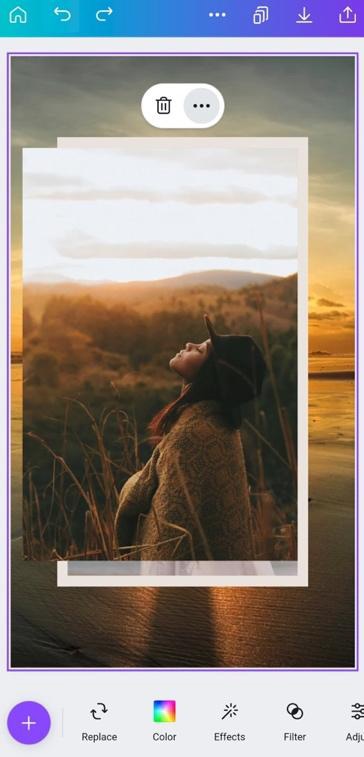
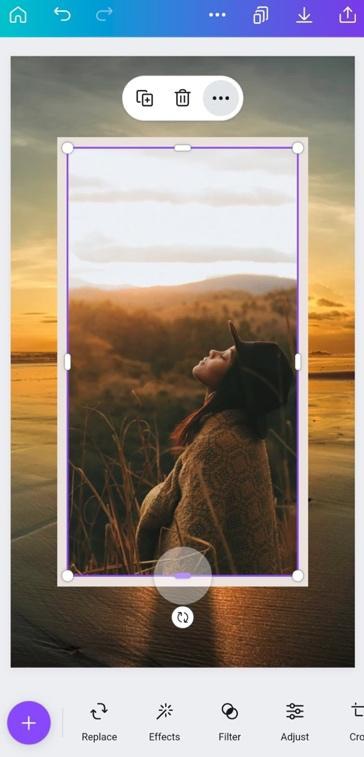
Once your image is on the canvas, tap it to select it. Then drag it so it lines up with one of the corners of the canvas. Stretch it out to cover the entire canvas with the opposite corner handle.
Also, be careful when moving your background image around your canvas. You may replace one of the other photos on your canvas. If you do, tap on the Undo button at the top of the screen and try again.
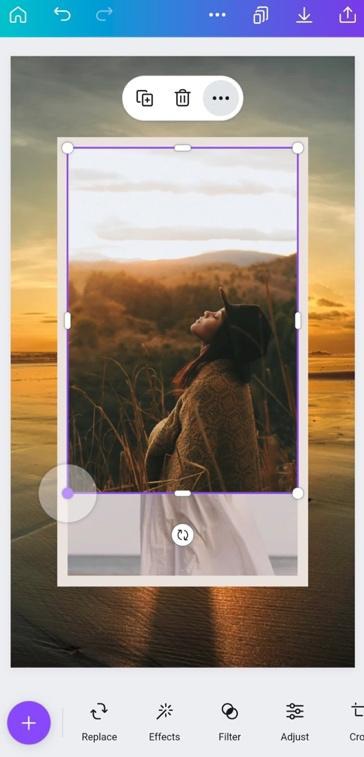
Your image will most likely not be stretched to where it needs to be. To finish the job, grab the top or bottom handle and pull it until your image takes up the entire canvas.


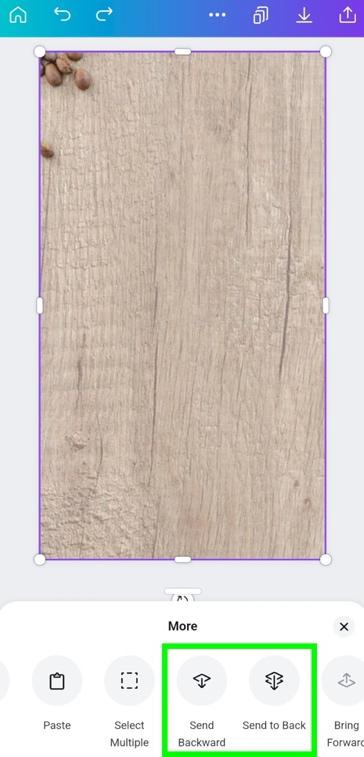
Now that your image is the correct size, you need to send your image backward in the layer order to make your image appear as the background.
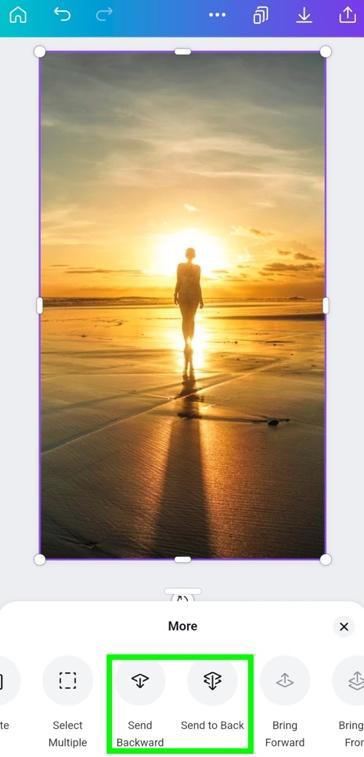
To do this, tap on your image and send it to the back of your layer stack with the Send Backward button. You can also use the Send To Back button if it’s easier for your chosen template.
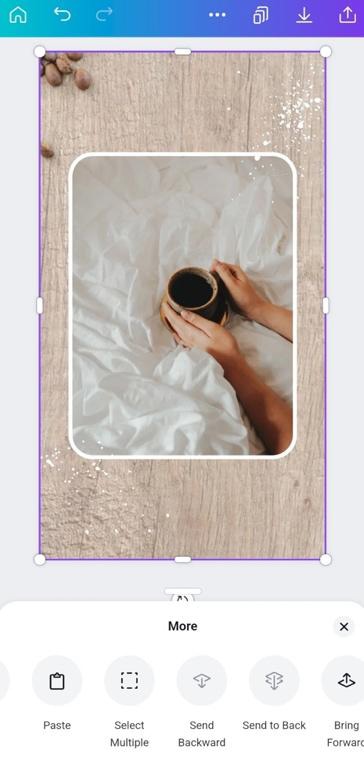
Another way to stretch your image to fit your canvas is to overstretch your image past the canvas. Don’t worry about the image spilling past the borders. Canva deletes the excess pixels when exporting.
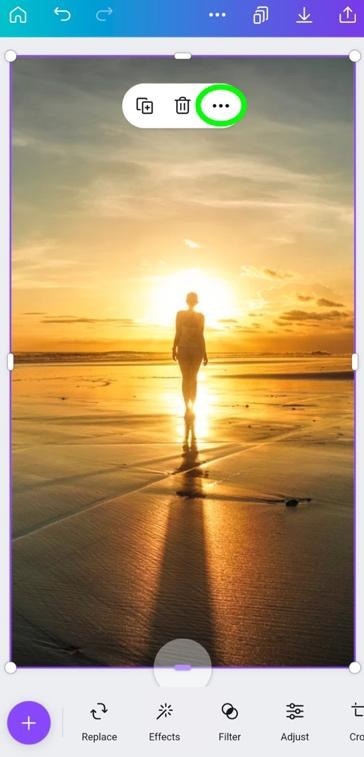
Once you have your image filling your canvas, tap on it to open the Mini Options Bar and tap on the Three Dots. In the Bottom Menu, tap on Send Backward until the image is behind all your other elements.
This technique will only work if you don’t care about cutting off the edges of your background image.
Step 4: Replace Foreground Elements
Foreground elements can be text, graphics, charts, photos, or any other element that will fit the theme of your Instagram story.
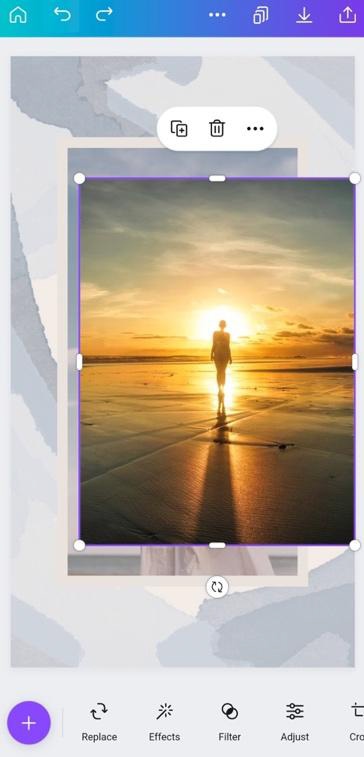
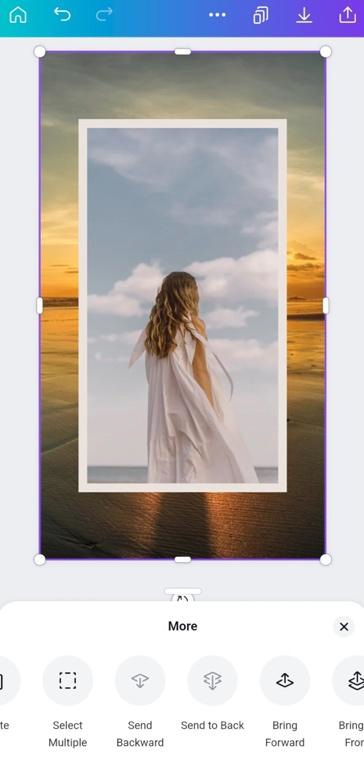
The most common elements to use as your foreground element are photos. The best part about Canva when replacing images is that you can usually do so just by dragging your new picture on top of the old one.
To do this, just drag your new photo to the photo on your template, which will automatically replace it.
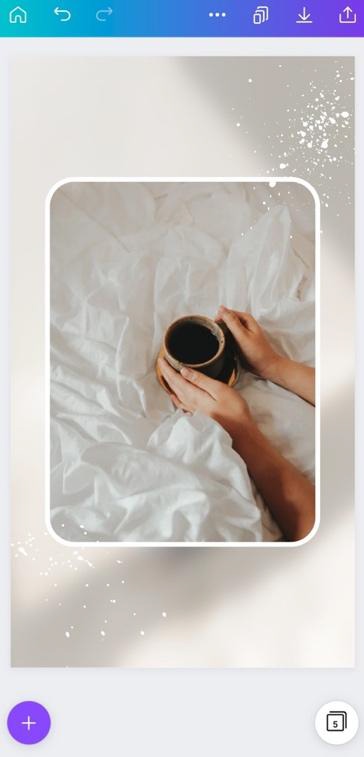
This technique will work with most templates you find on Canva, but every once in a while, you’ll find one that won’t let you automatically replace the photo.
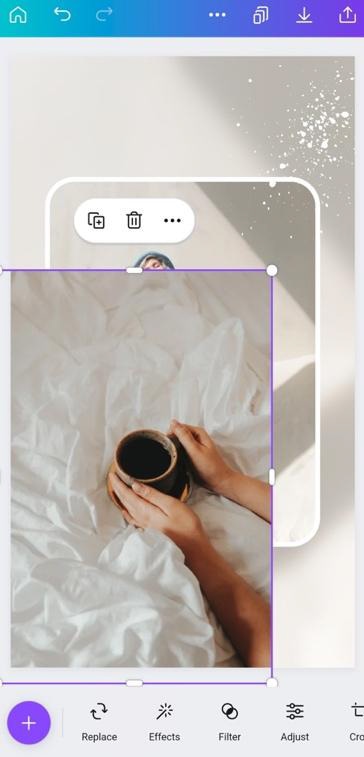
You’ll have to line your new image over the old one to solve this problem.
Line up your new image in the corner of the old one. Then, drag the opposite corner handle to the opposite corner of the old photo.
Step 5: Adjust The Look Of Your Background Image
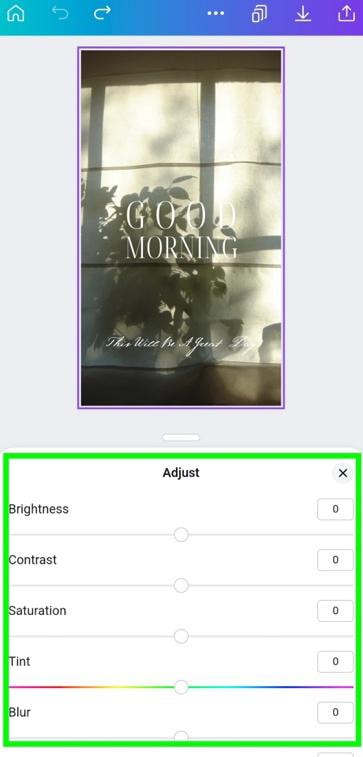
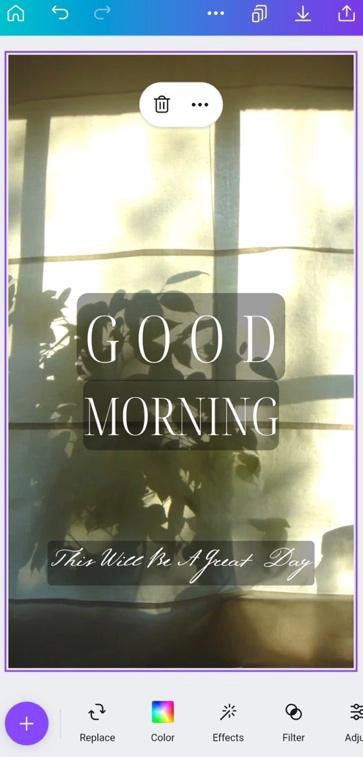
Your background image takes up your entire canvas, making it one of the first things followers see. So before you move on from your background photo, click on the Adjust button to touch it up a bit.
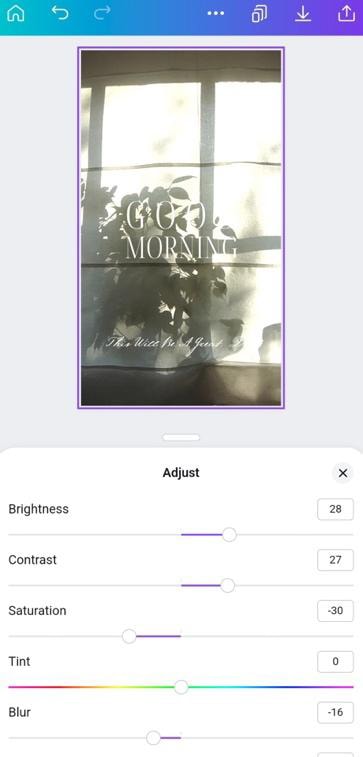
I suggest tweaking as many options as possible to make it look polished. One of the more essential options to consider tweaking is the Blur slider. Adding a tiny bit of blur to your background makes your foreground elements pop more.
You can also tap on the Filter button to add a filter to your image. This will add a new effect to your background.
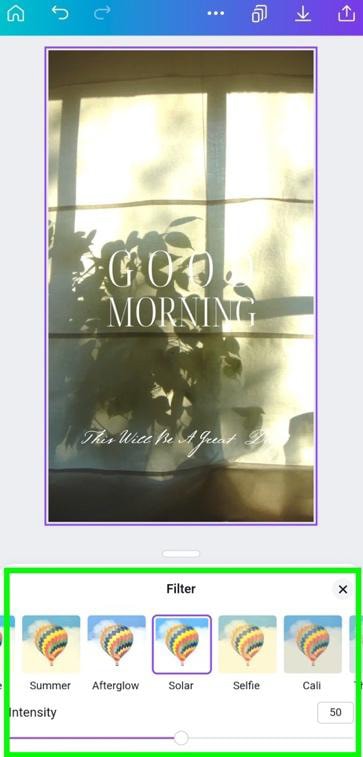
Step 6: Add An Animation
A great way to catch someone’s attention is by adding animation.
To do this, tap the Plus button and type in your theme. Click on the Options button in the search bar to narrow your search. Tick on Animated to only bring up elements with some kind of animation.
Also, tick on Free if you’re not a Canva Pro user. Tap Apply Filters to proceed.

From there, you can choose your animated element to add to your project.

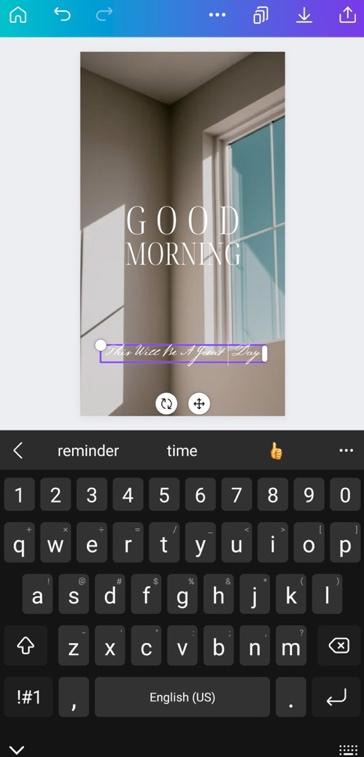
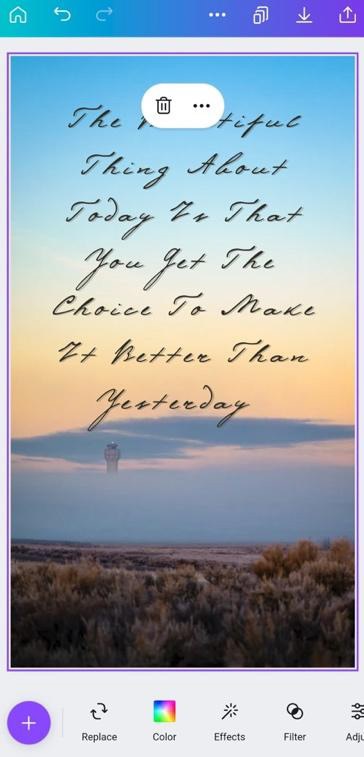
Step 7: Edit The Text
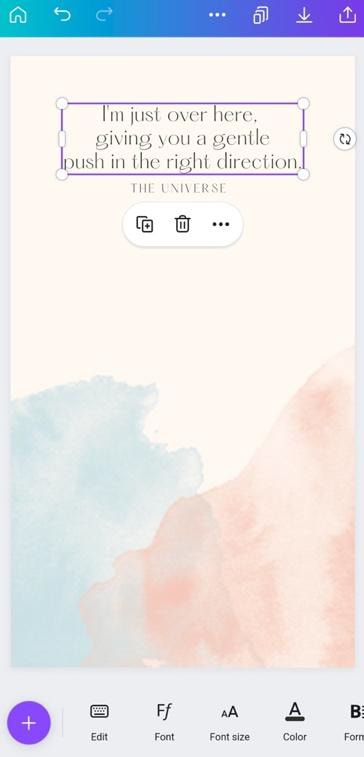
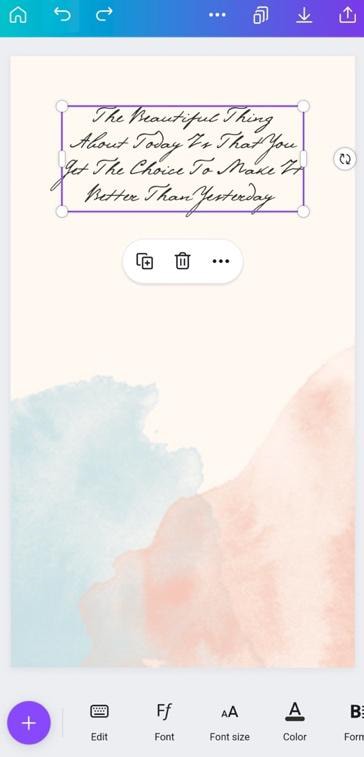
Many Instagram Story templates have the text already included. To edit the text, double tap on the text and change it to whatever you need it to be.

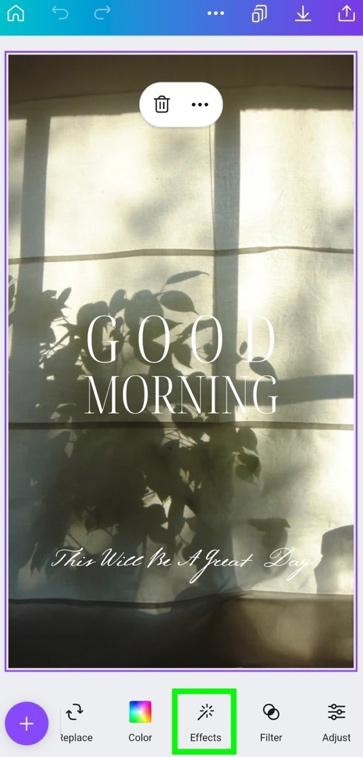
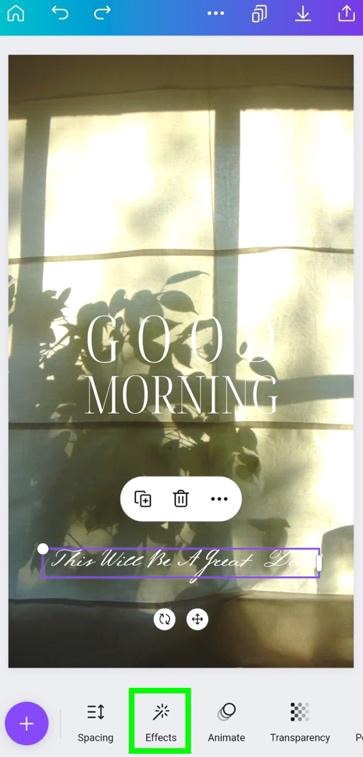
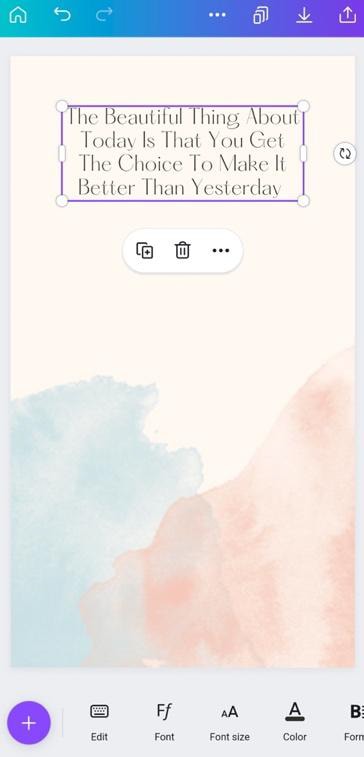
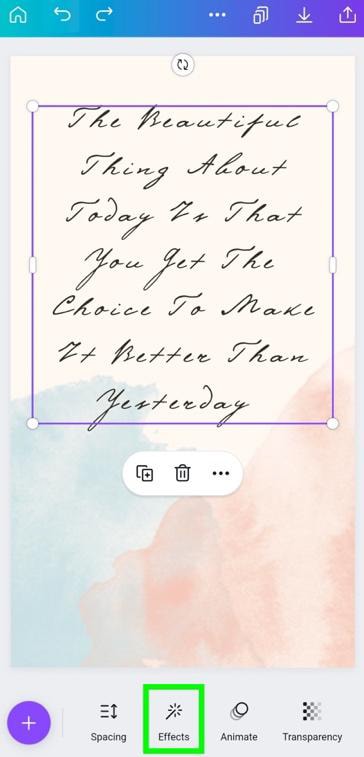
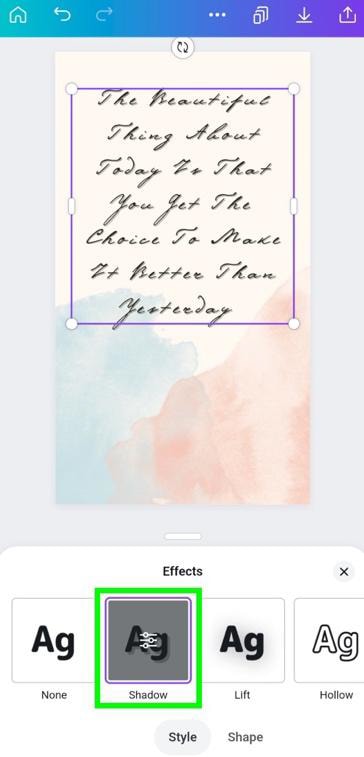
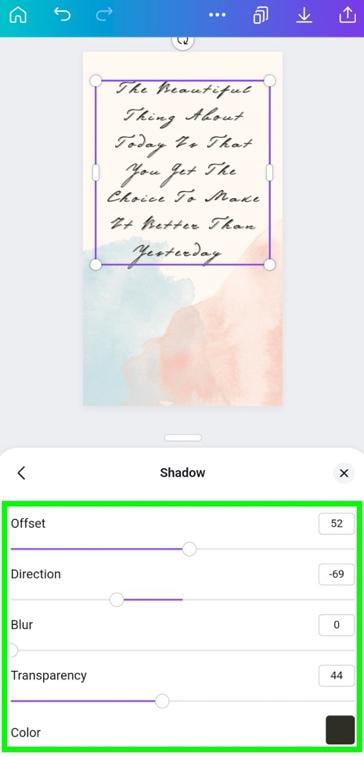
Sometimes you need to add effects to your text to make it more visible against the new background you added.
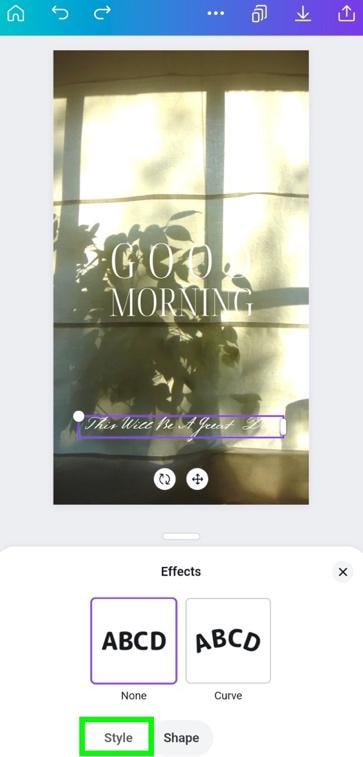
You can do this by selecting your text and then tapping on Effects. Then, tap on Style and choose why type of effect you wish to add to the text. Tap on the effect again to adjust the settings of the effect.

Editing and adjusting text in Canva goes far beyond just changing the wording. There is a long list of features for changing the appearance of your text.
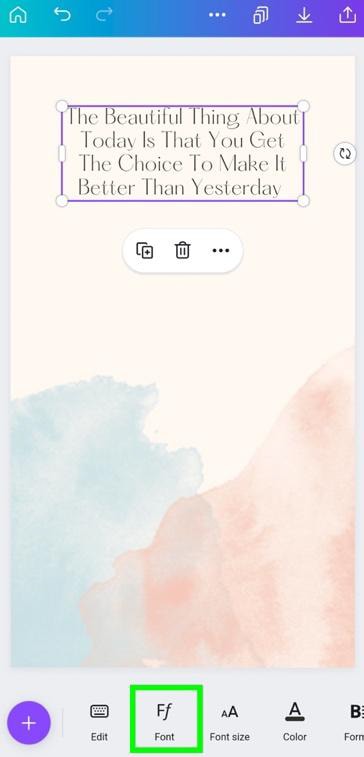
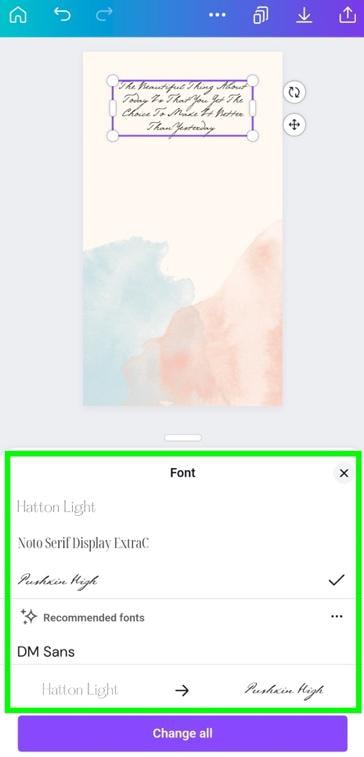
You can change the font of your text by selecting it, then tapping the Font button. You can choose from hundreds of different fonts.
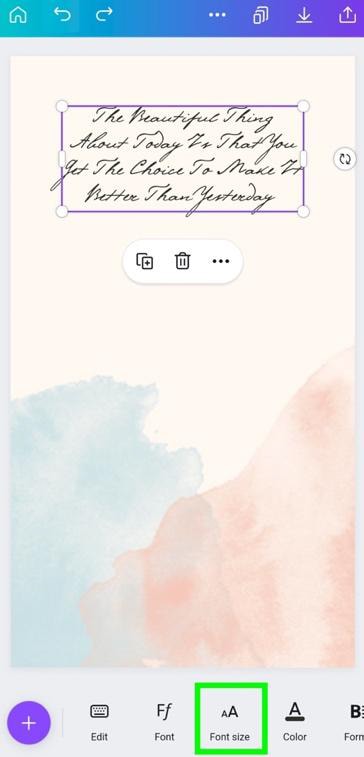
Once your font is picked, it’s time to change the size. You can select your text and tap the Font Size button. Adjust the Font Size Slider to the size you need it to be.

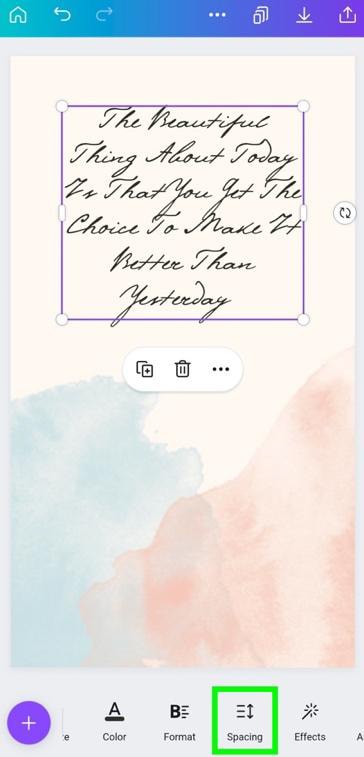
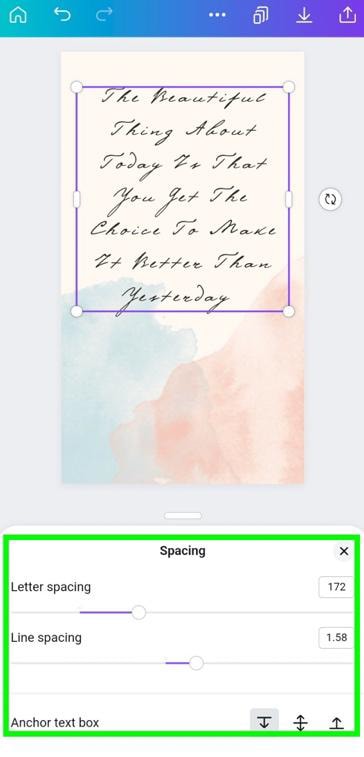
The spacing of your text can be crucial, especially if you’re using a sans-serif font.
To adjust your spacing, select your text, then tap the Spacing button. Play around with both sliders until your text is spaced correctly.
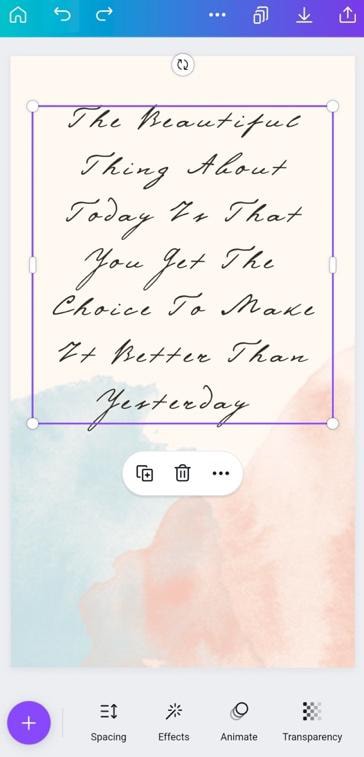
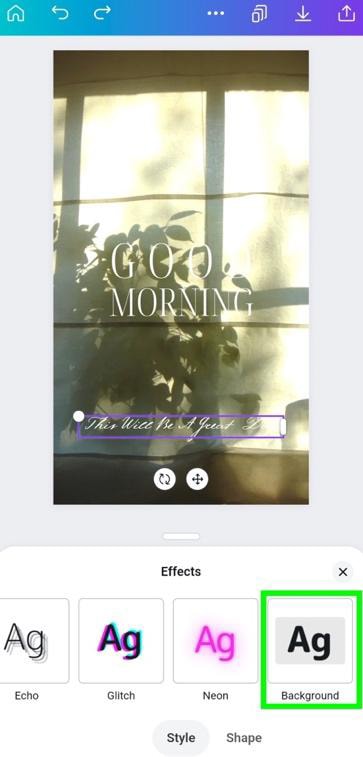
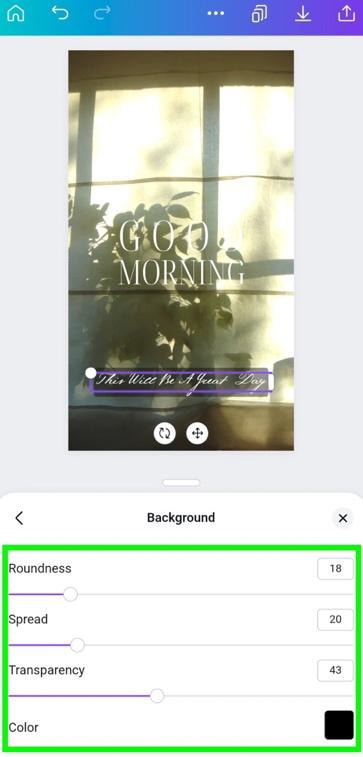
You can then add a different effect to this slide by selecting your text and then tapping the Effects button. Choose the effect you wish to apply, then tap on the effect again to open up your options.
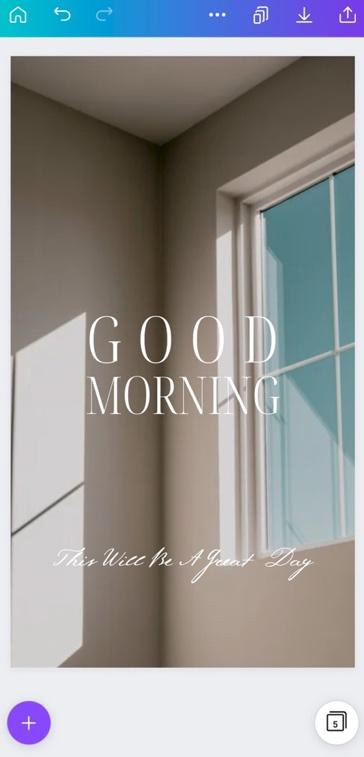
Make sure to weigh your text against your custom background to make sure it fits.
Step 8: Share Your Design To Your Instagram Account
Once you’ve made all the edits and changes to your Instagram story, it’s time to share your design on your Instagram account. You can do this right from Canva!
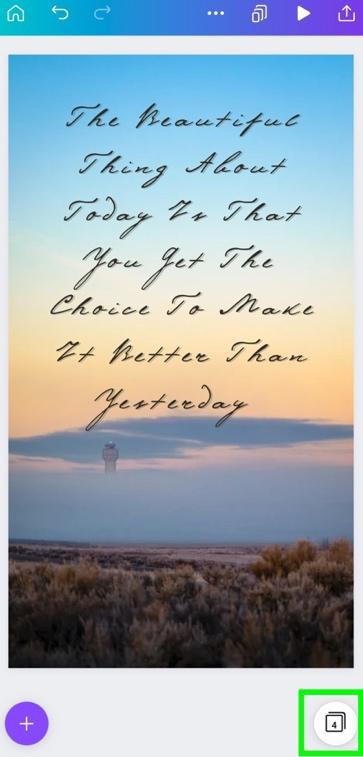
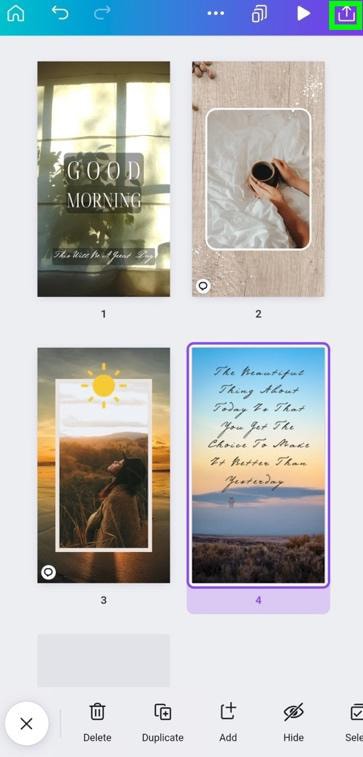
To start, tap on the Pages button and take a quick look at all your pages. Make sure everything looks good and is ready to post.
Tap on the Share button when you’re ready.
Scroll through your share options to find Instagram Personal or Instagram Business.
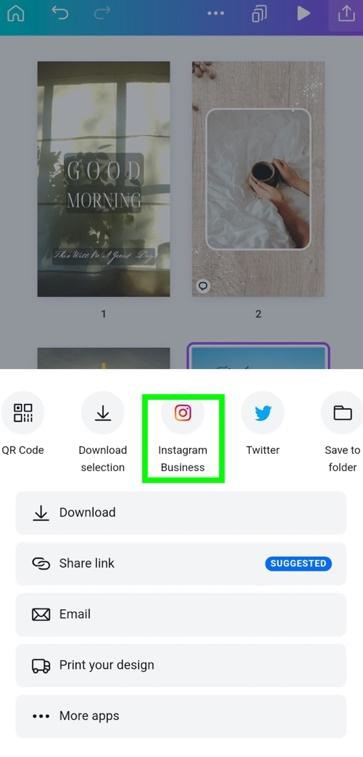
Choose which design pages you wish to share, then choose to share as a post or as a story.

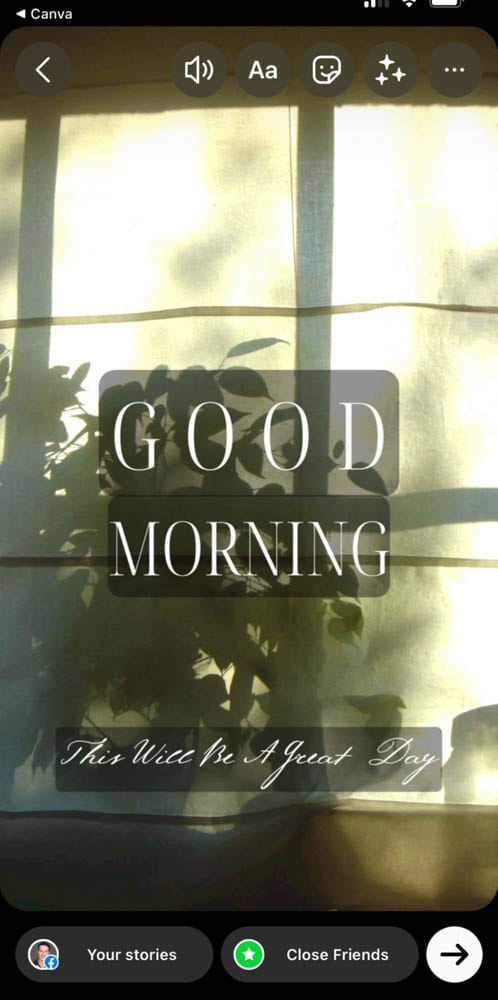
Your story is now on Instagram!


- 100+ million premium stock photos, videos, audio, and graphics
- 610,000+ premium and free templates with new designs added daily
- Up to 100 Brand Kits to establish your brand's identity online
- Remove image backgrounds instantly with Background Remover
- Resize designs without quality loss with Magic Resize
- Schedule social media content to 8 platforms
- 1TB of cloud storage
- 24/7 customer support
