
Two of Adobe’s most popular programs in the digital art world, Photoshop, and Illustrator, are both excellent tools for artists to have in their toolkits. While they each serve a specific purpose and offer different capabilities, understanding how to open illustrator files in Photoshop will give you endless possibilities for your project.
Let’s explore the different ways to do this, and which purpose each can serve.
Option 1: Open An Illustrator File In Photoshop As A Rasterized Layer
Step 1: Go To File > Open To Open The Illustrator File Directly In Photoshop
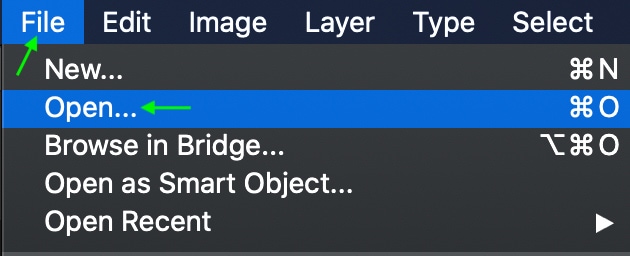
The quickest way to open an AI file in Photoshop is to simply open the file in Photoshop. Once you’ve exported your project from Illustrator, open up Photoshop and click Open on the welcome page, or head to File > Open.
Step 2: Change The Settings In The Import Window And Click OK
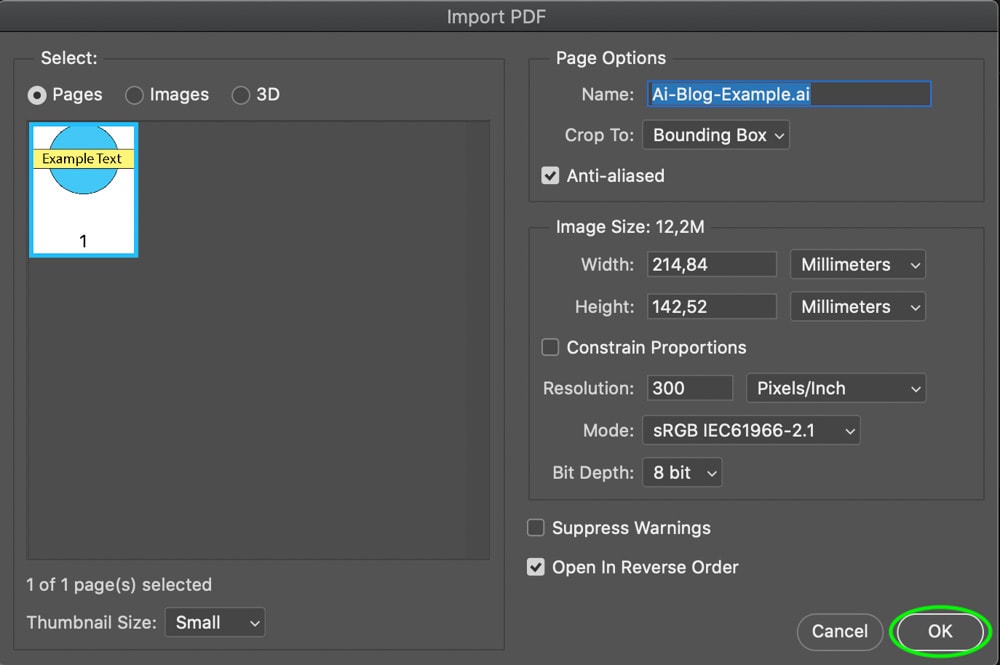
Select the AI file from your folders, and edit any settings you may wish to in the Import window that appears. Click OK when you’re finished. The file will open as a new project in Photoshop.
Step 3: Edit The Rasterized Layer As Needed
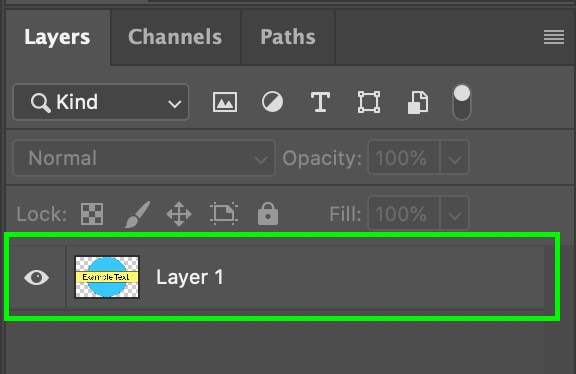
However, you’ll notice that this project will open as a single rasterized layer, meaning that all the layers from the AI file are condensed into one. You cannot edit the individual elements and layers created in AI.
Option 2: Save The AI File As A PSD To Preserve Layers
Step 1: Go To File > Export > Export As To Export The File From Illustrator
To do this, once the file is open in Illustrator, head to File > Export > Export As. In the Format area, select Photoshop (PSD) to export the file as a PSD file. Then click Export.
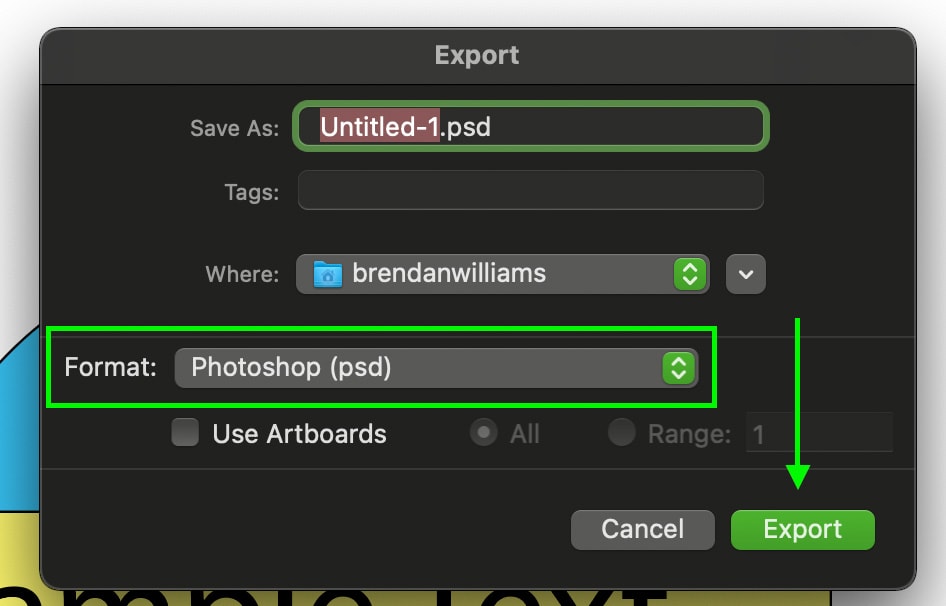
Step 2: Enable Write Layers And The Two Sub-Options
When you hit Export, the Photoshop Export Options window will open. Make sure Write Layers is selected, and under this, make sure the options Preserve Text Editability and Maximum Editability are both checked as well. Then click OK.
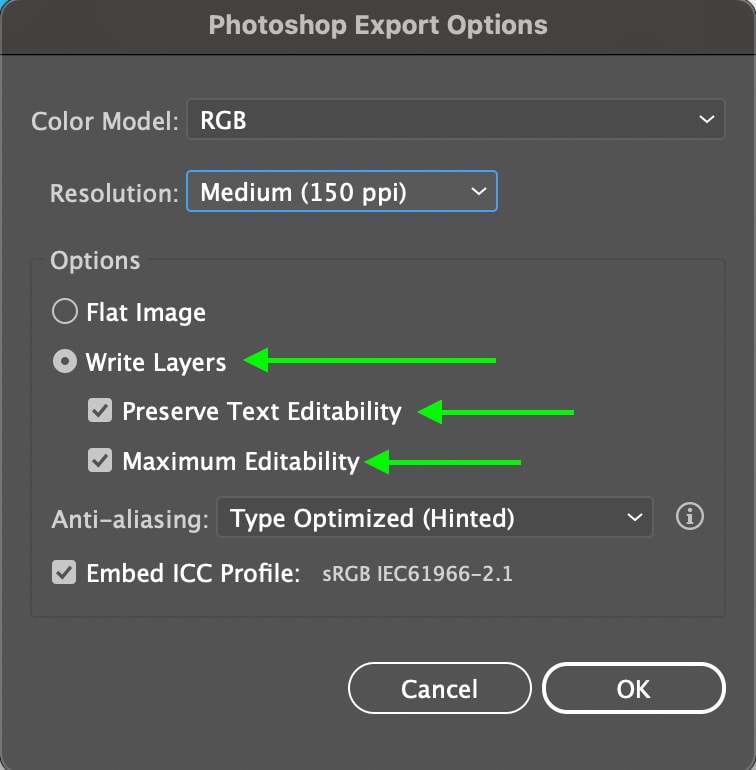
These options ensure that you can work with the same layers in Photoshop as you were in Illustrator by allowing Photoshop to recognize those layers.
Step 3: Open The File In Photoshop
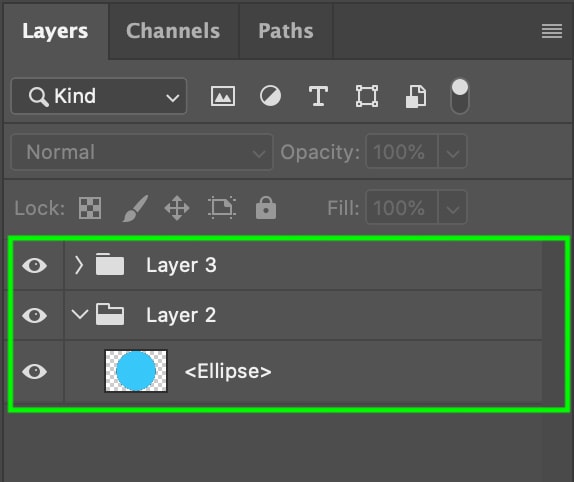
Now, you can open the file in Photoshop. To do this, head to File > Open. Then, select the PSD file, and it will open automatically as a new project. All the layers are visible and ready to edit in the Layers Panel.
Option 3: Open An Illustrator File As A Smart Object To Preserve Quality
Step 1: Change The Clipboard Handling Preferences
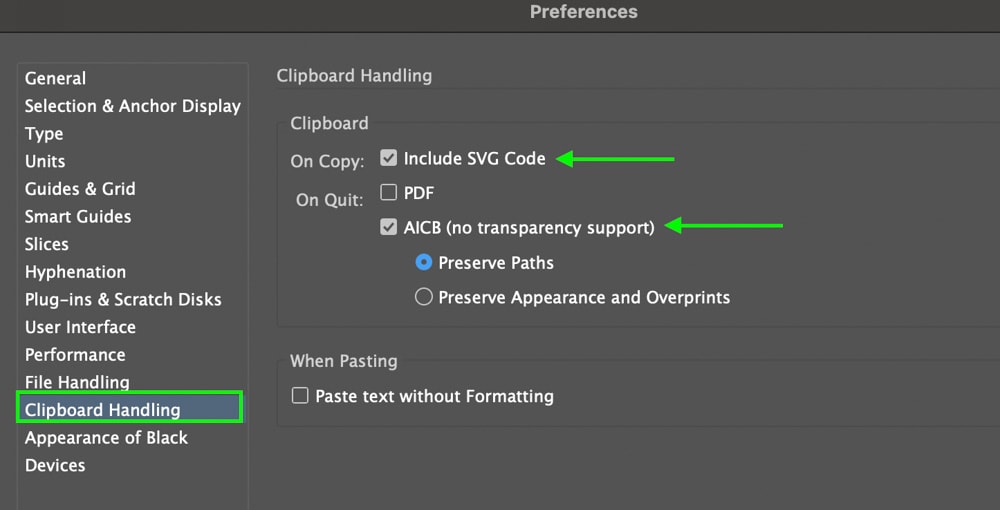
Click Illustrator in the top toolbar and head to Preferences > Clipboard Handling. On Windows, you head to Edit > Preferences > File Handling & Clipboard.
In the Clipboard Handling preferences, make sure to check Include SVG Code on copy and AICB on quit. These preferences allow you to paste the project as a Smart Object into Photoshop.
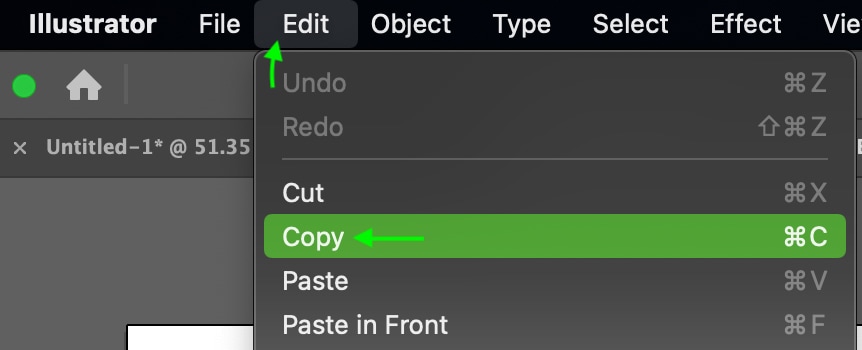
Step 2: Go To Edit > Copy To Copy The Elements In Illustrator
Still, in Illustrator, make sure you’ve opened the elements you’d like to copy and paste into Photoshop and head to Edit > Copy.
Step 3: Go To Edit > Paste To Paste The Elements Into Photoshop
In Photoshop, open the document that you want to paste the Adobe Illustrator art into and then choose Edit > Paste. A window will open, allowing you to select how you want to paste your layer. Select Smart Object and click OK.
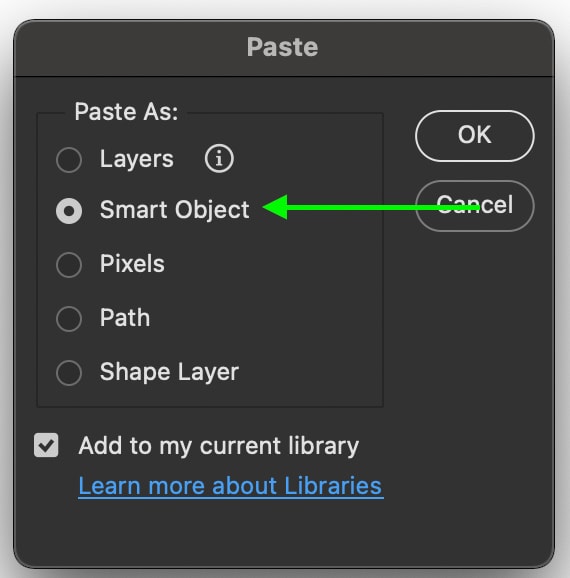
The project will appear in Photoshop, under the Layers Panel, as a Vector Smart Object. Now, when you double-click to edit the layer, it will appear in Illustrator for you to edit there.
AI Files VS PSD Files
Photoshop File Format
The file format Photoshop uses is PSD, which is a raster file, meaning the files in this format are composed of pixels. Raster files are commonly used for working with photos, and as they are often layered, the files can get quite big.
Illustrator File Format
The Illustrator file format, AI, is a vector format, meaning the files are made of dots connected by an algorithm. Illustrator allows you to create high-quality, easily mutable graphics using advanced mathematical equations; this means that you can resize them, and they won’t lose their quality. AI is best for creating graphics and logos, or even cartoons and fonts, while keeping file sizes fairly small.
Working in both Illustrator and Photoshop brings the benefits of both programs and allows you to make additional edits to your project. It may seem complicated to move a project from Illustrator to Photoshop, but using the methods outlined above, you can do so without compromising quality and without too much additional time or energy.
Happy Editing!


