

There may come a time when you need to create a bullet point in Photoshop. Maybe you’d like to create a bulleted list, or need to otherwise break up a paragraph. While Photoshop doesn’t have a dedicated tool that creates or edits bullet points, there are a few fast and easy ways to add bullet points into your text.
The easiest way to add a bullet point in Photoshop is to use the keyboard shortcut Alt + 0 + 1 + 4 + 9 for Windows or Option + 8 for Mac. This shortcut will add a single bullet point to the selected text layer you are editing while the Type Tool is active.
If you aren’t one for keyboard shortcuts, there are a variety of other ways to create bullet points as well. From specific fonts, copy and pasting, and more, this post will share every method you can try.
Later on, I’ll also get into a helpful tip for formatting bulleted lists in Photoshop using paragraph text instead of point text!
Let’s get started.
Video Tutorial
How To Make Bullet Points In Photoshop – 4 Methods
There are a variety of ways you can make bullet points in Photoshop, and each one is fairly simple.
Option 1: Use A Keyboard Shortcut
One of the easiest ways to create bullet points in Photoshop is to use keyboard shortcuts. To do this, you’ll need to use the Type tool.
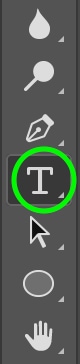
You can also press T to access the Type Tool.
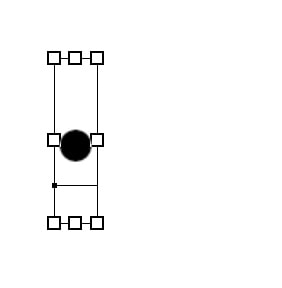
Now click on the canvas to create a new text box. To add a bullet point, use the keyboard shortcut Alt + 0 + 1 + 4 + 9 for Windows, or Option + 8 for Mac. Your bullet point will appear in the text box.
If you’d like to change the appearance of your bullet point, you can increase or decrease the size as well as change the color in the top toolbar.


Option 2: Use A Bullet Point Glyph
Using Photoshop’s Glyphs Panel, you can see the entire library of characters in different fonts. The fonts here include both Photoshop’s default fonts and any fonts you may have added to the program. The Glyphs Panel is useful as it often has options in each font for bullet points.
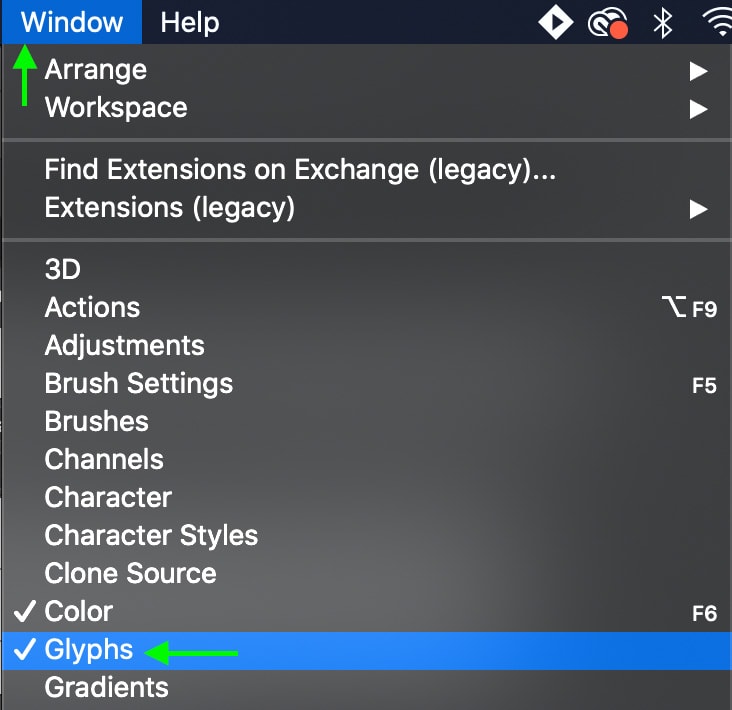
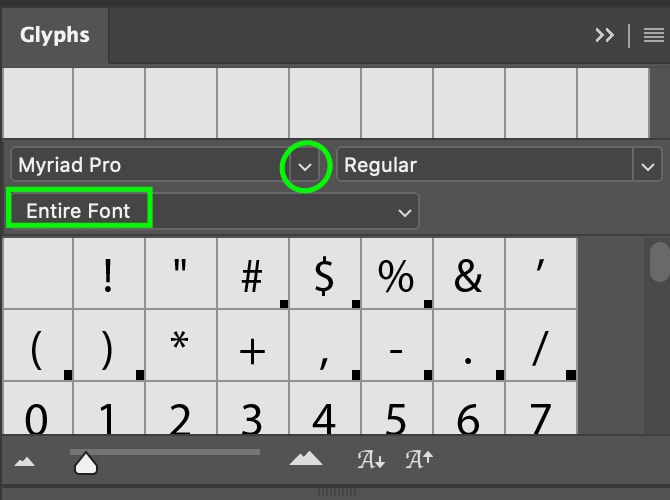
To access the Glyphs Panel, head to the toolbar and click Window > Glyphs and the panel will appear.
In this panel, you can select a font by clicking the font drop-down and finding the one you’d like to use. Most fonts have a bullet point option, so the specific font doesn’t matter much. Just make sure you’ve got “Entire Font” selected.
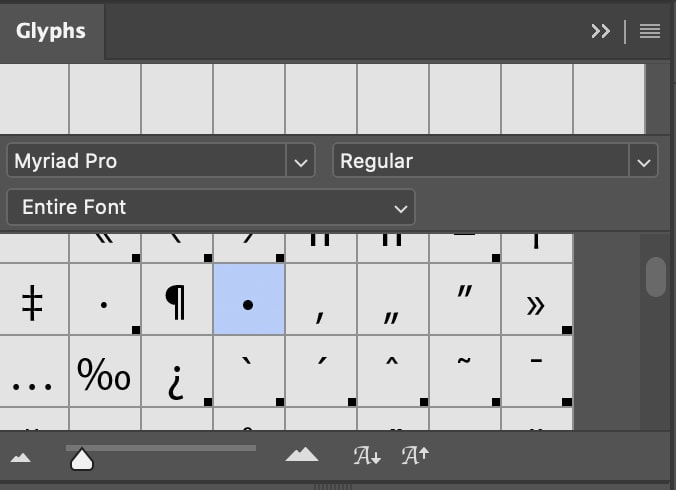
Once you’ve found a font you like, you can scroll to find the bullet point.
Now, make sure you have the Type Tool selected, and click your canvas to create a new text box.
Double-click the bullet point you’ve found in the Glyphs panel to add the bullet point to your text box. It’s as simple as that.
Option 3: Copy & Paste A Bullet Point Into Photoshop
Another pretty simple way to add bullet points in Photoshop is to simply copy and paste them from elsewhere on the internet. You can find an entire database of various styles of bullet points, here.
Now let’s explore how to put one of these in your Photoshop canvas. First, copy the bullet point you’d like to use. With a new project open in Photoshop, select the Type Tool and create a new text box, then simply paste the bullet point into your text box when you need it.

Again, you can alter the size and color of your bullet point using the options in the text toolbar. If you’re new to working with and adjusting text properties, this post will get you up to speed.


Option 4: Use The Built-In Wingdings Font
Among the fonts that automatically come with Photoshop, you’ll find Wingdings, a symbol-based font that has several options for bullet points. In the Wingdings font, each letter represents a different symbol. This means that, when you type letters, you’ll see symbols appearing rather than the letters themselves.
Wingdings has several options for letters that will appear as different styles of bullet points. Let’s take a look at what each letter creates.
Start by selecting the Type Tool again or pressing T. Then, click the canvas to create a new text box.
Once you’ve created your text box, you’ll notice that at the top of the screen there are some tools you can use to change your text. Click the font drop-down menu to see all the options for the different fonts, and scroll until you find Wingdings.

The list is ordered alphabetically, so it’ll be somewhere near the bottom. Once you’ve got the Wingdings font selected, head to your text box. For a basic bullet point, press letter L.

There are a few different letters you can type that will appear as different styles of bullet points. You can also use the letters M, N, O, P, Q, R, S, T, and U. In alphabetical order, this is how these letters will appear:

Creating Bulleted Lists In Photoshop Using Paragraph Text
Now that you know a few ways to make bullets in Photoshop, you can apply what you’ve learned to create a list using Paragraph Text. Paragraph Text is different from the standard point text in that the text you type will be contained inside the text box instead of trailing endlessly off the canvas. This means that if you resize the box, the text will be altered as well to fit inside the box.
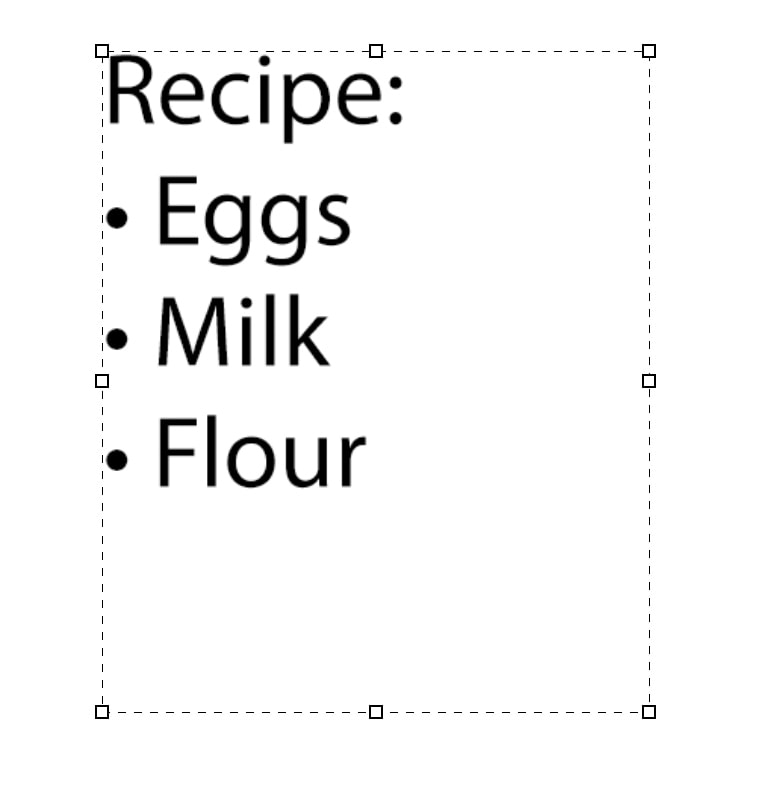
For this reason, paragraph text is often best for longer swathes of text, including some lists. By adding bullet points into your paragraph as you go using keyboard shortcuts, you can make quick and easy lists without having to format so much.
To work with paragraph text, start with a new project or open an existing one. Then select the Type Tool from the toolbar or press T.
Now click and drag to create a text box of a specific size. Once your text box is created, you can adjust the points around the box to change the size. If you already have a text layer you want to convert to paragraph text, right-click on the layer and choose “Convert To Paragraph Text.”
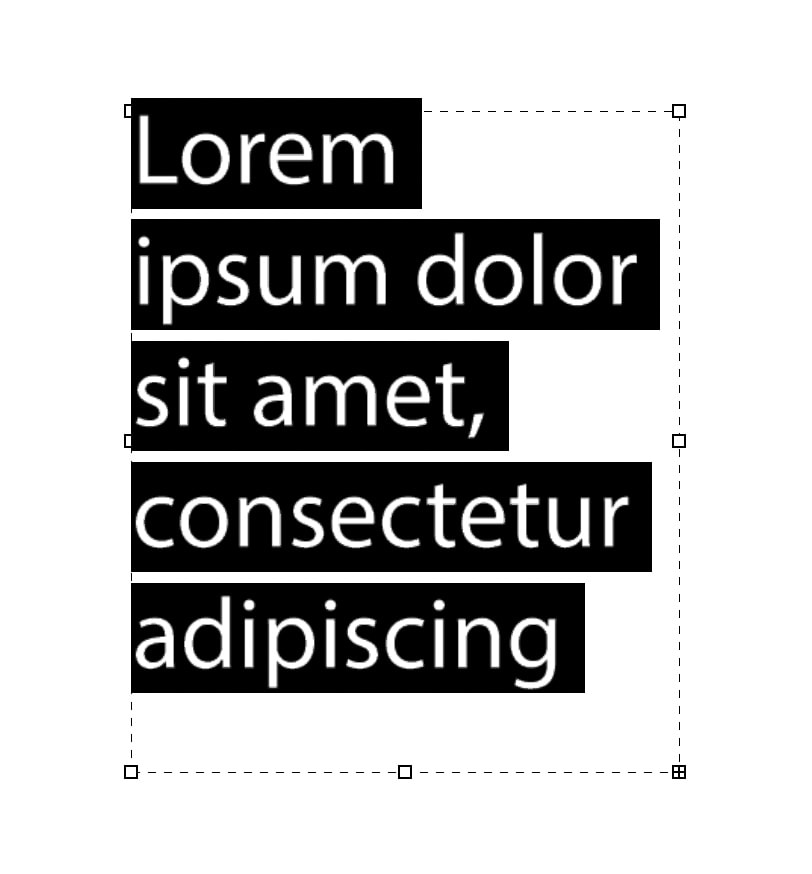
Notice the text wraps around, staying inside the confines of the box. Write your text, then use the keyboard shortcut Alt + 0 + 1 + 4 + 9 for Windows, or Option + 8 for Mac to add bullet points as you go.
If you have too much text to fit inside the box, a plus sign will appear in the bottom right of the box. To combat this issue, you can resize the text box by clicking any of the points around it and dragging.
You can also resize your font using the font size drop-down menu in the upper settings bar. You can change the appearance of your text in this bar too.

As you can see, it’s not difficult to add bullet points into Photoshop, despite the program’s lack of a specific bullet point tool. The methods above will allow you to easily create all the bulleted lists you need for your project.
Happy Editing!
