
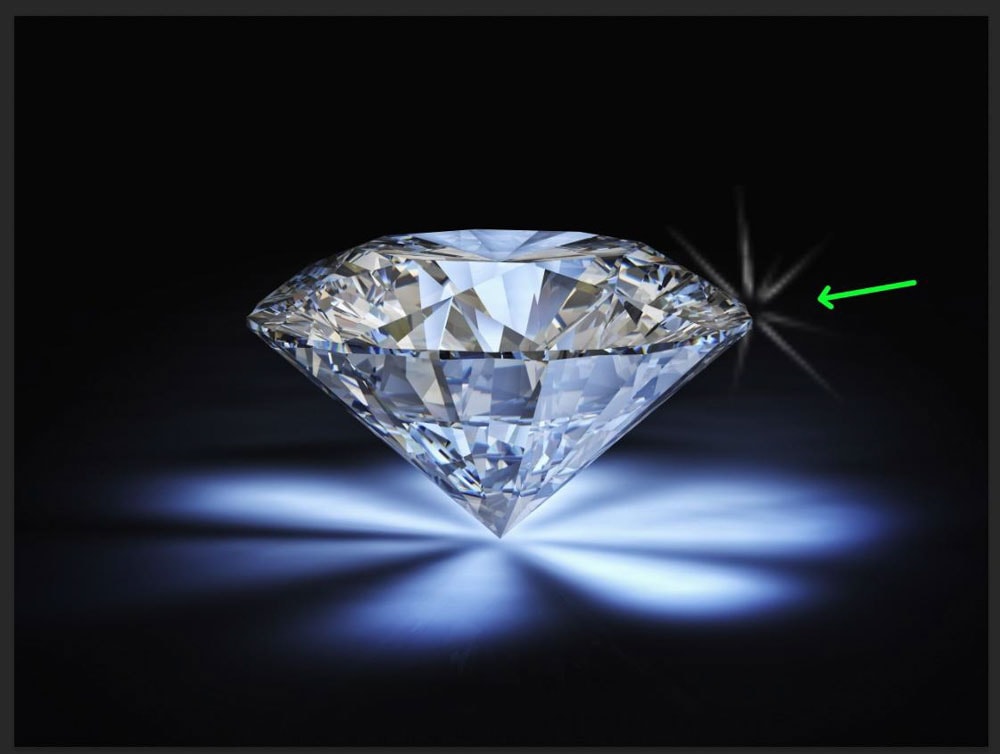
Whether you want to add a single sparkle to an object in your photo, or use a sparkle brush to paint a sparkle trail in your creative projects, this guide will show you how to do both in Photoshop. Plus, you’ll learn how to easily create your own sparkle brushes and stamps to reuse in future projects.
Let’s get started!
How To Create A Sparkle Effect In Photoshop With Custom Brushes
Option 1: Using Legacy Star Brushes
If you want to add a quick sparkle or two to your project, Photoshop comes with a set of brushes that can do the trick.
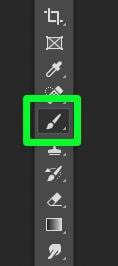
To find these brushes, first select the Brush Tool (B) in the Toolbar.
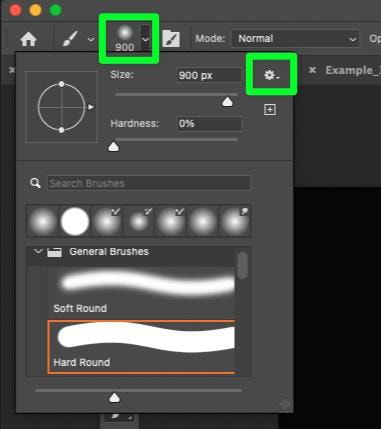
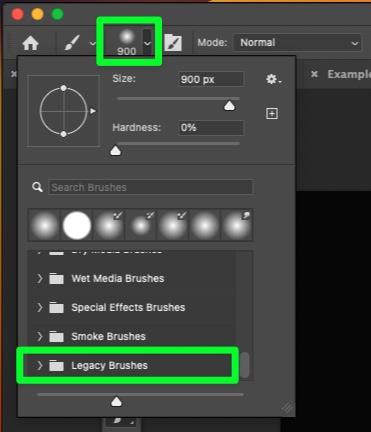
In the Options Bar, click on the Brush Preset Picker. Click the Gear icon in the top right corner.
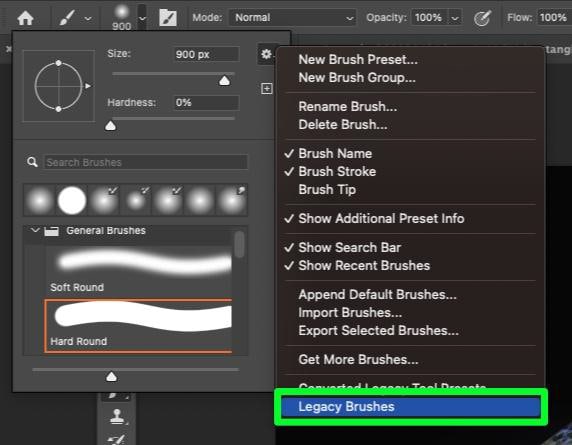
In the sub-menu that pops up, select Legacy Brushes.
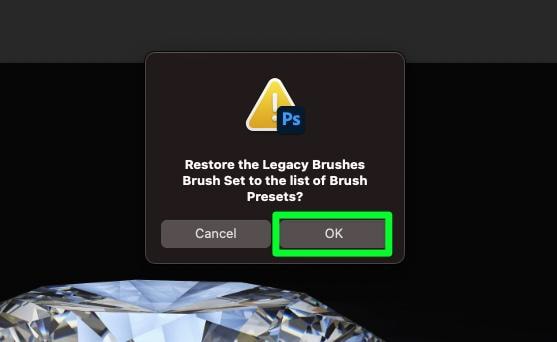
You may be prompted to restore the legacy brush set to the comprehensive list of brush presets. Click OK when prompted.
After restoring the legacy brushes, you can now click on the Preset Brush Picker icon, then find the Legacy Brushes folder in the list that pops down.
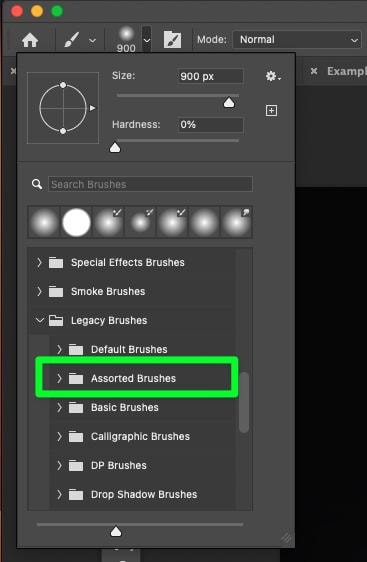
In the Legacy Brushes folder, click on the Assorted Brushes folder to open it.
With the Assorted Brushes folder open, scroll down until you get to the star brushes. You’ll find four different star brushes:
- Star – Small
- Star – Large
- Starburst – Small
- Starburst – Large
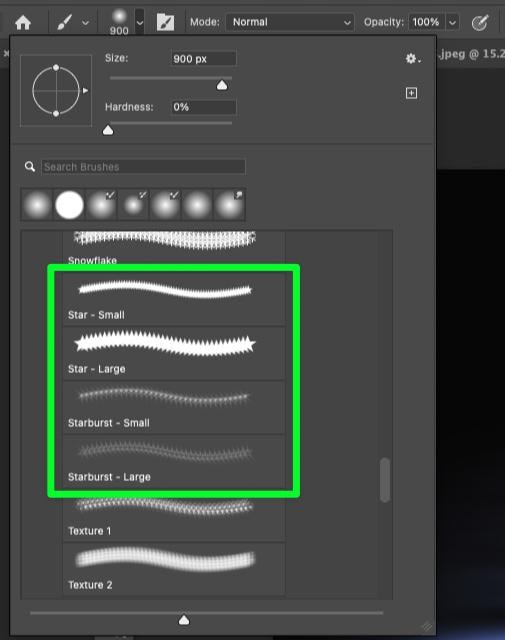
For creating sparkles, the starburst brushes work better for making sparkles than the regular star brushes.
However, all of these brushes are low resolution. You’ll notice the lack of resolution when you use the brush with a larger size.
If you use these preset brushes, the smaller the size, the better the result, but then it may be too small to see on your image.
These brushes are suitable for throwing a design together quickly or if the rest of your image is low resolution. For the most part, creating your own custom sparkle brush has more benefits.
Option 2: Create A Custom Sparkle Brush
Creating your own custom brush in Photoshop may seem daunting, but it’s much easier to do than you may think.
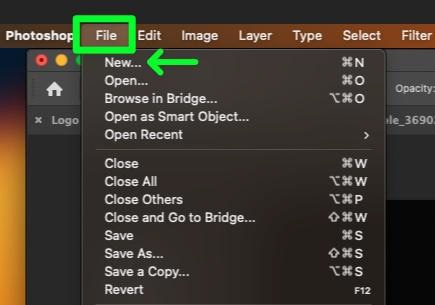
Step 1: Create A New Square Document
To create your own original brush, first, create a new document by going to File > New.
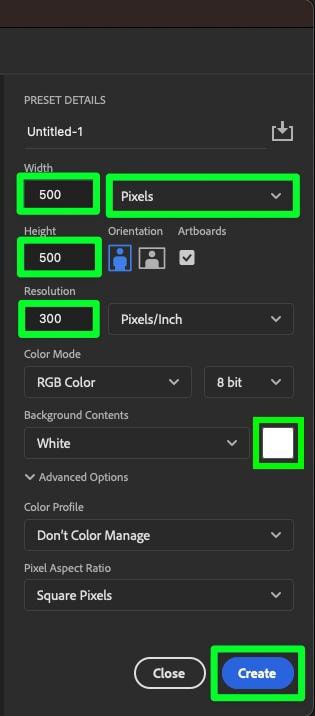
In the options presented to you:
- Set the Width to 500.
- Set the Height to 500.
- Set the Resolution to 300.
- Leave the Background Contents as white.
Click Create when ready.
Note: The size of your document doesn’t have to be 500 px by 500 px. You can create a 1000 px by 1000 px document or a 1500 px by 1500 px. As long as your document is a perfect square, it can be any size.
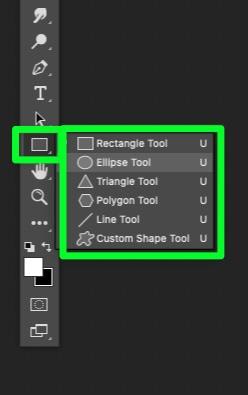
Step 2: Select & Prepare The Ellipse Tool
Now that your new document is open select the Ellipse Tool (U). If you don’t see it, click and hold on to the Rectangle Tool, then choose the Ellipse Tool from the sub-menu that pops up.
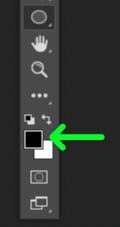
Before moving on to the next step, ensure your Foreground Color is black.
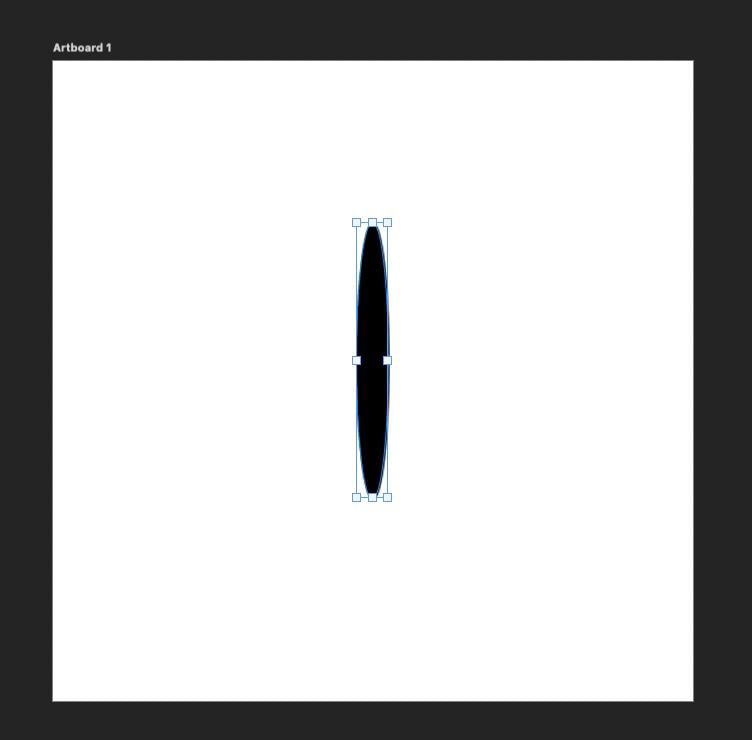
Step 3: Draw Your First Oval
With the Ellipse Tool selected, draw a thin, medium-sized oval on your canvas. In a later step, you’ll be adding a motion blur, so don’t draw the oval too large, as this could lead to the shape extending past the borders of the canvas.
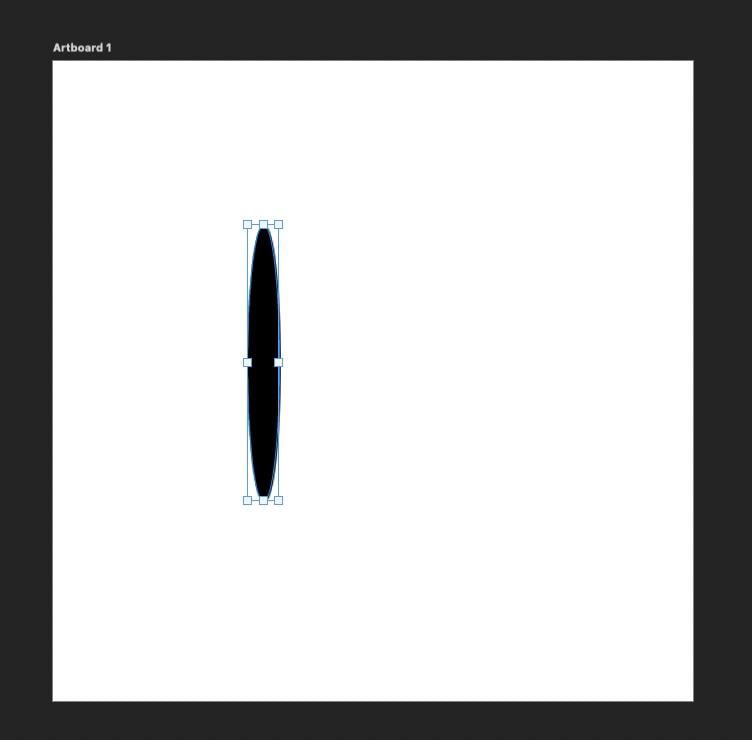
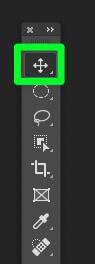
With the Ellipse Tool still selected, hold down Control (Win) or Command (Mac), then drag your oval to the middle of the canvas. Alternatively, you can use the Move Tool (V).
Use the purple guidelines that pop up to help you find the center of the canvas.
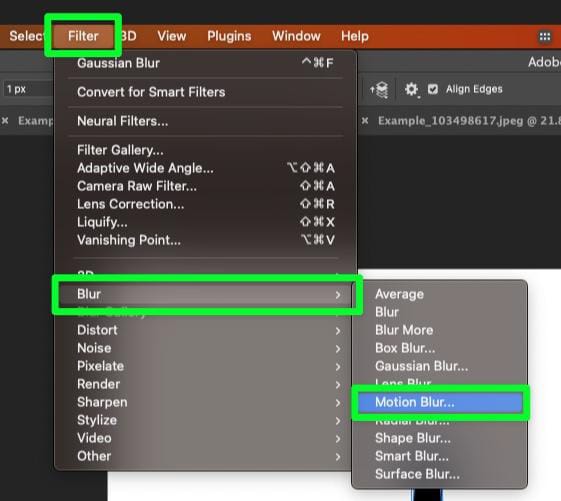
Step 4: Add A Motion Blur To The Oval
Next, add a motion blur to your oval by going to Filter > Blur > Motion Blur.
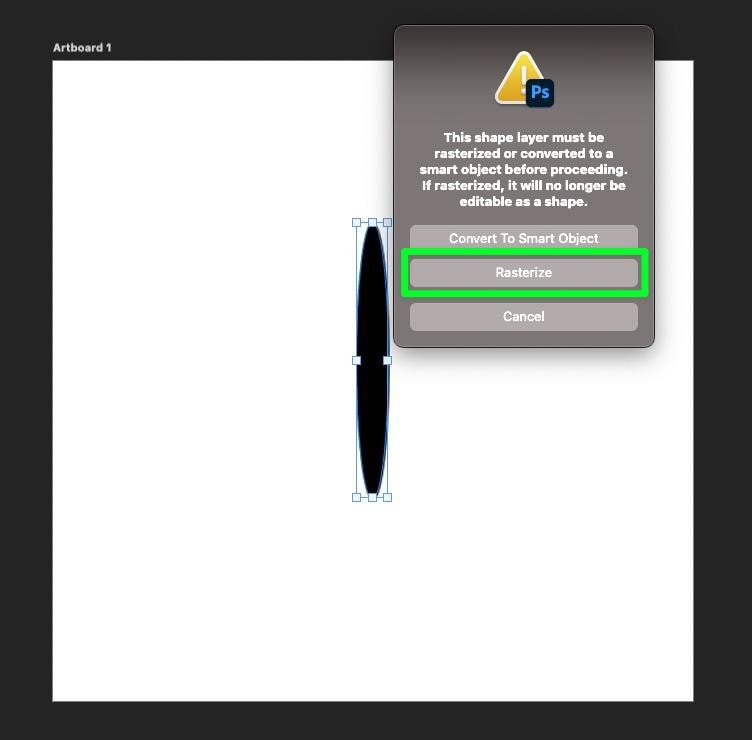
You will be warned that your shape layer must be converted to a smart object or rasterized. You won’t need to edit the shape again, so select Rasterize.
When the Motion Blur options window pops up, adjust the Angle to 90 degrees. You can do this by dragging the Angle Dial or inputting the number in the Angle box.
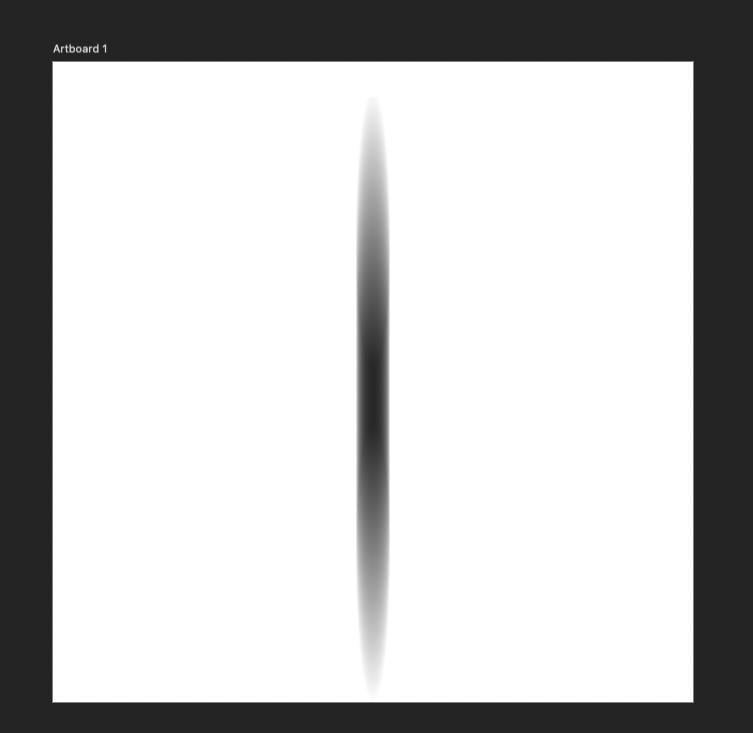
With the angle set, use the Distance slider to stretch the oval. Stretch the oval enough to form it into a line, and make sure the line doesn’t go past each edge.
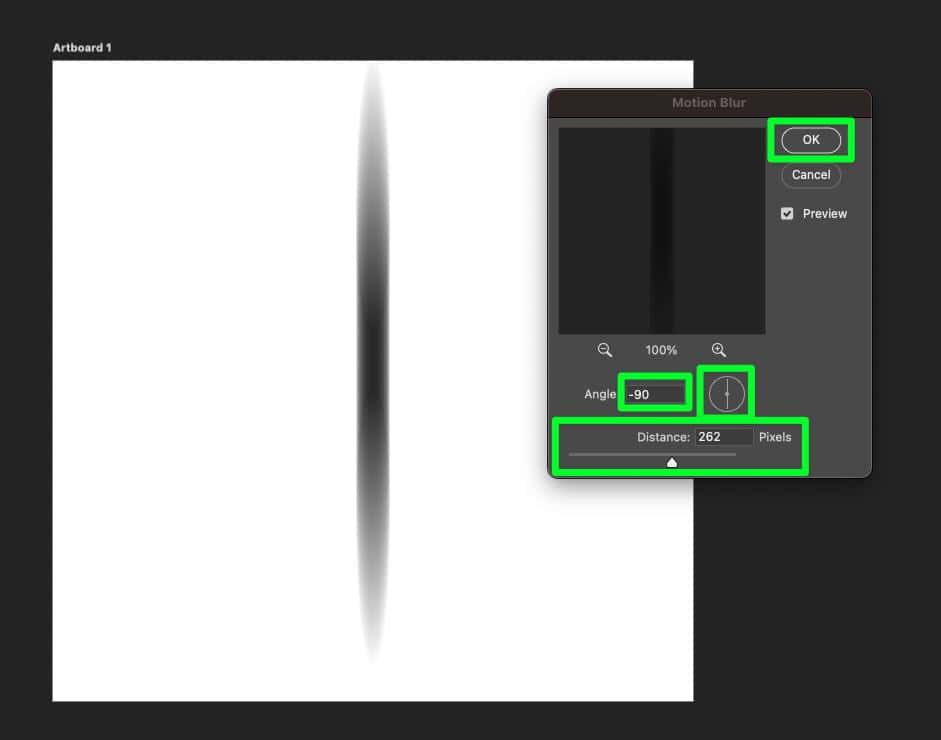
If you need to, use the Move Tool (V) to center the line in the middle of the canvas. Make sure there’s an equal amount of space on the top and the bottom of the line.
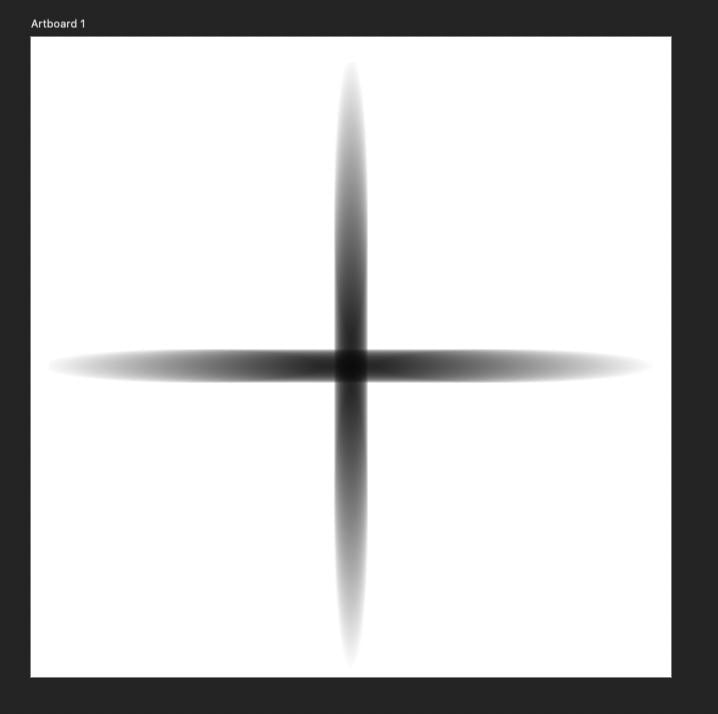
Step 5: Create The Rest Of Your Sparkle Shape
With your first line finished you can complete the basic shape of your sparkle by duplicating the original line layer and rotating each one.
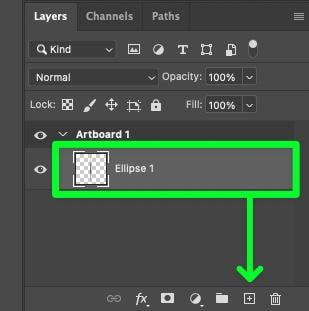
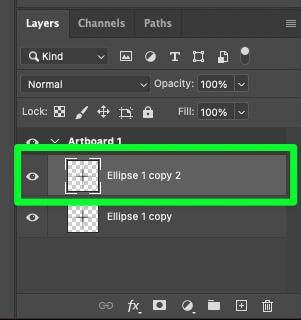
To start, duplicate the line layer by dragging the layer into the Plus icon in the Layers Panel or by selecting the layer, then pressing Contol + J (Win) or Command + J (Mac).
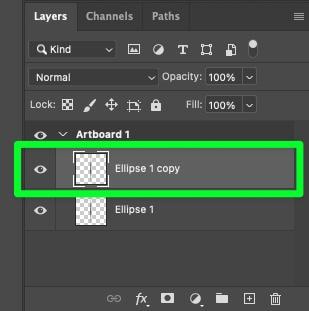
The duplicated layer will appear above your original layer.
To rotate your duplicated layer, select the Move Tool (V) and hover your mouse toward the top or bottom of the line. When the cursor transforms into a curved arrow, you can rotate the line.
Hold down the Shift key, then rotate the line 90 degrees.

Once your duplicated layer is in place, press Enter or click the checkmark in the Options Bar to confirm the change.

Next, shift-click both layers in the Layers Panel to select them both.
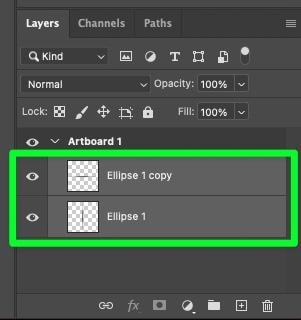
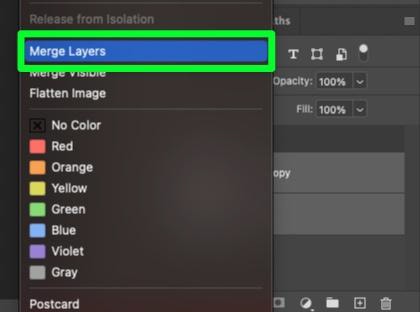
Merge the two layers by right-clicking the selected layers and choosing Merge Layers in the menu that pops up. Or press Control + E (Win) or Command + E (Mac) to merge the layers.
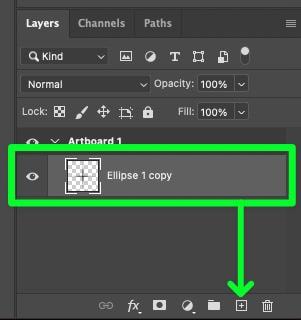
Now that the layers are merged drag the merged layer to the Plus icon to create a duplicated copy.
Next, grab the Move Tool (V), hold down the Shift key, then rotate the duplicated layer 45 degrees.
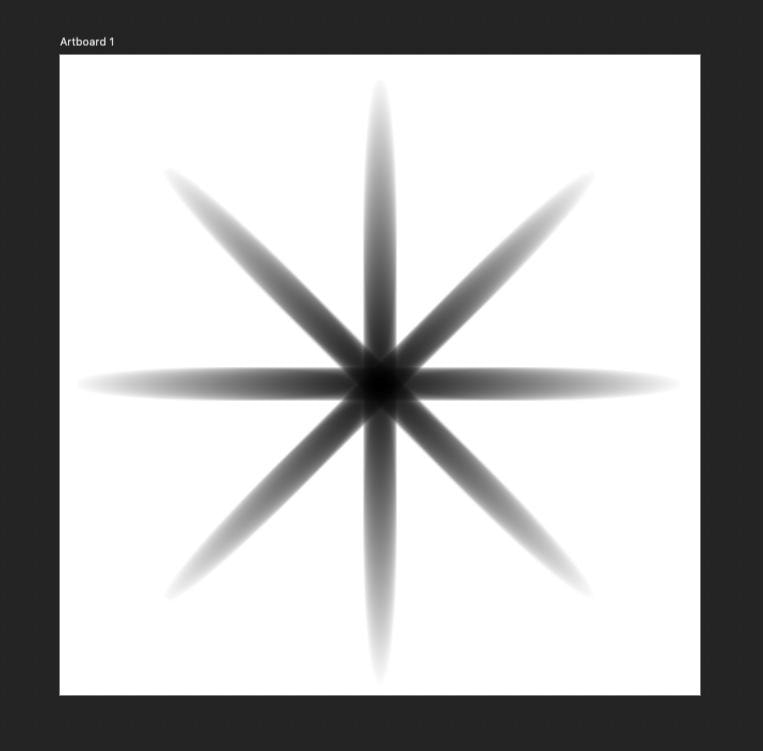
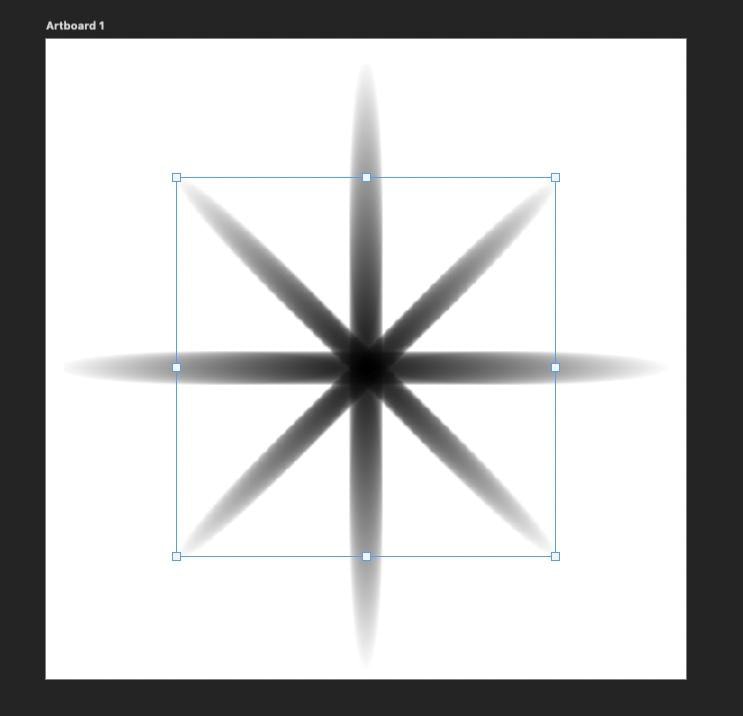
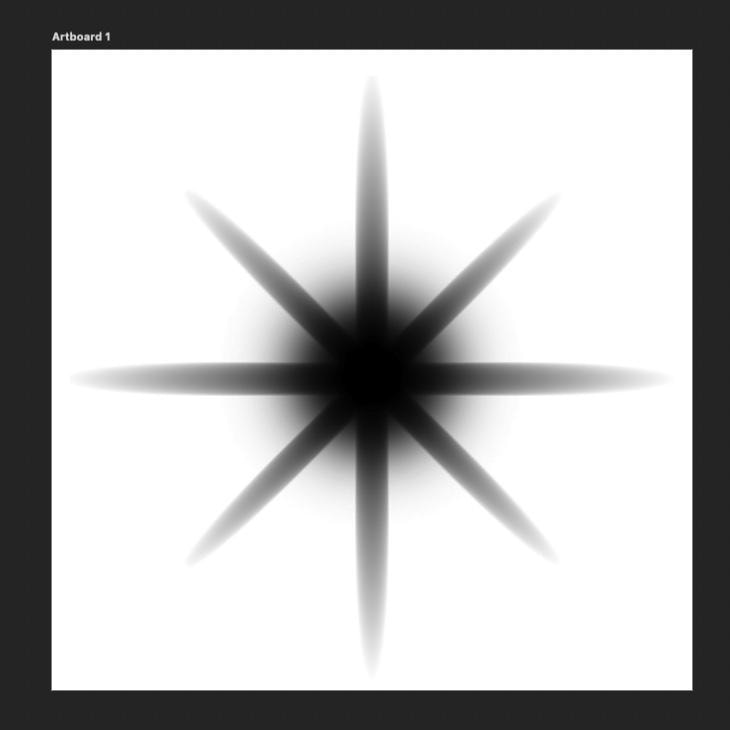
Step 6: Refine Your Sparkle Shape
Now that your basic sparkle shape is done, it’s time to refine it.
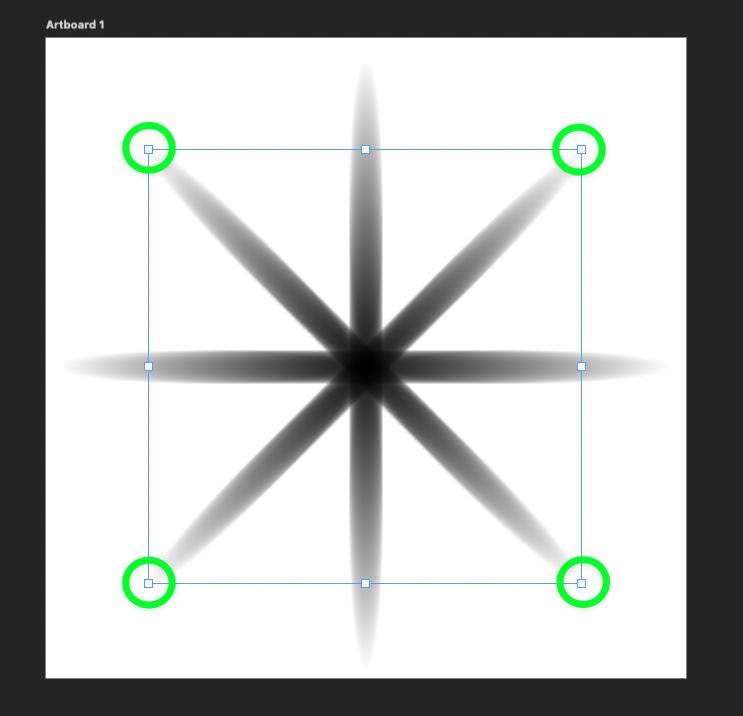
First, click on the top shape to reveal the corner handles. Use one of the side handles to shrink the shape down 15 to 30 percent.
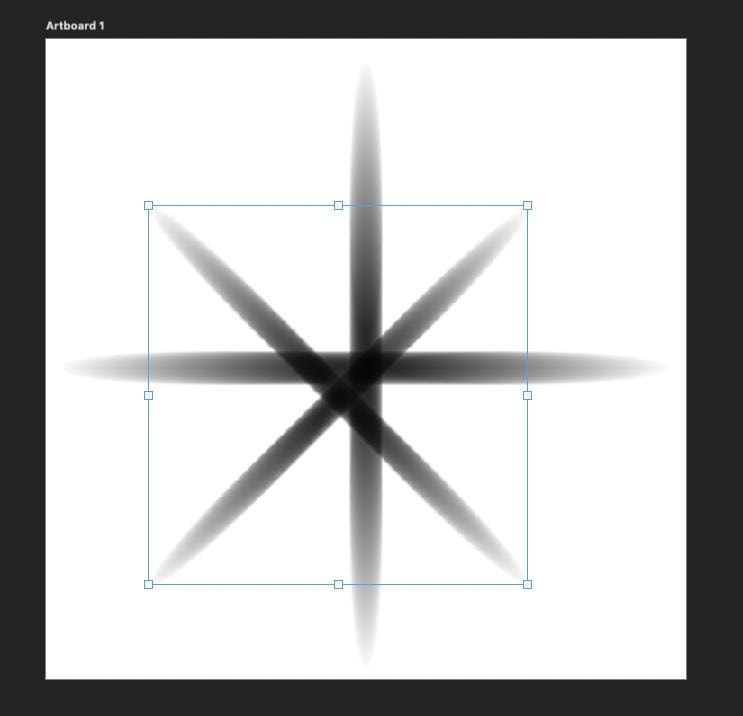
Use the Move Tool (V) to line up the two shapes. Make sure that all of the lines line up perfectly in the middle.
There’s one last effect to add before moving on to the next step.
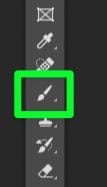
Select the Brush Tool (B).
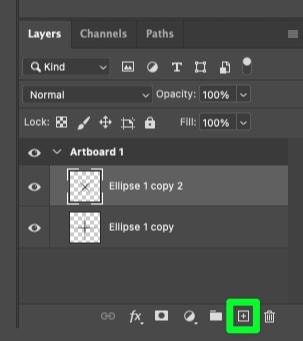
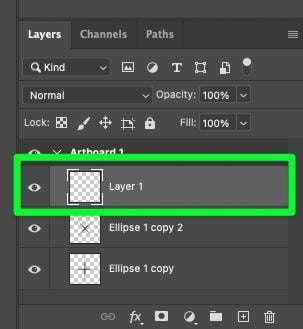
Then, add a new layer on the Layers Panel by pressing the Plus icon.
Click on the new layer to select it.
In the Options Bar, click on the Preset Brush Picker, then choose the Soft Round brush.
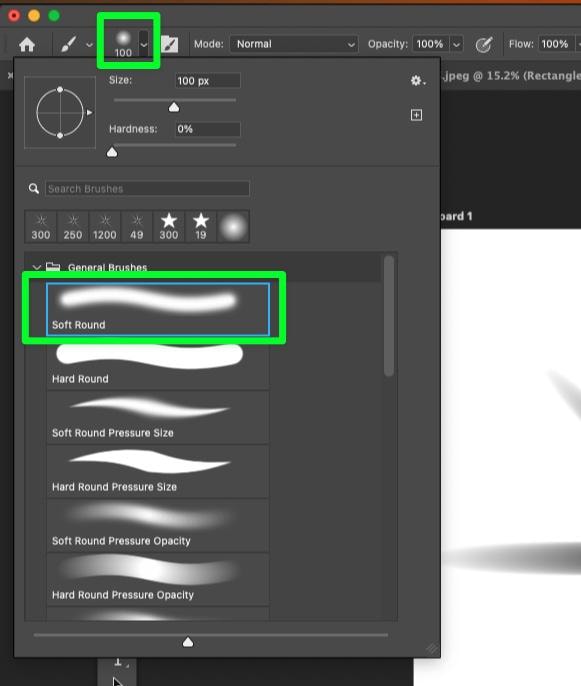
With the Soft Round brush selected, click in the middle of your sparkle shape two or three times until you have a medium-sized soft-edged circle in the middle of the shape.
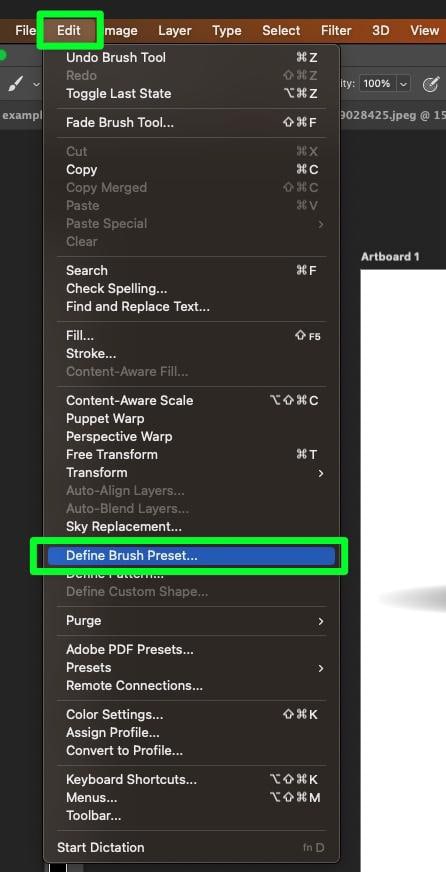
Step 7: Create A Brush Preset From Your Finished Shape
Your sparkle shape is now complete and ready to be turned into a brush preset.
To do this, go to Edit > Define Brush Preset.
A window will pop up, allowing you to name the brush.
When you’re ready, click OK.
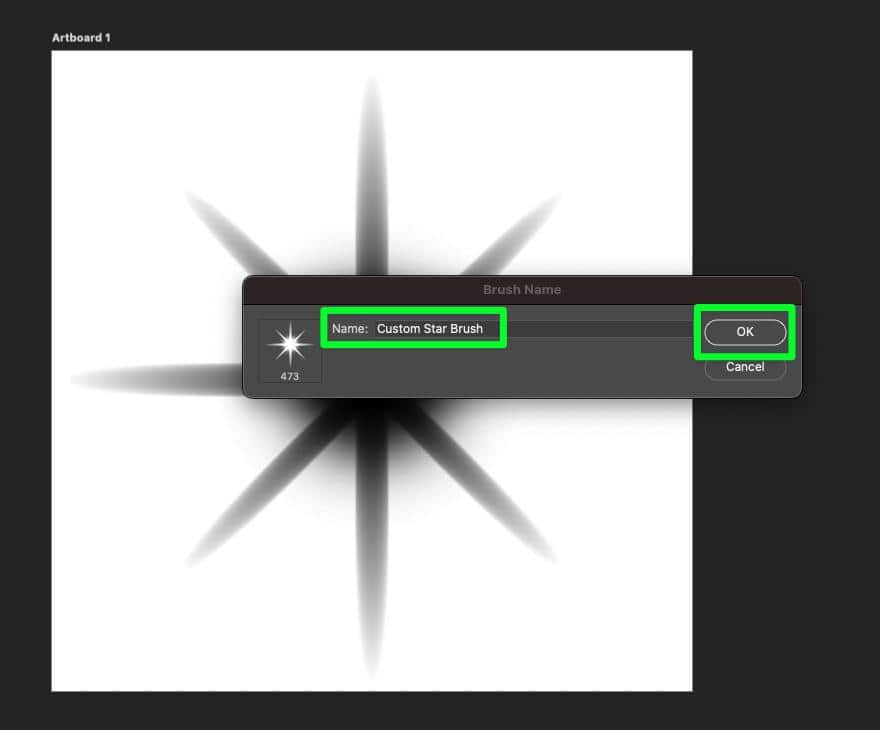
You’re sparkle brush has now been created, and you can find it in the Preset Brush Picker.
2 Ways To Add The Sparkle Effect To An Image In Photoshop
Now that you’ve created your own custom sparkle brush, you can use it to add sparkles to your project. This section will cover the two best ways to do so.
Method 1: Adding Single Sparkles
When it comes to the term “sparkle brush,” don’t take the term “brush” literally. You can also use this brush as a “stamp” by adding single sparkles to your design.
Step 1: Select Your Custom Sparkle Brush And Set The Color To White
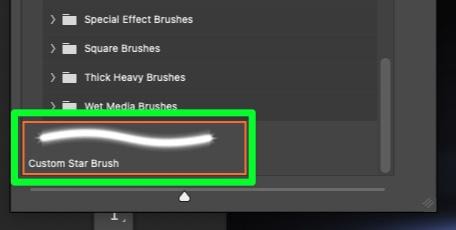
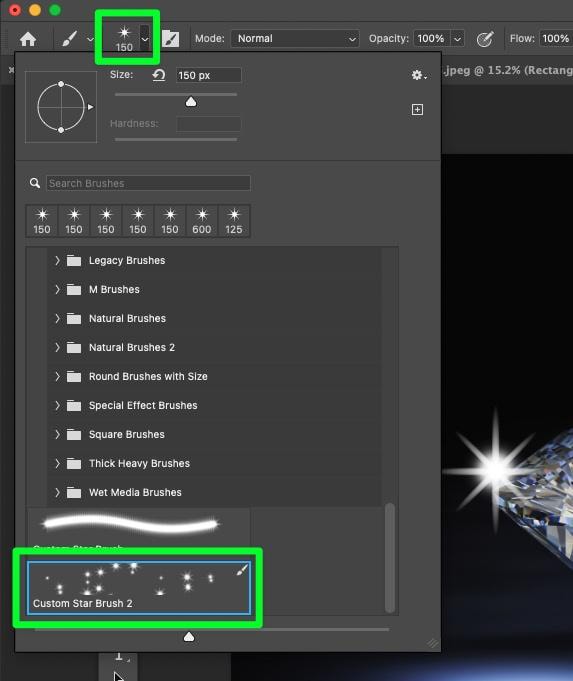
To select the brush you made in the previous section, grab the Brush Tool (B), then click the Preset Brush Picker in the Options Bar. Your custom sparkle brush should be at the bottom of the list.
After selecting your brush, make sure your Foreground color is white or whichever color you need it to be for your project.

Step 2: Add A New Layer To The Layers Panel And Click On The Design
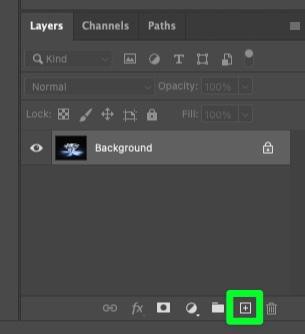
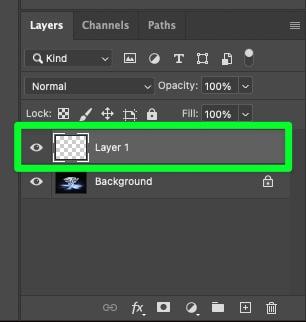
Before adding sparkles to your design, add a new layer by clicking the Plus icon.
Click on the new layer to select it.
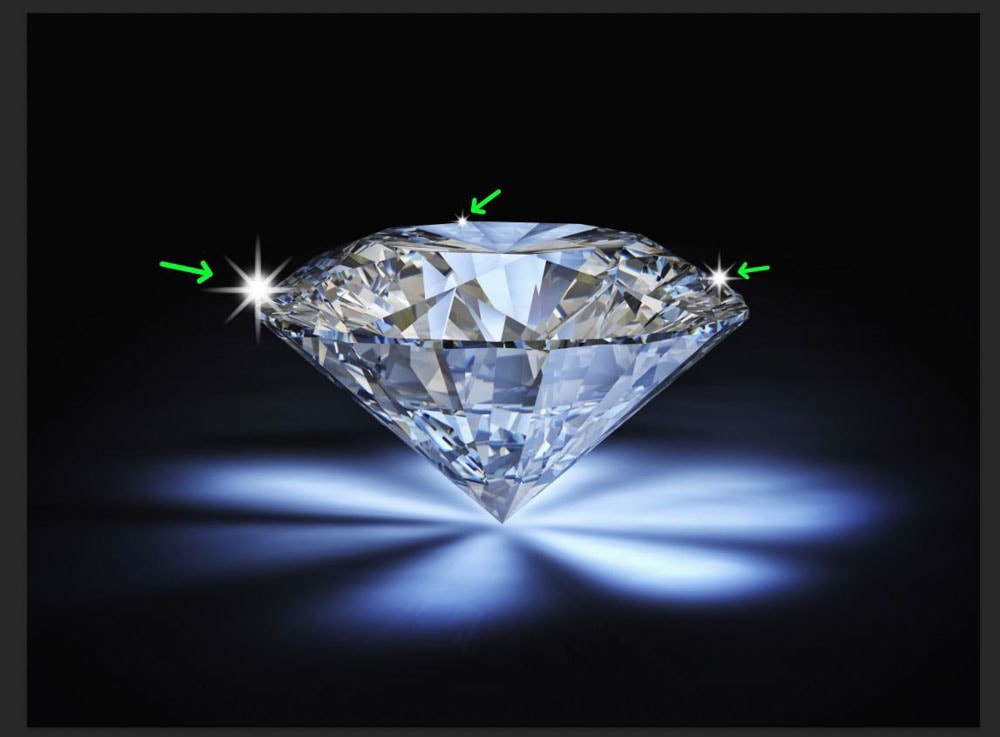
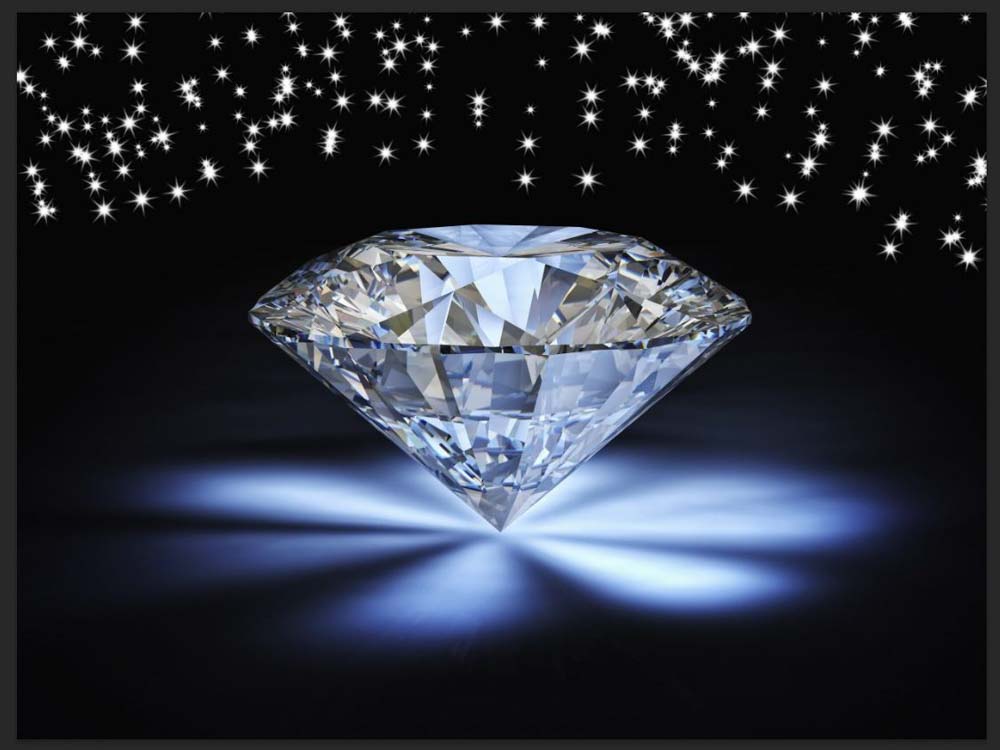
You’re now ready to add a sparkle to your design. To use your brush like a stamp, click once on your design to add a sparkle.


If you want to add smaller or larger sparkles, you can adjust your brush size easily with [ or ].
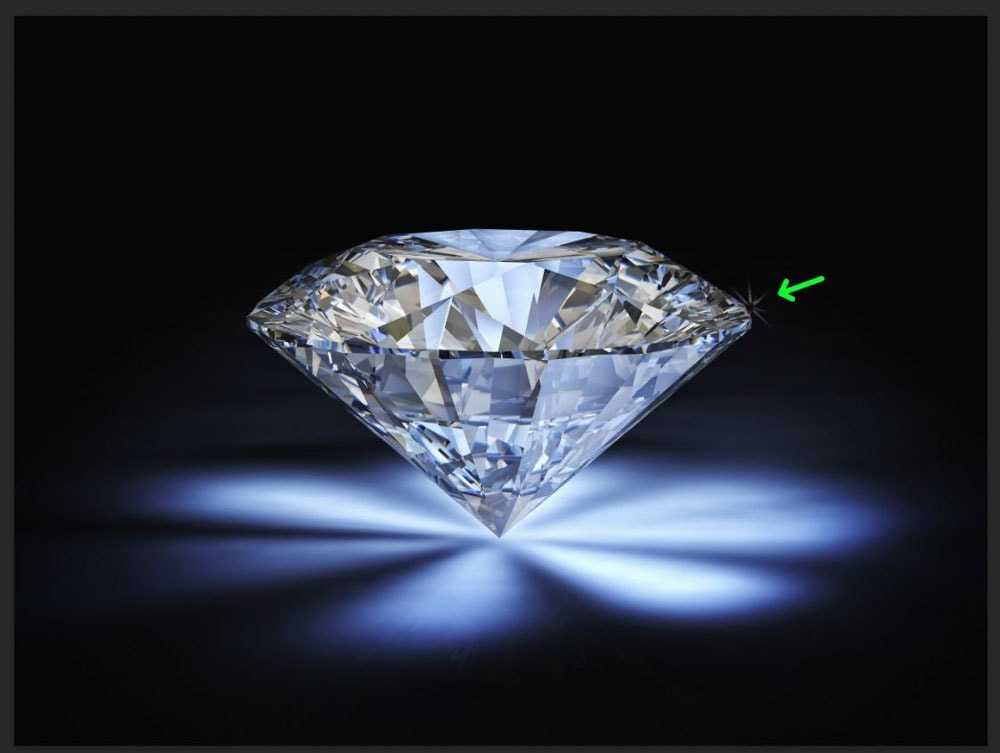
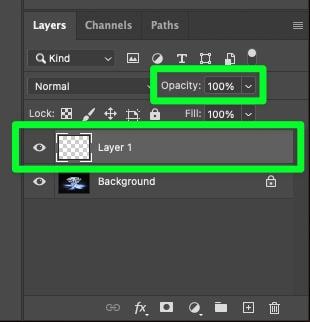
Step 3: Adjust The Opacity Of The Sparkle Layer (Optional)
When you added the new layer in step 2, it gave you the opportunity to edit the sparkles you stamped down easily. For example, you can lower the Opacity of the sparkle layer if you want to make the sparkles look a little less blinding.
Lowering the opacity of the sparkle layer is entirely optional.

Method 2: Creating A Custom Sparkle Trail Brush
What if you want to brush hundreds of sparkles on your design? You can do so with a trail brush.
This method will walk you through turning your custom brush into a custom trail brush.
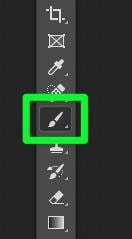
Step 1: Select The Brush Tool (B)
First, select the Brush Tool (B) from the Toolbar.
Step 2: Open The Brush Settings
Next, in the Options Bar, click the Brush Settings Icon to open the Brush Settings Window.

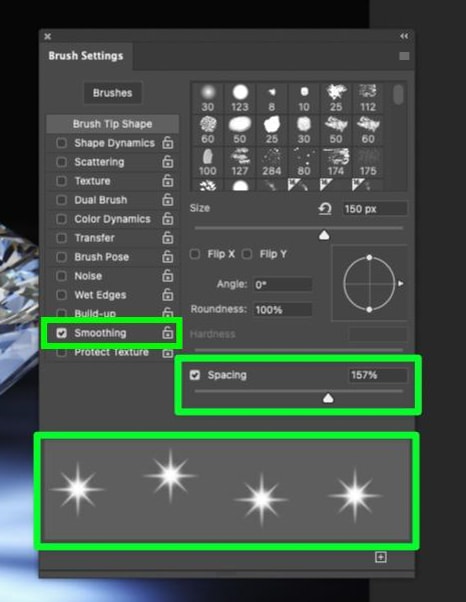
Step 3: Adjust The Spacing Of The Brush
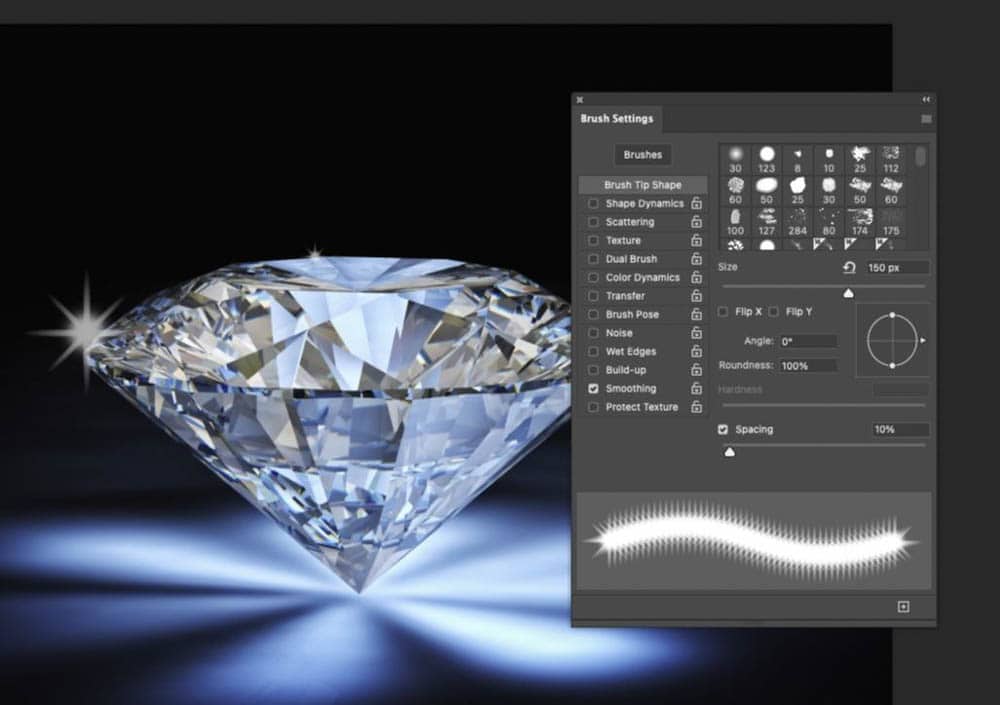
Now that the Brush Settings window is open, you can create a custom trail brush.
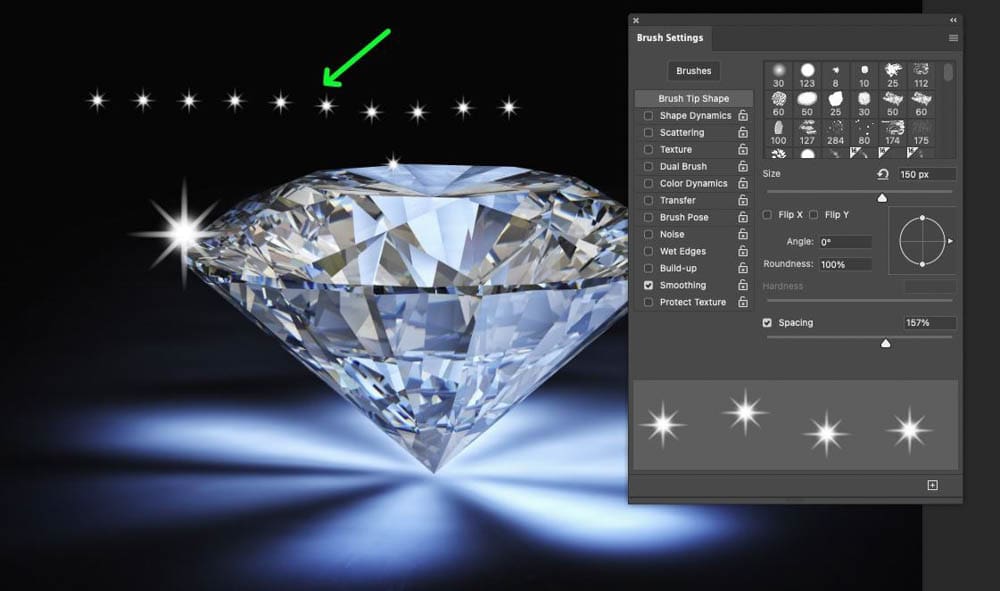
First, click the Smoothing tab on the left of the panel. Use the Spacing slider to create adequate space between each sparkle. 140% to 160% should do the trick.
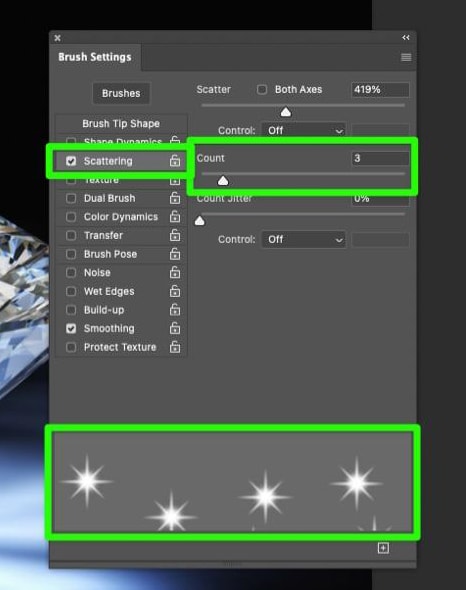
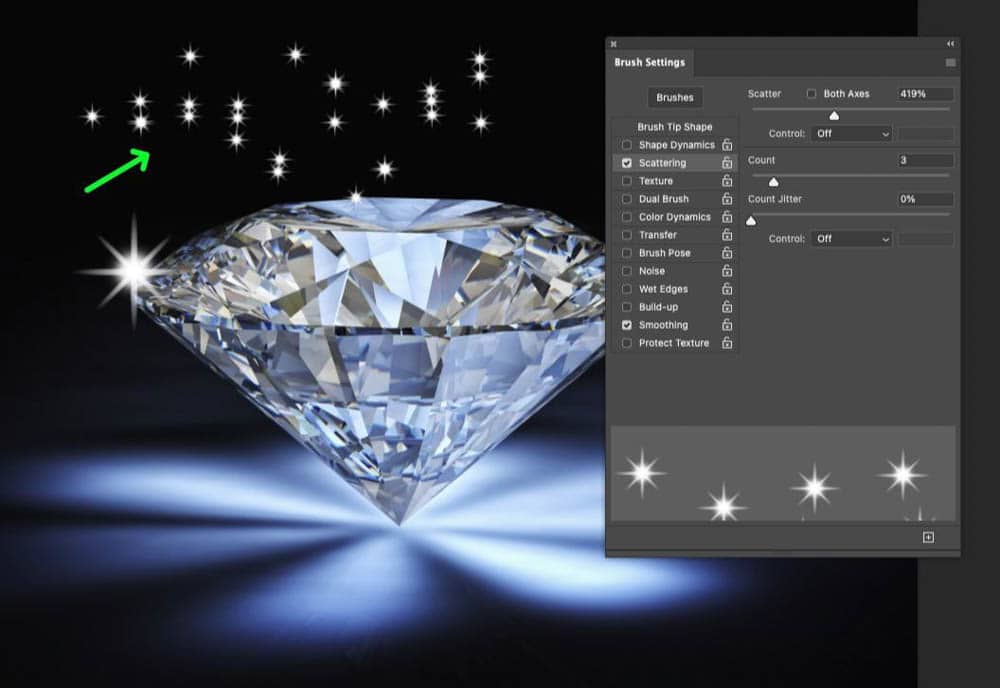
Step 4: Adjust The Scattering Of The Brush
Next, select the Scattering tab, then use the Count slider to add more sparkles to the “tip” of your brush. Adjust the slider between 3 and 5.
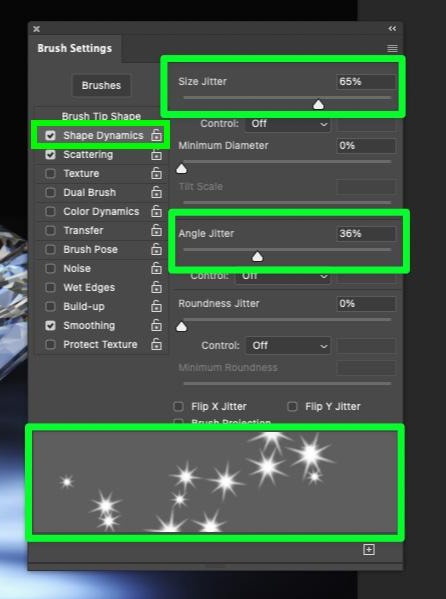
Step 5: Adjust The Size Jitter & Angle Jitter Of The Brush
For the last settings to adjust, click the Shape Dynamics tab. Set the Size Jitter to around 70% and the Angle Jitter to about 40%.
This will add randomness to the brush so that it doesn’t look so uniform when using it.
Step 6: Save These Settings As A New Brush
Now, it’s time to create a new brush out of the settings you adjusted.
To do this, click the Plus icon at the bottom of the Brush Settings window.
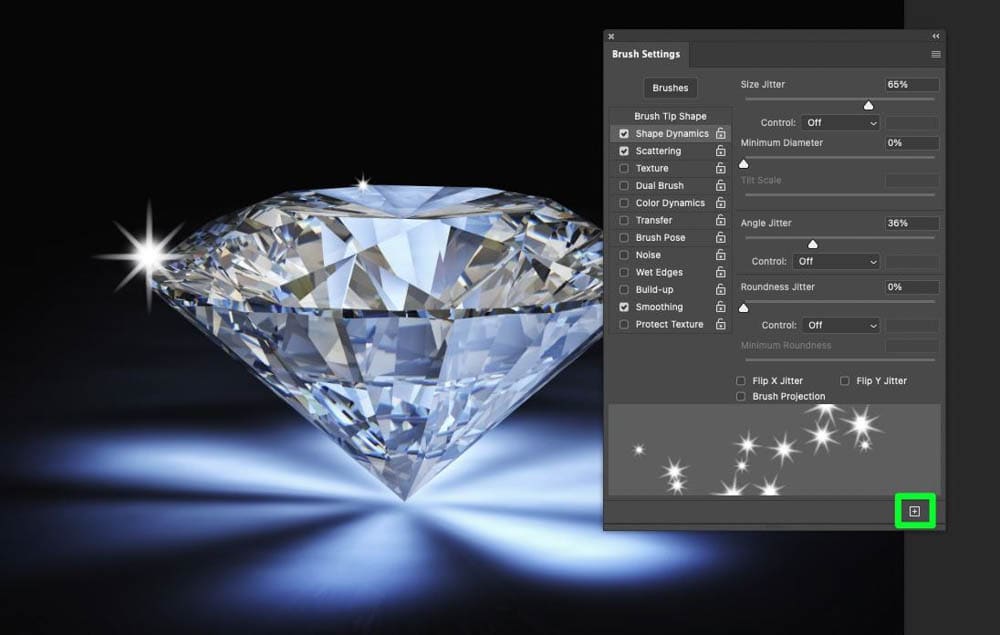
In the window that pops up, name your new brush.
Also, check the box next to Capture Brush Size In Preset to save all the settings you adjusted to the brush.
Click OK when ready.

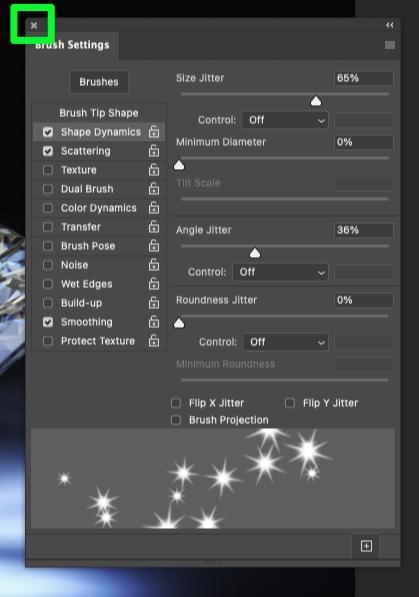
Before moving to the next step, close the Brush Settings window by clicking the X in the top left corner.
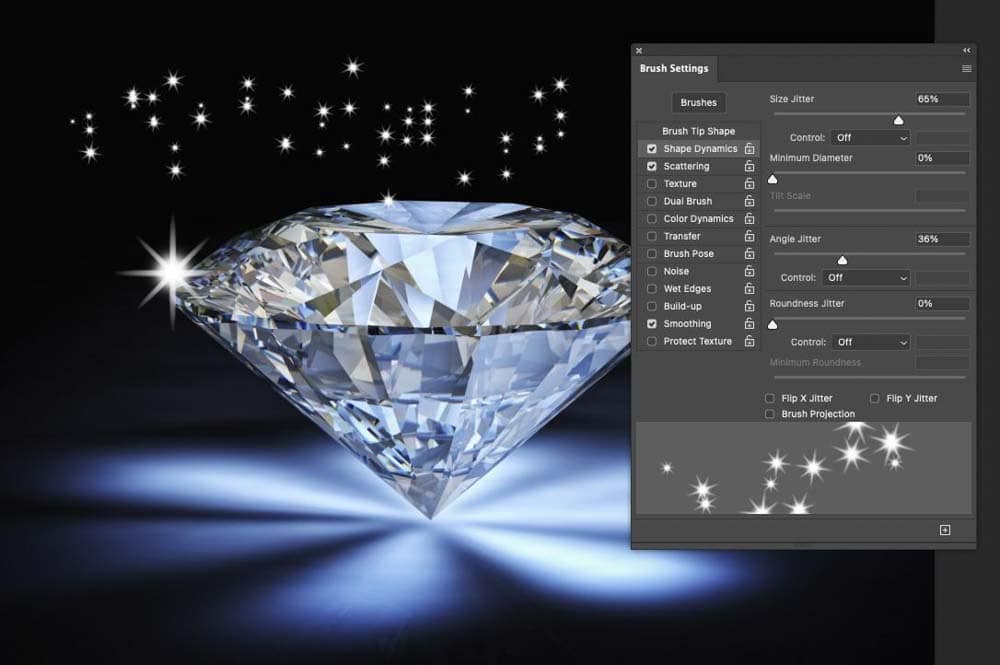
Step 7: Test Out Your New Custom Brush
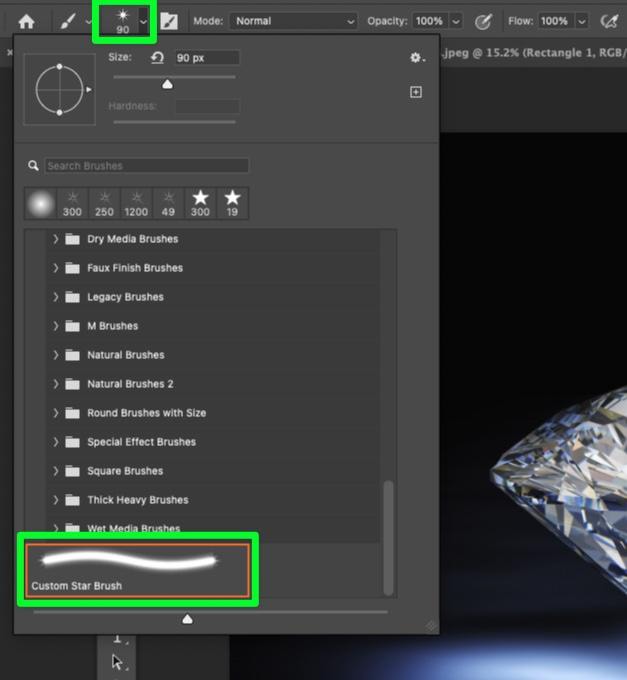
To find your new custom brush, select the Brush Tool (B), then in the Options Bar, click on the Preset Brush Picker. Your new brush should be toward the bottom.
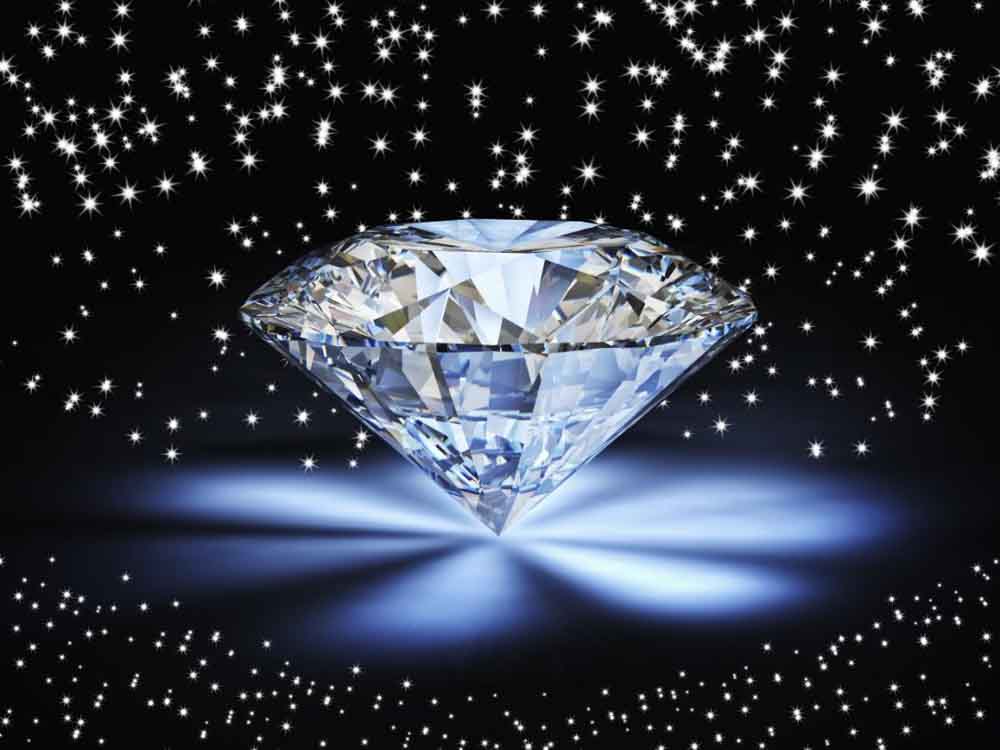
To add a large number of sparkles to your design, simply swipe your brush across the image.
Also, remember that you can adjust your brush size with [ or ].
With either of these methods, you can add sparkle highlights to objects in your photo or create a sparkle trail to add to the creative editing projects you make in Photoshop!


