

Image resolution plays a big role in the appearance and quality of the final exported image, so knowing how to change DPI in Lightroom Classic and CC is vital. DPI, or Dots Per Inch (for print), or PPI, or Pixels Per Inch (for digital), represents the number of dots or pixels per inch of space. The exact number of pixels needed to get the best image quality differs depending on whether you’re exporting for print or the web.
Let’s learn how to do it!
How To Change DPI In Lightroom Classic
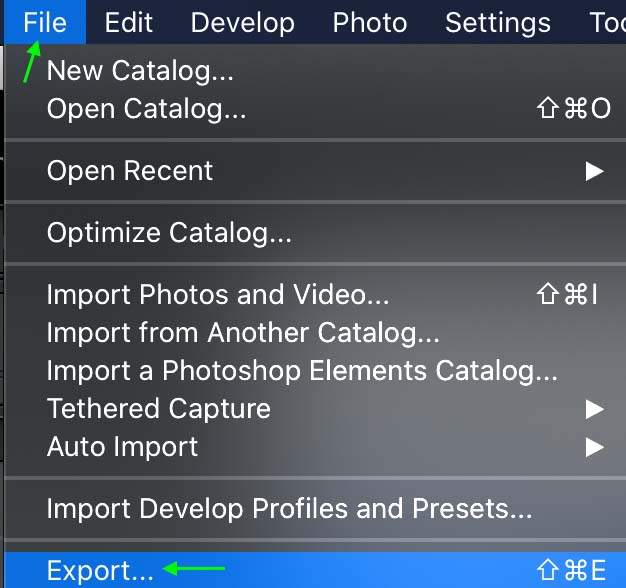
Step 1: Go To File > Export To Open The Export Window
Go to File > Export when you’ve finished working on an image. The Export window will open.
Step 2: Use The Image Sizing Tab To Change The Resolution
Scroll to the Image Sizing tab. Ensure you’ve selected Resize to Fit and enter the amount of DPI you’d like to change the image to in the Resolution box. Lightroom shows PPI rather than DPI, but the two measurements are the same.
Note: You can only set a resolution that is the same or lower than the photo’s original resolution. Otherwise, you will need to upsample in Photoshop.

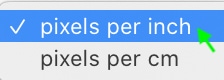
If the resolution is not set to pixels per inch, you can change it by clicking the Resolution drop-down menu and selecting pixels per inch.

Note: Certain DPIs are standard both for printed and digitally displayed images. For print, the standard is 300 DPI. For web images, go with 72 PPI.
Once you’re finished editing the export settings, you can click Export.
How To Change DPI In Lightroom CC
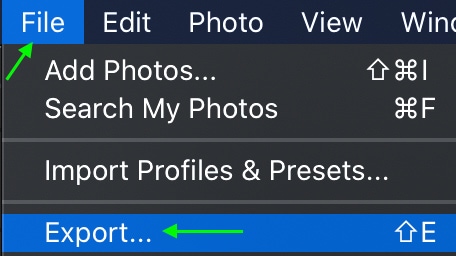
Step 1: Go To File > Export To Open The Export Window
Navigate to File > Export when you’re finished editing a photo.
Step 2: Set The File Type To JPG And Dimensions To Custom
Set the File Type to JPG and Dimensions to Custom.

Step 3: Select Inches From The Drop-Down Menu To Open Resolution Options
Doing this will reveal a few more settings underneath. Click the drop-down menu for the measurement unit and select inches.

Step 4: Adjust The Resolution
You’ll then see the Resolution appear. Here, you can set the PPI by editing the values in the box.

Finally, click Export, and the image will be exported with the new DPI.
Does Resolution Affect Image Size?
Resolution and Image Size have a tricky relationship. While changing the resolution will affect the dimensions of the pixels in an image, it will not affect the picture’s physical size. Similarly, changing the image’s size will not change the image’s resolution.
This means that your DPI will not change the size of an image and vice versa. However, the high DPI needed for Print images can increase the file size, though not too much.
