
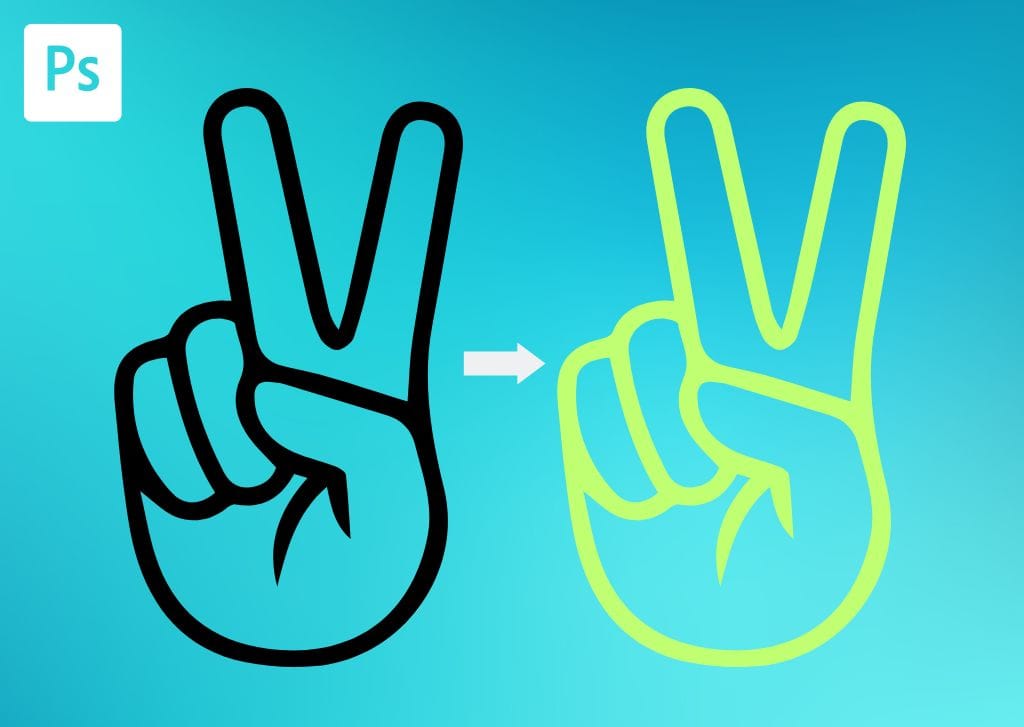

When working with logos, graphics, or other files with a transparent background, you may want to change the color. Luckily, it’s easy to learn how to change the color of a PNG in Photoshop.
Remember that these methods only work if the image already has a transparent background. Otherwise, you may want to learn how to make a background transparent or learn how to select and change color.
Option 1: Change The Color Of A PNG Using A Hue/Saturation Layer
Step 1: Add A Hue/Saturation Adjustment Layer From The Adjustments Panel
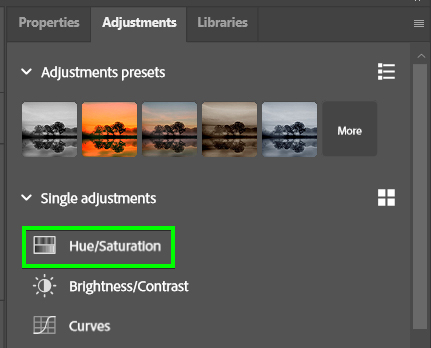
Once you have the PNG open in Photoshop, open the Adjustments Panel by going to Window > Adjustments. Then, select the Hue/Saturation Adjustment Layer.
Step 2: Enable The Colorize Option In The Properties Panel
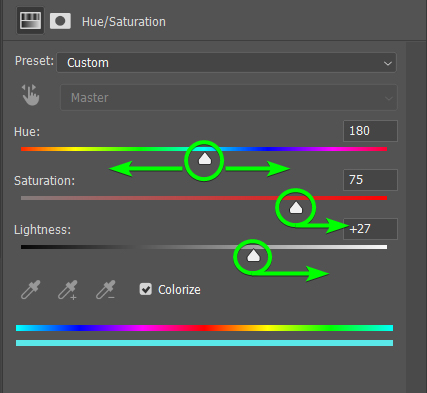
When working with a black-colored logo, you need to ensure you select the Colorize option at the bottom of the Properties Panel to change the PNG to a color. However, you won’t always need this set if you are working with a PNG that already has a color.

Step 3: Adjust The Hue, Saturation, And Lightness Sliders To Change The Color
You can now adjust the Hue, Saturation, and Lightness sliders to change the color. When working with a black PNG, I recommend increasing the Lightness and Saturation sliders first, then the Hue slider.
You will now have a PNG with an entirely new color.


Option 2: Change A PNG’s Color Using A Color Fill Layer In Photoshop
Step 1: Click The New Fill Or Adjustment Icon And Select Solid Color In The Layers Panel
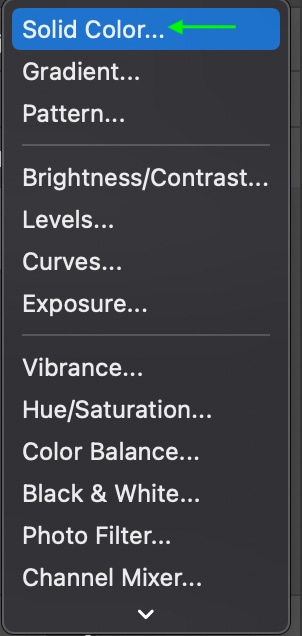
In the Layers Panel, click the New Fill Or Adjustment Layer icon at the bottom of the panel and select Solid Color.

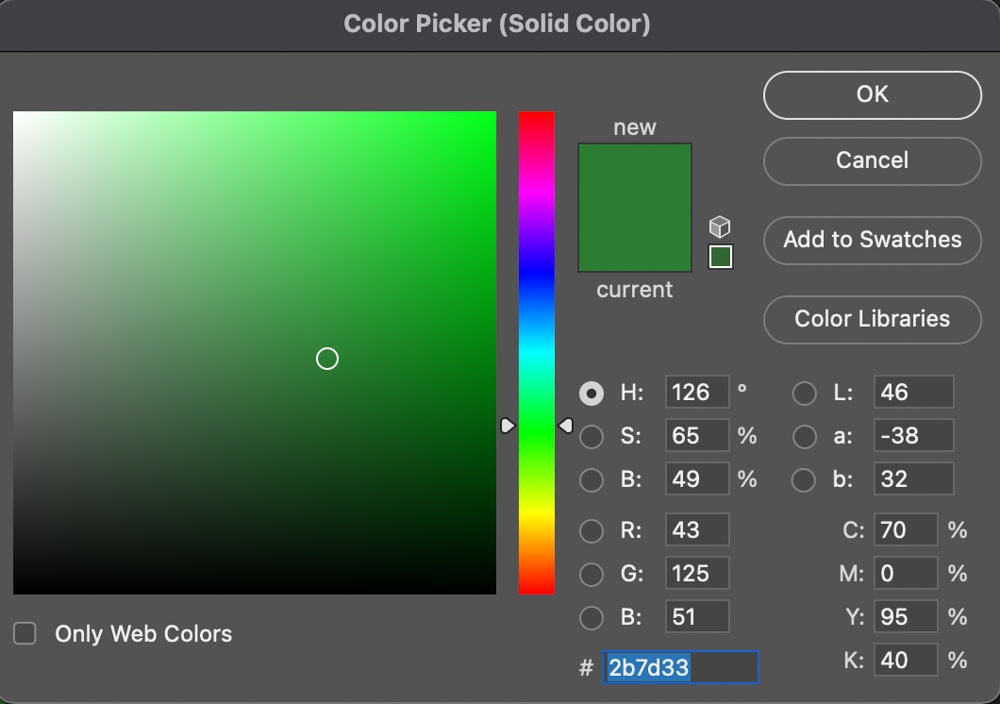
This will open the Color Picker window. Here, you can either click a color from the options or enter the RGB or HSB values to select the new color of your PNG. When you’ve selected your color, you can click OK.
In the Layers Panel, the New Fill Layer sits on top of the Image Layer. The canvas will also be filled with your chosen color.
Step 2: Right-Click On The Fill Layer And Select Create Clipping Mask
Once you’ve added the color fill layer, you’ll notice it has changed the entire canvas to that color, including the background, which should be transparent. You can ensure the color only covers the opaque areas and not the transparent background by adding a clipping mask.
Head to the Layers Panel and add a clipping mask by right-clicking or Control + clicking the Color Fill Layer and selecting Create Clipping Mask.


The color will now only be applied to the parts of the PNG that are not transparent.

Step 3: Adjust The Color (Optional)
You can still change the color at any point by double-clicking the Color Fill Layer thumbnail in the Layers Panel.

The Color Picker window will come up again, and you can choose a new color. Click OK when you’re done. You can also adjust the opacity by clicking and dragging the Opacity slider at the top of the Layers Panel.

When you’re finished, you’ll see the PNG in its new color.


Option 3: Changing The Color Of A PNG Using Layer Styles In Photoshop
Step 1: Press Control/Command + J To Duplicate The PNG
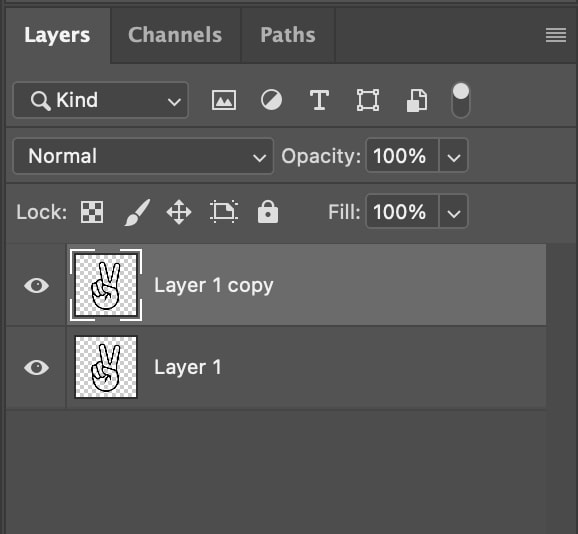
It is smart to duplicate the layer so that you have a backup. Duplicate the layer by selecting it and pressing Control + J (Win) or Command + J (Mac). The duplicated layer will appear in the Layers Panel above the original layer.
Step 2: Go To Layer > Layer Style > Color Overlay And Change The Color Swatch
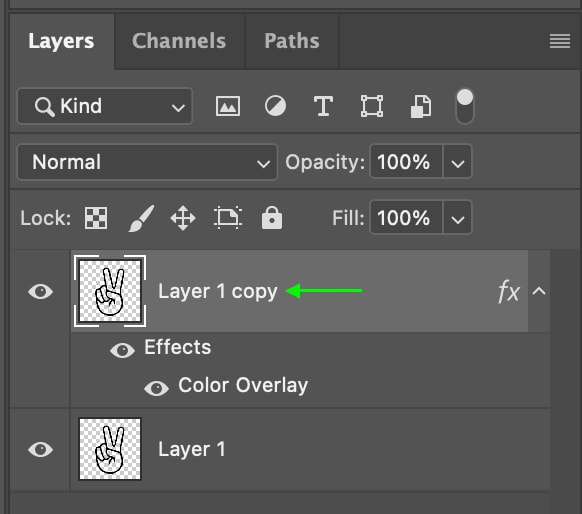
In the Layers Panel, make sure the Duplicated Layer is selected. Then, head to Layer > Layer Style > Color Overlay. You can also double-click on the layer to open the Layer Styles panel and then open the Color Overlay tab.
The Layer Style window will open. Here, you can click the color swatch next to Color Overlay to open the Color Picker window. In the Color Picker window, click the color you’d like to apply to the image and then click OK.

Once you’re satisfied with the changes, click OK, and the image will change to the desired color.

You can also adjust the Opacity of the color by clicking and dragging the toggle on the Opacity Slider in the Layers Panel.

Step 3: Right-Click The Duplicated Layer And Select Merge Down
Once you’re happy with the PNG’s color and are sure you’re done making adjustments, you can merge the layers by heading to the Layers Panel, right-clicking or Control + clicking the duplicated layer, and selecting Merge Down.

This will combine the original layer and duplicated layer into one layer with the new color. In the Layers Panel, you’ll see there is just one layer now, Layer 1, containing the changes you’ve made to the color.
Now that you’ve changed the color of your PNG, you can save or export the PNG to your files. You can repeat the method whenever you want to change the color.


All three of these methods work to quickly change the color of your PNG file in Photoshop, but the one you choose comes down to personal preference. So experiment with each and see what you like best!
