

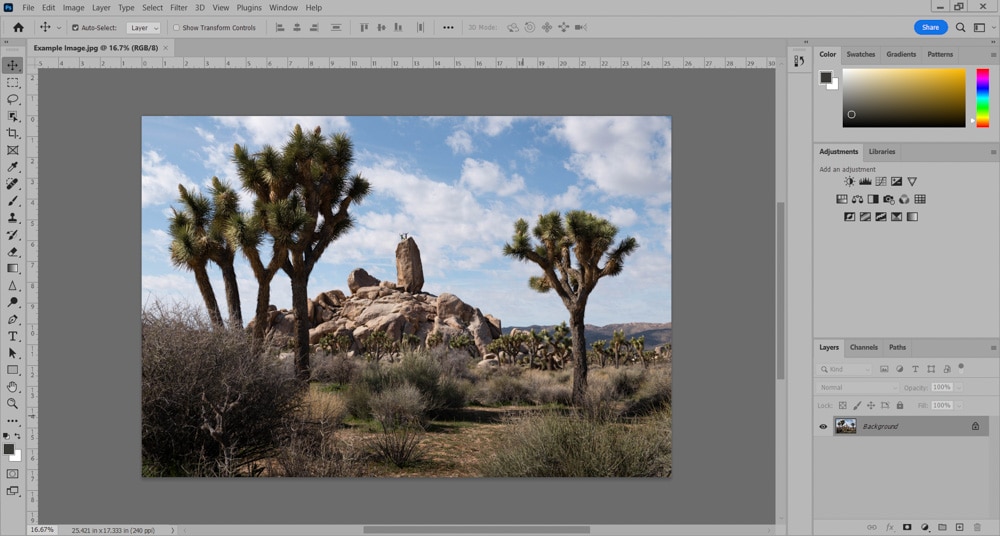
If you’ve been watching Photoshop tutorials on Youtube and wonder why your version doesn’t have the same color scheme as someone else, it’s likely just because you need to change the theme. There are several color variations between Photoshops Light and Dark modes, all of which are easily interchangeable to suit your tastes. Here’s how to change them.
How To Switch Between Light & Dark Mode In Photoshop
Photoshop is highly customizable, so it’s easy for one workspace to look completely different than another. One way to customize your workspace is to change the interface color. This way, you can set Photoshop to another color than the default medium gray.
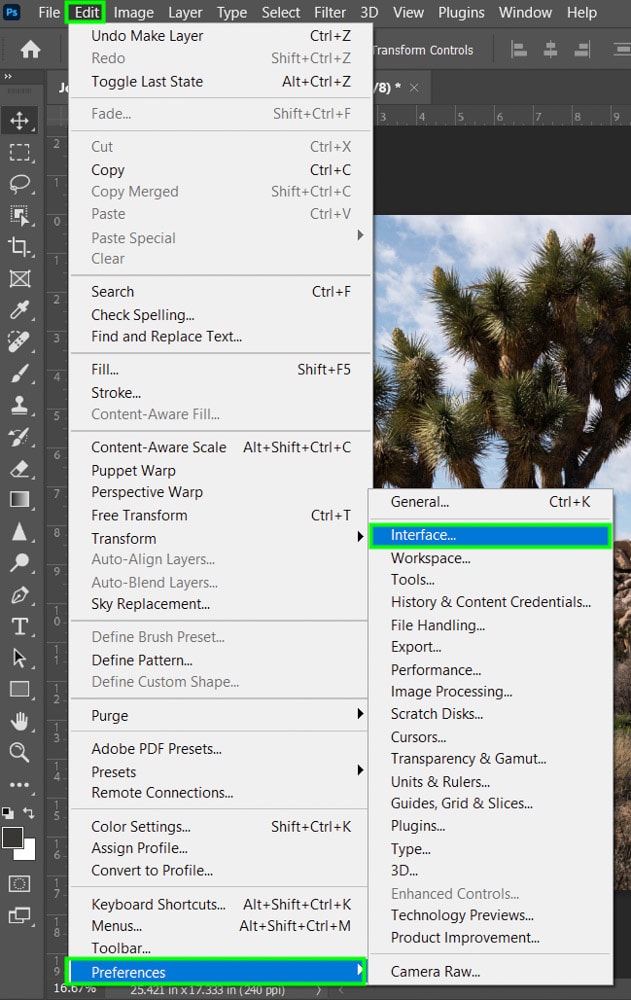
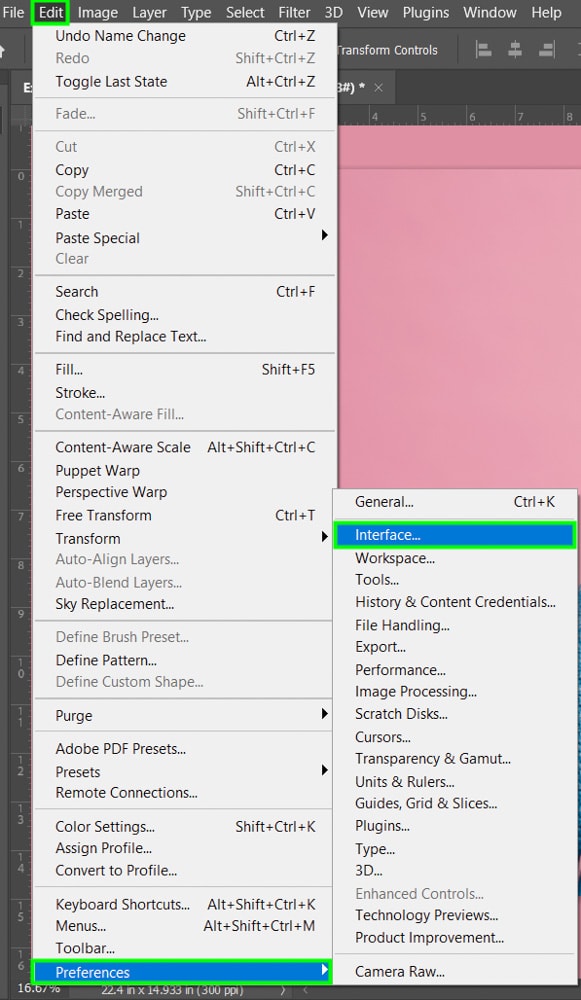
To do this, go to Edit > Preferences > Interface (Win) or Photoshop > Preferences > Interface (Mac).
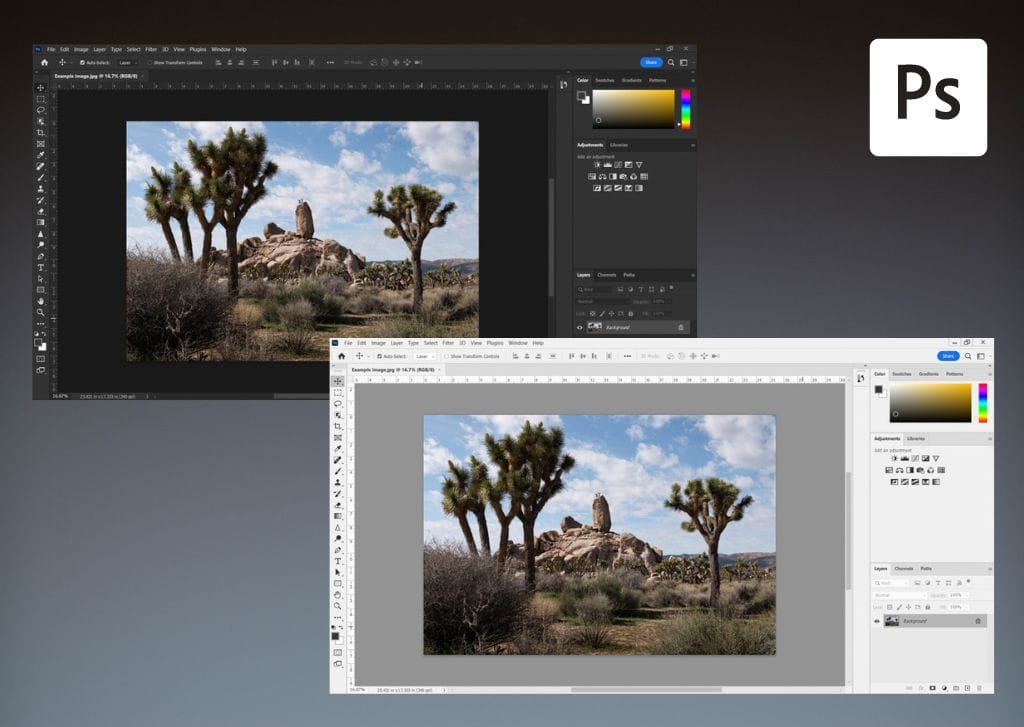
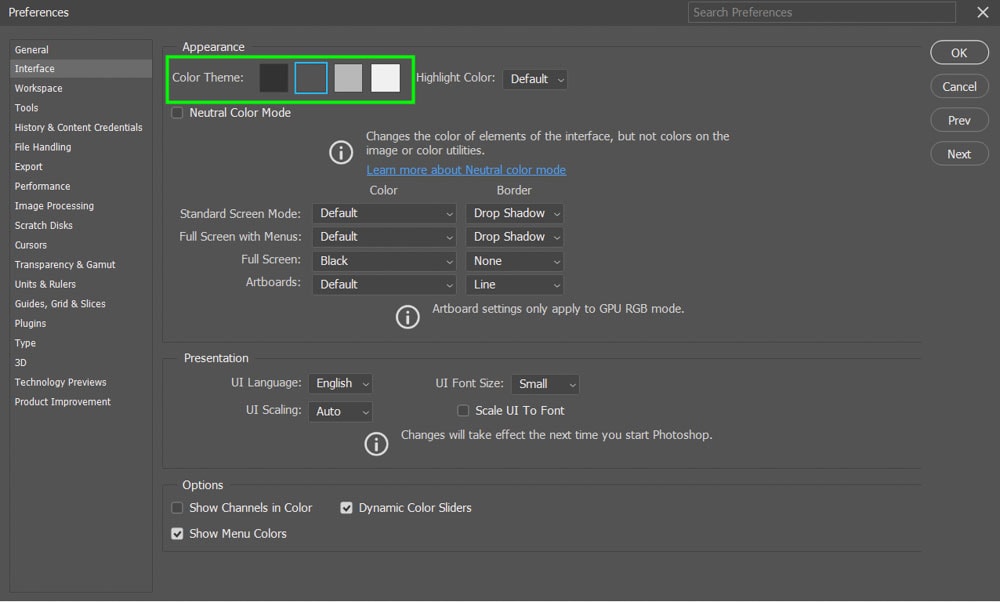
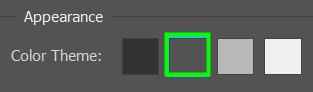
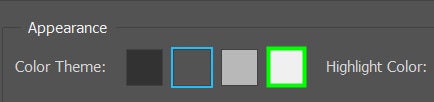
The Color Theme options are located at the top of the Interface tab, under the Appearance section. You can choose from four shades of gray. Depending on your choice, your workspace will appear darker or lighter.
The color theme is applied to all workspace elements, including the background and panels.
Here is how each color theme looks.
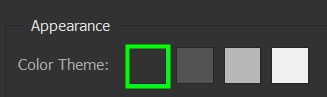
The first option is a dark shade of gray, which looks almost black.
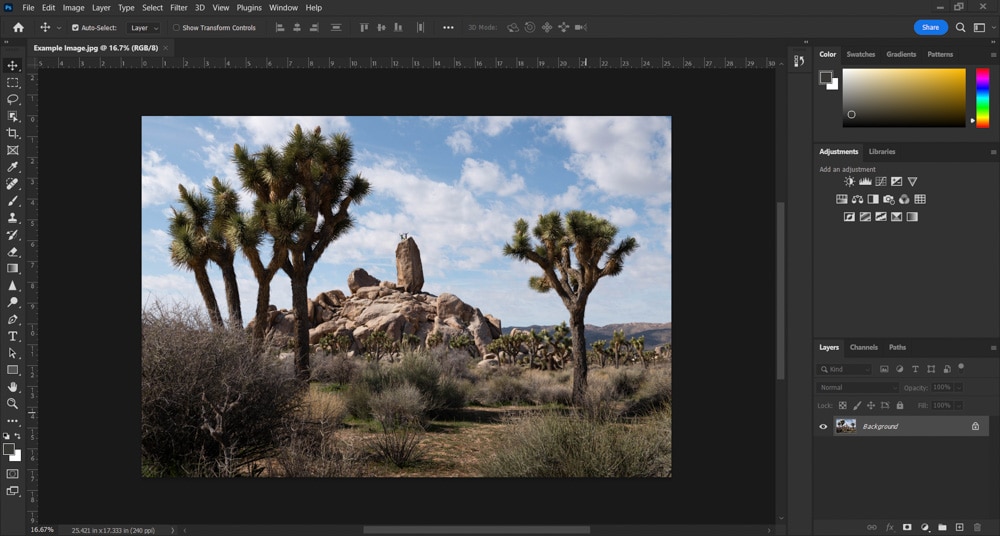
The second option is a medium gray, which is the default Photoshop interface color.
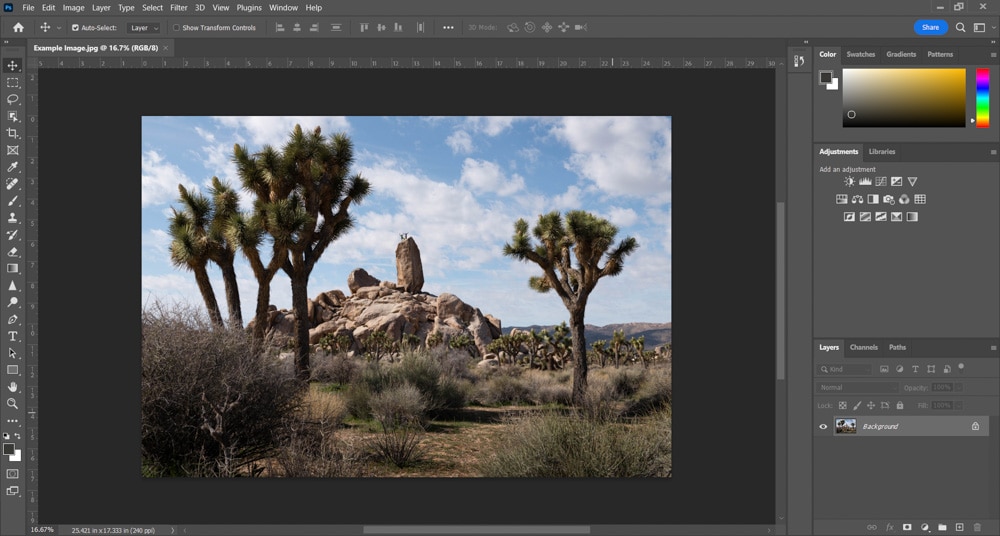
The third option is a light shade of gray that looks like the interface color on older versions of Photoshop.
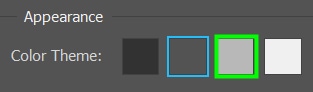
The last option is a very light shade of gray, which looks almost white.

Next to the Color Theme options, you will find the Highlight Color menu.
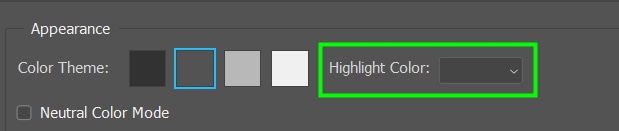
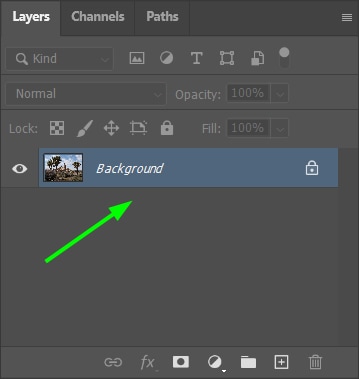
The Highlight Color is the color a layer or menu turns when you select the layer. By default, the Highlight Color is slightly brighter or darker than your color theme, but you can also set it to Blue.
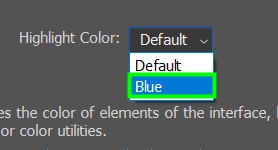
See how a layer looks when this option is enabled.
How To Change The Background Color Of The Photoshop Workspace
You can also change the Photoshop workspace background color with two clicks. The best thing about it is that you can choose any color you want.
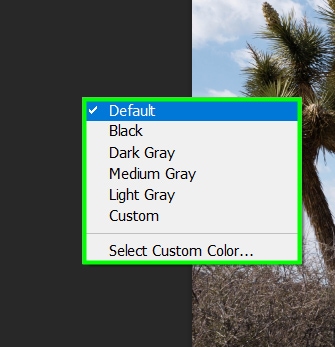
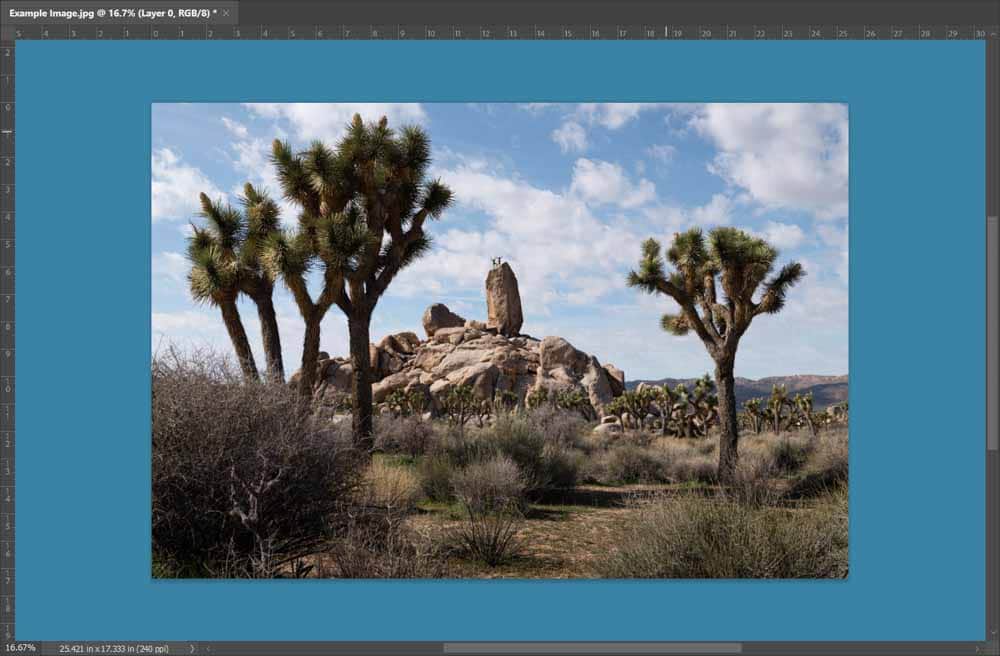
This can be useful, for example, if you want to increase the contrast between your photo and the background if both have equal or very similar colors and the picture is blending into the background. To do this, right-click anywhere on the background (the space surrounding your canvas) and select one of the colors from the flyout menu.
Choosing Custom Colors For The Workspace Background
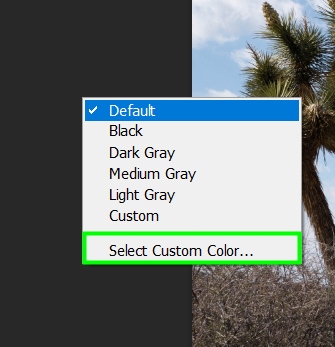
Photoshop also allows you to set your background color to any color you want using the standard color picker. To do this, right-click on the background and click Select Custom Color.
The Color Picker will pop up.
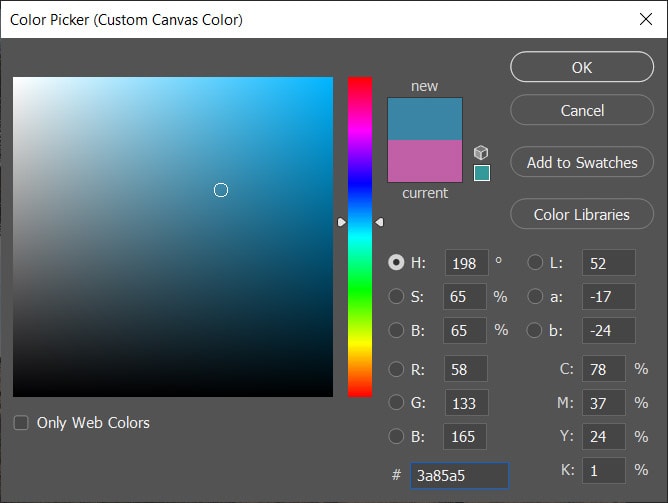
You can move the color slider in the middle of the panel to select the desired hue. In my case, I chose a blue shade.
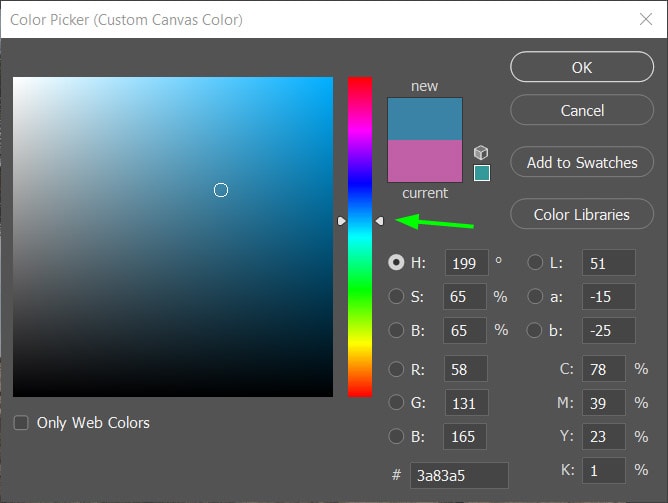
Then, move the circular cursor within the color box to alter your chosen hue’s shade.

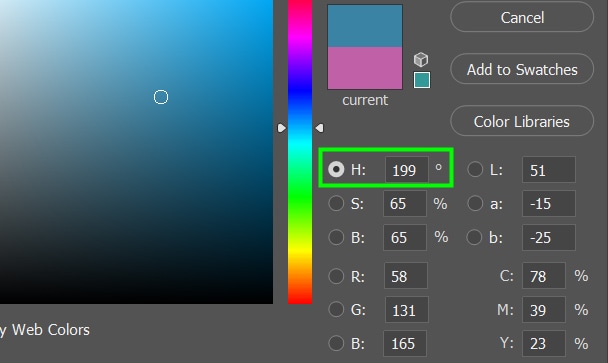
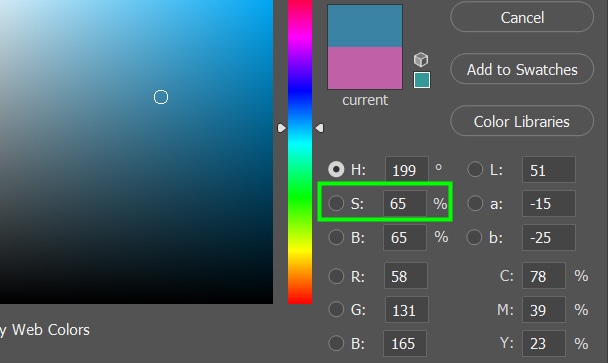
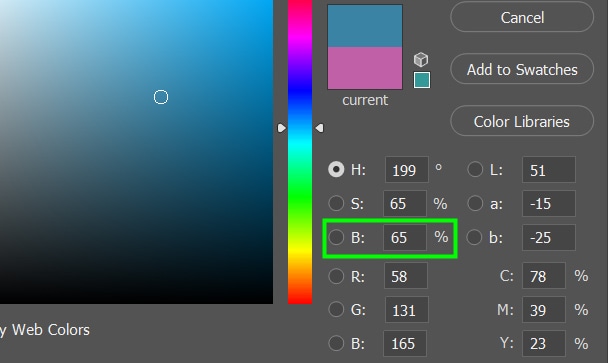
You can also change the HSB parameters to create an even more unique color. H stands for Hue, S for Saturation, and B for Brightness.
In Hue, you change the color itself. You can enter any value between 0 to 360 degrees. Each degree corresponds to the position of a particular color in the color wheel, a tool used to represent colors and their relationships.
In Saturation, you can adjust the amount of gray in your Hue. The higher the saturation, the less gray the color will contain and the purer it will be.
In Brightness, you can adjust how much black or white a color contains. Low brightness values make a color darker, while high brightness values make a color brighter.
If you have a specific color in mind and know its hex code, you can insert such code in the Hexadecimal box at the bottom of the panel. Knowing hex color codes is usually required for picking colors for the web.

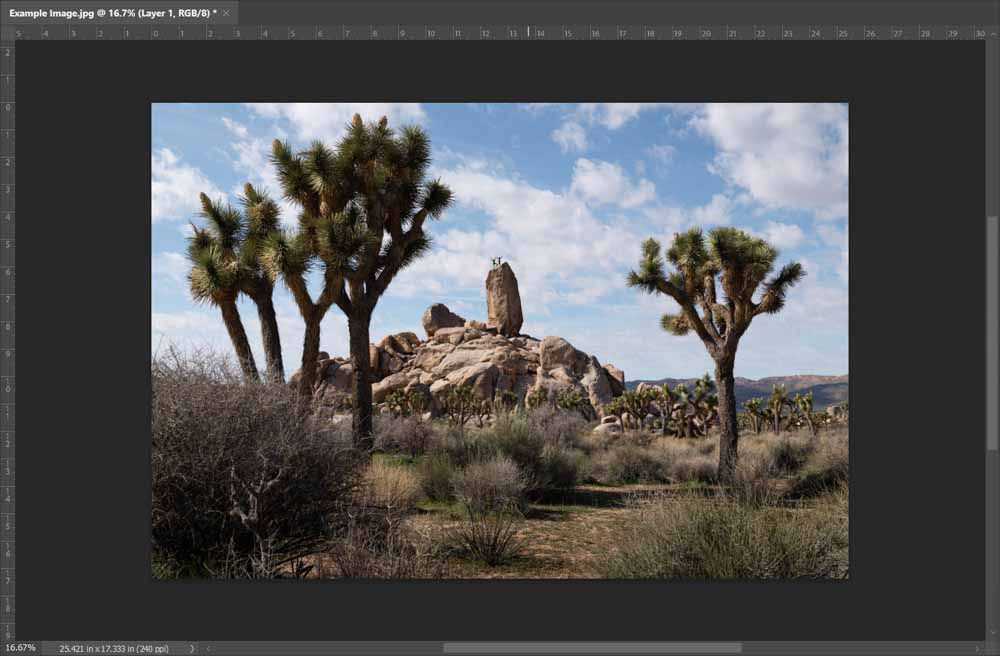
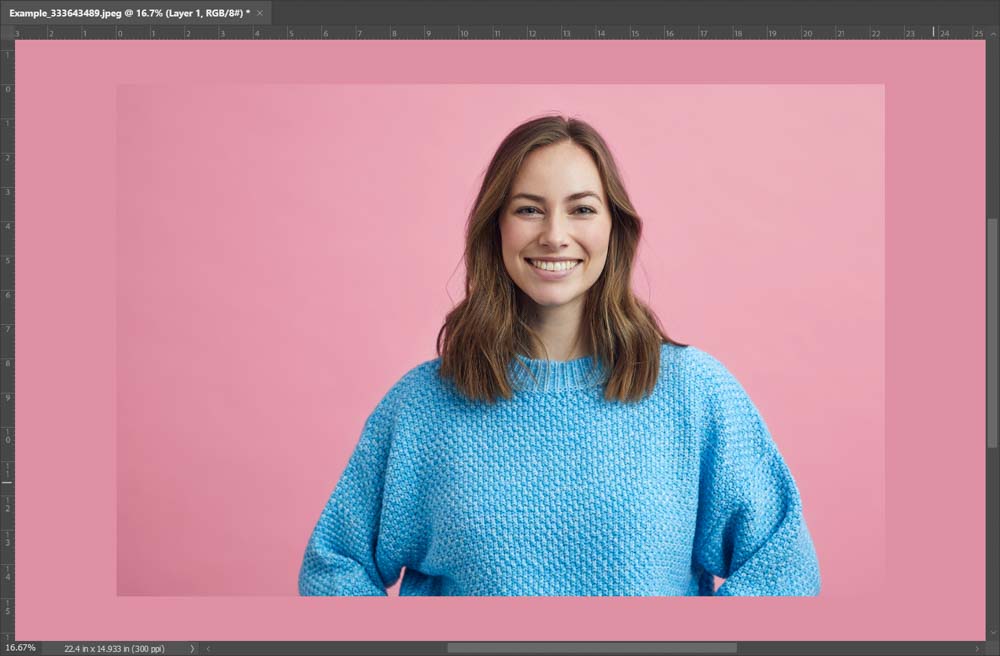
After changing your interface background color, you will notice the canvas casts a shadow on the background. This can sometimes bother you, for example, when you want the image and background to have the same color when scanning your image’s borders for errors.

To remove the drop shadow, go to Edit > Preferences > Interface (Win) or Photoshop > Preferences > Interface (Mac).
Select None from the Border drop-down menu next to the Standard Screen Mode option. These options are located just underneath the Appearance options I detailed in the first section.
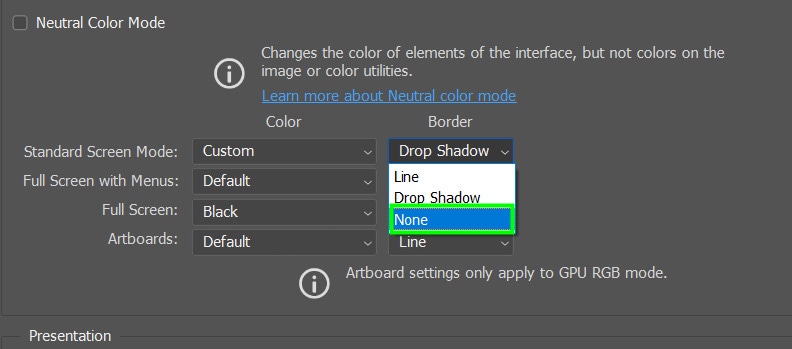
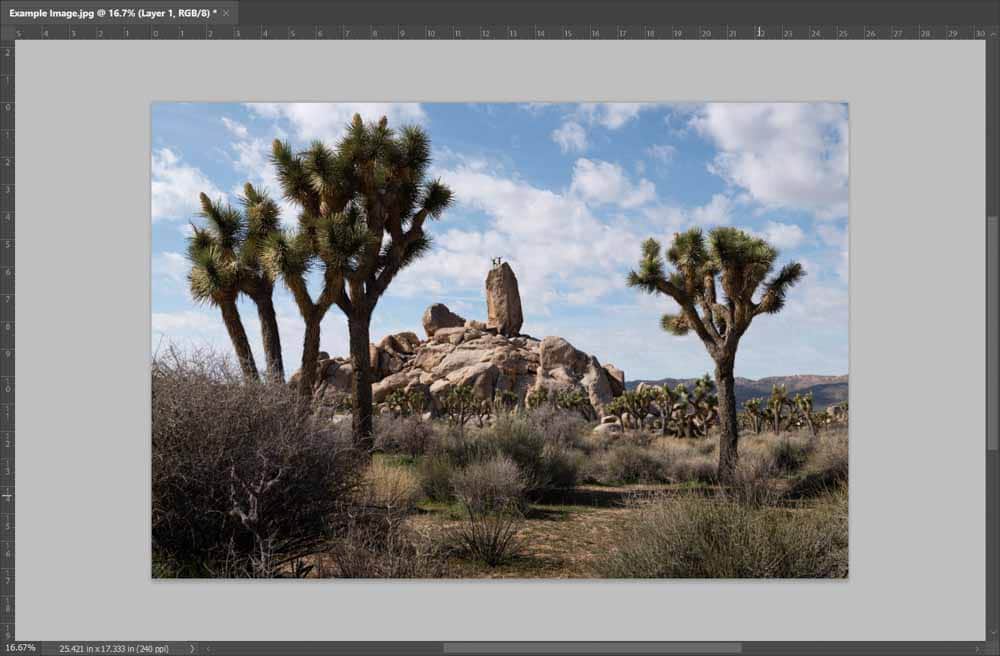
The drop shadow will then disappear.
Adding a little personal touch to your workspace can help you feel more at home in Photoshop and make the hours you spend in the program just a little more enjoyable.
Happy Customizing!
