

When you’re working with the gradient tool in Photoshop, being able to create a custom gradient opens up way more of the tool’s potential. So today, we’ll dive into how to do just that, along with how to save your custom gradients for later use.
But if you are not interested in creating tons of gradients from scratch, I’ll touch on a few places to find pre-made Photoshop gradients for free online too!
Let’s get started.
How To Create A Custom Gradient In Photoshop
Step 1: Create Or Open The Document You Want To Apply The Gradient To
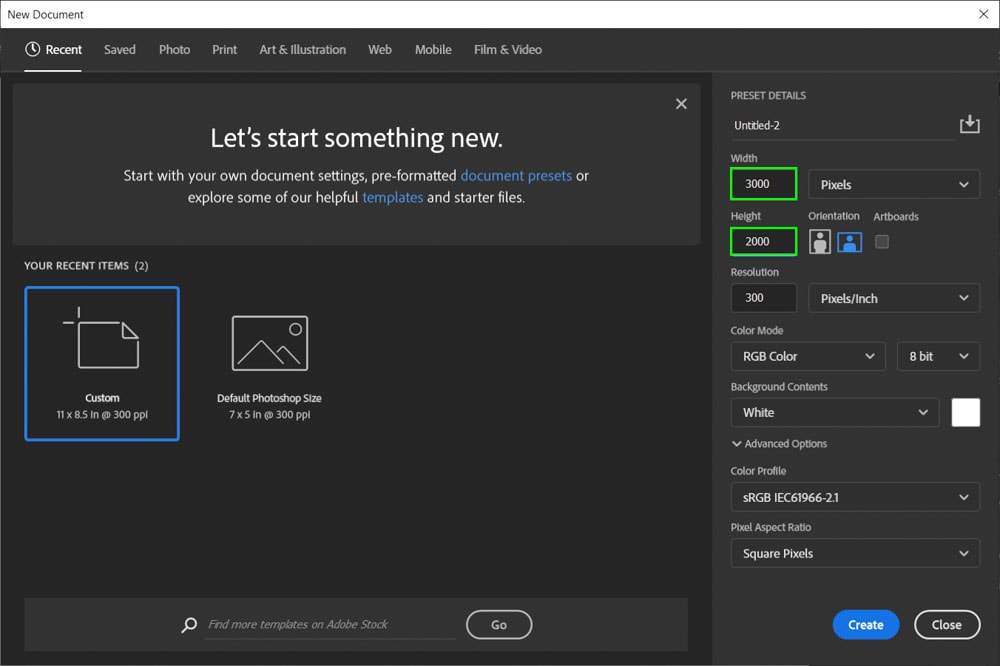
First, open or create a document of the size of your preference. You will apply the gradient to this document. In my case, I made a document of 3000 x 2000 pixels.
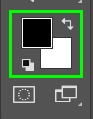
Then, go to the Foreground/Background swatches at the bottom of the Toolbar. The foreground swatch is the one in the front, and the background is in the back. These will be the colors of your default gradient. You can change those later within the gradient editor if you want, but it’s a good idea to do it beforehand.
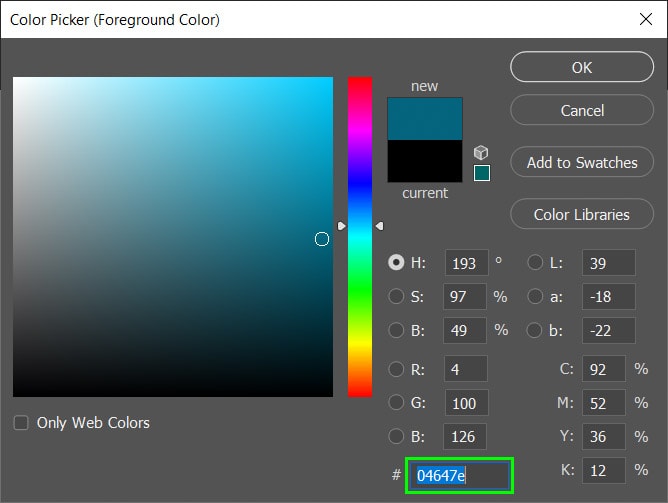
To change the foreground swatch color, double-click on it.

Within the color picker, choose a color you like. In my case, that was the blue shade below.
Repeat the process above to change the background swatch color.
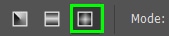
Step 2: Enable The Gradient Tool (G)
With the desired colors chosen, enable the Gradient Tool (G) in the Toolbar.

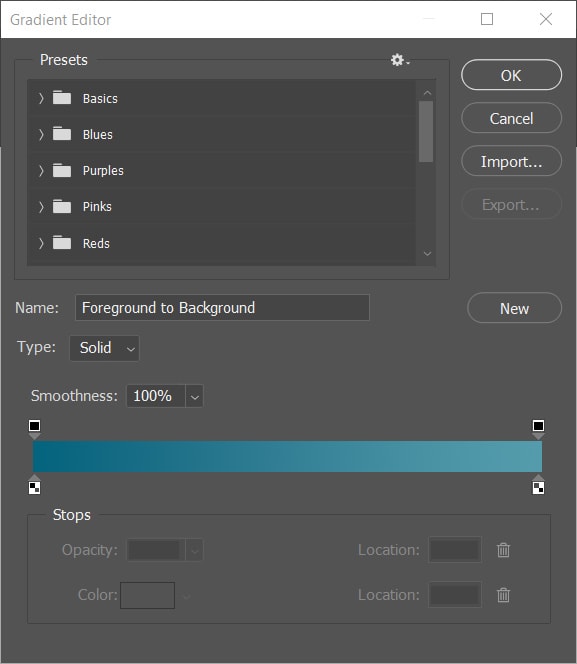
Step 3: Customize Your Gradient In The Gradient Editor
Now, click the color bar in the Options bar to open the Gradient Editor.

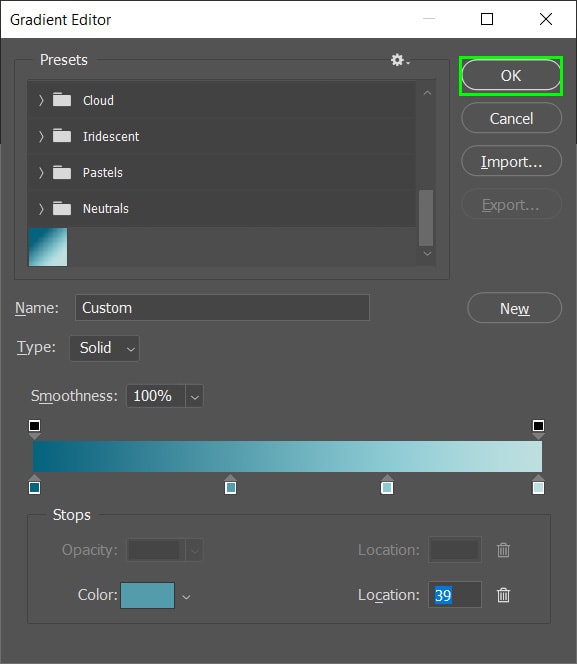
The Gradient Editor gives you many customization options. It’s a complete resource to create the gradient that looks exactly as you want.
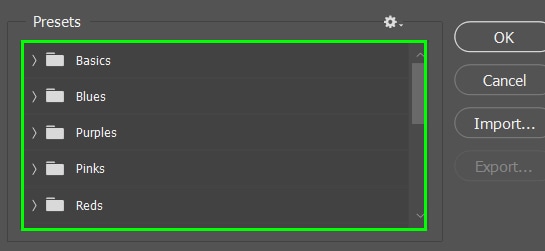
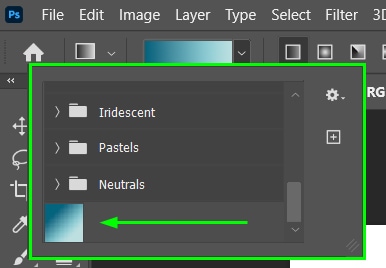
The first section of the Gradient Editor is the Presets. The presets are grouped in folders.
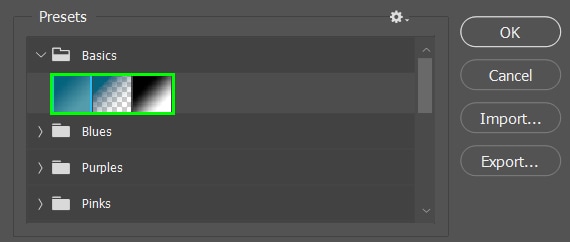
In the Basics folder, you can find the default gradient based on your foreground and background colors. You can also find a gradient that goes from the foreground color to transparent. There is also a basic gradient there that goes from black to white.
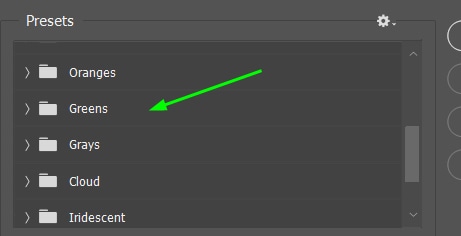
The other folders are divided into groups of colors or themes. For example, you can find folders with green shades and colors based on common cloud colors.
Moving down the Gradient Editor, you can find a gradient bar containing the foreground and background color you previously chose by default.
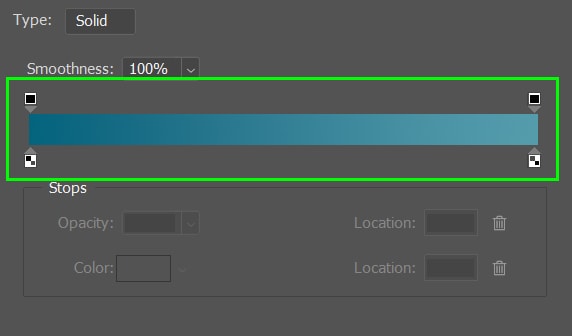
The arrows and blocks under the gradient bar are color stops, representing each color that composes the gradient.
You can change the corresponding colors by double-clicking any of the color stops. When you do this, the color picker will appear, and you can pick a new color for the color stop.
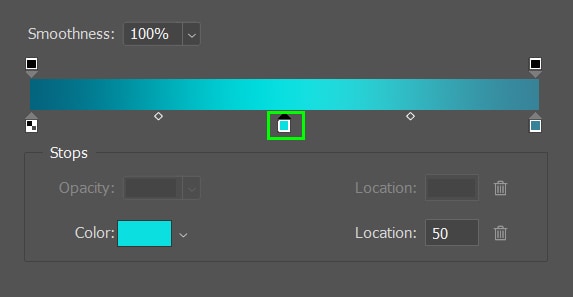
Click anywhere in the gradient bar to add a new color to your gradient. For example, I clicked the spot below in the middle of the gradient, and a new color stop appeared.
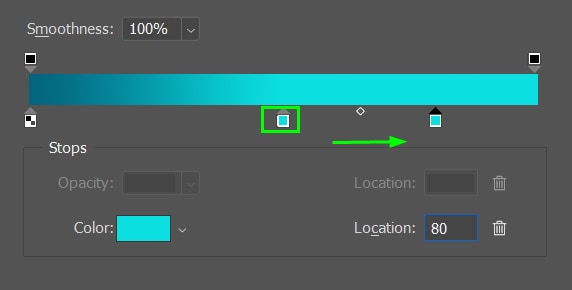
You can duplicate a color stop by clicking on it, holding Alt (Win) or Option (Mac), and then dragging it in the direction you want.
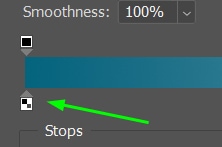
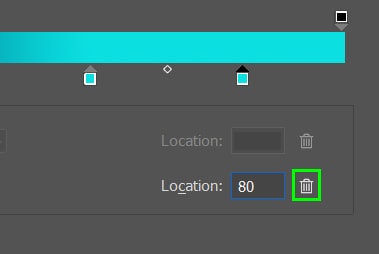
If you created a color stop and want to delete it, click on it and then click the trash bin icon next to the Location box.
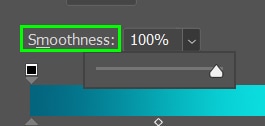
Using the Smoothness slider, you can control how harsh or smooth the transition between the colors in your gradient is. The lower this parameter is, the more blended the colors will look.
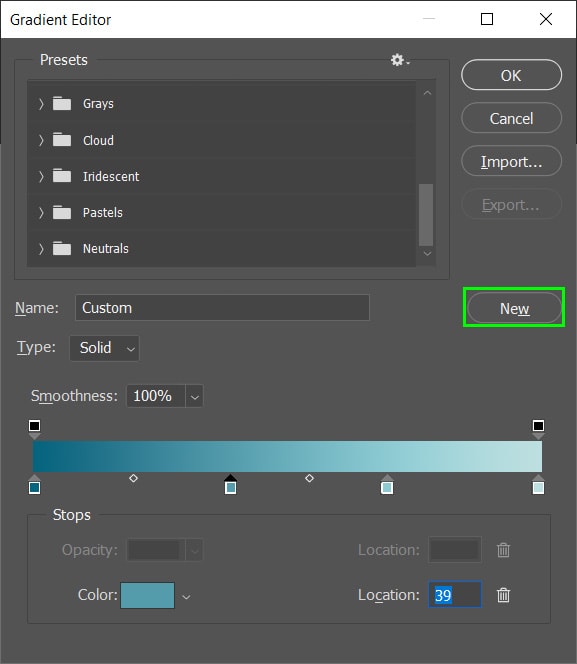
Add as many colors as you want to the gradient until your gradient looks as you like. In my case, I added four colors.

Step 4: Save Your New Custom Gradient As A Preset
Once you’re satisfied with the gradient, saving it as a preset for future projects is a good idea. This way, you don’t have to create a gradient from scratch whenever you need one. To do this, click on the New button in the Gradient editor dialog.
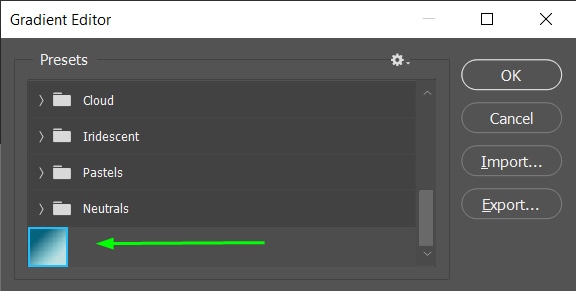
Your new gradient preset will appear at the bottom of the gradient presets section.
If you created many preset gradients and want to group them, click any preset swatch and choose New Gradient Group.
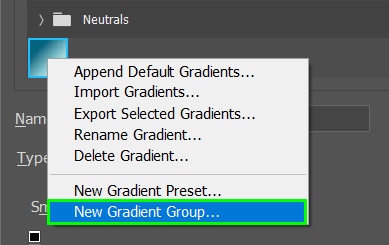
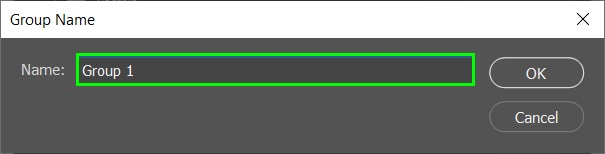
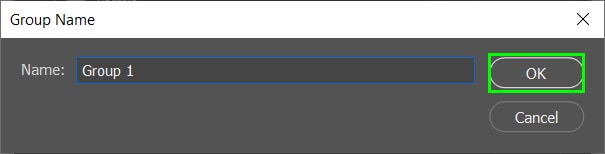
Name the new group if you want and click Ok.
When you’re done creating gradients/groups of gradients, click OK to close the Gradient Editor dialog.
Step 5: Locate Your Custom Gradient After Saving It
After saving your gradient, you can access it at any time in the future by doing the following:
First, activate the Gradient Tool (G). Then, click the arrow next to the gradient bar in the Options bar.

Now, scroll down the list of gradient presets to find yours. It will likely be at the bottom of the list if you’ve just saved it.
Step 6: Apply The Gradient You Created
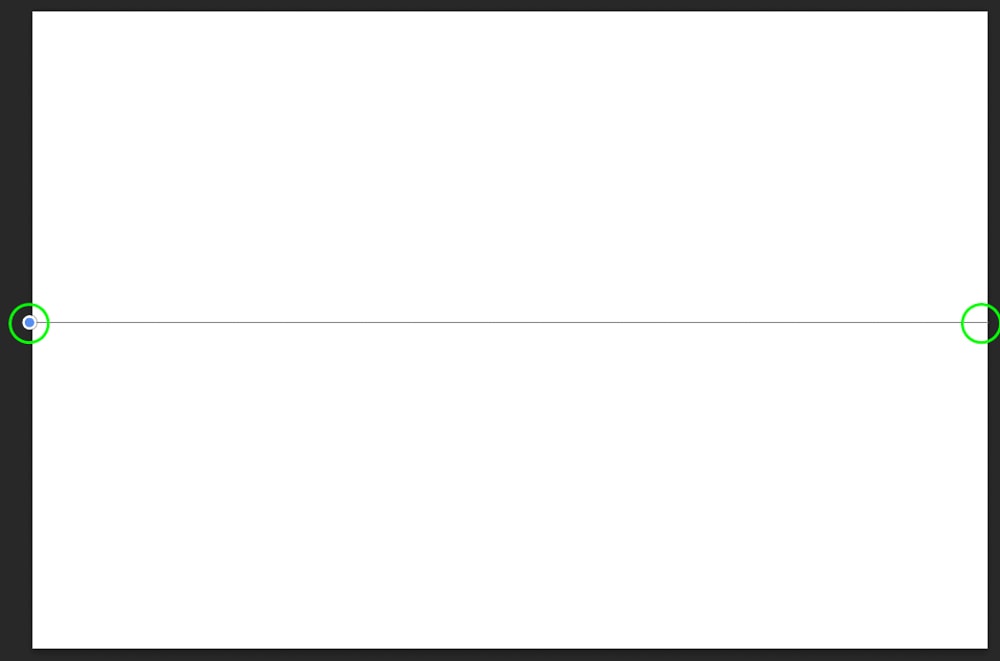
After you have created your gradient, applying it in a document or photo is easy.
To do this, enable the Gradient Tool (G), choose the desired gradient preset, and then click and drag the gradient from one point to another in your document, as shown below.

You can control the appearance of your gradient by choosing a different style before applying it. To do this, select one of the Gradient types in the Options Bar.

The Linear gradient applies the gradient from one point to another in the area you are using it.


The Radial gradient applies the gradient in the shape of a circle.


The Angle gradient applies a gradient with a focal point that extends itself in an angular direction.

The Reflected gradient creates a gradient that goes from the first color of the gradient to its end color. However, it also places the gradient’s end color on both sides, creating a mirror effect.

Lastly, the Diamond gradient creates a gradient in the shape of a diamond.

Where To Get Additional Custom Gradients For Photoshop
You won’t always have time to create a stunning gradient. That’s why it’s always a good idea to store extra gradients when needed.
I selected three great sources of free gradients so you can download them to use in your projects.
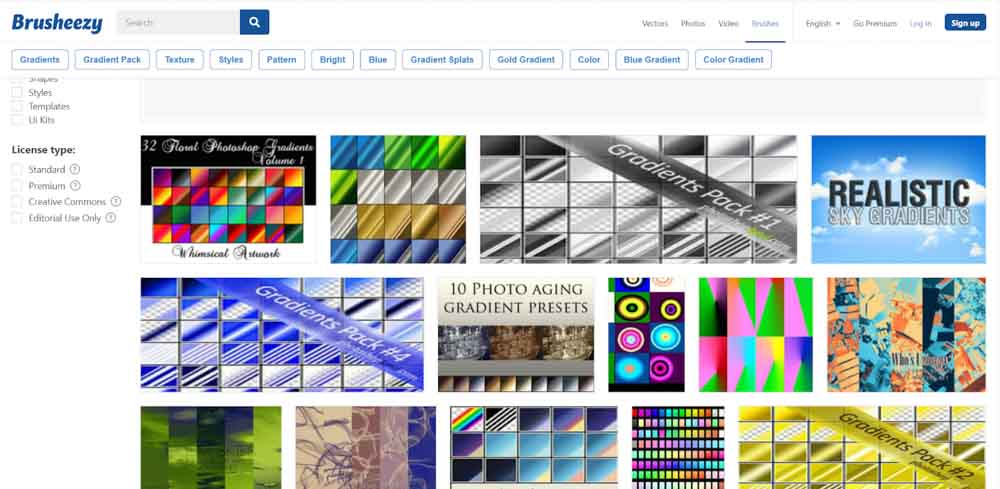
– Brusheezy
Brusheezy is a popular website that offers thousands of free downloadable Photoshop resources.
Even though the focus of this website is providing brushes, it also offers other resources, and gradients are among them. You can find a variety of gradients on this website, such as metallic gradients, gold gradients, and gradients sorted by themes, like floral gradients and photo aging gradients.
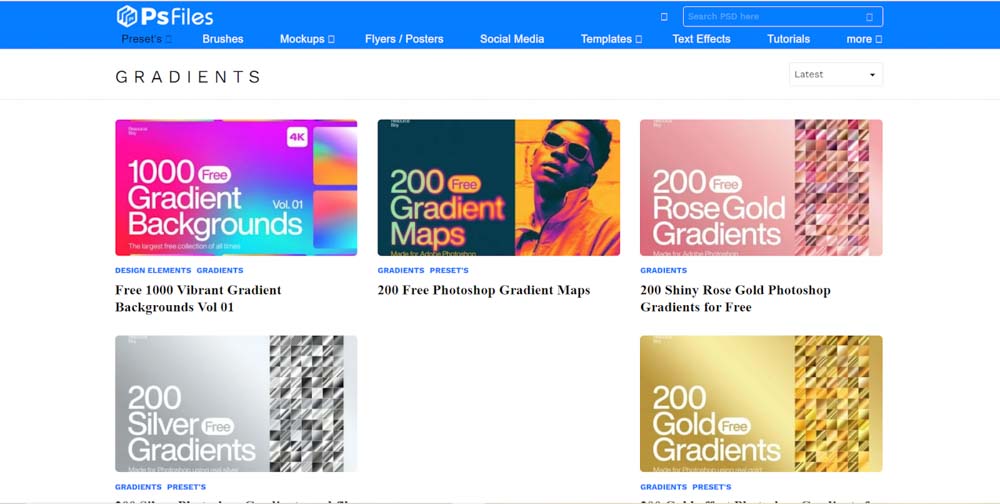
– PS Files
Ps files is dedicated to sharing Photoshop resources. You can find anything from brushes, flyers, and text effects on this website. All resources there are free to download and are uploaded by its members. You can join the website if you want and share your own resources too!
Gradients on the website have their own section. You can find many high-quality gradients there. Browsing the website, you can find stunning packages with hundreds of preset gradients.
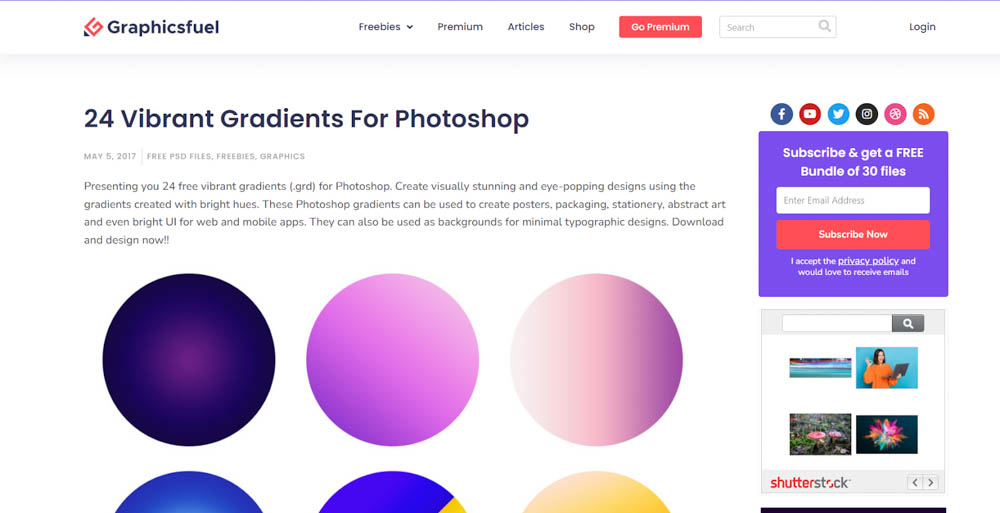
– Graphics Fuel
Graphics Fuel is an excellent source of graphics, both free and premium. There you can find lots of design freebies, including PSD files and icons. Beyond that, they also publish design articles, so you can keep up with the latest trends and get more informed about the design world.
A quick search on the website can uncover some valuable gradient sources for free. For example, I found a nice collection of 24 vibrant gradients that can make your next project stand out.
As you saw here, creating gradients is very easy, and there are no limits to how you can customize it. I’ve used the techniques learned here to create gradients to apply to graphic elements and images. Gradients may be the one thing your project needs, so ensure you always have plenty of them stored. To learn more about using gradients in your projects, click here to read my in-depth guide to the Gradient Tool in Photoshop.
