
To create a seamless blend between two or more colors in your design, you need to know how to use the Gradient Tool in Photoshop. I always use gradients to bring my images and designs to life, either by adding a colorful background or adding subtle effects with layer masks.
Let’s take a deep dive into the specifics of gradients in Photoshop to help you better understand this tool and how it operates.

Video Tutorial
How To Use The Gradient Tool In Photoshop
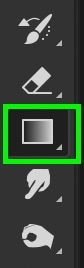
Step 1: Select The Gradient Tool (G)
Then, press G or click on the Gradient Tool found in your toolbar.
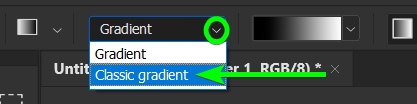
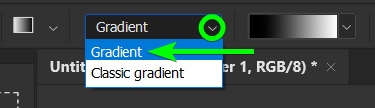
Step 2: Set The Gradient Mode To Classic Gradient
Use the drop-down menu in the Options Bar to select a Gradient Mode. Select the Classic Gradient mode and remember to add a new layer to ensure you are editing non-destructively.
Note: The Gradient Mode adds a non-destructive gradient fill layer (discussed further on).
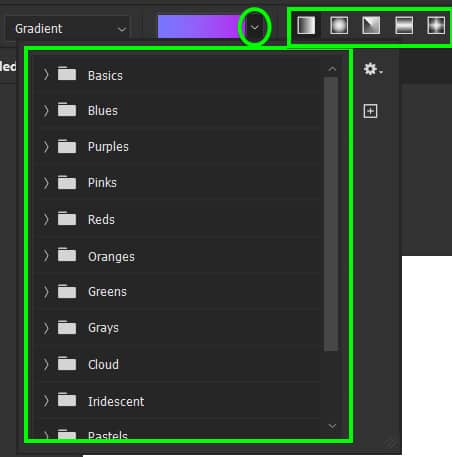
Step 3: Select A Gradient Type In The Options Bar
Choose between one of the five gradient types for your gradient using the icons at the top. More about these later on.

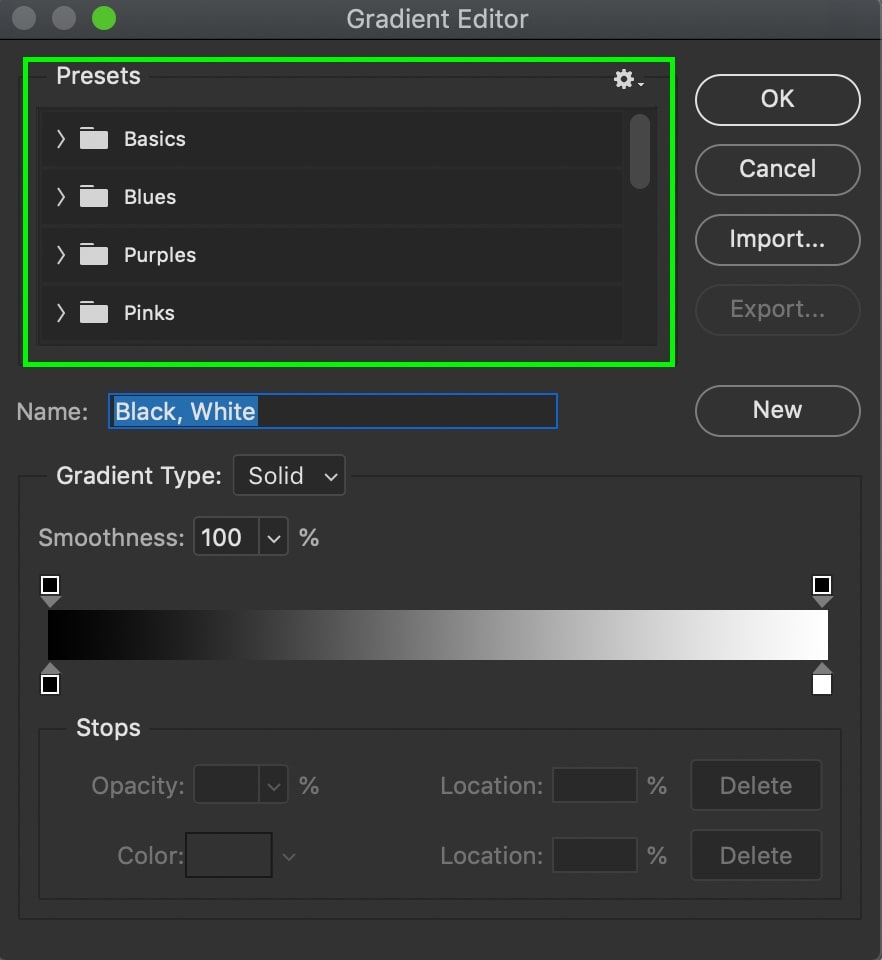
Step 4: Choose A Gradient Preset From The Gradient Editor
Now, you need to access the Gradient Editor. The gradient editor allows you to choose from a wide array of preset gradients or lets you create your own.
Access the Gradient Editor by double-clicking on the Gradient Preview bar menu in the Options Bar.

Select a Preset Gradient from the folders. Preset gradients can be used as-is or as a template for your own custom gradients. To select a preset option, open any color folder and click on your desired preset. You can set a colored gradient or a transparent gradient preset. Click OK once you have selected a gradient preset.
Note: You can follow the next section for customization options within the Gradient Editor.
Step 5: Click And Drag To Create The Gradient
With your new layer selected, click and drag on the canvas to apply your gradient onto the layer.
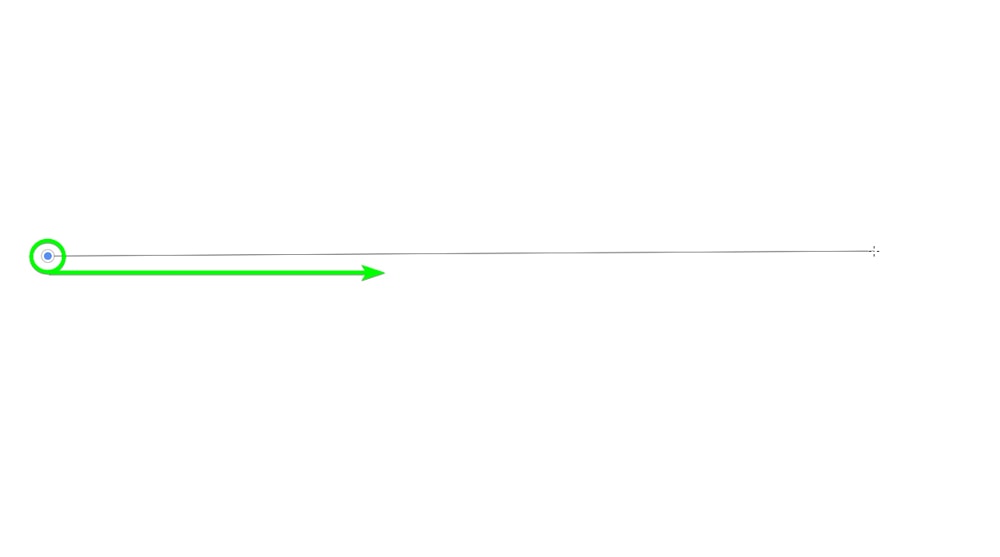
Depending on how far you drag between the two gradient points, you can create a hard or soft edge look to your gradient. In this case, I’ll go for a softer look and drag my gradient points far apart.
How To Create A Gradient Fill Layer In Photoshop
Step 1: Set The Gradient Tool Mode To Gradient
There are three ways to create a new gradient fill layer. The first way is to select the Gradient Tool (G) from the Toolbar. Then, choose Gradient Mode from the drop-down menu in the Options Bar.
The second method is to use the menu path by going to Layer > New Fill Layer > Gradient. For the third method, you can add a new Gradient Fill Layer by clicking on the Create New Fill or Adjustment Layer icon at the bottom of the Layers Panel and selecting Gradient from the menu options.
Step 2: Set The Gradient Preset And Type In The Options Bar
If you are using the Gradient Mode, use the drop-down editor to select a preset and use the other settings in the Options Bar to set the gradient type. You can access the Gradient Fill settings after creating the gradient.
Note: If you used another method to access a new gradient fill layer, you can edit the gradient in the editor, as mentioned in the previous section.
Step 3: Click And Drag To Create The Gradient Fill Layer
You can now click and drag on the page to add the new Gradient Fill layer.
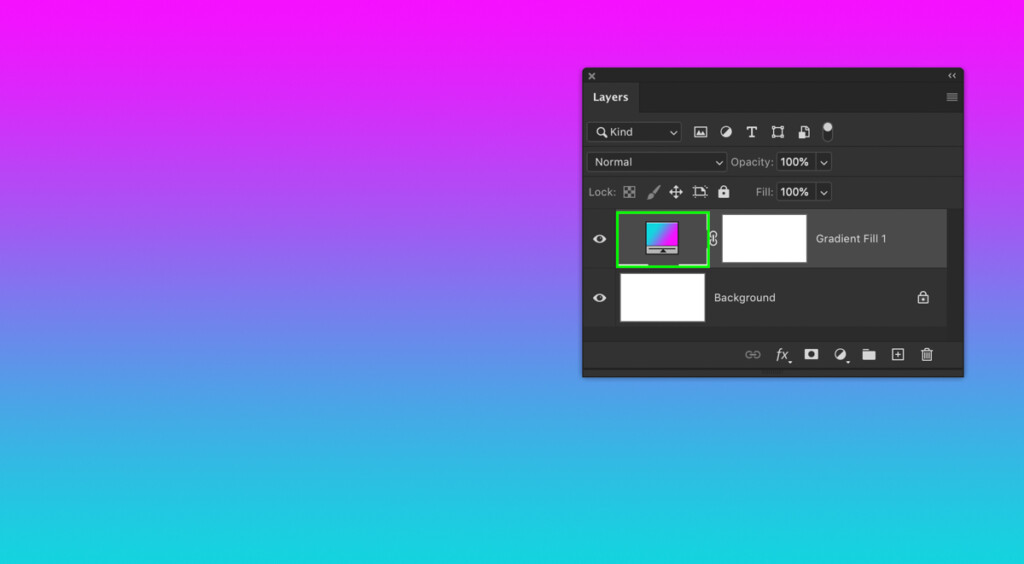
Step 4: Edit The Gradient Fill Layer’s Settings
You’ll have a gradient fill layer instead of a regular layer. There are different ways to edit the gradient fill layer. You can double-click on the layer’s thumbnail to open the Gradient Fill settings or adjust the settings in the Properties Panel. In either window, you can alter the angle, style, scale, and other settings.

You can then double-click on the Gradient preview to open the Gradient Editor and edit the fill layer further.
How To Use The Gradient Editor
Step 1: Adjust The Gradient Type And Smoothness
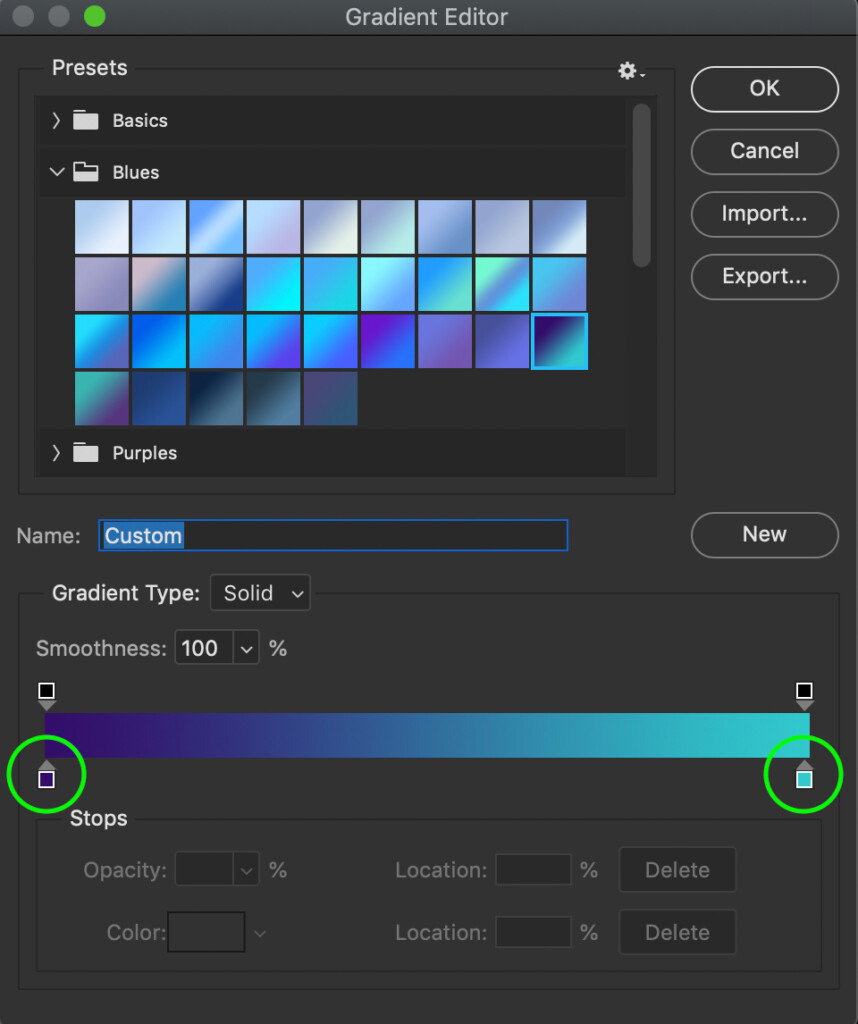
The gradient bar gives you a live preview of what your gradient will look like once it’s applied to your canvas. Within this bar, you have a few options to customize how your gradient appears, such as gradient type, smoothness, and color.
The gradient type determines whether your gradient is made up of color or noise values. The color option will create a smooth transition between multiple solid colors. Noise gradients let you alter the hue, saturation, and luminosity of noise. This gradient type tends to appear far more randomized and is harder to control.
As for the smoothness, this slider will dictate how smooth the transition is between each color value. With a smoothness of 100%, there will be a very soft transition between each color. However, with a 0% smoothness, the transition between colors will appear slightly more abrupt. For general use, leaving the smoothness slider at 100% will work perfectly fine.
Step 2: Change And Add Colors To The Gradient
The gradient colors are represented by the color swatches located at their respective starting points. In the example below, there is a color swatch on both the left and right sides of the gradient. That means the colors will be most noticeable on their separate ends, while they will transition from one to another throughout the middle.
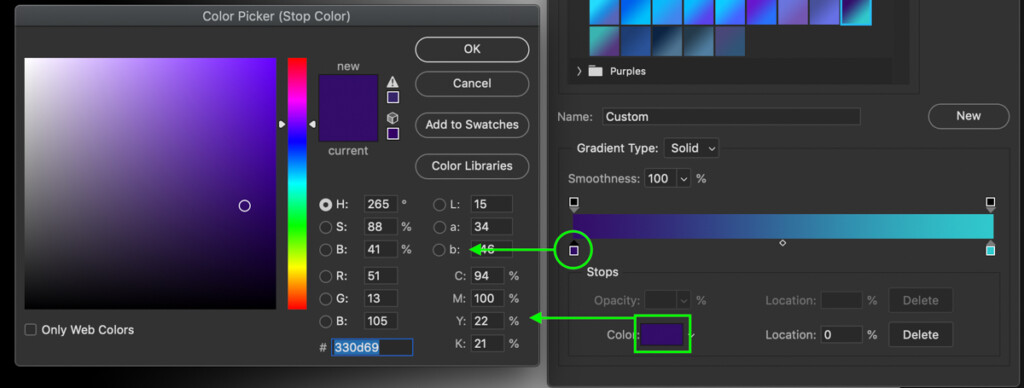
You can change the gradient colors at any time by clicking on these color swatches. You can either double-click on the color swatch to open the color picker or click the swatch and then select the color box option below.
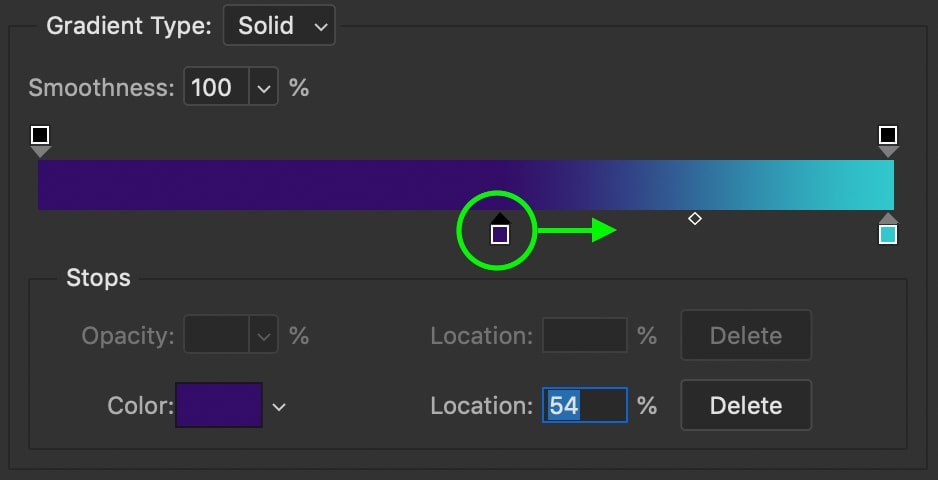
Any of your gradient colors can be moved to make them more or less dominant in your gradient. For example, if I move the left color towards the right, you can see how it becomes more noticeable in the gradient. That’s because there is less space for the two colors to transition from one to another.
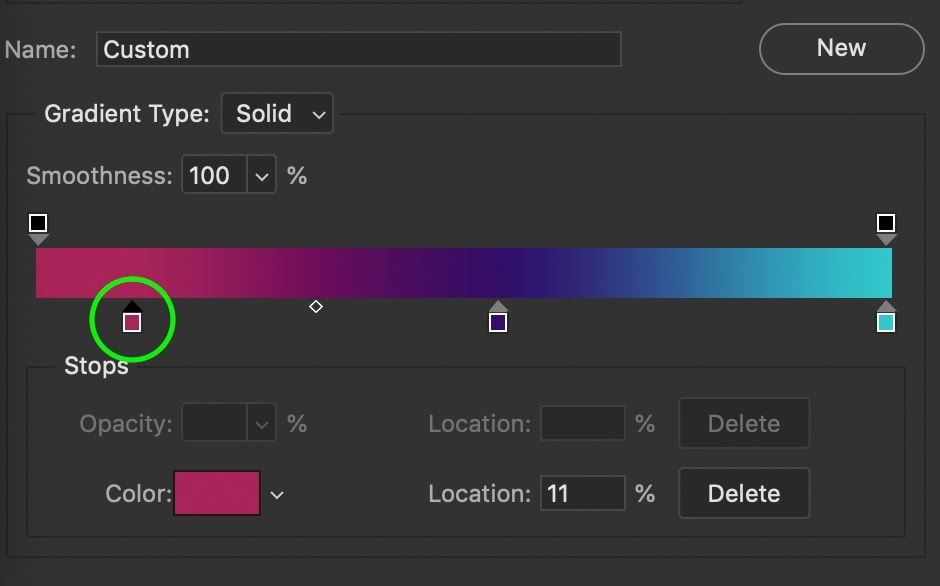
If you want to add additional colors to your gradient, click anywhere beneath the gradient bar to add a new color swatch. A new color will appear that can be edited the same as before.
You can create as many new color points as you wish, and all of them can be moved independently to alter where they sit within your gradient.
Step 3: Adjust The Gradient Midpoints
Looking between the color swatches, you’ll notice a diamond shape. This is called your gradient midpoint. These midpoints control where the halfway mark is between one color and another. You can move your gradient midpoints to favor a certain color. This is a good idea if you want one color to be more visible than another.
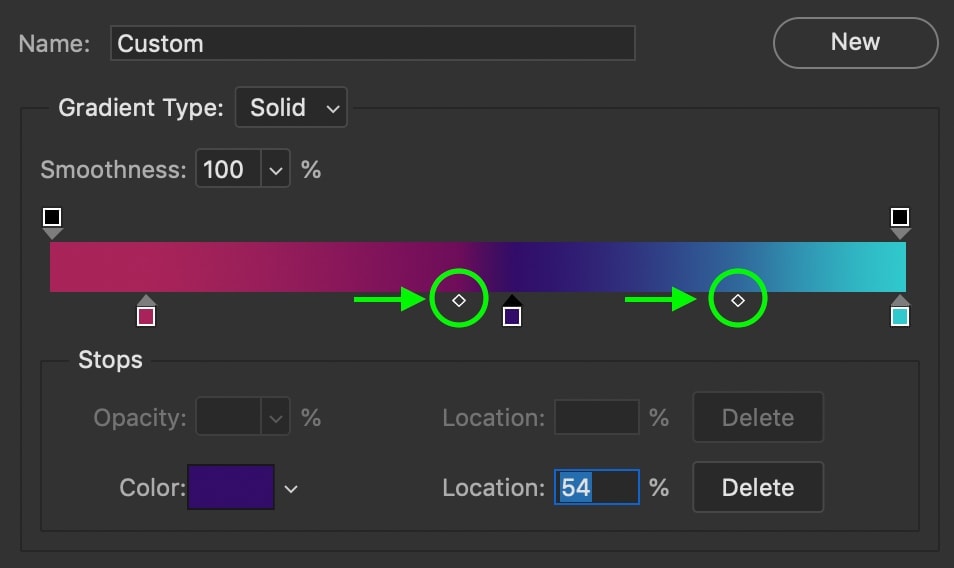
Step 4: Save A Custom Gradient Preset
After you’ve created a custom gradient, add a new name for your gradient. Use the name box to rename the gradient to a custom name. Next, click the New button to save your gradient. Click OK to exit the Gradient Editor.
Now, your custom gradient will appear as its very own preset at the bottom of your presets window.
Types Of Gradients In Photoshop
There are five different types of gradients you can create. You can find all your gradient types directly beside the gradient editor. You can select different ones by clicking on their icon or using your ] or [ bracket keys to cycle through them. From left to right, here are the gradient types.
– Linear Gradient
Starting with the leftmost option, this gradient is called the linear gradient. It creates a straight line for the gradients to transition from and is the most versatile gradient to use. Using this gradient, your colors will transition in a continuous, linear fashion, typical of any generic gradient.
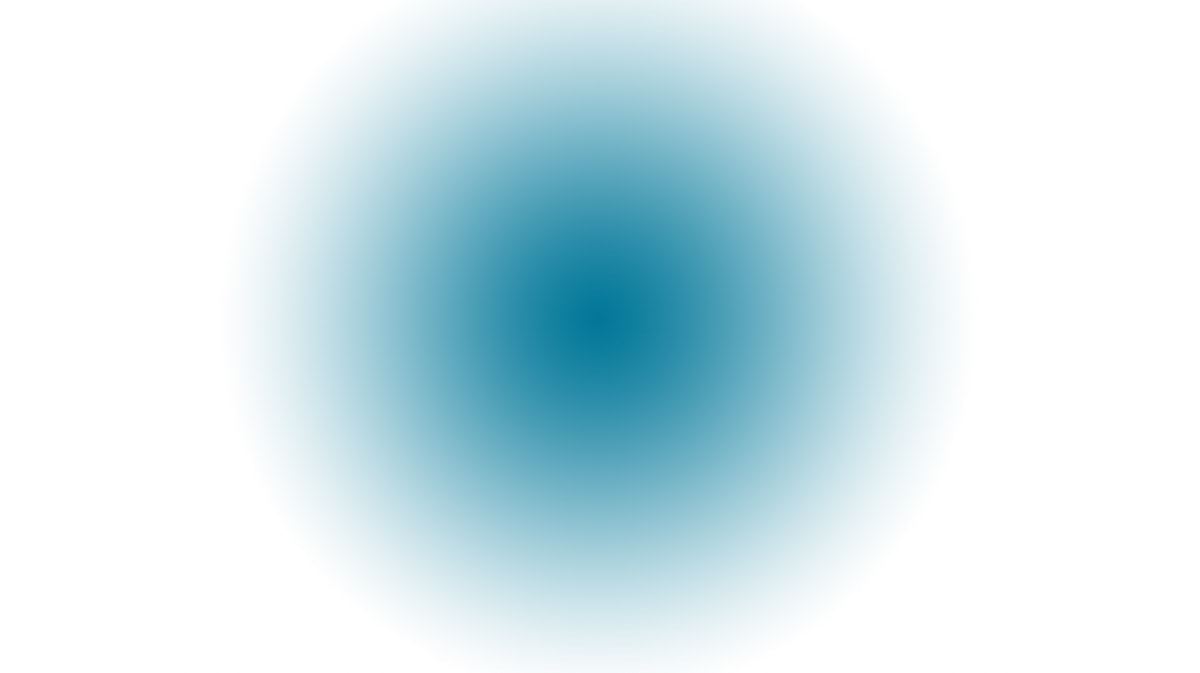
– Radial Gradient
The radial gradient creates a “gradient burst,” starting from one color in the middle and fading radially to the other colors. This option is great for applying to layer masks or fading circular sections of your layers.

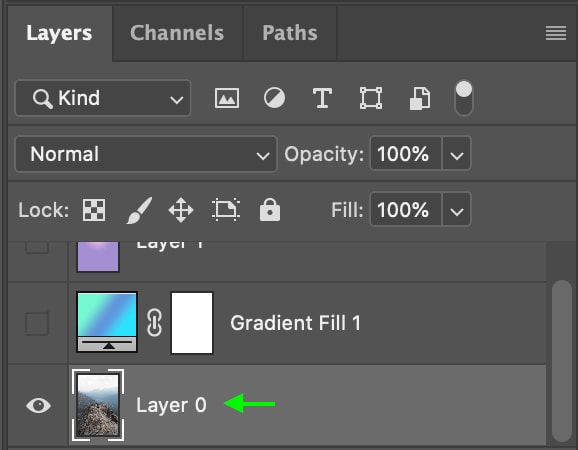
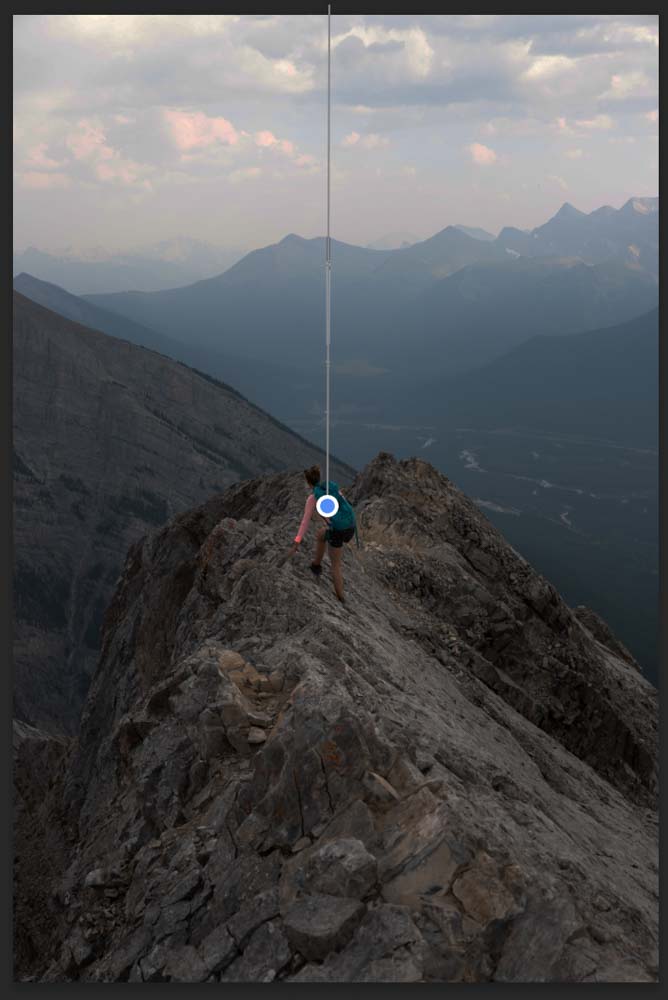
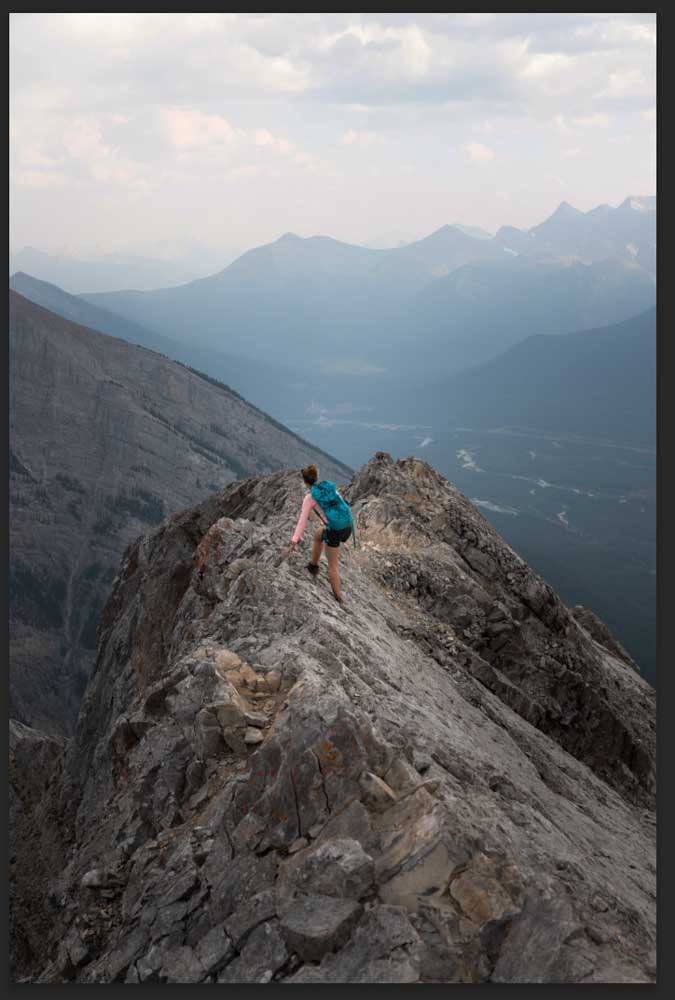
For example, select the image layer in the Layers Panel to create a radial selective adjustment. With the Image Layer selected, head to the Adjustments Panel.
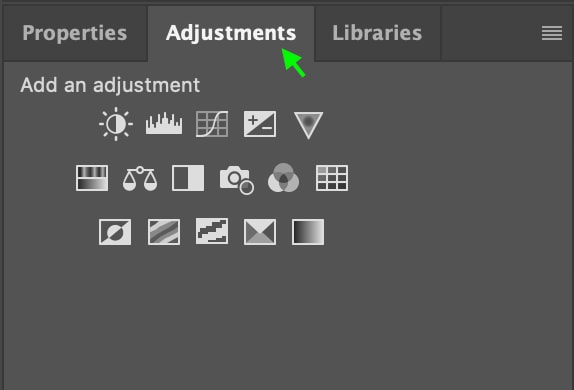
In the Adjustments Panel, click the adjustment you’d like to make to your image. For this example, I’ll use the Brightness and Contrast adjustment and drag the Brightness down. Initially, this will darken the entire image, but once I add the gradient, it will darken only the edges of the image and keep the center lighter to draw attention to this area.
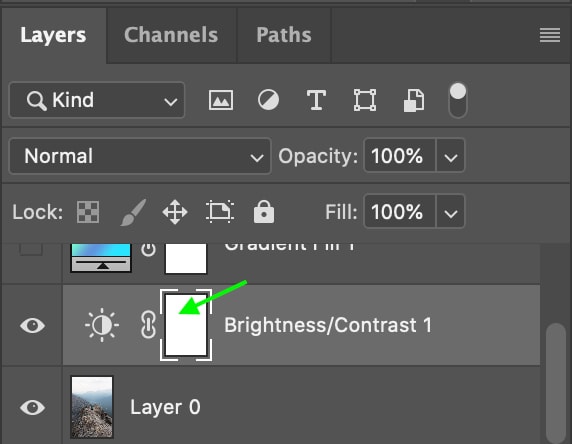
Once you’ve applied your adjustment, go to the Layers Panel and select the Layer Mask on the adjustment layer.
Now, select the Radial Gradient in the Options Bar. Click the Gradient icon and head to the Basic Gradients preset folder, select the Foreground to Transparent gradient, and click OK. Ensure the foreground color is set to black, as black will remove from the layer mask.
Then, click the image and drag out to apply the gradient. Upon releasing the cursor, the gradient is applied to make a darkening effect in the outer borders of the image and a lightening effect in the center, creating a highlight that draws the eye.
– Angle Gradient
An angle gradient will take up your entire layer and transition from one color to another in a counter-clockwise rotation. Wherever you start your gradient will be the hard edge between the first and last color of your gradient.
– Reflected Gradient
The reflected gradient essentially creates a gradient line. The further you drag when creating your gradient, the wider this gradient effect will become. This type of gradient is great for placing against horizontal or vertical edges in your images.
-Diamond Gradient
Lastly, the diamond gradient creates a star-shaped gradient that fades in a unique way. This is a useful option when you want to create circular gradients but want more variance of intensity between colors.


Additional Gradient Tool Settings Explained
After choosing your gradient type, there are a few more settings you can adjust in the Options Bar to customize the Gradient Tool in Photoshop.
The first option you have is the blend mode of your gradient. These blend modes operate the same as layer blend modes but will only be applied to your new gradients. For general use, leave the gradient blend mode set to Normal.

Next, your Opacity option will alter the visibility of your gradient adjustments. To ensure your gradient is completely visible, I’d recommend leaving your opacity set to 100%.

Lastly, you’ll see three checkboxes reading Reverse, Dither, and Transparency.

By checking off the Reverse option, your gradient will switch sides and reverse itself. This is useful if you want certain colors of your gradient to be applied from another side. However useful, this option only needs to be used in certain instances.
The Dither option helps to ensure there is a smooth transition between different tones in your gradient. Without the dither option enabled, you can end up with banding in your gradient. To ensure you have a high-quality and seamless gradient, make sure the dither option is enabled.
The Transparency option allows you to create transparency when you have a transparent value in your gradient. For example, if you’re creating a foreground-to-transparent gradient, the transparency will not be visible unless the transparency option is enabled.
The Gradient Tool in Photoshop is an impressive tool with endless opportunities for customization. Whether you’re applying a gradient to text, a background layer, a layer mask, or shapes, the Gradient Tool will do it all.
Happy Editing!
– Brendan 🙂


